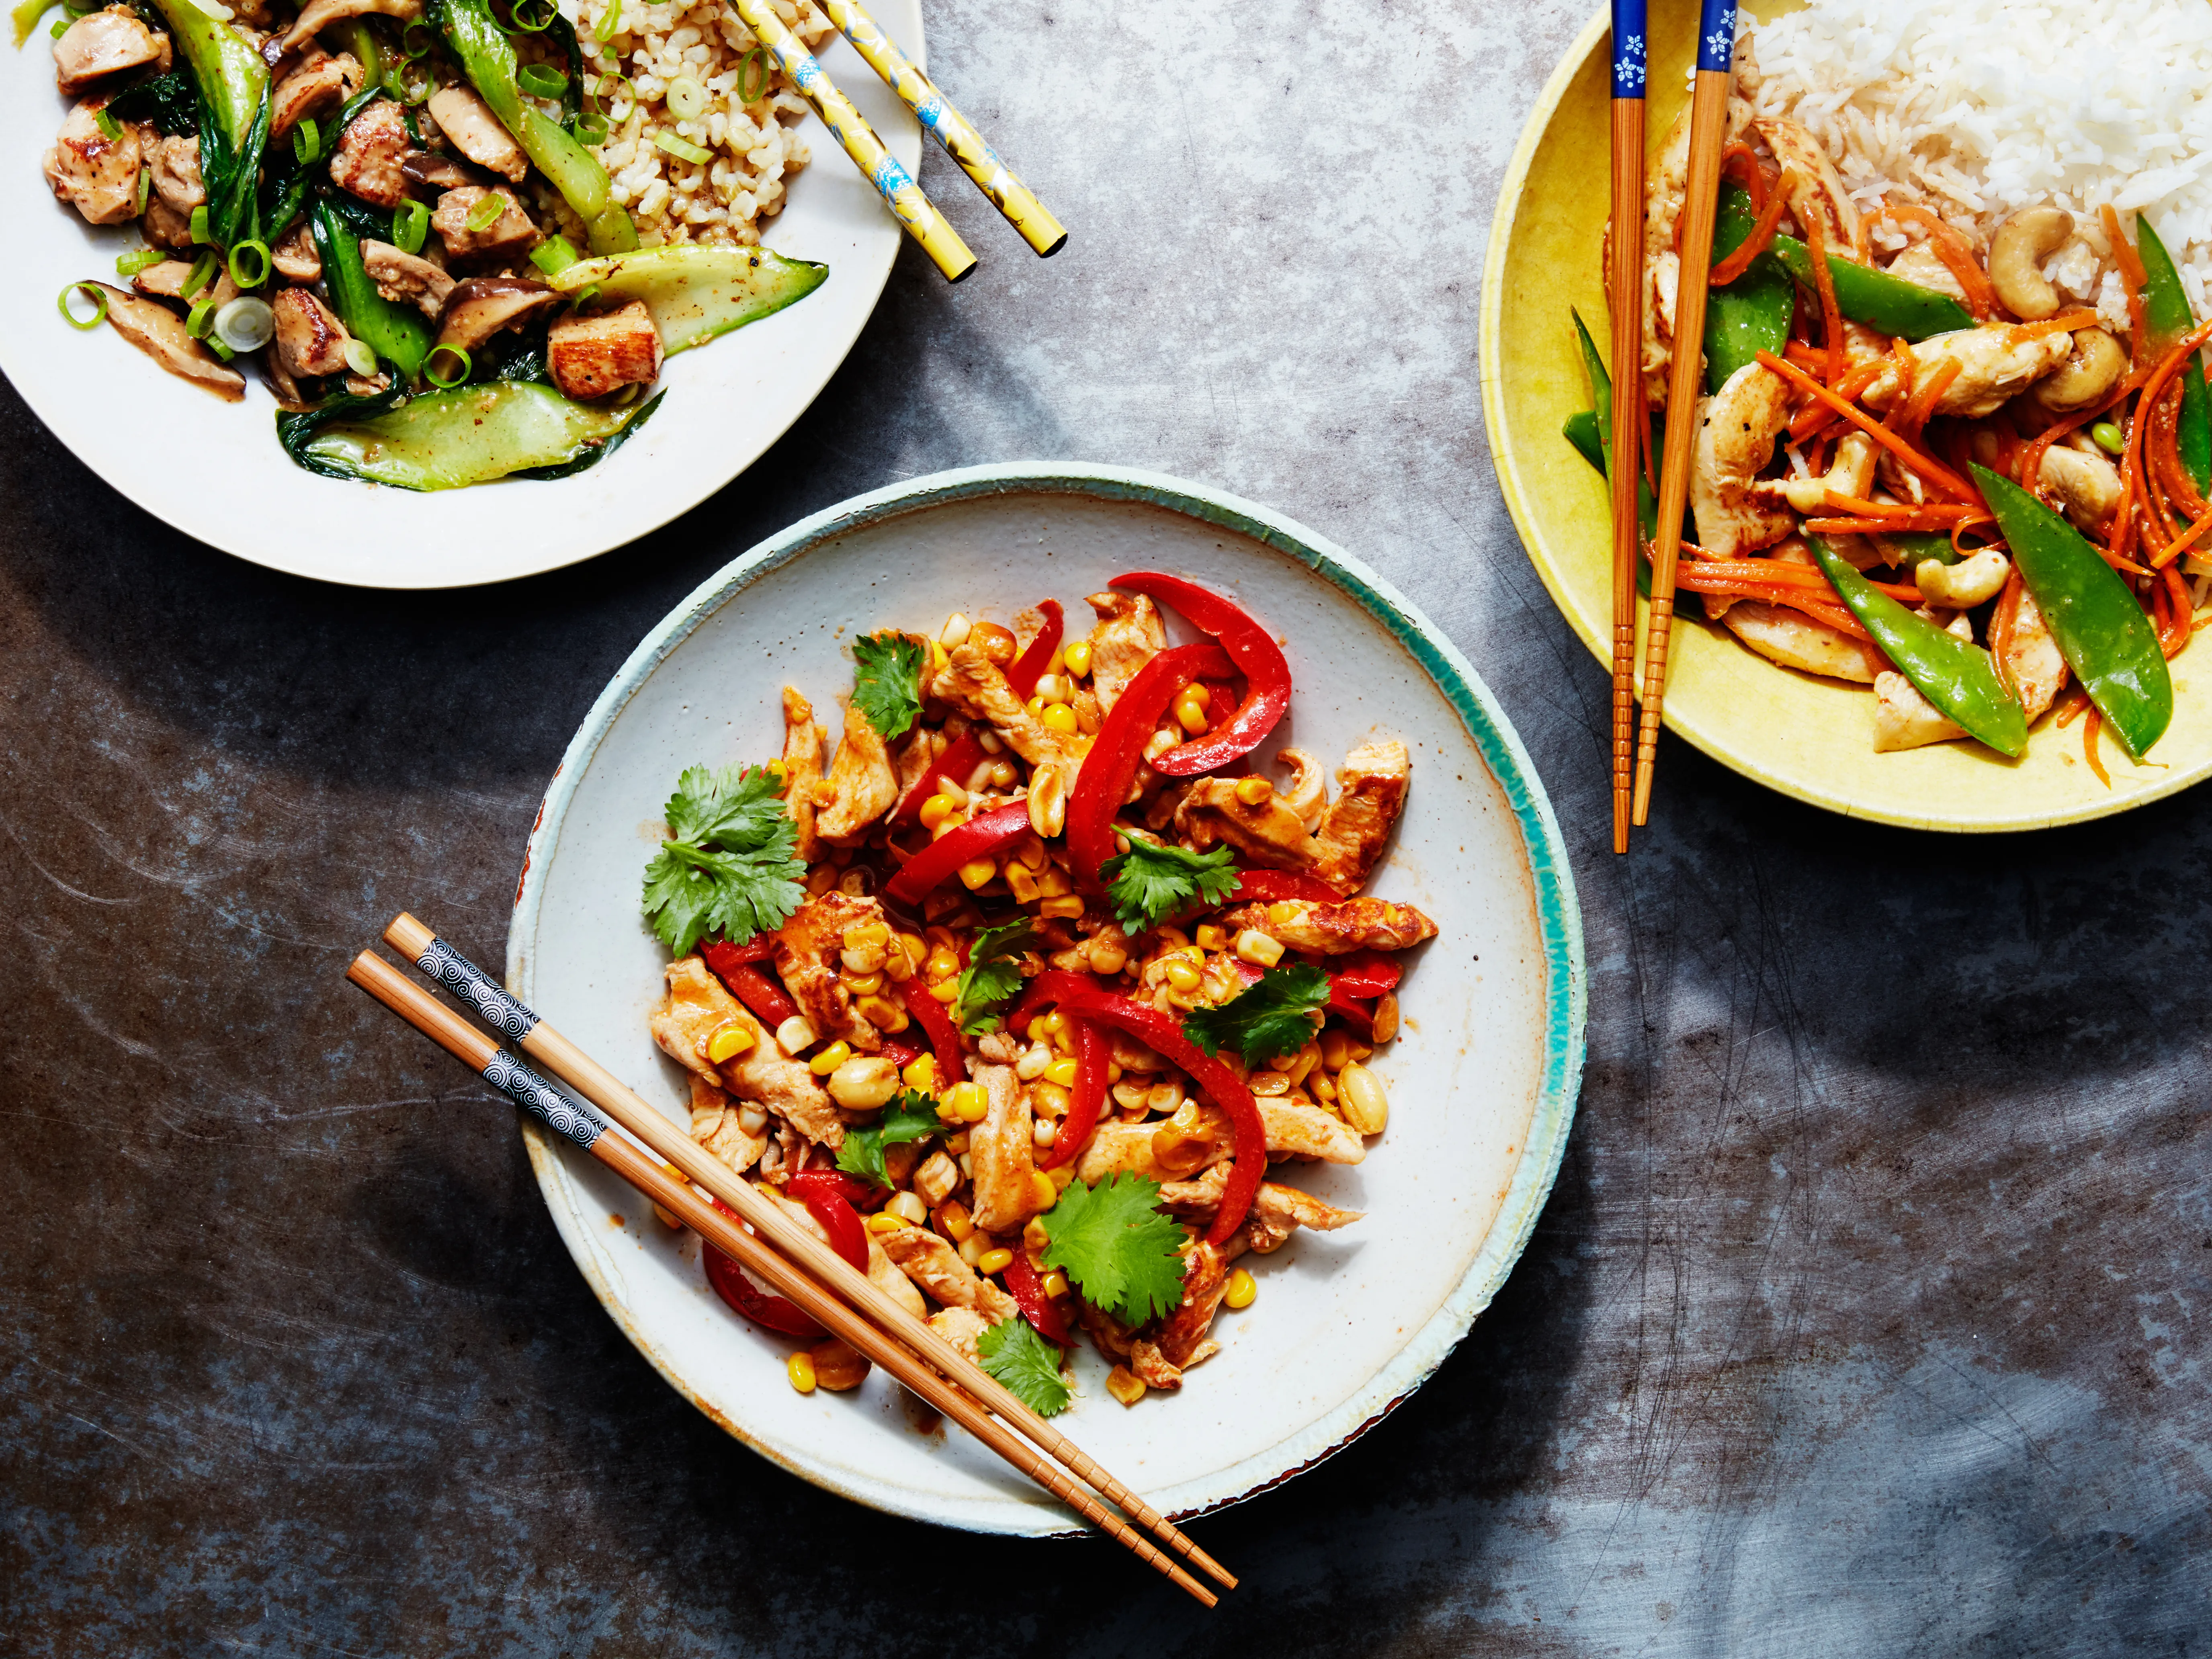
A beginner-friendly guide to fast stir-fry: smart prep, a quick homemade base sauce, and an easy cooking order for restaurant-style results.
Recipeva
Brown Rice
Learn how to cook brown rice that’s fluffy and flavorful every time, plus easy ratios, timing for stove, rice cooker, and Instant Pot, storage tips, and simple ways to use it all week.

Maya Reynolds
Maya Reynolds is a passionate home cook, recipe developer, and the creative voice behind Recipeva. With over a decade of experience translating complex culinary techniques into approachable weeknight meals, she focuses on creating dishes that bring joy to the dinner table without the stress.
Created September 24, 2026
Updated September 24, 2026
Brown rice is one of those quiet heroes in my kitchen. It’s hearty, a little nutty, and it turns a “what’s for dinner?” moment into an actual meal with very little effort. If you’ve ever ended up with crunchy grains, gummy rice, or a pot that boiled over like a science fair volcano, you’re in the right place. Let’s make brown rice easy, reliable, and genuinely tasty.
What it is
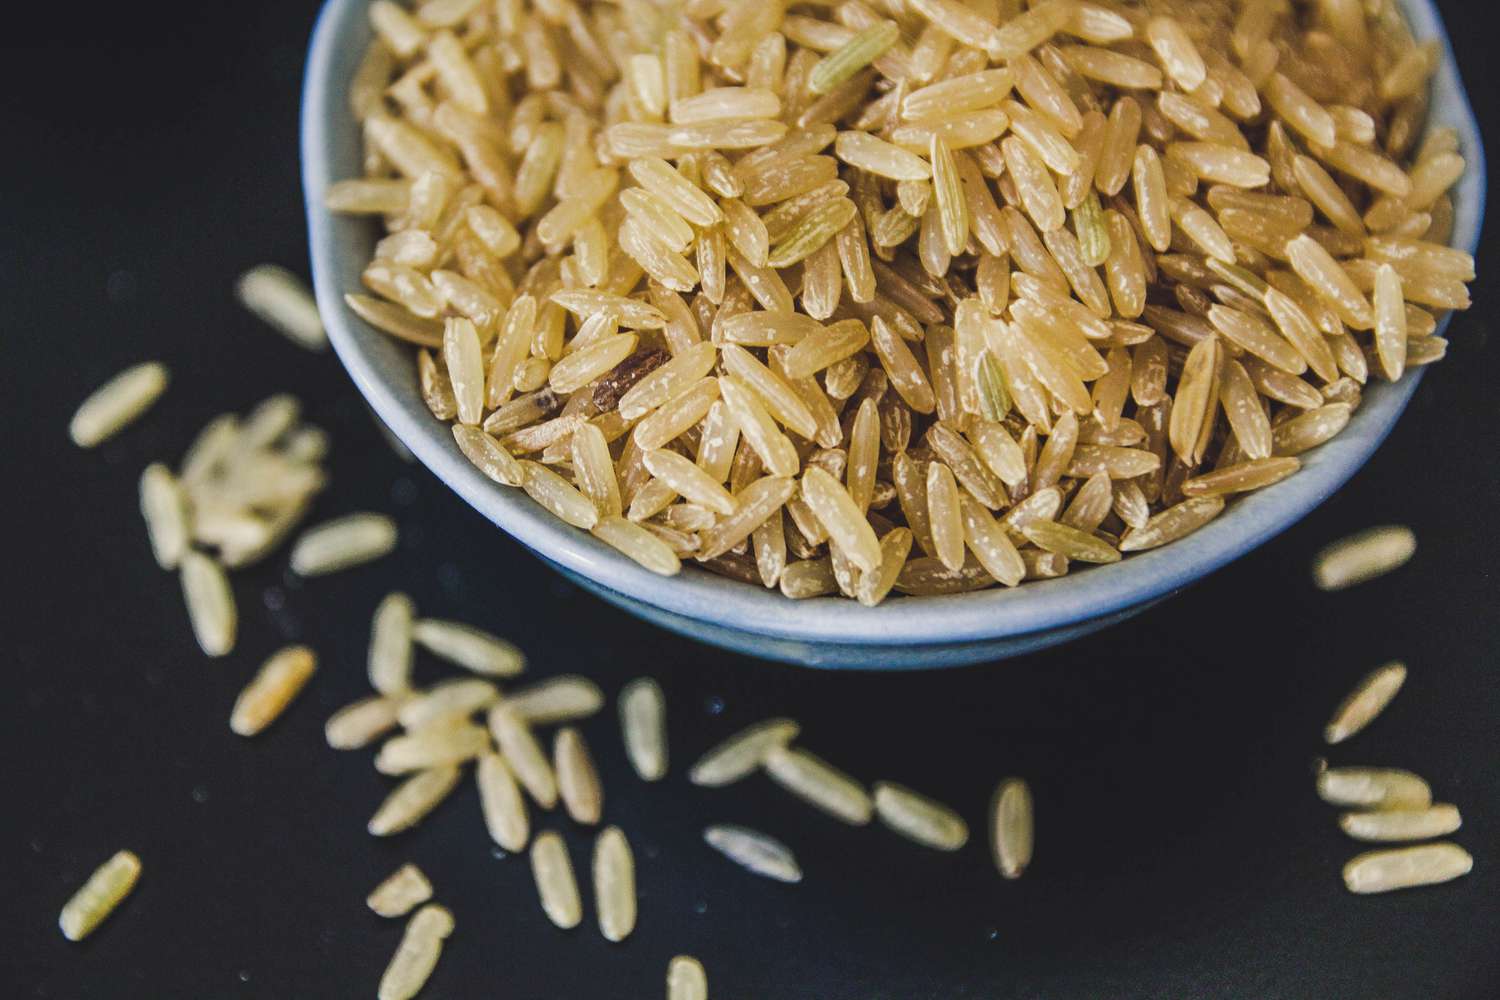
Brown rice is whole grain rice. That means it still has its bran and germ layers intact. Those layers add flavor, fiber, and a pleasantly chewy texture, but they also make the grain more resistant to water absorption. Translation: it needs more time and a bit more water than white rice.
The good news: once you have a dependable method, brown rice becomes a weeknight staple you can build meals around.
Which kind to buy
Common types
- Long-grain brown rice: Fluffier, grains stay more separate. Great for meal prep bowls and stir-fries.
- Medium-grain brown rice: Slightly more tender and cohesive. Nice for simple sides and salmon dinners.
- Short-grain brown rice: Stickier and chewier. Perfect for rice bowls and toppings you want to “hug” the rice.
- Brown basmati: Aromatic and lightly nutty. Wonderful with curries and roasted vegetables.
- Brown jasmine: Fragrant, a touch softer than basmati. Great with Thai-inspired meals.
- Quick-cooking brown rice: Par-cooked so it finishes faster. Handy on busy nights, but texture is slightly less chewy.
If you’re not sure what to buy, long-grain brown rice is the most forgiving everyday choice.
Quick note: Brands vary. If your package directions differ (especially for quick-cooking or parboiled rice), follow the package. Also, older or extra-dry rice may need a small splash more water or a few extra minutes.
Rinse or soak?
Rinsing
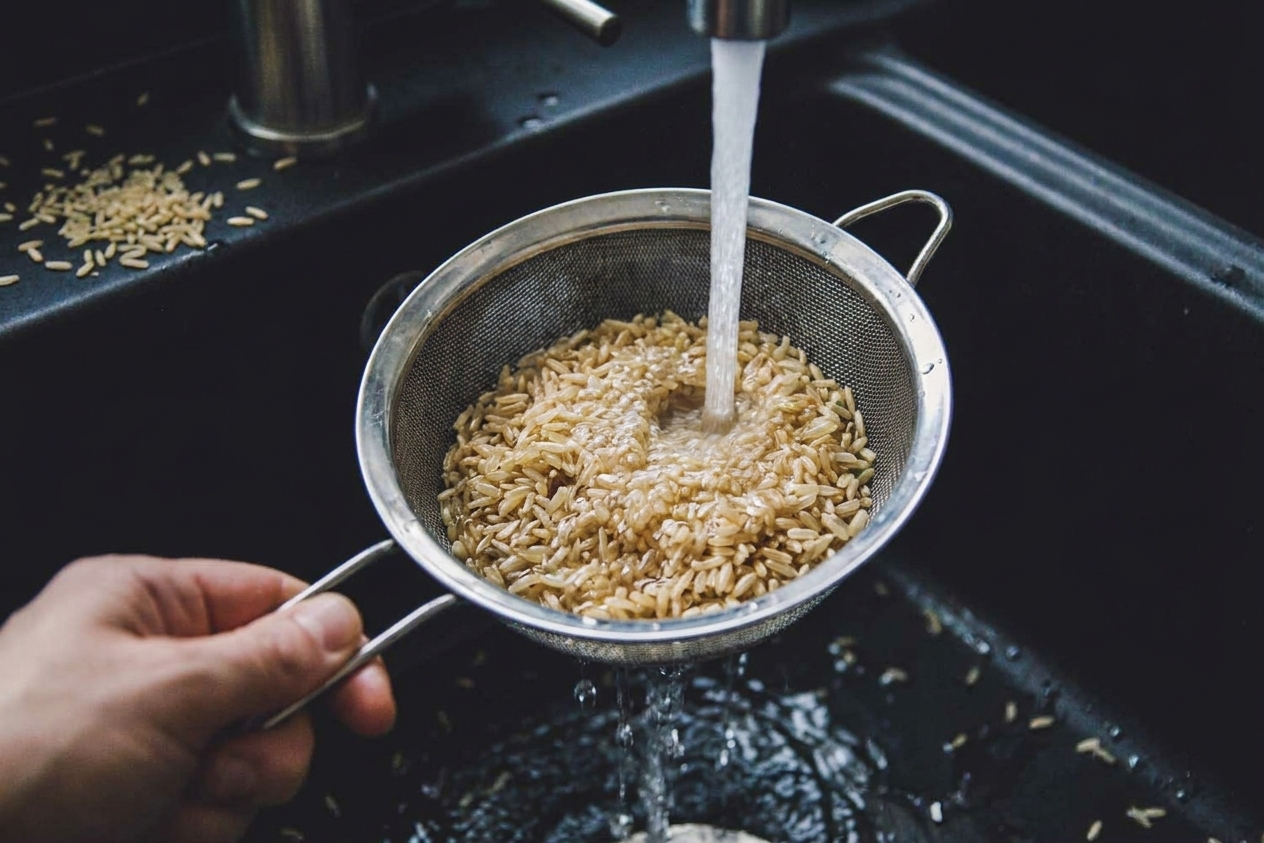
I recommend rinsing brown rice in a fine-mesh strainer to wash away excess surface starch. It helps reduce foaming and keeps the grains from cooking up overly sticky.
Realistic expectation: brown rice often never runs totally clear. Aim for about 30 to 60 seconds of rinsing, or 2 to 3 rinses, until the water looks noticeably less cloudy.
Soaking (optional)
Soaking for 20 to 60 minutes can shorten cook time a bit and can make the texture more tender. If you soak, drain well and reduce your cooking water slightly (more on ratios below). On weeknights, I usually skip soaking and still get great results.
Water ratios
Different varieties, brands, and even stove types can shift what “perfect” looks like. Use these as dependable starting points, then adjust by a tablespoon or two next time if you want it firmer or softer.
Yield: 1 cup dry brown rice makes about 3 cups cooked (about 4 to 6 side servings, depending on appetites).
Stovetop
- 1 cup brown rice + 2 cups water (plus a pinch of salt)
If you like it a little softer, go up to 2 1/4 cups water. If you soaked the rice, start with 1 3/4 to 2 cups water.
Rice cooker
- 1 cup brown rice + 1 3/4 to 2 cups water
Use the “brown rice” setting if your machine has one. Check your manual too, since cookers vary.
Instant Pot
- 1 cup brown rice + 1 to 1 1/4 cups water
Pressure cooking traps steam, so you need less water than stovetop. This range covers a lot of models and preferences. If you want the rice more separate and chewy, start closer to 1 cup water. If you like it a bit softer, use 1 1/4 cups.
Stovetop method
This is my everyday method. It’s simple, forgiving, and makes brown rice that’s fluffy with just the right chew.
Step by step
- Rinse: Rinse 1 cup brown rice in a fine-mesh strainer.
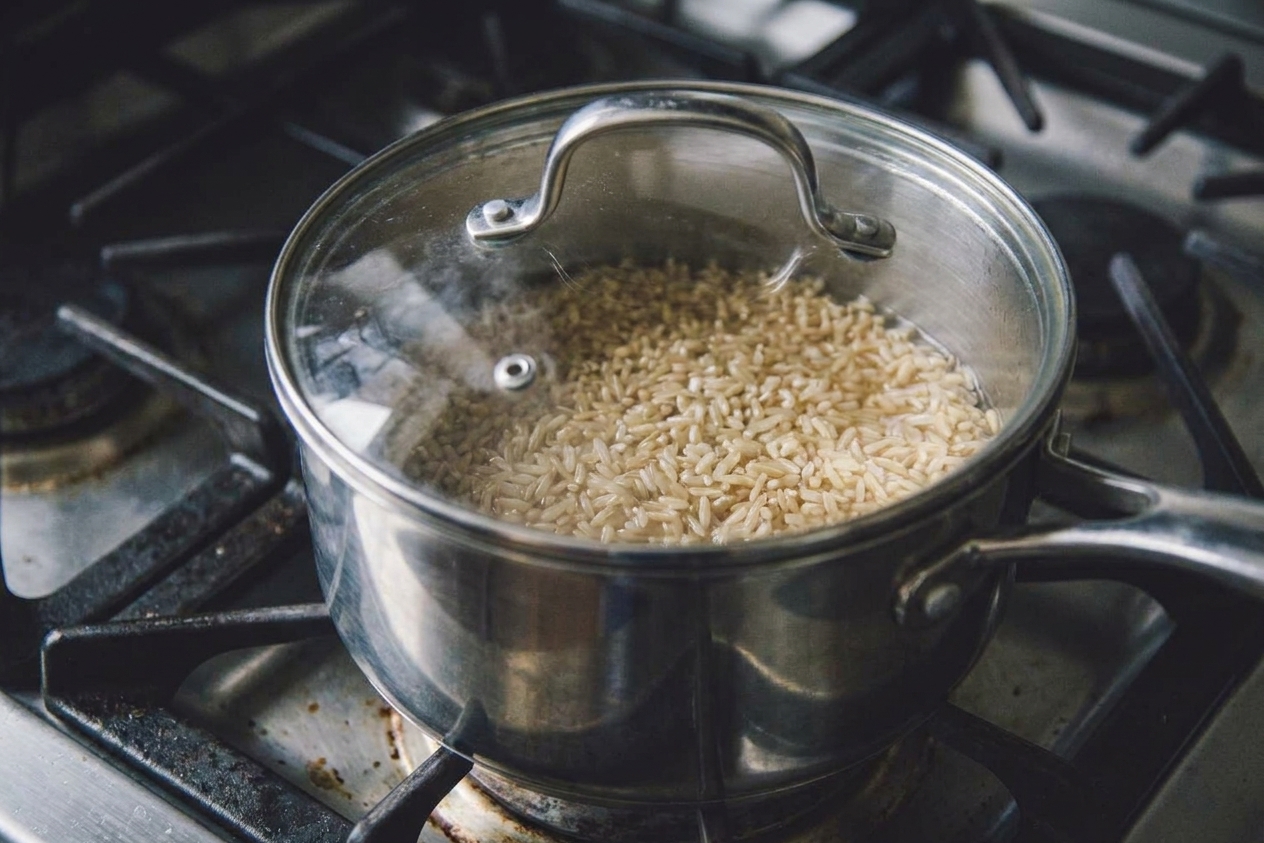
- Combine: Add rice to a saucepan with 2 cups water (or broth) and 1/2 teaspoon kosher salt.
- Bring to a boil: Bring to a full boil over medium-high heat.
- Cover and reduce: Stir once, reduce heat to low, then cover with a tight-fitting lid.
- Simmer: Cook for 40 to 45 minutes without lifting the lid.
- Rest: Turn off heat and let sit, covered, for 10 minutes.
- Fluff: Fluff with a fork and taste for salt.
What “gentle simmer” means: you want just a few quiet bubbles. If it’s rapidly bubbling, it’s too hot and you’re more likely to scorch the bottom or run out of water early.
Maya’s tiny upgrades
- Use broth: Swap water for chicken or vegetable broth for instant depth.
- Add aromatics: Toss in a smashed garlic clove or a bay leaf while it simmers (remove later).
- Finish with fat: Stir in 1 teaspoon butter or olive oil after fluffing for a glossy, restaurant-style feel.
Pot and lid note: A heavy-bottomed pot and a tight-fitting lid make a big difference. Electric stoves often hold heat longer, so you may need the burner set slightly lower than you think once it’s simmering. Gas stoves can run “hotter” around the edges, so keep the flame low and centered under the pot.
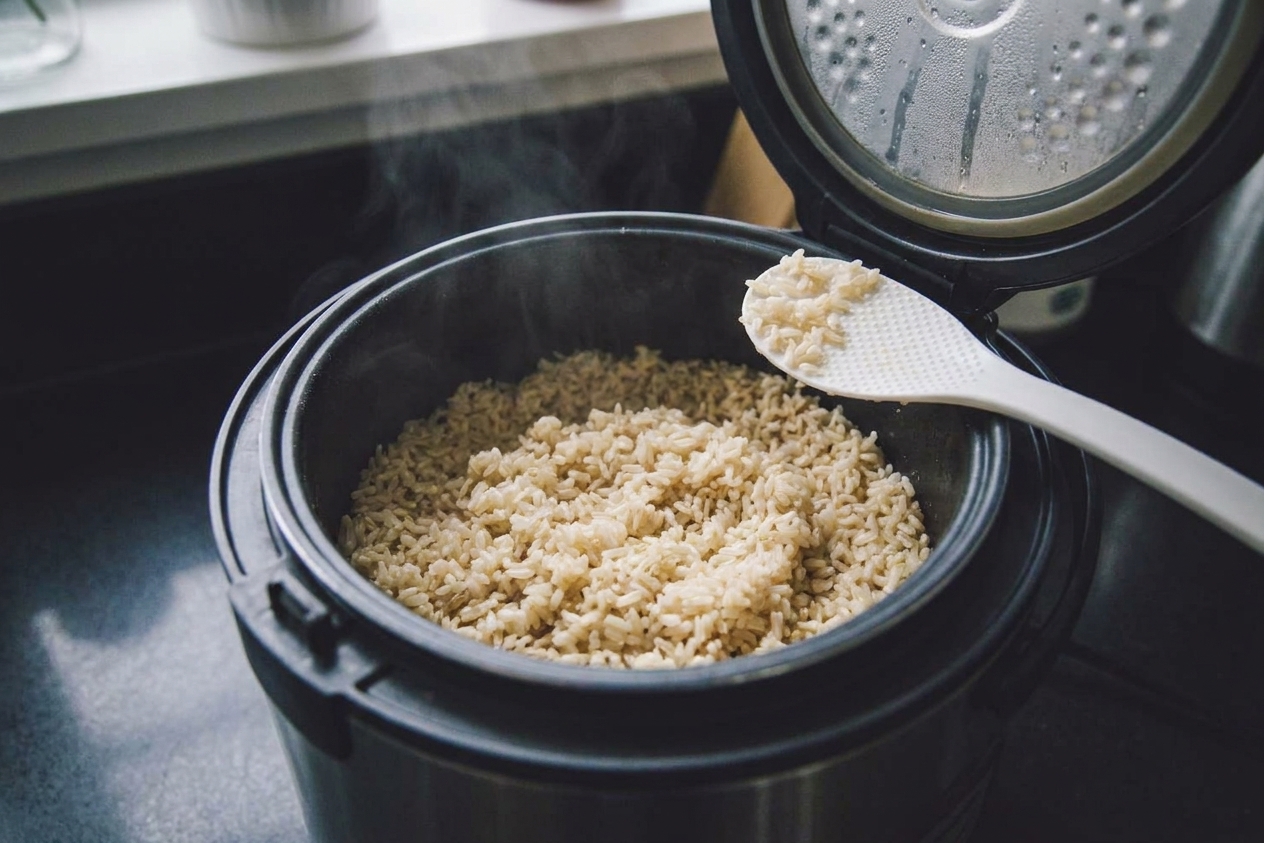
Rice cooker method
If you have a rice cooker, brown rice becomes wonderfully hands-off.
- Rinse the rice.
- Add rice and water to the cooker insert (start with 1 cup rice and 1 3/4 to 2 cups water).
- Add salt, then start the “brown rice” cycle.
- Let it rest on “keep warm” for 10 minutes, then fluff.
Instant Pot method
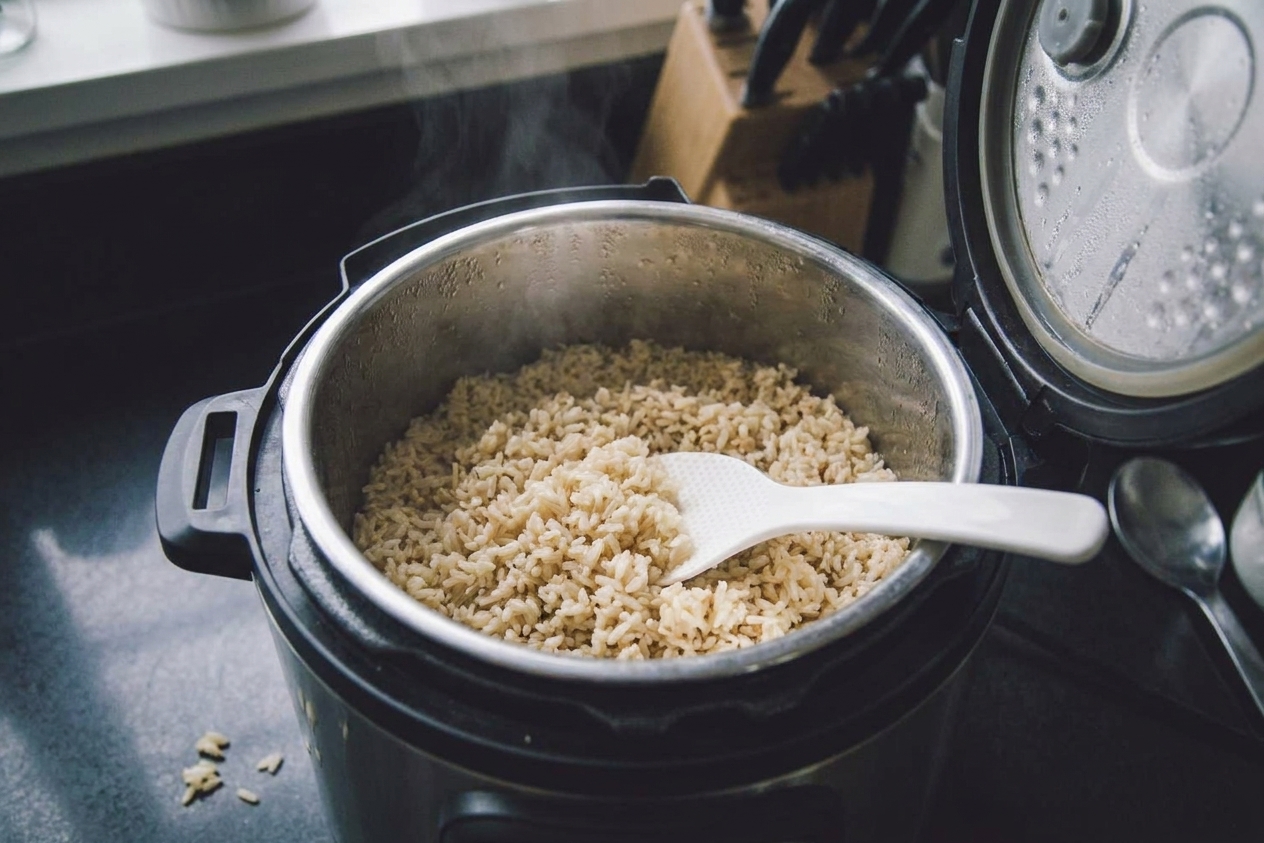
When I need brown rice for meal prep and I don’t want to babysit the stove, this is my go-to.
- Rinse 1 cup brown rice well.
- Add to the pot with 1 to 1 1/4 cups water (or broth) and 1/2 teaspoon kosher salt.
- Cook on High Pressure for 18 to 22 minutes (use 18 minutes for long-grain and a chewier bite, closer to 22 minutes for short-grain or a softer texture).
- Let pressure naturally release for 10 minutes, then quick release any remaining pressure.
- Fluff and let it sit uncovered for 2 to 3 minutes if it seems a little steamy.
Doneness cue: If the rice is still a bit firm in the center, lock the lid back on and let it sit on “Keep Warm” for 5 minutes, or pressure cook 2 more minutes with a quick release.
Troubleshooting
It’s crunchy
- It usually needs more time, or a splash more water.
- Add 2 to 4 tablespoons hot water, cover, and simmer 5 to 10 more minutes, then rest.
It’s mushy or gummy
- Too much water, too much stirring, or simmering too aggressively can do this.
- Next time reduce water slightly and keep it at a very gentle simmer.
- To salvage: spread rice on a sheet pan and let steam escape for 5 to 10 minutes.
The pot boiled over
- Use a larger pot and rinse the rice.
- Once it hits a boil, reduce heat promptly. If it starts foaming up, crack the lid briefly until the foaming calms down, then cover fully and keep it at a low simmer.
The bottom burned
- Heat was too high or the pan was too thin.
- Use a heavy-bottomed saucepan and keep the simmer low (just a few bubbles).
Make it taste great
Brown rice has a naturally nutty flavor, but it really shines with a little help. Here are my favorite low-effort options.
- Garlic and scallion: Sauté minced garlic in a teaspoon of oil, then stir it into hot rice with sliced scallions.
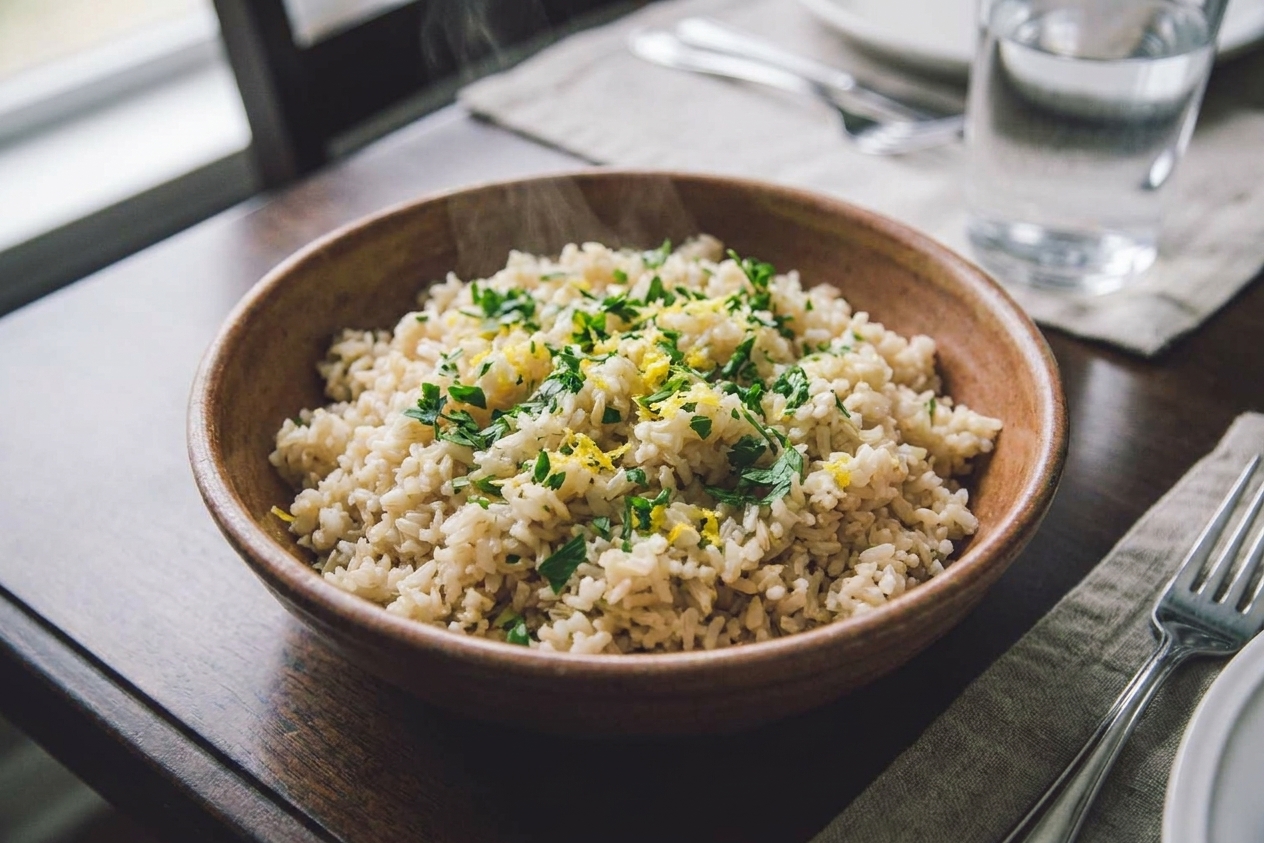
- Lemon and herbs: Add lemon zest, a squeeze of juice, and chopped parsley or dill.
- Toasty sesame: Stir in a drizzle of toasted sesame oil and sprinkle with sesame seeds.
- Coconut: Replace half the water with canned coconut milk, add a pinch of salt.
- Tomato: Cook in broth with a spoonful of tomato paste and a pinch of cumin.
Use it all week
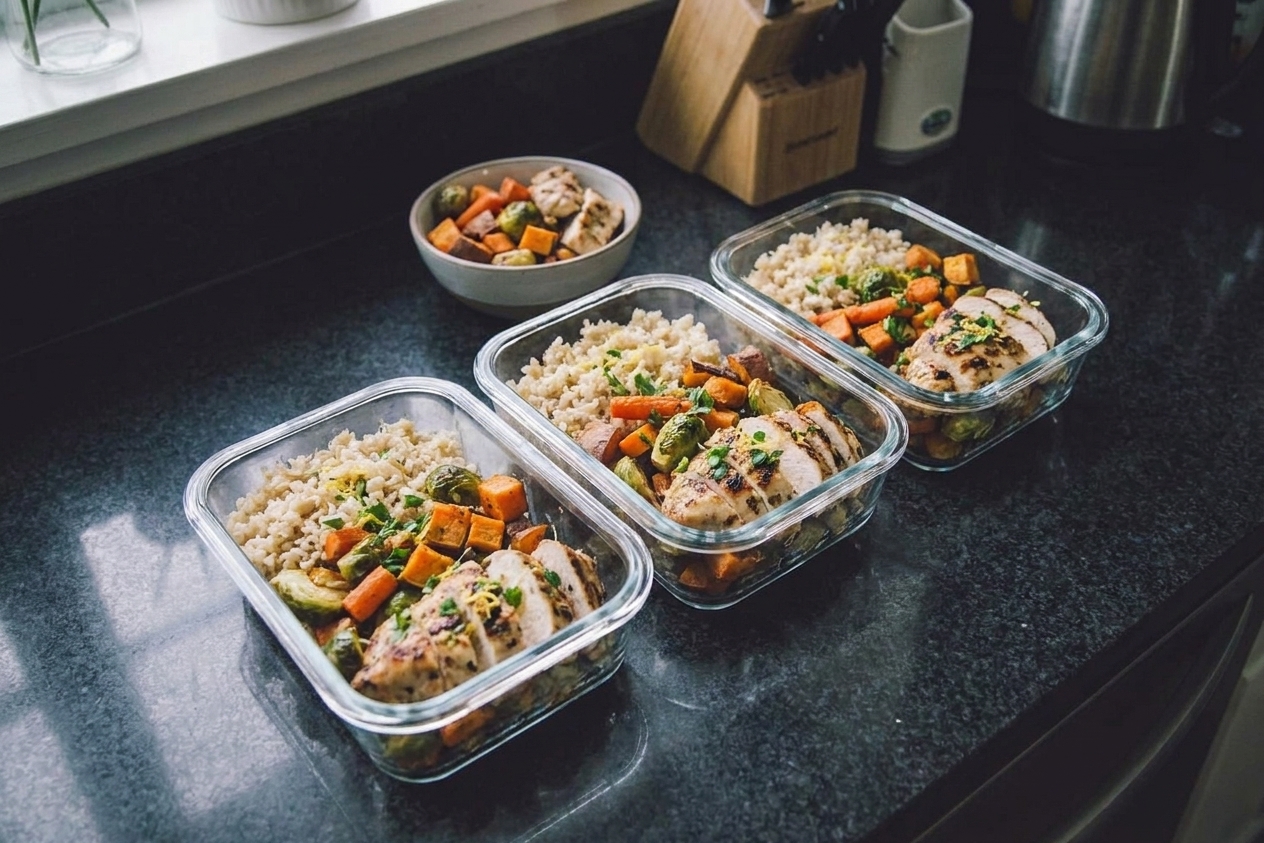
Cook once, then let the leftovers carry you through lunches and quick dinners.
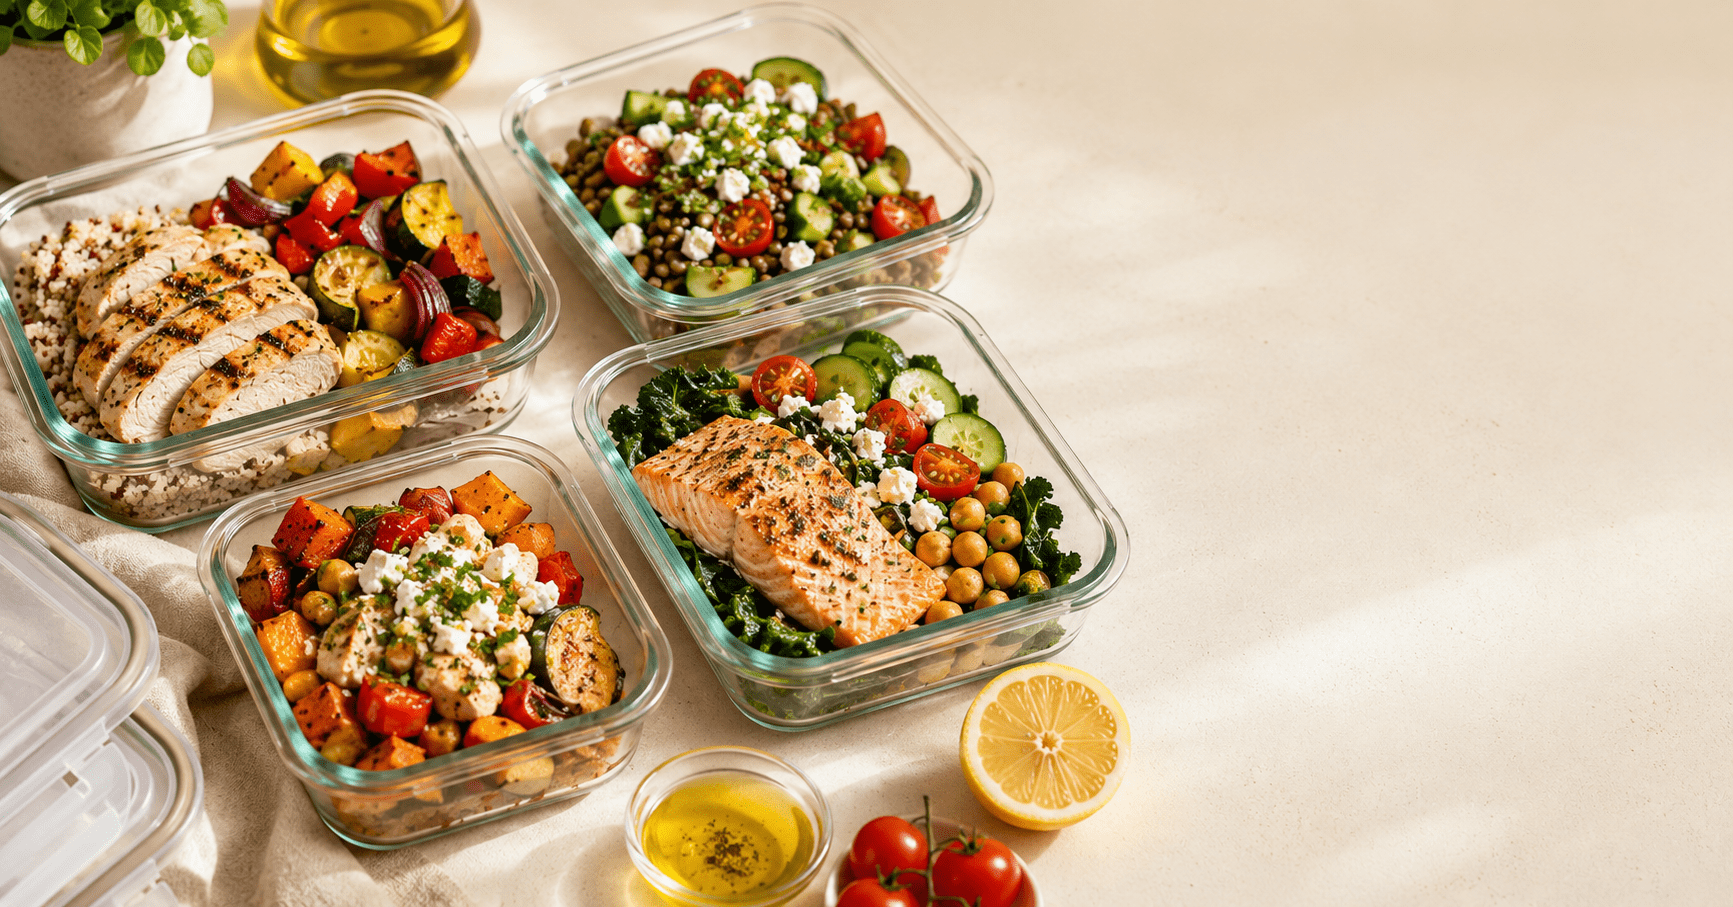
- Grain bowls: Brown rice + roasted veggies + chicken or tofu + a punchy sauce.
- Fried rice: Use chilled rice for best texture. Add eggs, frozen peas, and plenty of garlic.
- Stuffed peppers: Mix rice with beans, salsa, cheese, then bake.
- Soup booster: Stir into chicken soup or vegetable soup to make it more filling.
- Breakfast bowl: Warm rice with milk, cinnamon, and a spoonful of nut butter.
Store and reheat
Storing cooked brown rice
- Cool quickly: Spread on a tray or fluff in a shallow bowl so it cools faster.
- Refrigerate promptly: Store in an airtight container and use within 3 to 5 days for best quality and food safety.
- Freeze: Freeze in flat, portioned bags or containers for up to 3 months.
Food safety note: Cooked rice can harbor Bacillus cereus. The best defense is cooling it quickly and getting it into the fridge sooner rather than later.
Best ways to reheat
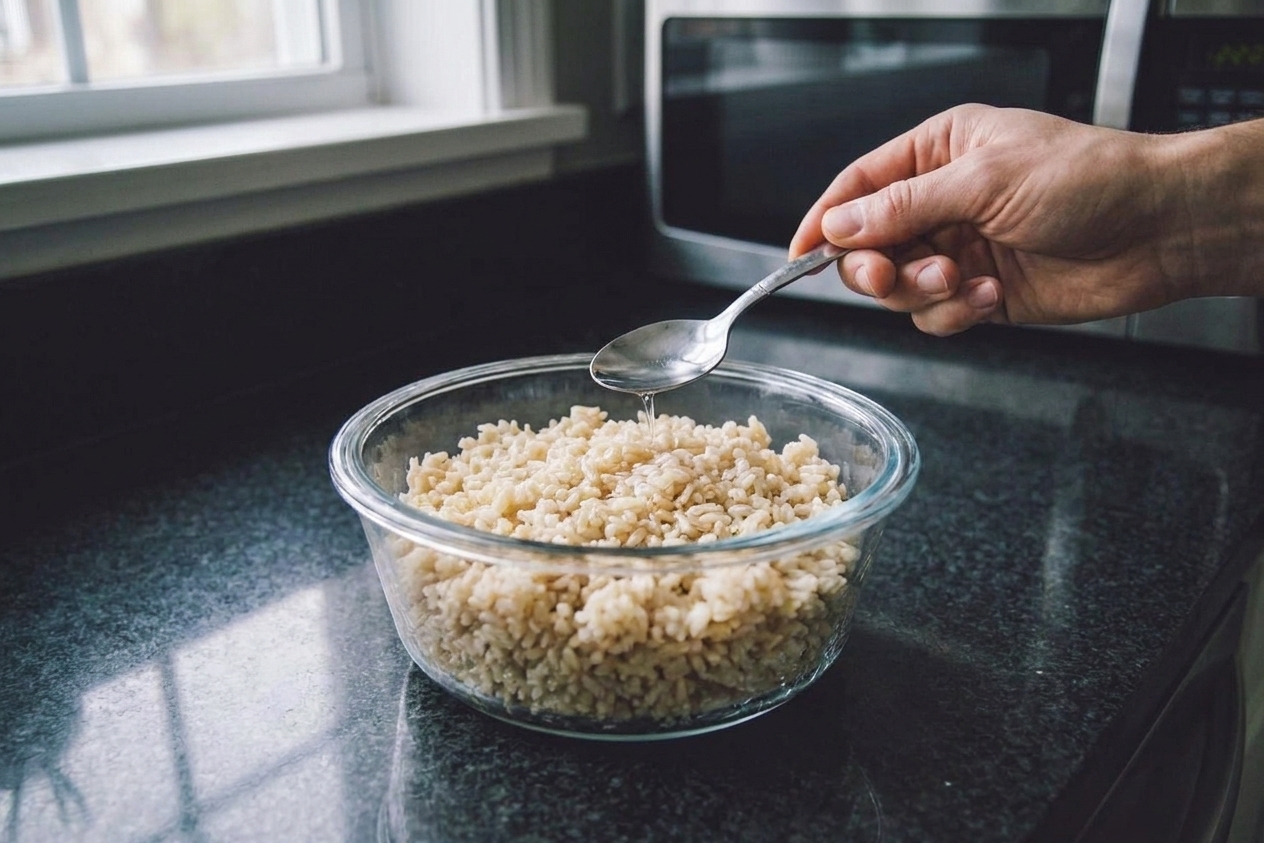
- Microwave: Add a splash of water, cover loosely, and heat in 30-second bursts, fluffing in between.
- Stovetop: Add a tablespoon or two of water to a pan, cover, and steam on low until hot.
- From frozen: Microwave covered with a splash of water, or thaw overnight in the fridge.
FAQ
How long does it take?
On the stovetop, most brown rice takes 40 to 45 minutes plus a 10-minute rest. Rice cookers often take about 45 to 60 minutes depending on the model. In the Instant Pot, plan on 18 to 22 minutes at pressure plus natural release time.
Is it healthier than white rice?
Brown rice is a whole grain, so it typically has more fiber and a bit more flavor and chew. White rice is not “bad.” It’s just different, and it can be easier on digestion for some people. Pick the one you’ll actually enjoy eating consistently.
Can I cook it in broth?
Absolutely, and I highly recommend it. Use low-sodium broth if possible so you can control the salt level.
Why does it turn out hard?
Usually one of three things: not enough water, simmering too high so water evaporates too quickly, or lifting the lid repeatedly and losing steam. Keep the lid on, keep the heat low, and give it time to rest. Also, older or extra-dry rice may simply need a little extra time.
Do I need oil?
You can add a teaspoon of olive oil or butter for flavor and to reduce foaming, but you don’t have to. The biggest texture wins come from rinsing, correct ratios, and resting.
Simple dinner formula
When you’ve got a container of brown rice in the fridge, dinner gets wonderfully straightforward. Here’s my no-stress template:
- Brown rice (warm)
- One protein (rotisserie chicken, salmon, tofu, beans)
- One big veggie (roasted broccoli, sautéed greens, crunchy salad)
- One sauce (tahini, salsa, peanut sauce, lemony vinaigrette)
- One topper (herbs, pickled onions, nuts, sesame seeds)
High altitude note: If you cook at high altitude, expect brown rice to take longer. You may need a little extra water on the stovetop too. Start by adding 5 to 10 minutes, then adjust water only if the pot dries out before the rice is tender.
If you want, make it tonight: cook a batch of brown rice, roast a sheet pan of veggies, and you’re basically set for the next few meals.