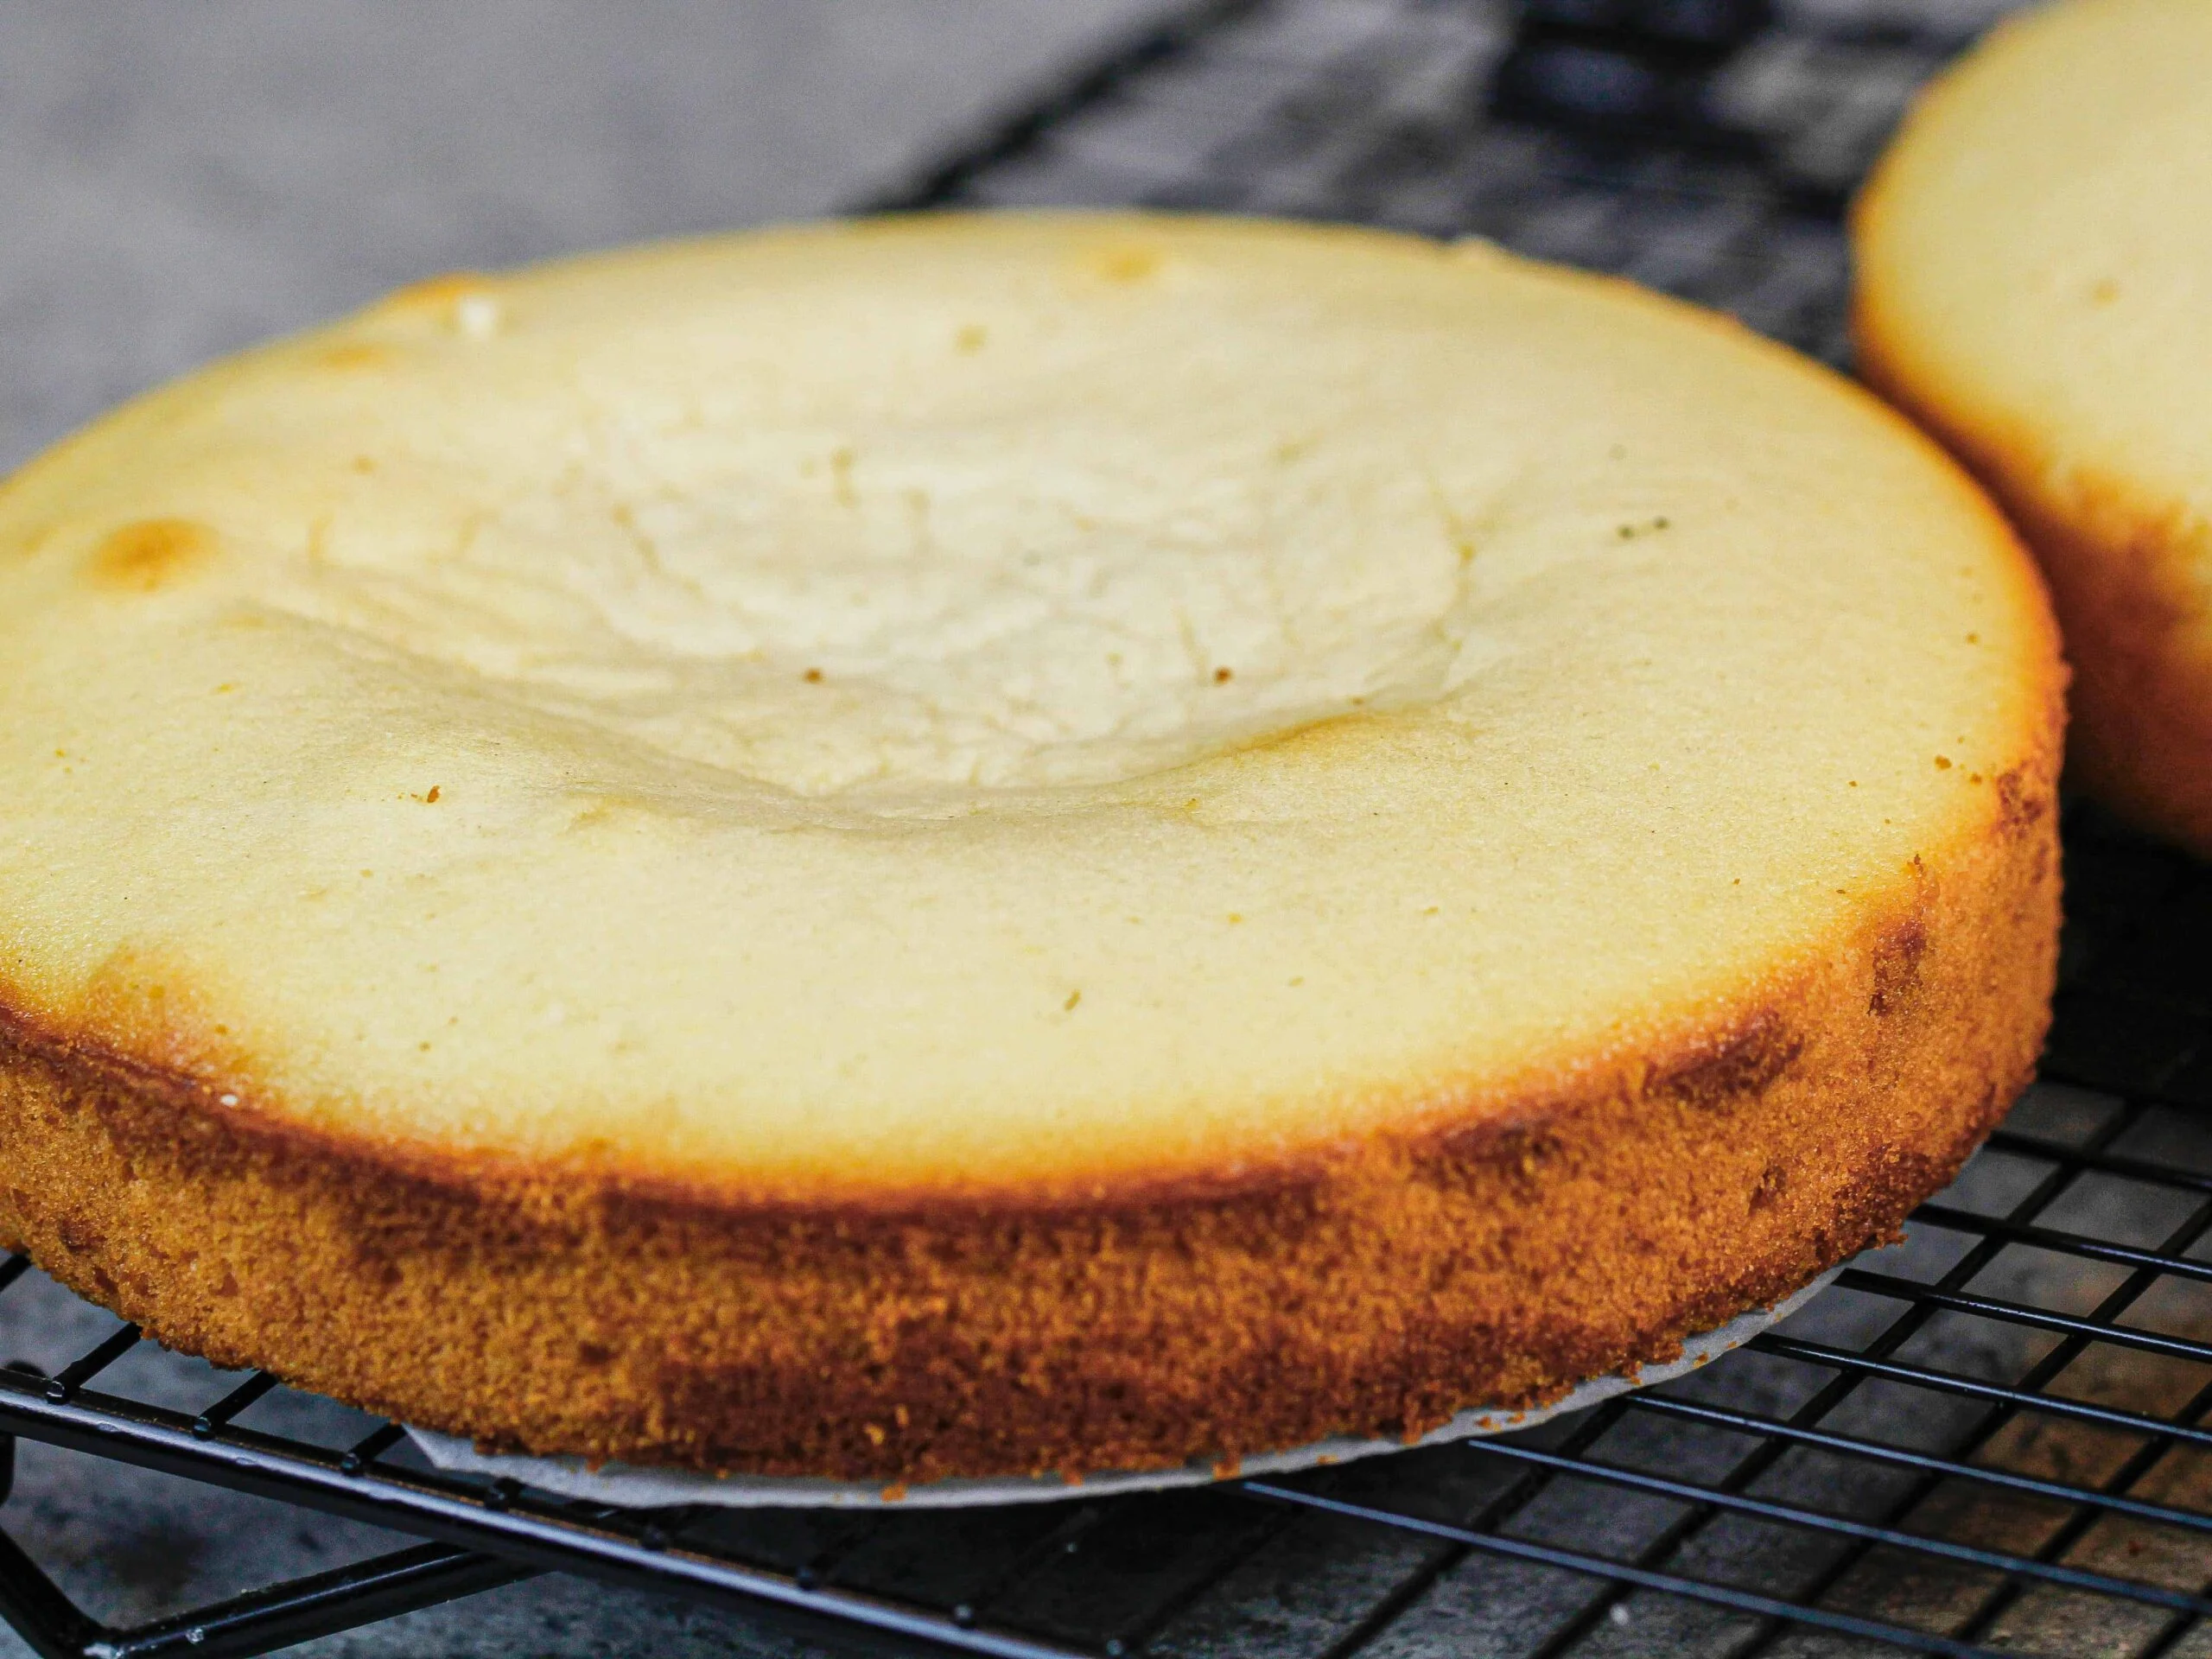
Stop the sink. Learn the real reasons cakes collapse, turn dense, dry out, or dome too much, plus practical fixes you can use on your very next bake.
Recipeva
12 Essential Baking Tools Every Home Baker Needs
Stock your kitchen like a confident home baker. Here are 12 essential baking tools, what they do, and why they make cookies, cakes, breads, and pastries easier and better.

Maya Reynolds
Maya Reynolds is a passionate home cook, recipe developer, and the creative voice behind Recipeva. With over a decade of experience translating complex culinary techniques into approachable weeknight meals, she focuses on creating dishes that bring joy to the dinner table without the stress.
Created September 21, 2026
Updated September 21, 2026
If you have a bowl, a spoon, and a dream, you can bake. But if you want consistent cookies, reliably fluffy cakes, and bread dough that behaves (most days), the right tools take so much pressure off. Think of this as your practical, no-fuss checklist. These are the pieces I reach for again and again when I’m developing dessert recipes for Recipeva and when I’m baking on a random Tuesday night.
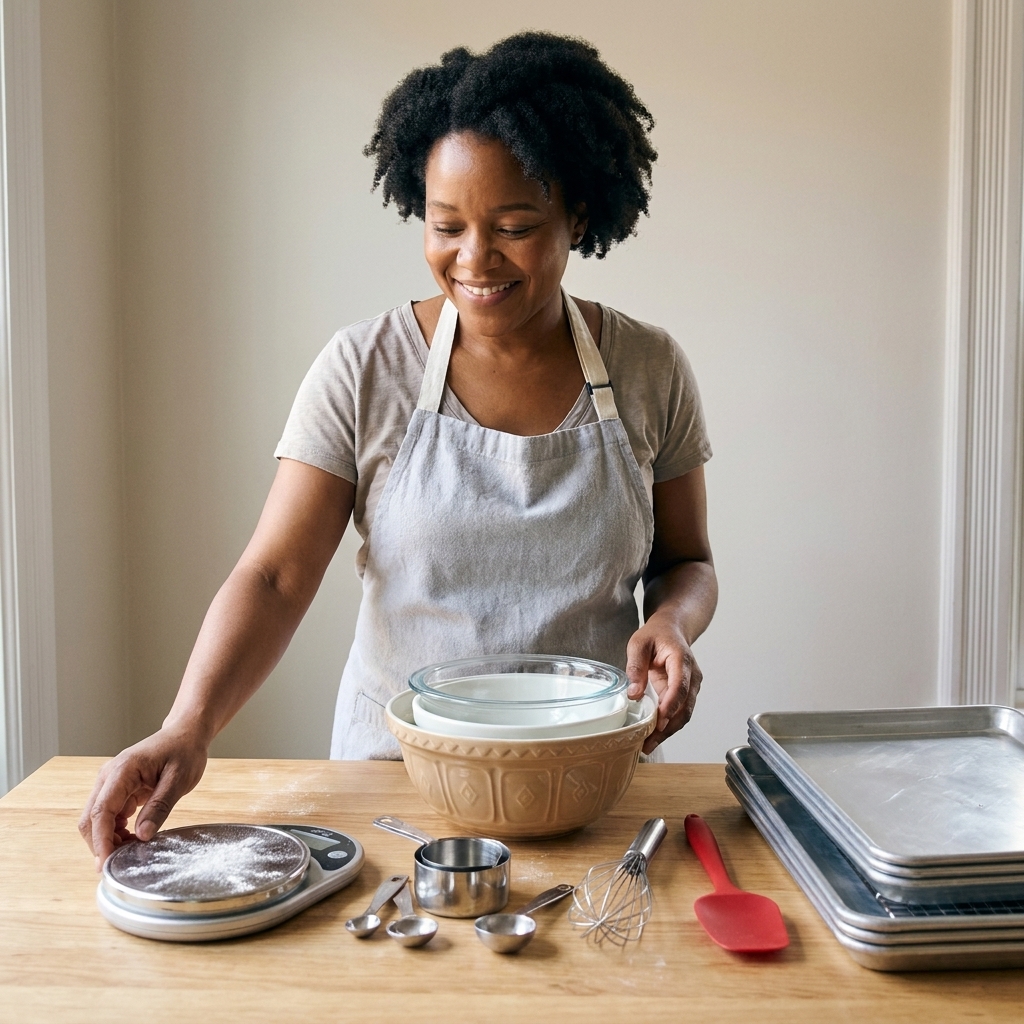
Your essential baking tools checklist
Before we dive in, here’s the big idea: baking is a balance of accuracy (measurements and temperature), control (mixing and shaping), and even heat (reliable pans). Each tool below supports one or more of those pillars.
- Accuracy: scale, thermometers, measuring tools
- Control: stand/hand mixer, bowls, whisk, spatula, bench scraper
- Even heat: sheet pans, cake pans/loaf pans, cooling rack, parchment/silicone mats
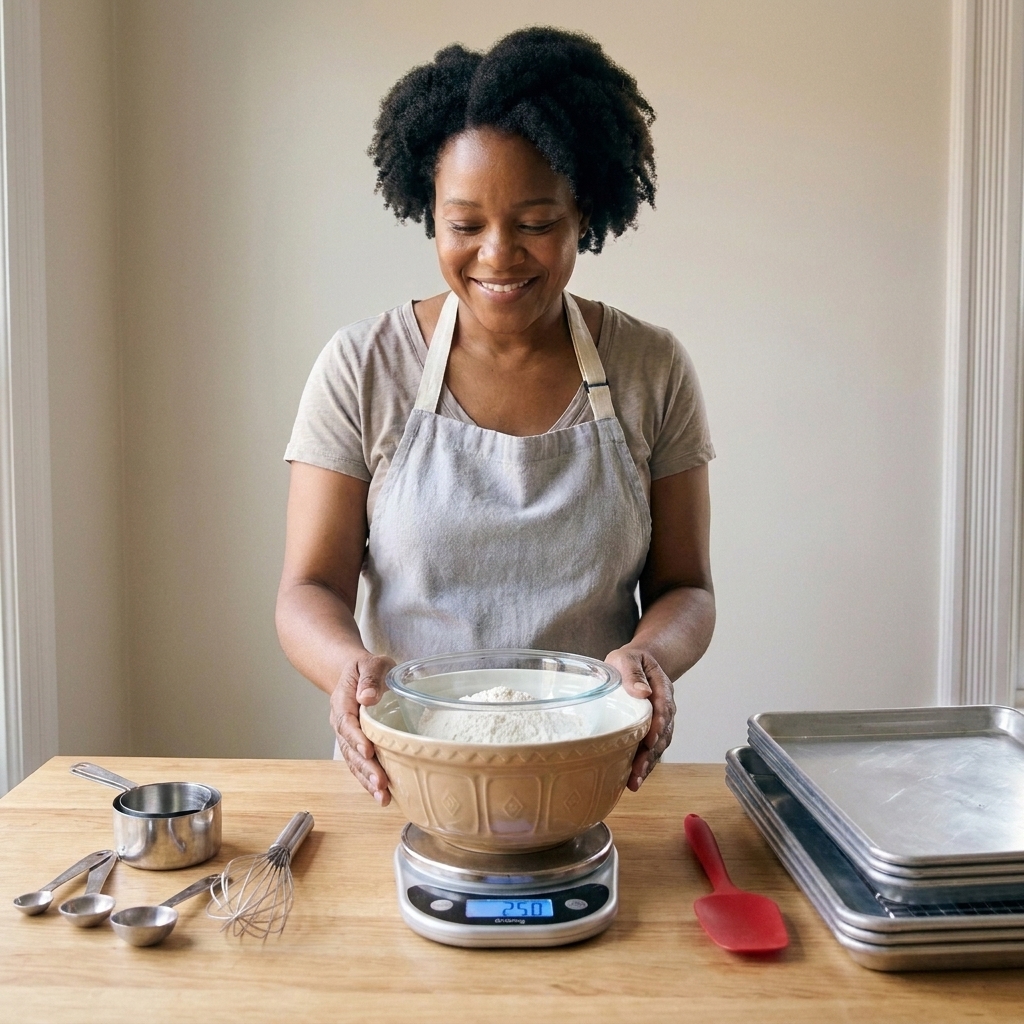
1) Digital kitchen scale
If you buy one “serious baker” tool, make it a scale. Measuring flour by volume can swing wildly depending on how you scoop. A scale gives you repeatable results, which is the secret to your brownies turning out the same way twice.
Why it matters
- More consistent texture in cookies, cakes, quick breads, and pie dough
- Easy to scale recipes up or down
- Less mess since you can tare and measure right in the bowl
My practical tip
Look for a scale that measures in grams and has a tare button. That’s it. Fancy features are optional.
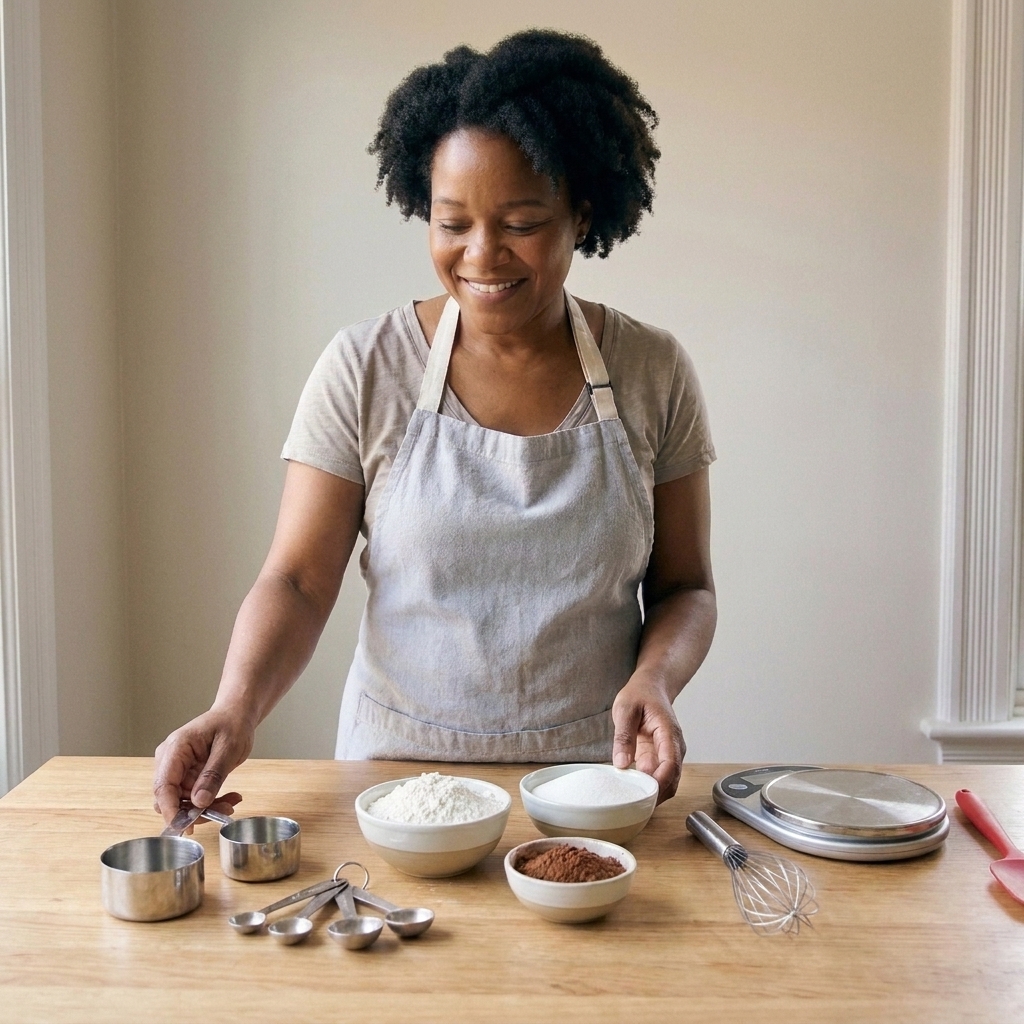
2) Measuring cups and spoons
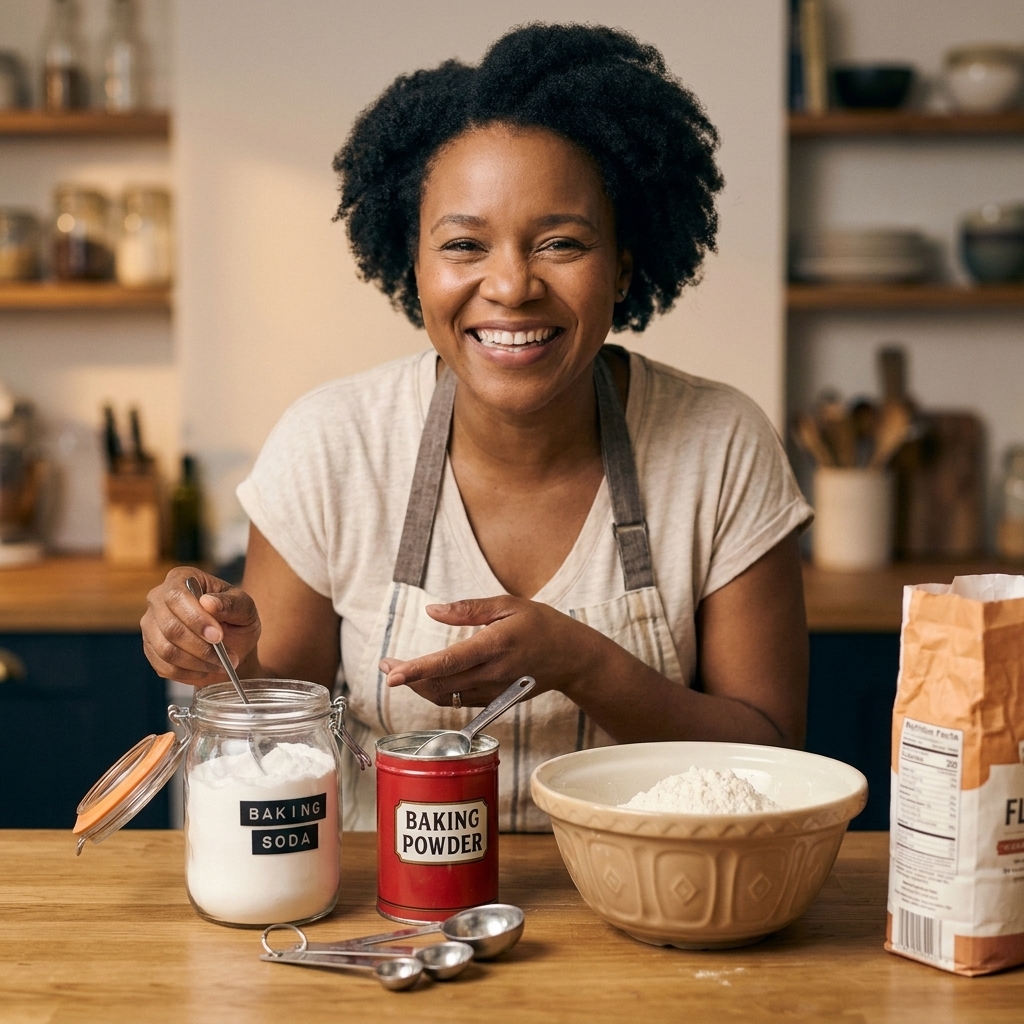
Even if you love your scale, measuring spoons are non-negotiable for small amounts like baking powder, baking soda, salt, and spices. And if a recipe is written in cups, you’ll want a dependable set.
What to keep on hand
- Dry measuring cups (1 cup, 1/2, 1/3, 1/4)
- Liquid measuring cup (2 cup or 4 cup with a spout)
- Measuring spoons (down to 1/8 teaspoon if you can)
My practical tip
For flour, use the spoon and level method: spoon flour into the cup, then level it off with a straight edge. It’s a small habit that prevents dense bakes.
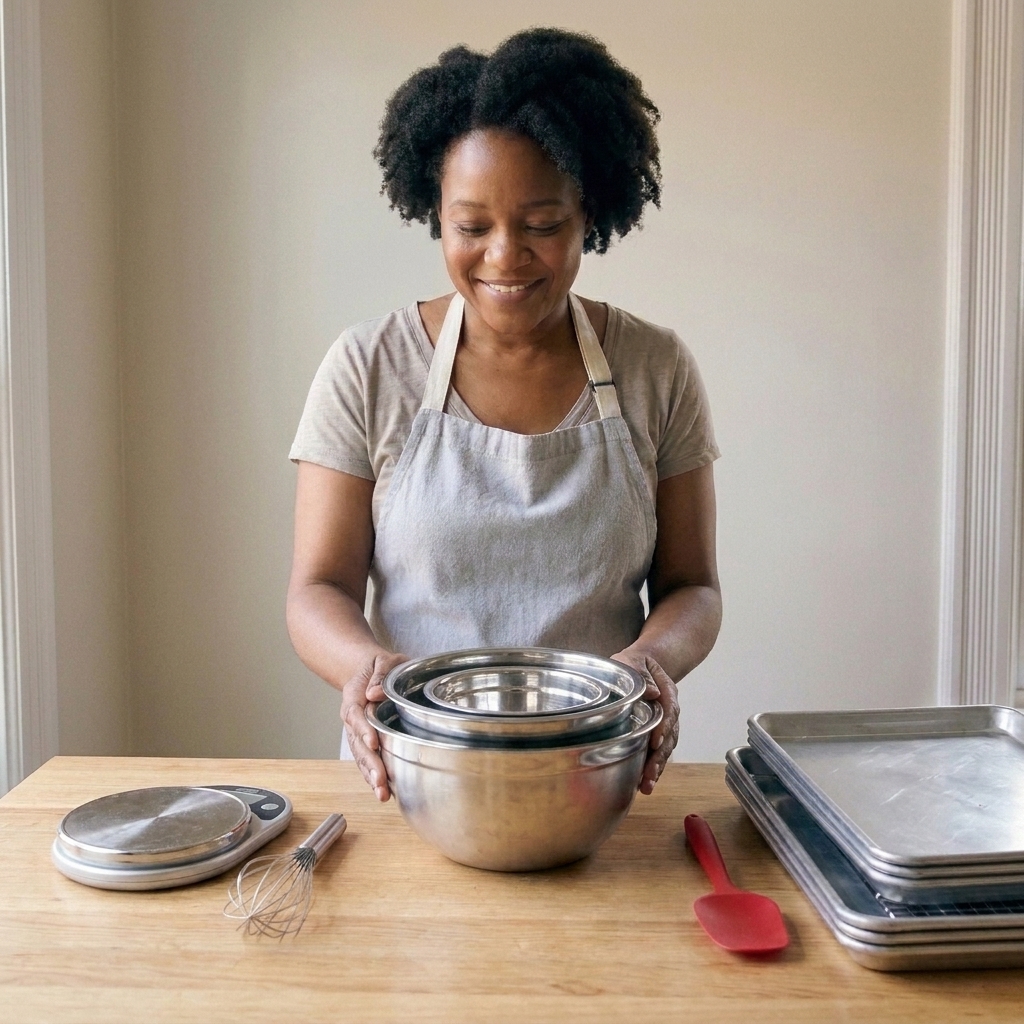
3) Reliable mixing bowls
I’m deeply organized in the kitchen, and having a few bowls you actually like makes baking calmer. You want bowls that are comfortable to hold, big enough for mixing without flour flying everywhere, and sturdy enough not to scoot around.
Why it matters
- Makes creaming butter and sugar easier and cleaner
- Helps with mise en place (pre-measuring ingredients)
- Supports folding and whipping without spills
My practical tip
A set of three is perfect: one medium, one large, and one extra-large. Stainless steel is durable, but microwave-safe glass is great for melting butter and chocolate.
4) Silicone spatula (and bowl scraper)
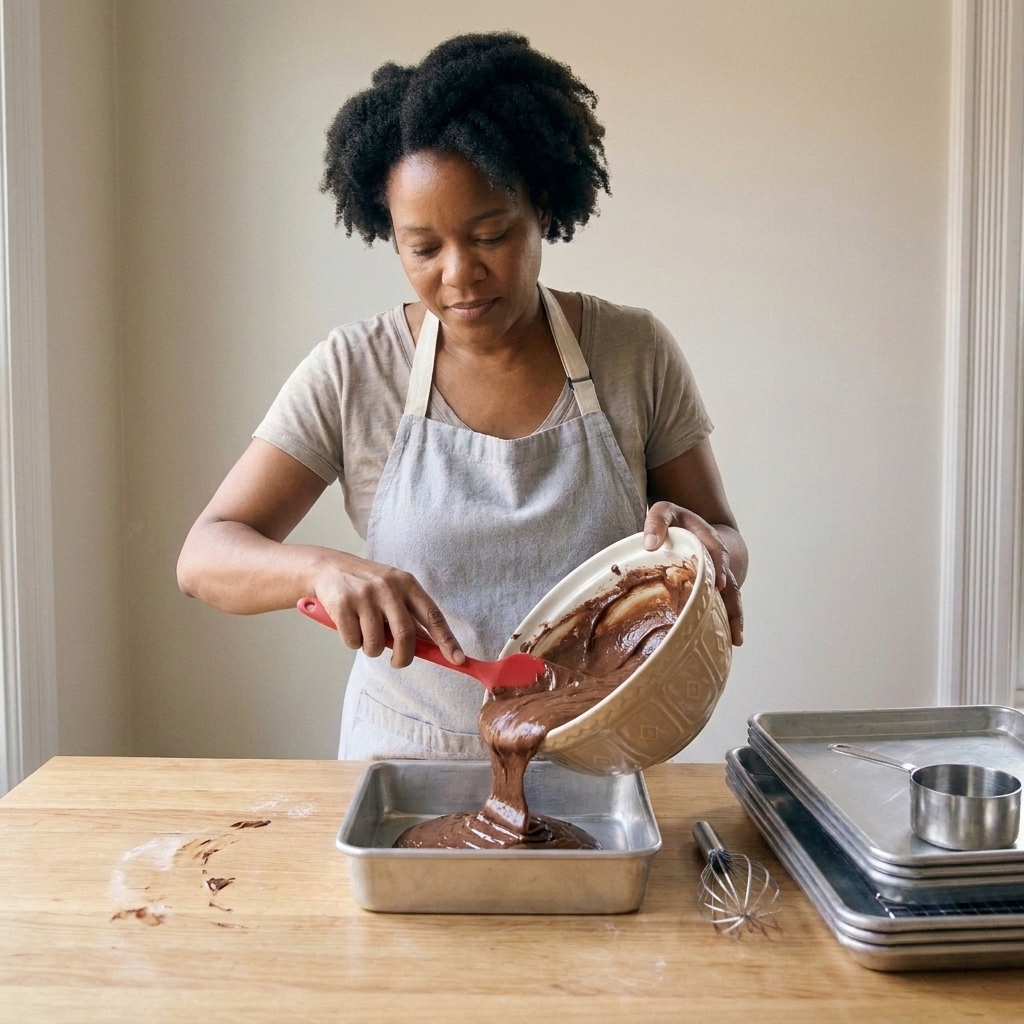
A good silicone spatula is the quiet hero of baking. It gets every bit of batter out of the bowl, folds gently without deflating whipped egg whites, and helps you scrape down the sides so everything bakes evenly.
Why it matters
- Prevents overmixing by letting you finish by hand
- Reduces waste (more batter in the pan, less in the bowl)
- Handles hot mixtures like melted chocolate or cooked custards
My practical tip
Choose one that’s one-piece silicone (no removable head). Those seams love to trap grease and batter.
5) Whisk
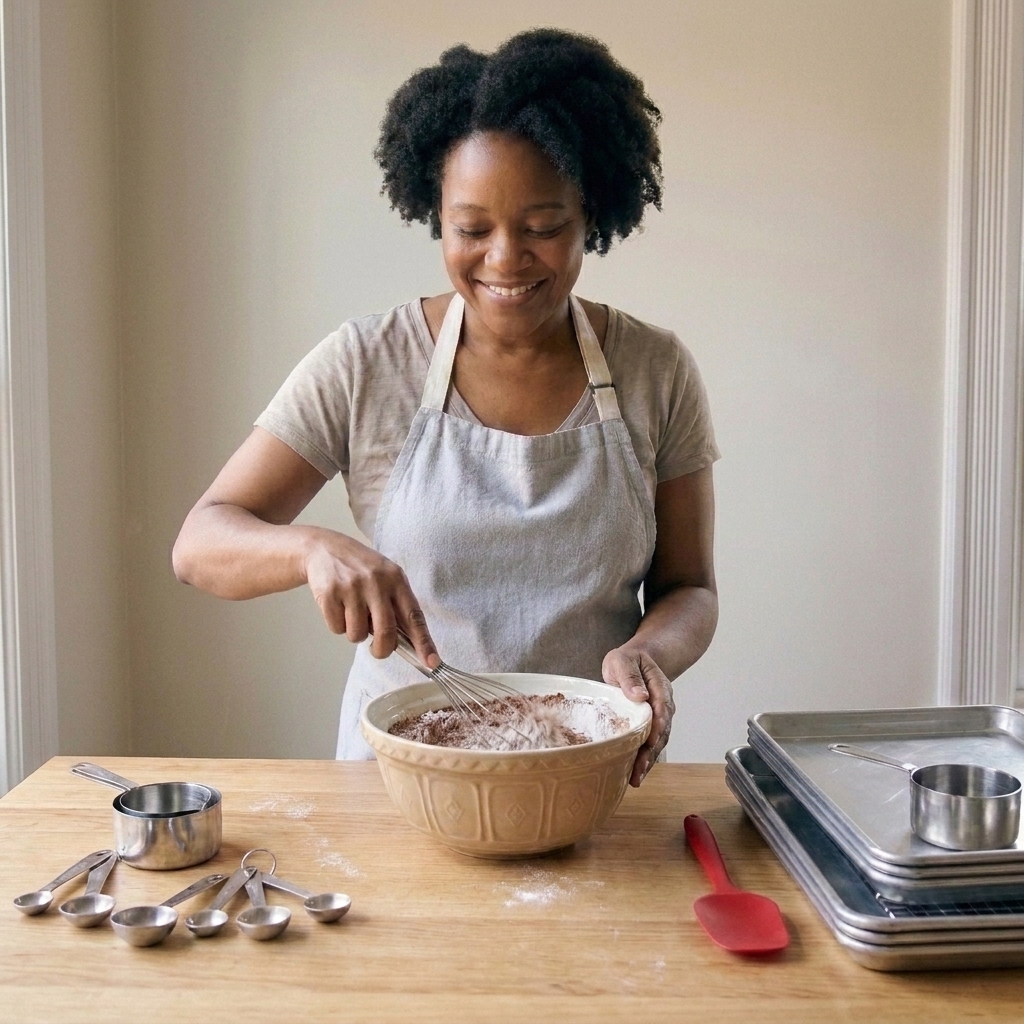
I use a whisk constantly, especially when I’m making quick breads, pancake batter, puddings, and anything with cocoa powder. Whisking is also a simple way to aerate dry ingredients and avoid little pockets of baking powder.
Why it matters
- Breaks up cocoa and brown sugar clumps
- Helps combine eggs and sugar smoothly for lump-free batters
- Great for custards, ganache, and glazes
My practical tip
One medium balloon whisk covers 90 percent of home baking. If you make lots of sauces or custards, add a smaller whisk too.
6) Hand mixer or stand mixer
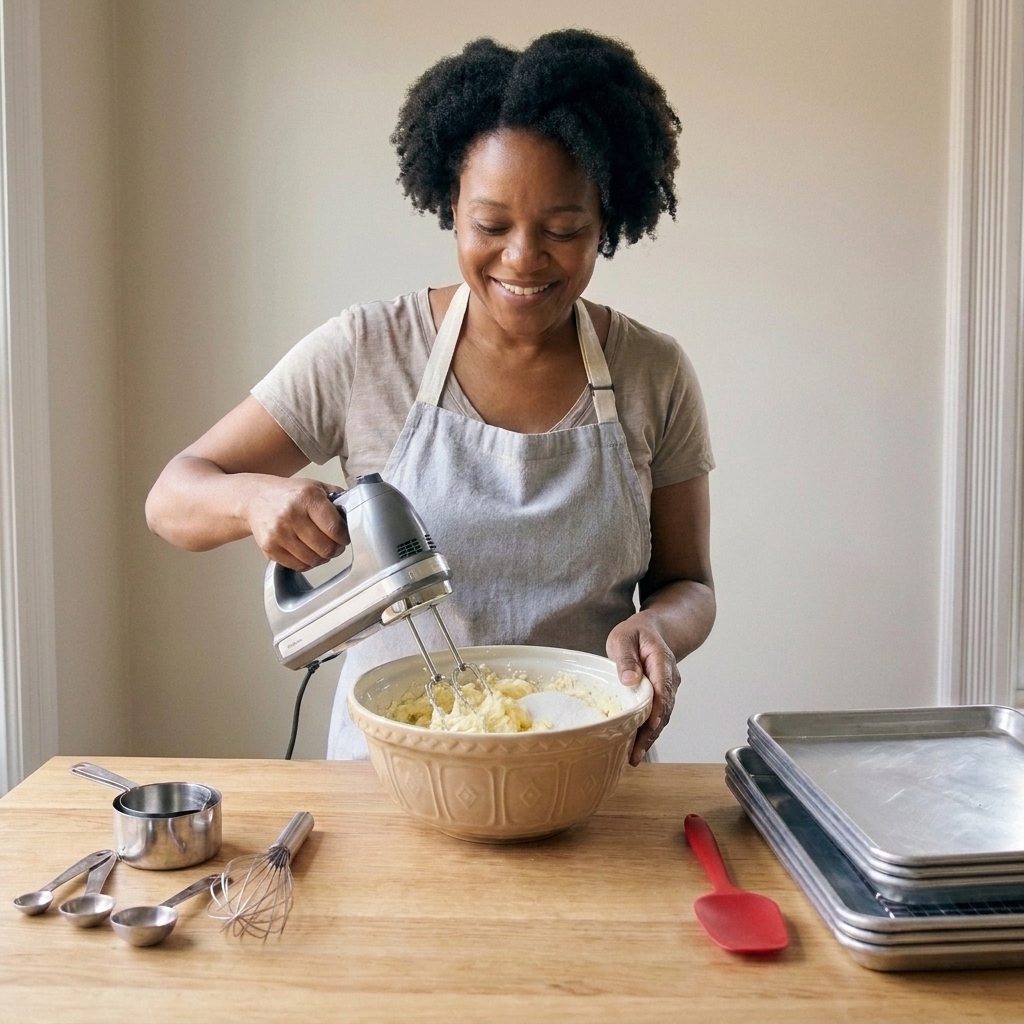
You do not need a stand mixer to bake wonderful desserts. But you do need a reliable way to cream butter, whip cream, and beat egg whites without your arm filing a formal complaint.
Which should you choose?
- Hand mixer: affordable, compact, perfect for cookies, cakes, whipped cream
- Stand mixer: best for frequent baking, bread dough, big batches, and hands-free mixing
My practical tip
If you bake bread often, a stand mixer is a gift to your future self. If you mostly bake cookies and snack cakes, a hand mixer is plenty.
7) Baking sheets (heavy, light-colored)
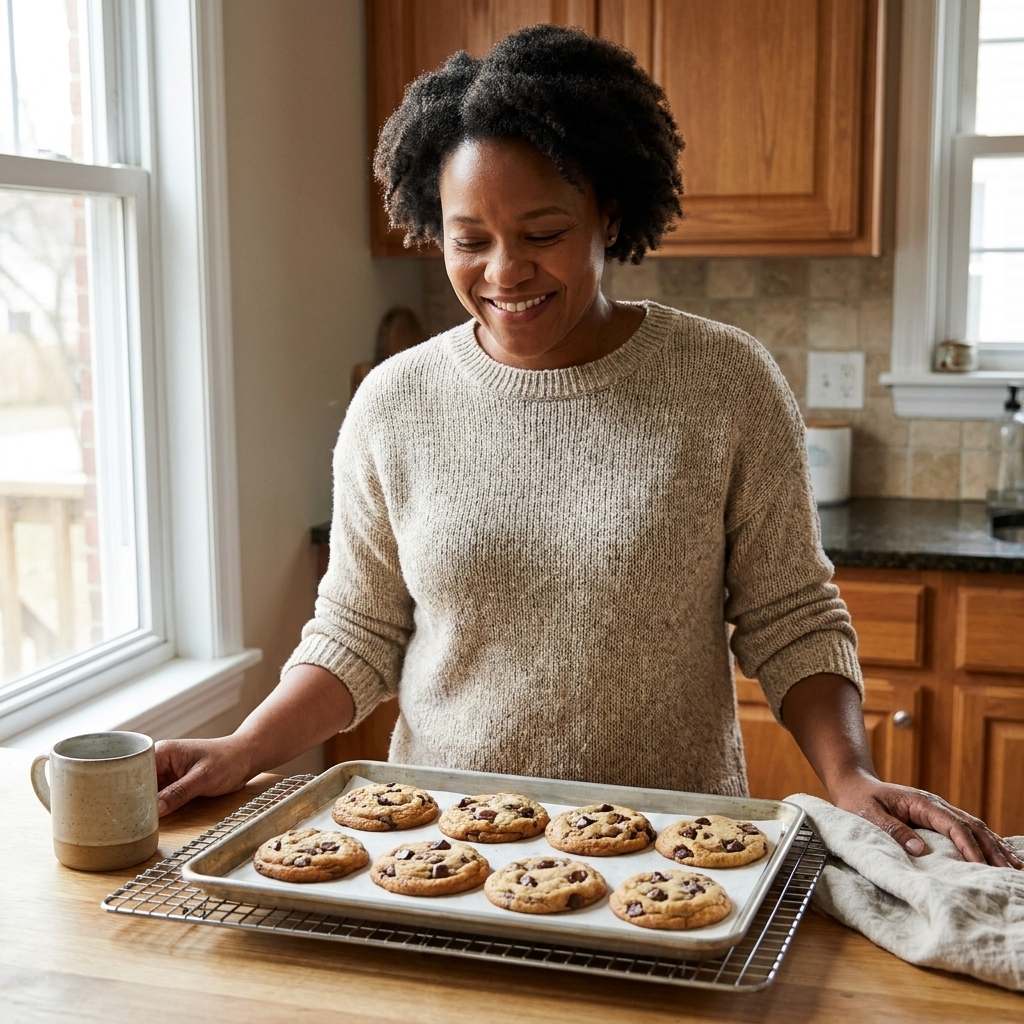
A sturdy sheet pan is the difference between golden cookies and mysteriously burnt bottoms. Thin, dark pans often heat more aggressively and can over-brown before the center is set, especially in hot or uneven ovens.
Why it matters
- Even browning for cookies and roasted nuts
- Stable base for slab pies, scones, and choux
- Less warping at high heat
My practical tip
Own at least two half-sheet pans. That way you can rotate batches without waiting for a pan to cool.
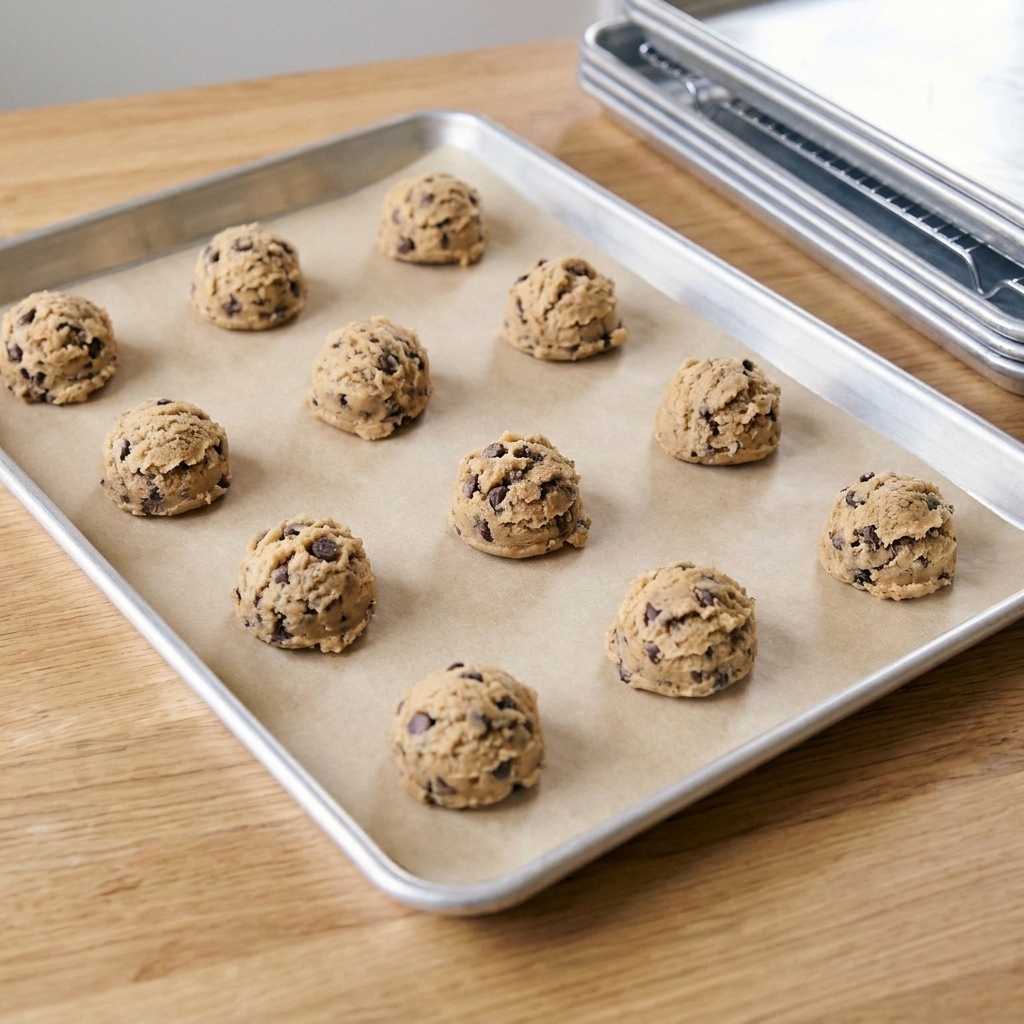
8) Parchment paper or silicone mat
Nonstick spray has its place, but parchment paper is my weeknight baking best friend. It prevents sticking, makes cleanup painless, and helps cookies bake more evenly.
Why it matters
- Easy release for cookies, bars, and meringues
- Simplifies cleanup and reduces scrubbing
- Great for lining cake pans and loaf pans
My practical tip
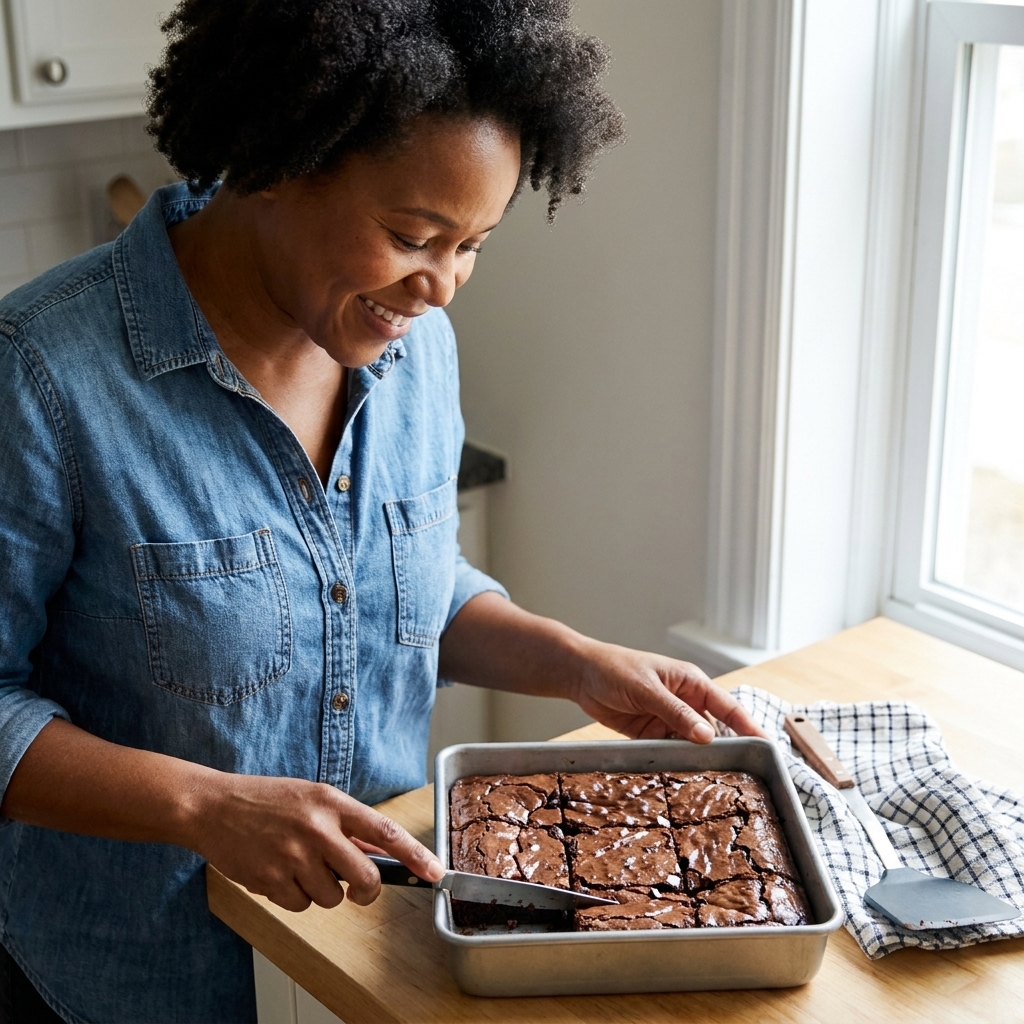
For bars and brownies, leave a little overhang so you can lift the whole slab out for cleaner cuts.
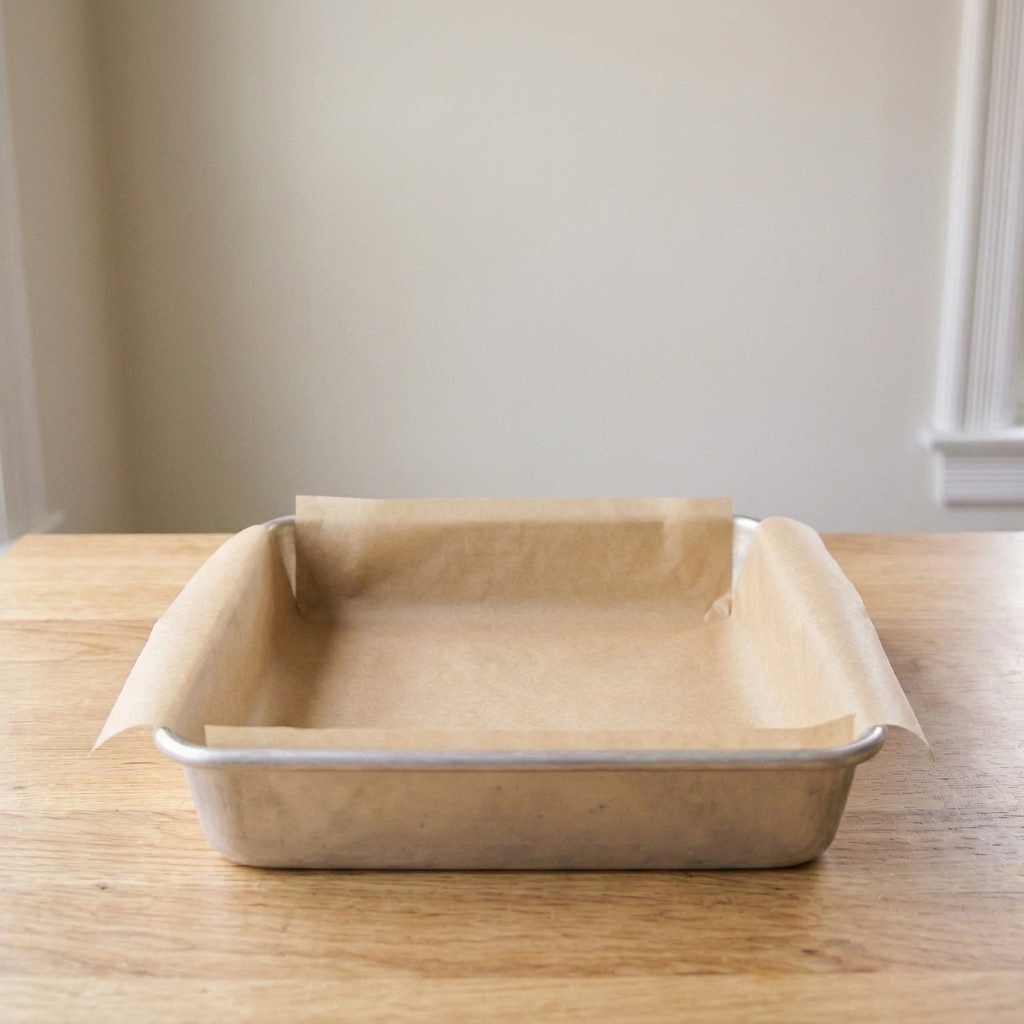
9) Cooling rack
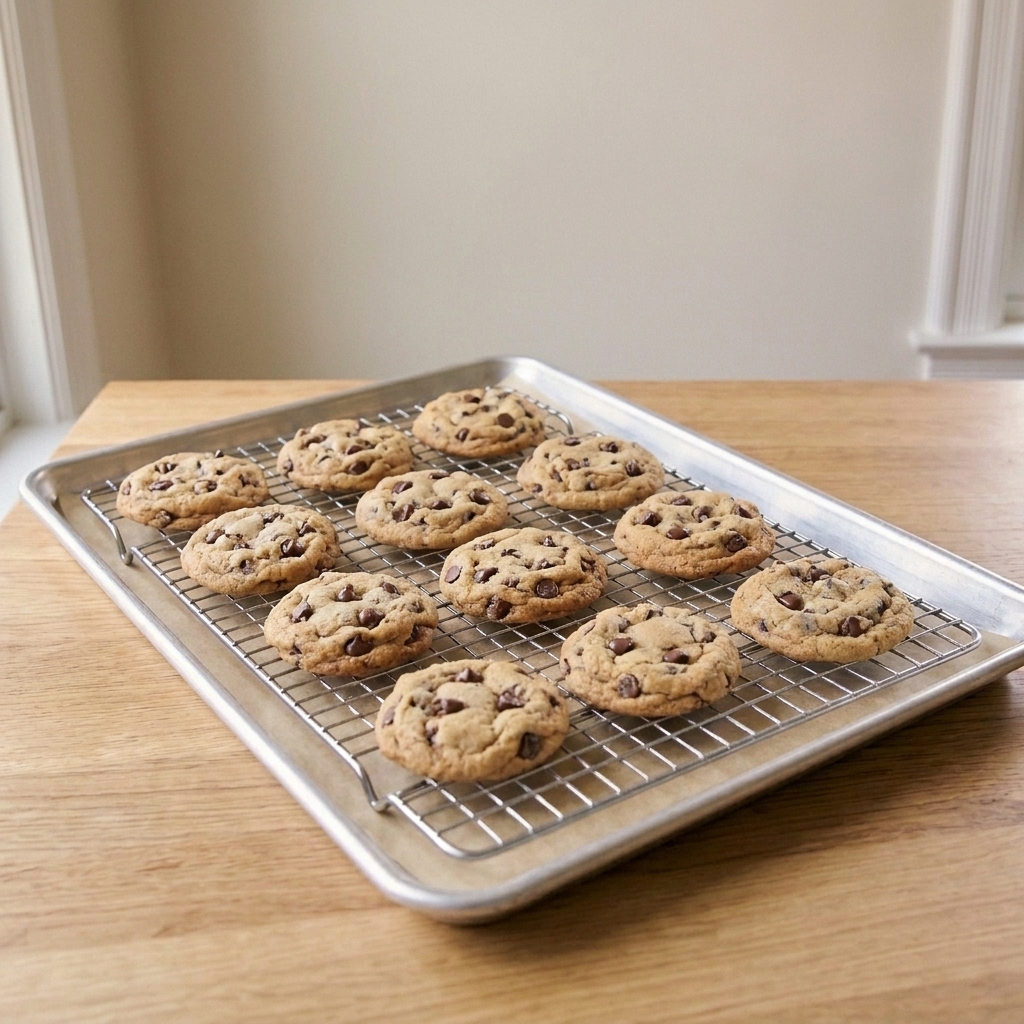
Cooling is part of baking, not an optional afterthought. A rack lets air circulate underneath, which keeps cookie bottoms crisp and helps cakes and quick breads cool without turning steamy and soft.
Why it matters
- Prevents steam from softening baked goods
- Helps frosting and glazes set properly
- Ideal for dipping cookies or drizzling icing
My practical tip
Choose a sturdy rack that fits inside one of your sheet pans. That makes glazing and catching drips so much easier.
10) Instant-read thermometer
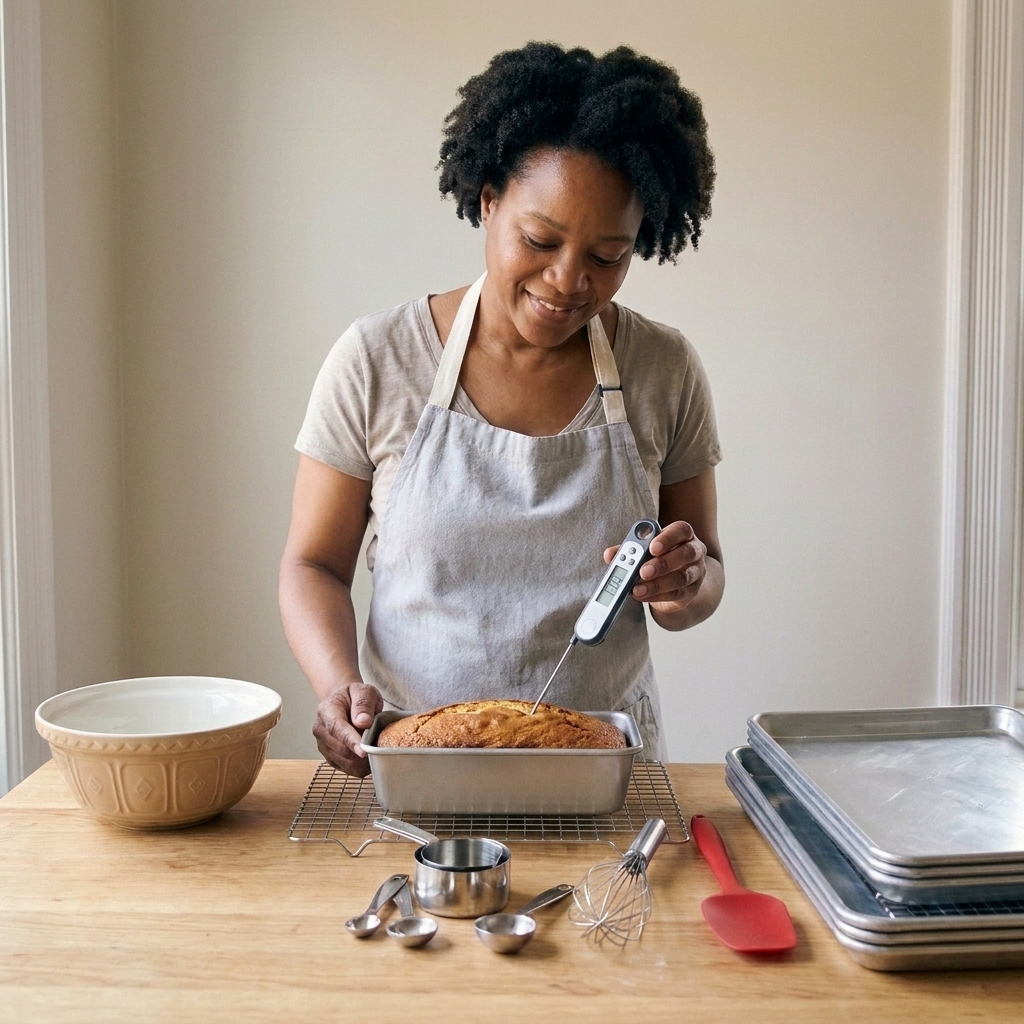
Thermometers are not just for turkey. They are a baker’s cheat code for perfectly baked quick breads, cheesecakes, custards, and bread.
Why it matters
- Removes the guesswork when “until done” feels vague
- Helps prevent dry cakes and underbaked centers
- Great for caramel and yeast dough water temperature
My practical tip
Use it for banana bread and loaf cakes: start checking around 195°F, and when the center hits about 200 to 205°F, you’re usually in the sweet spot. (Exact targets vary by recipe, pan size, and ingredients, but this gets you very close.)
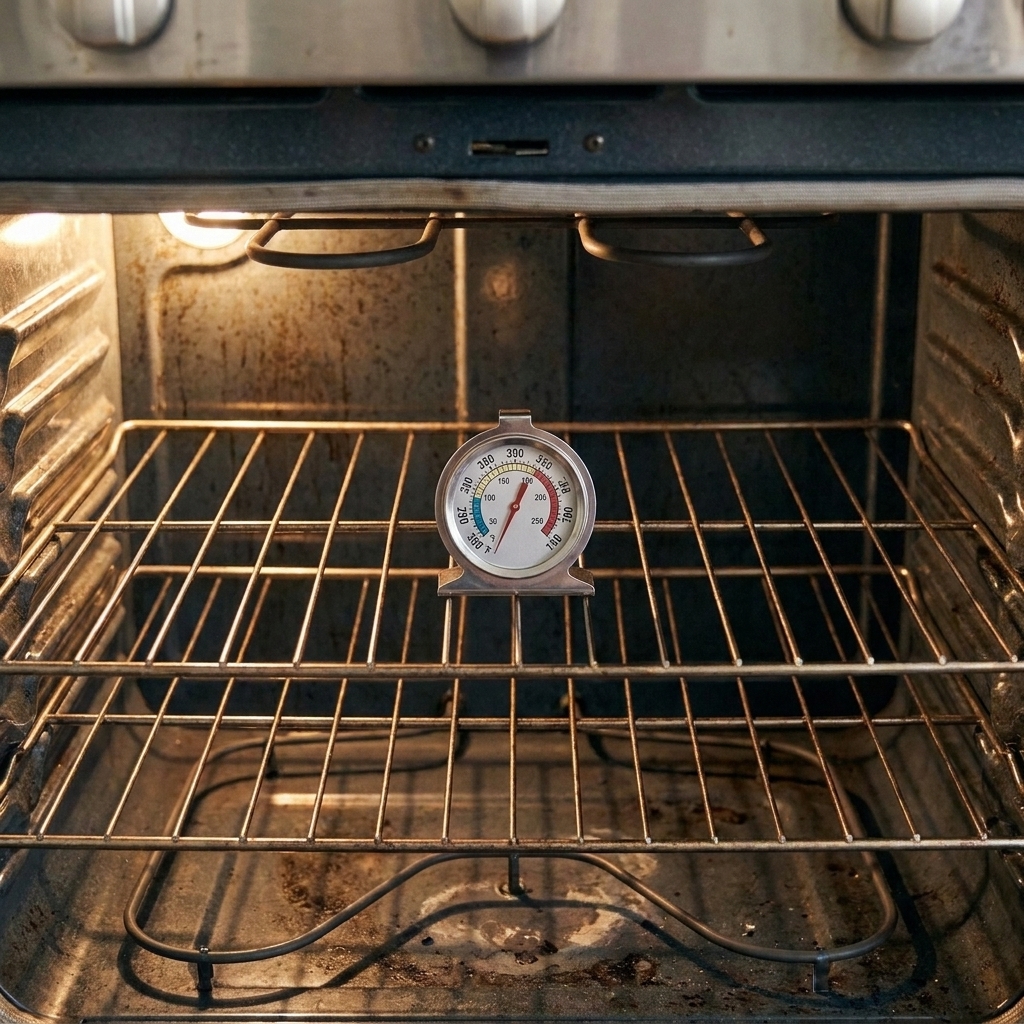
11) Oven thermometer
Home ovens lie. Some run hot, some run cool, and many swing in temperature as they cycle. An inexpensive oven thermometer tells you the truth so you can adjust baking time or temperature and stop blaming yourself for problems your oven created.
Why it matters
- Improves consistency across every bake
- Helps with delicate items like macarons, meringues, and cheesecakes
- Prevents overbrowning and uneven baking
My practical tip
Set the thermometer in the center of the oven and check it after 15 to 20 minutes of preheating. If your oven runs 25°F hot, that’s life. Now you know.
12) Bench scraper
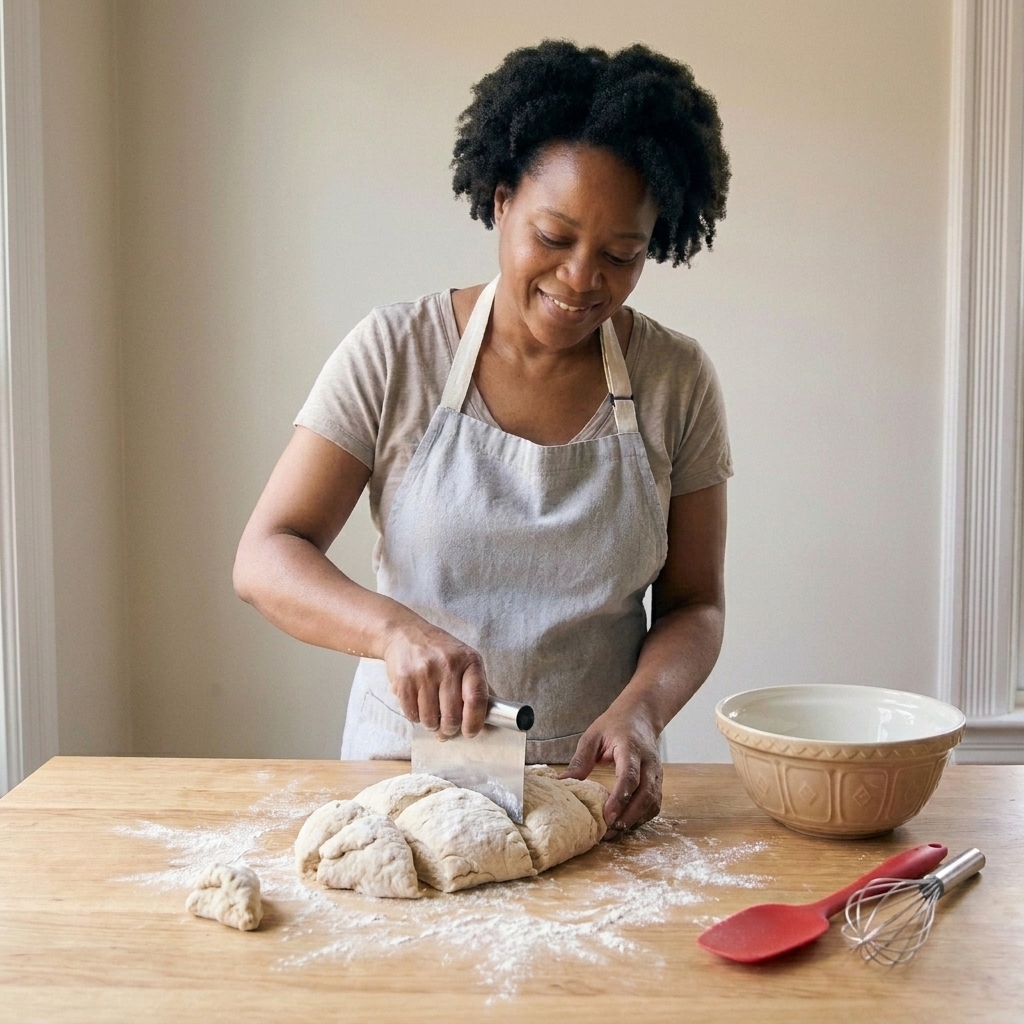
This is the tool people skip and then wonder how bread bakers look so calm. A bench scraper helps you divide dough, lift sticky dough off the counter, and tidy floury messes fast. It’s also surprisingly handy for transferring chopped chocolate, nuts, or diced fruit into a bowl.
Why it matters
- Cleaner dough handling with less sticking
- Quick portioning for rolls, biscuits, and scones
- Fast counter cleanup without smearing
My practical tip
If you bake bread even occasionally, get one with a comfortable grip. And yes, it’s also excellent for scooping up garlic when you’ve chopped “too much.” (There is no such thing.)
Bonus: nice-to-haves
If you already have the essentials above, these upgrades can make baking even more fun. Not required, but very satisfying.
- Cookie scoop: for evenly sized cookies that bake at the same rate
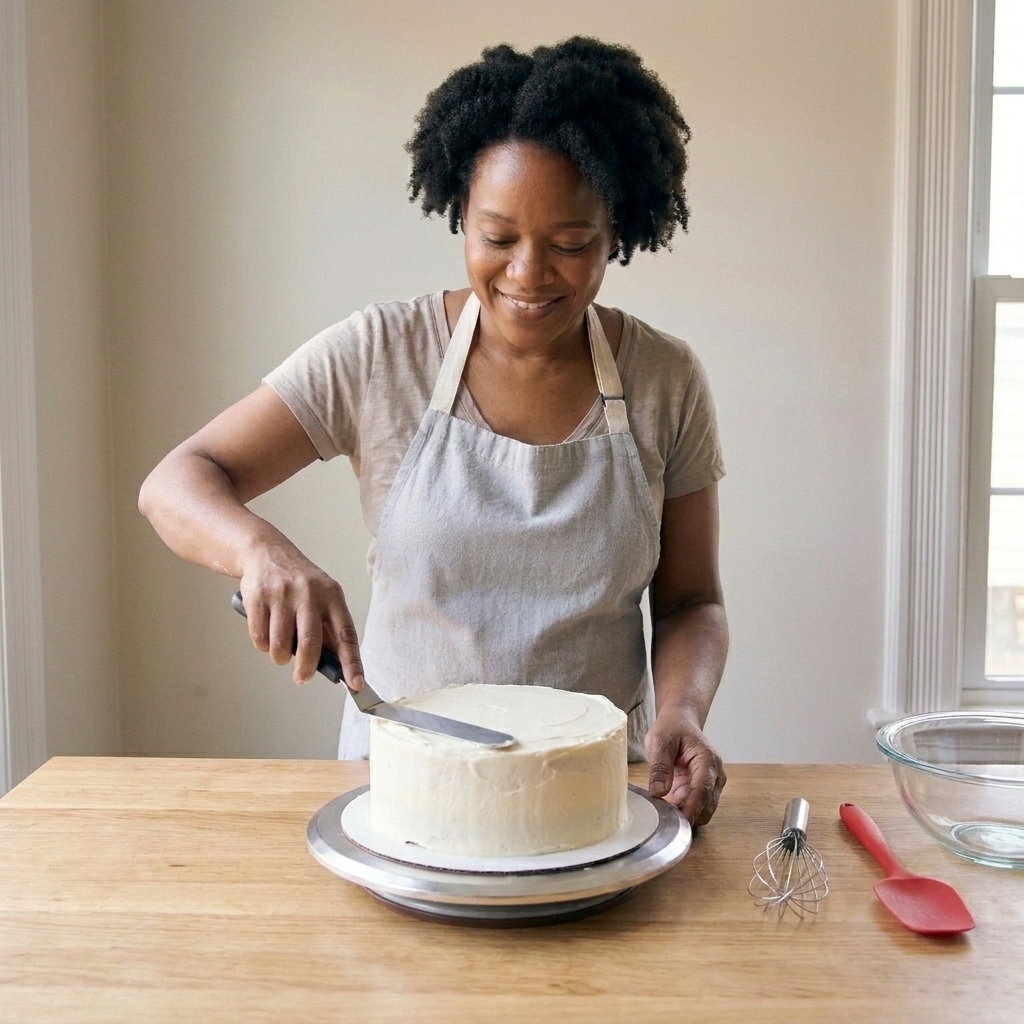
- Offset spatula: for frosting cakes and smoothing batters into pans
- Pastry brush: for egg wash, buttering phyllo, or brushing syrup on cakes
- Rolling pin: for pie crust, cut-out cookies, and cinnamon rolls
- Microplane or zester: for citrus zest, chocolate, and nutmeg
- Piping bags and tips: optional, but great for frosting and filling once you’re ready
What to buy first
If you’re starting from scratch or replacing worn-out gear, here’s the order I’d prioritize for the biggest immediate payoff:
- Digital scale
- Sheet pans + parchment
- Cooling rack
- Instant-read thermometer
- Spatula + whisk
- Bench scraper
Then fill in mixers, bowls, and specialty pans based on what you love baking most.
Common pan sizes
If you want a simple baseline for most dessert recipes, these sizes cover a lot of ground:
- Square pan: 8 x 8-inch or 9 x 9-inch (bars, brownies)
- Rectangular pan: 9 x 13-inch (bars, sheet cakes, cobblers)
- Round cake pans: two 9-inch (layer cakes)
- Loaf pan: 9 x 5-inch (banana bread, pound cake)
Care tips
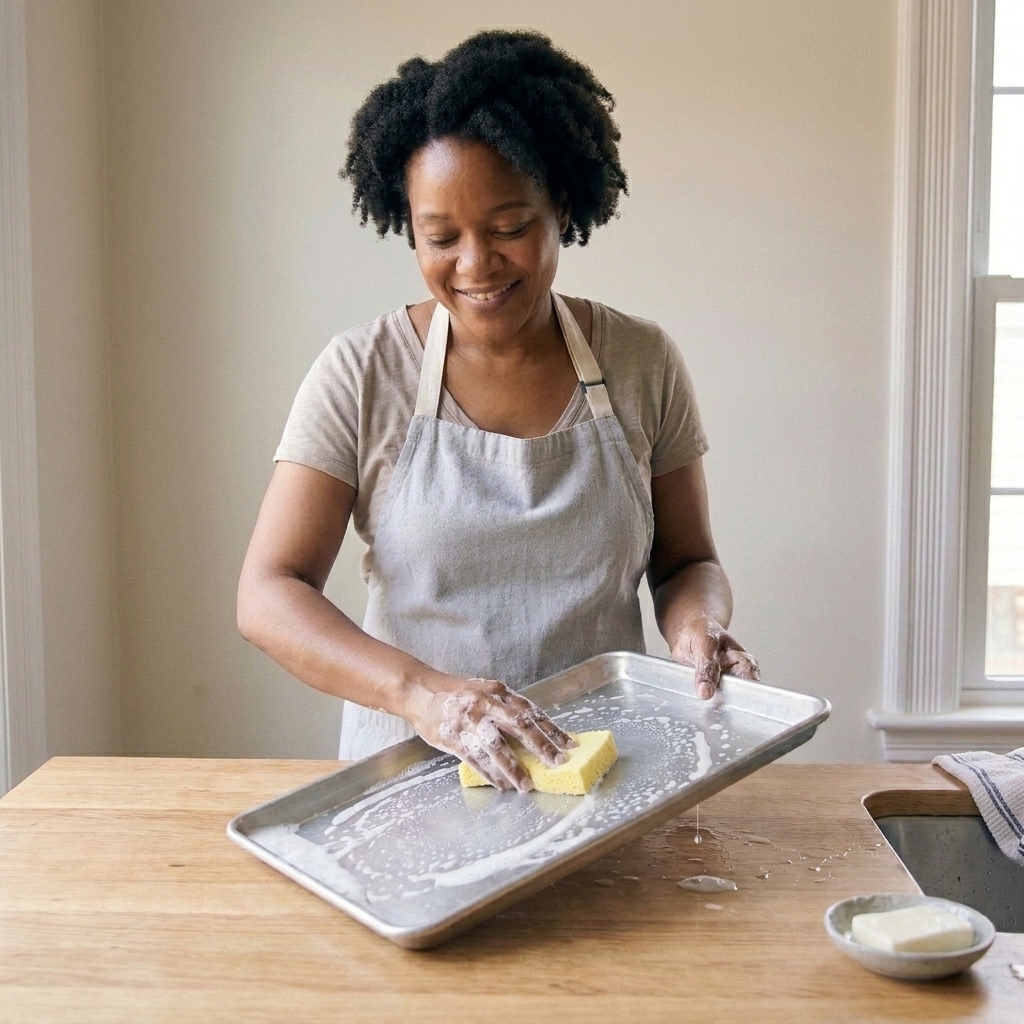
- Avoid harsh abrasives on sheet pans: a little patina is normal and can help performance on bare aluminum sheet pans. For nonstick pans, follow the manufacturer’s care instructions.
- Replace warped pans: if they rock on the counter, heat distribution will suffer.
- Keep silicone away from direct flame: it can handle heat, but not a burner.
- Store measuring spoons together: because the 1/2 teaspoon loves to disappear the moment you need it.
FAQ
Do I really need a scale if I’m a beginner?
You don’t need it, but it makes success more likely. If you’ve ever had dry muffins or dense cake, a scale is often the fix because flour is usually the culprit.
Is a stand mixer worth it?
Worth it if you bake frequently, make bread, or love big batches. If you bake once in a while, a hand mixer is a great middle ground.
What’s the one tool that improves cookies the most?
A heavy, light-colored sheet pan lined with parchment paper. That combo helps cookies bake evenly and release cleanly.
How many sheet pans do I need?
Two half-sheet pans is the sweet spot for most home kitchens. Three is lovely if you bake for potlucks or holidays.
Can I leave an instant-read thermometer in the oven?
No. Instant-read thermometers are made for quick checks. If you want something that stays in while baking or roasting, look for an oven-safe probe thermometer.
Let’s make baking easier
If there’s one thing I want you to take from this list, it’s that good baking isn’t about fancy equipment. It’s about a few dependable tools that help you measure accurately, mix with confidence, and bake evenly. Start with what fits your budget and your space, then build from there. Your future self, the one pulling warm cookies from the oven on a weeknight, will be very grateful.