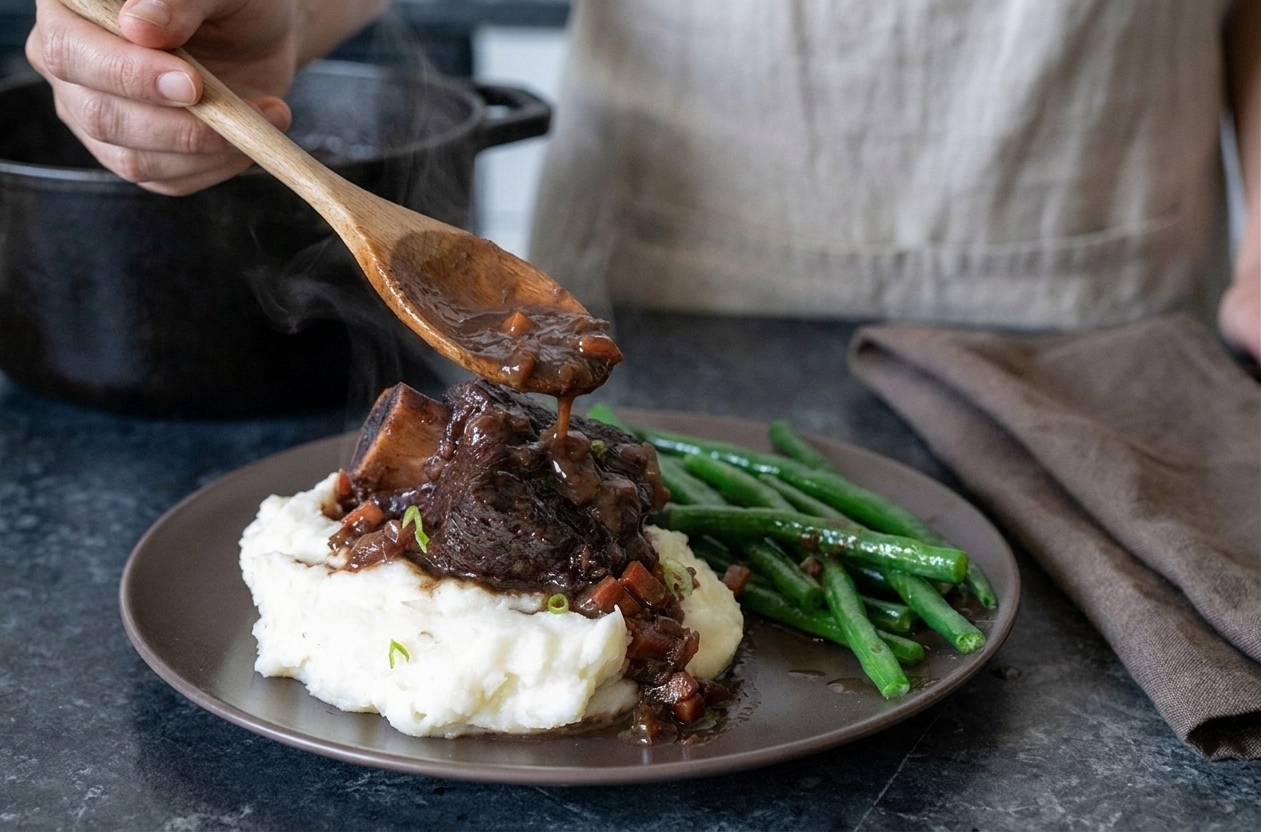

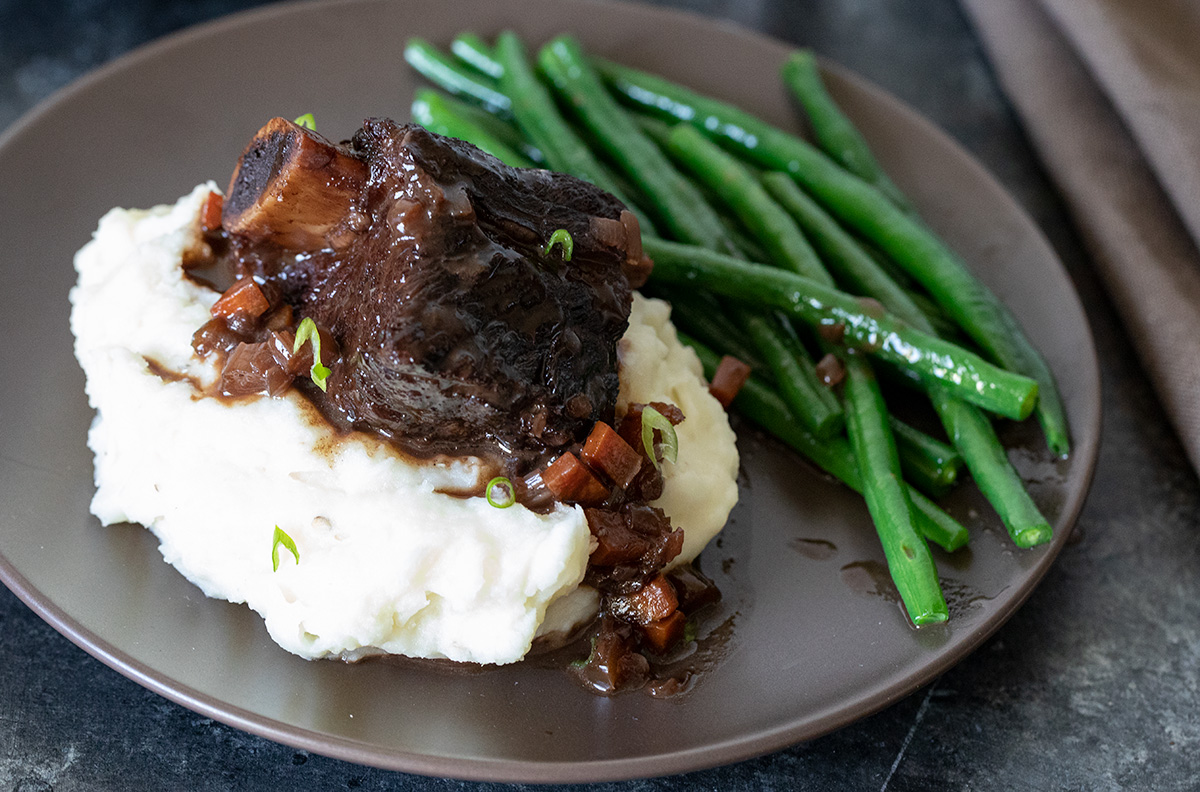

There are a few meals that make a house feel instantly warmer, and braised short ribs sit right at the top of that list. They smell like you have been cooking all day (you kind of have, but the oven does most of the work), they feel celebratory without being fussy, and the payoff is outrageous: beef so tender it practically sighs off the bone, swimming in a silky sauce you will want to mop up with anything nearby.
If short ribs have ever felt intimidating, I promise they are one of the most forgiving, weekend-friendly dinners you can make. Once you understand the rhythm of braising, you can do it in a Dutch oven (oven or stovetop), or even in a slow cooker with a few tweaks. Let’s walk through the method, the choices that matter, and all the little tips that take your short ribs from good to quietly legendary.
What makes them tender
Short ribs come from a hard-working part of the cow, which means they are rich in connective tissue (collagen). That is great news for us. In a low, steady braise, collagen slowly melts into gelatin, transforming tough meat into buttery strands and giving the sauce that luxurious, glossy body.
The key is time + gentle heat + enough moisture. When one of those is missing, ribs can turn dry or stubbornly chewy. When you nail all three, you get that fork-tender magic every single time.
Ingredients for big flavor
This is a pantry-friendly braise, but each ingredient has a job. Here is what I reach for most often and why it works.
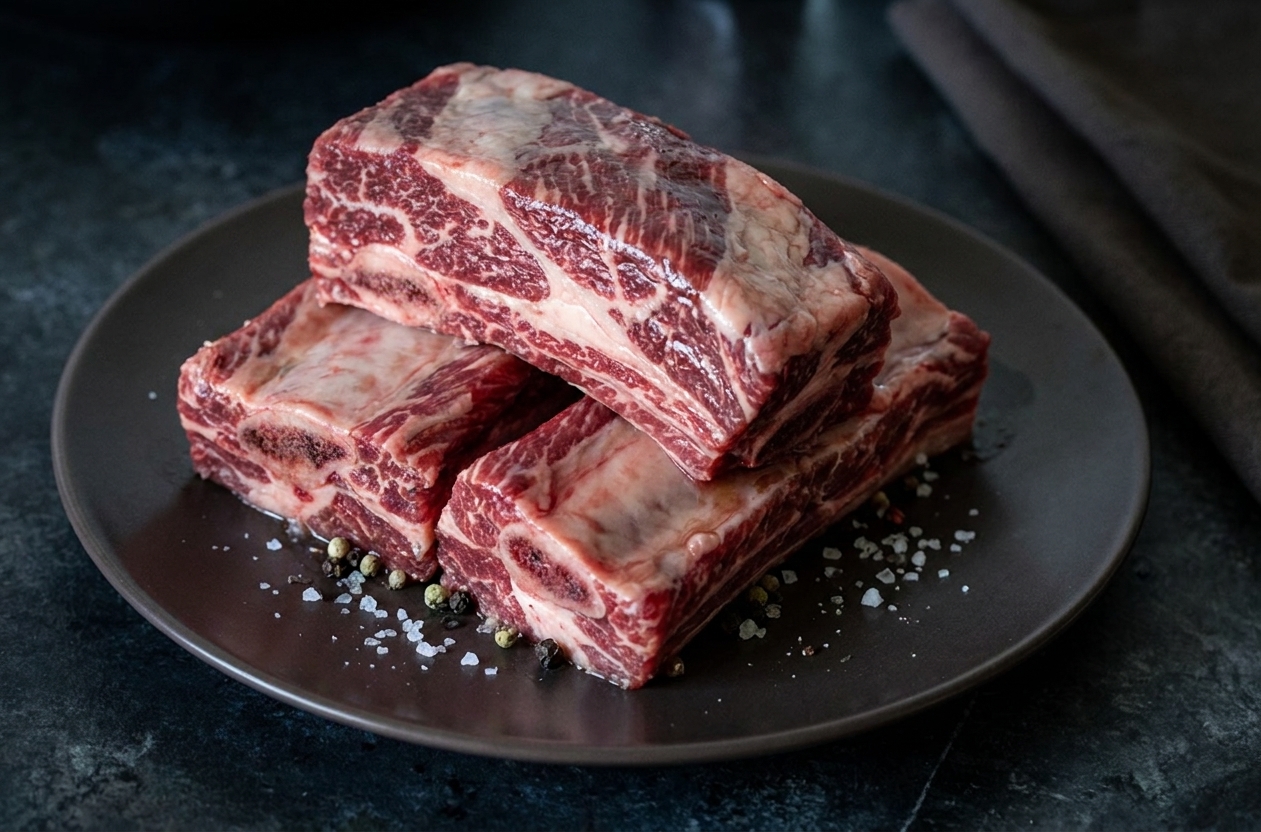
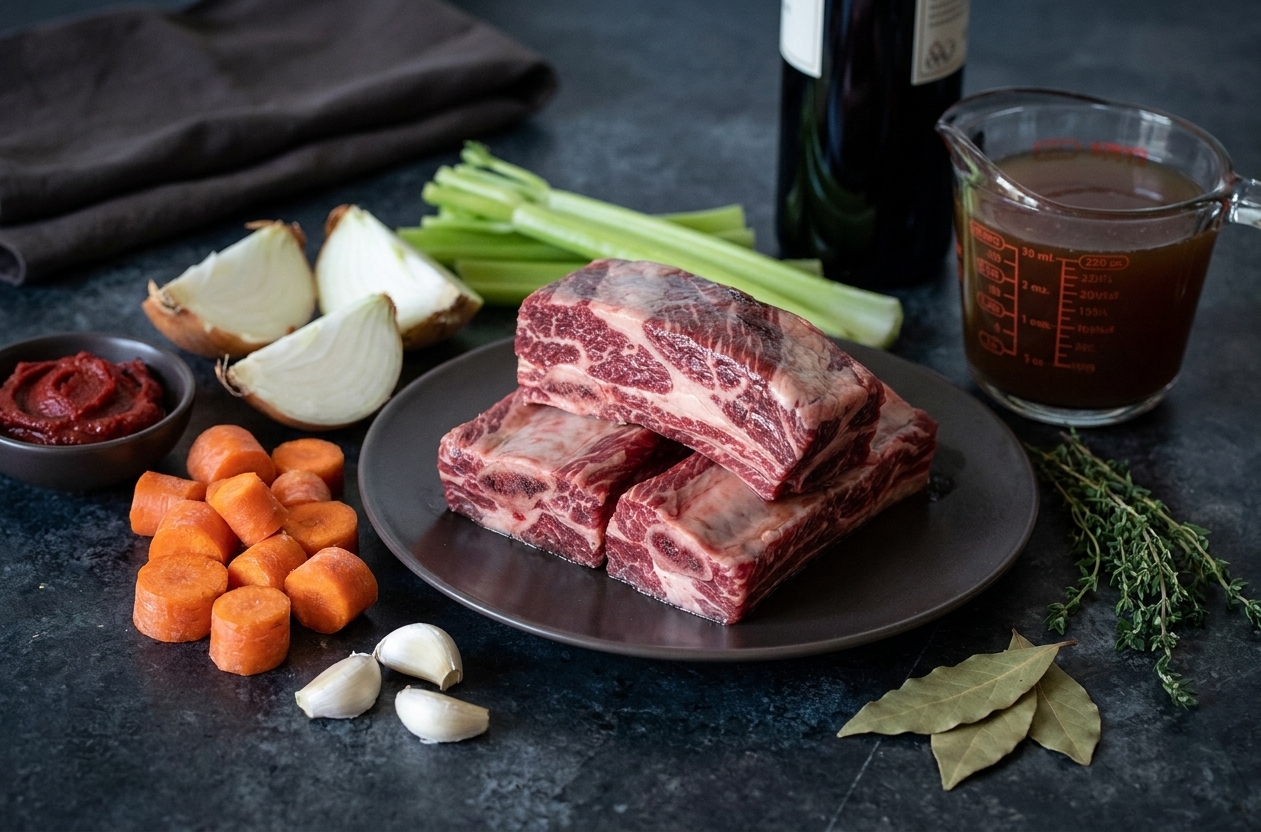
- Bone-in beef short ribs: Look for thick, meaty pieces with good marbling. English-cut (one bone per piece) is ideal for braising.
- Kosher salt + black pepper: Season confidently. Big pieces of meat need it.
- Flour (optional): A light dusting helps browning and subtly thickens the braise. You can skip it if you are gluten-free.
- Aromatics: Onion, carrot, celery, plus a whole lot of garlic (you know me).
- Tomato paste: Adds depth and a gentle sweetness, especially once caramelized.
- Red wine: Classic for short ribs. It adds acidity to balance richness and brings a dark fruit, savory backbone.
- Beef stock: Supports the wine, rounds everything out, and keeps the braise from tasting sharp.
- Herbs: Thyme and bay leaf are my defaults. Rosemary is great too, just go easy.
Quick recipe anchors
This is a method guide, but I know it helps to have a few real-world numbers to aim at. For a very classic pot of short ribs, I build around:
- Short ribs: 4 to 5 pounds bone-in English-cut (about 4 to 6 pieces)
- Servings: 4 generous servings
- Wine: 2 cups (about 1/2 bottle)
- Stock: 2 to 3 cups (enough to reach halfway to two-thirds up the ribs)
- Aromatics: 1 large onion, 2 carrots, 2 celery ribs, 6 to 8 garlic cloves
- Tomato paste: 2 tablespoons
- Total time: about 3 1/2 to 4 1/2 hours, including browning and reduction
None of this is precious, but it gives you a reliable starting point.
Pot and temperature
Dutch oven is easiest
A heavy Dutch oven holds heat steadily and gives you enough surface area to brown the ribs properly. If you do not have one, use an oven-safe heavy pot with a tight-fitting lid.
Low and slow wins
For most home ovens, 300°F to 325°F is the sweet spot. At 300°F, the braise is very gentle and forgiving. At 325°F, it finishes a bit faster and still stays tender if the pot is well-covered and the liquid level is right.
Step by step method
Here is the flow I teach friends who want restaurant-style results without stress. Once you do it once, it becomes second nature.
1) Season, then brown deeply
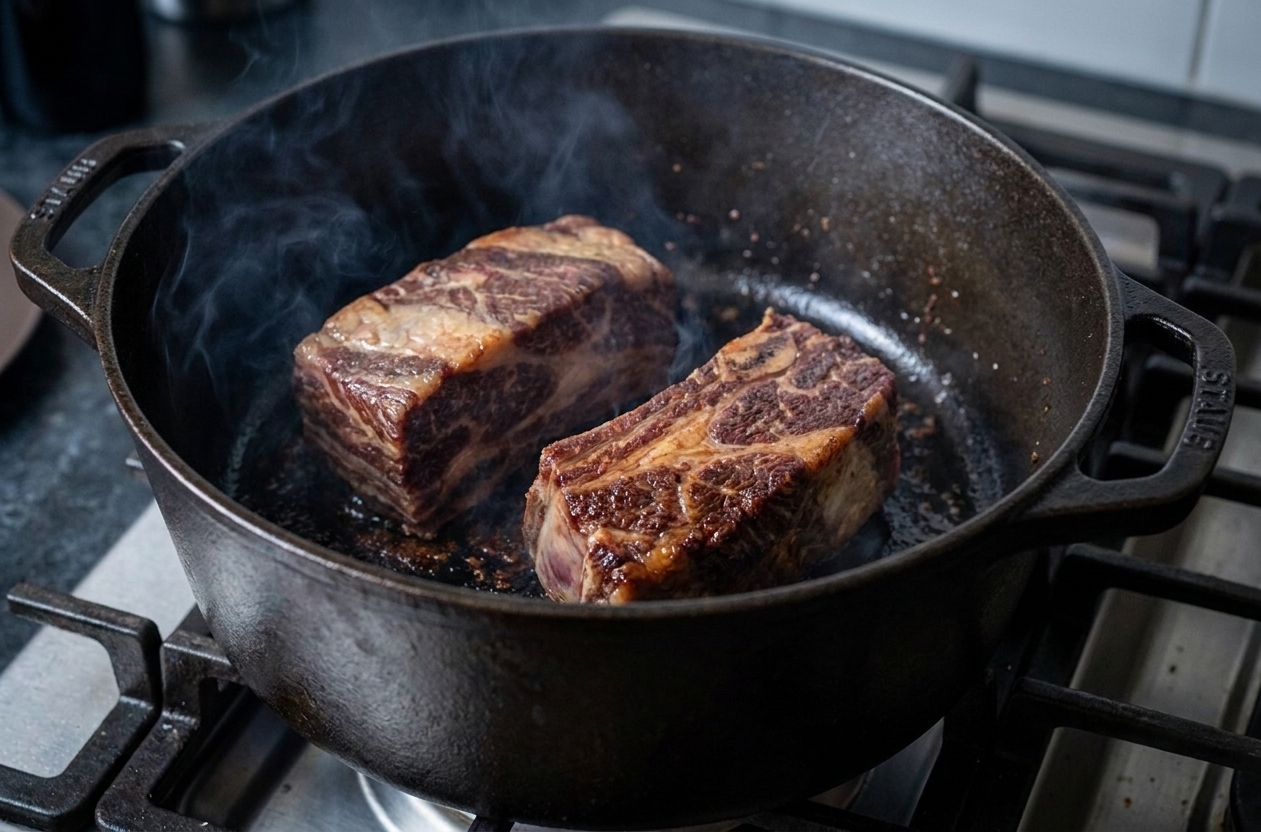
Pat the ribs dry, season generously with salt and pepper, and sear in a thin layer of oil over medium-high heat. Work in batches. You want a deep brown crust, not a gray steam situation. This step builds the flavor foundation for the entire sauce.
Salting tip: If you have time, salt the ribs 8 to 24 hours ahead and refrigerate them uncovered. It seasons the meat more deeply and helps the surface dry out for better browning. If not, seasoning right before searing still works beautifully.
2) Build the base
Pour off excess fat, leaving a couple tablespoons behind. Sauté onion, carrot, and celery until they begin to soften and pick up color. Add garlic and tomato paste and cook until the paste turns brick-red and fragrant.
3) Deglaze like you mean it
Add red wine and scrape up every browned bit stuck to the bottom. If your pot is screaming hot, pull it off the heat for a moment before adding the wine to reduce splatter and the chance of a flare-up. Let the wine simmer for a few minutes to cook off harsh alcohol and concentrate the flavor.
4) Add stock, herbs, and ribs
Add beef stock and herbs, then nestle the ribs back in. Arrange them in a single layer if you can, bones down, with the meatiest side facing up. The liquid should come about halfway to two-thirds up the sides of the ribs. You are braising, not boiling.
5) Cover and braise until fork-tender
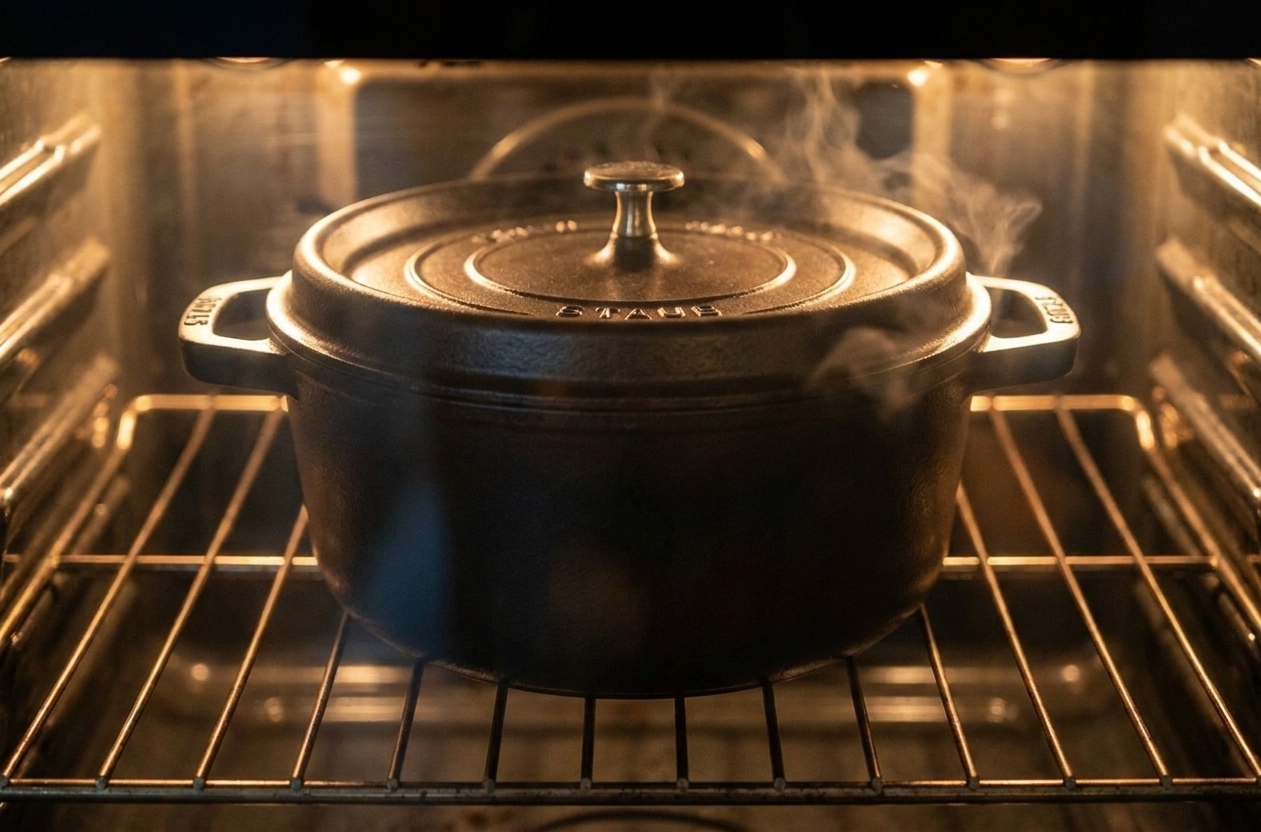
Cover tightly and transfer to the oven. Braise until the meat is very tender and yields easily when you twist a fork, usually 2 1/2 to 3 1/2 hours depending on size. No flipping is usually necessary, as long as the liquid level is right and the lid is truly snug (a sheet of foil under the lid helps if yours is loose).
Finish the sauce
This is where it turns into that spoon-licking, restaurant-style situation.
6) Make it glossy
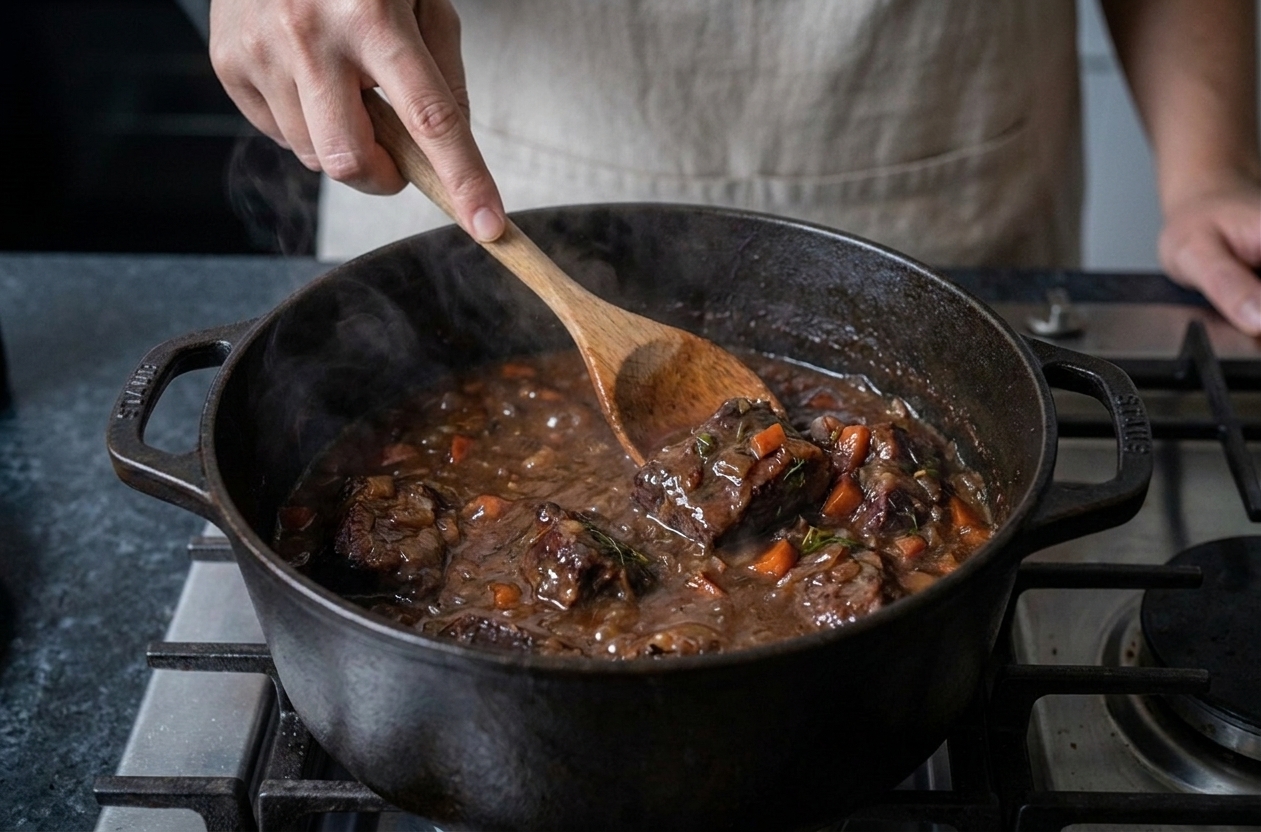
Remove ribs to a plate. Strain or blend the braising liquid, then simmer it uncovered to reduce until it coats the back of a spoon. Taste and adjust salt.
- Strain if you want a clearer, more elegant sauce.
- Blend if you want a thicker, more rustic sauce with body from the vegetables.
Red wine options
Best wines to use
Choose a dry red you would happily drink. My go-tos are Cabernet Sauvignon, Merlot, Syrah, or a red blend. You do not need an expensive bottle, just avoid anything labeled sweet. If a wine is super tannic and tastes aggressively bitter on its own, it can read a little harsh in the finished sauce.
If you do not cook with alcohol
You can still make a deeply flavorful braise. Use:
- Beef stock (swap for wine volume)
- 1 to 2 tablespoons balsamic vinegar or red wine vinegar for acidity
- 1 to 2 teaspoons Worcestershire for savory depth
Add the vinegar gradually and taste. You want balance, not a sour sauce.
How to tell they are done
Time estimates are helpful, but tenderness tells the truth.
- Done: A fork slides in with very little resistance, and the meat starts to pull away from the bone.
- Not done yet: The meat looks cooked but still feels tight, springy, or chewy. Give it more time.
If you are using a thermometer, you will often find the best texture somewhere in the 190s to low 200s°F in the thickest part, but tenderness matters more than any number. When collagen is ready, you can feel it.
Slow cooker option
If you want the set-it-and-forget-it version, the slow cooker is your friend.
- Season and sear the ribs on the stovetop (still worth it).
- Sauté the aromatics and tomato paste in the same pot, then deglaze with wine (or stock).
- Pour everything into the slow cooker, add stock as needed (same rule: halfway to two-thirds up the ribs), and add herbs.
- Cook 8 to 9 hours on low or 4 to 5 hours on high, until fork-tender.
- For a glossy sauce, strain the liquid into a saucepan and reduce on the stovetop while the ribs rest.
Make-ahead tips
Braised short ribs are even better the next day. The flavors deepen, and the sauce becomes more cohesive.
How to do it
- Braise the ribs fully, then cool slightly.
- Refrigerate ribs and sauce overnight (together is fine).
- The next day, lift off the solidified fat from the top for an instantly cleaner sauce.
- Rewarm gently on the stovetop or in a 300°F oven until heated through.
Serving ideas
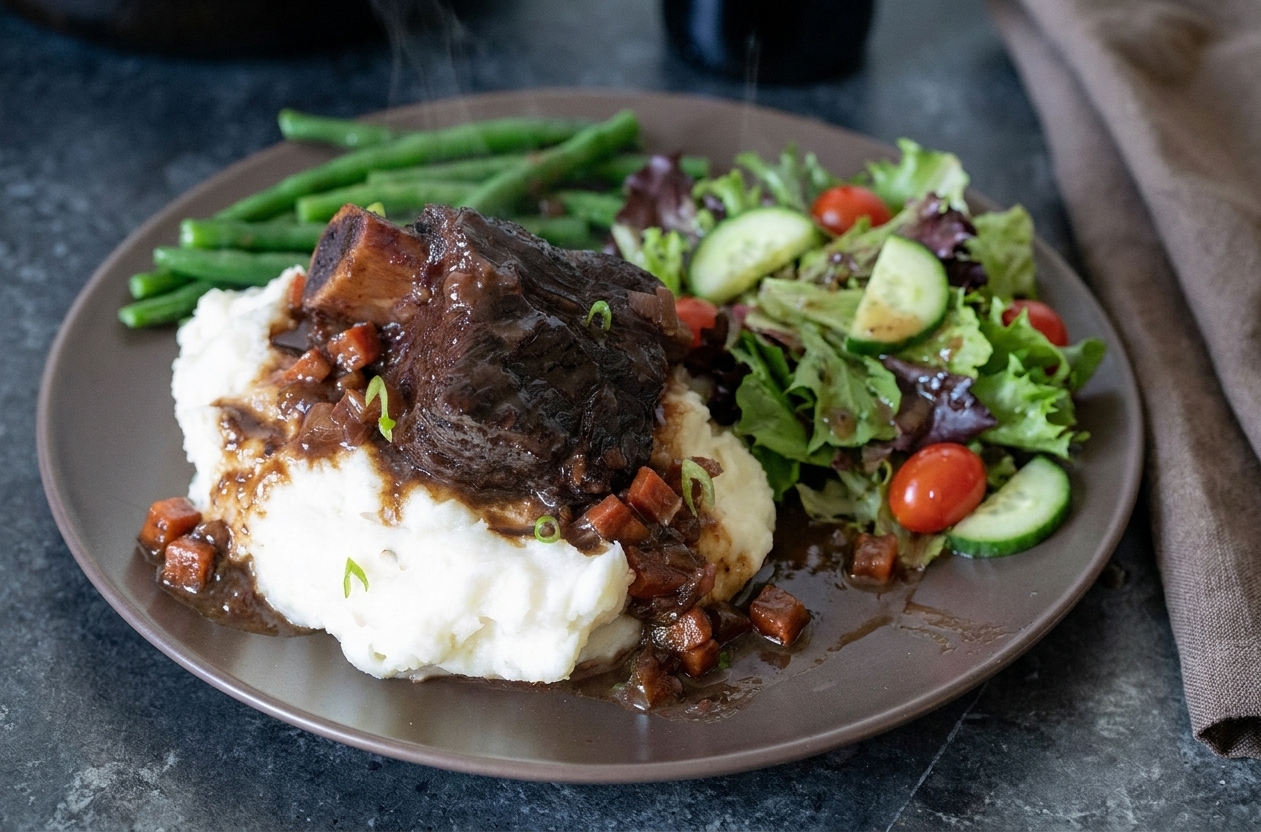
Short ribs love a cozy starch and something green to cut the richness.
- Mashed potatoes: Classic and perfect for sauce.
- Creamy polenta: A little parmesan turns it into a blanket.
- Buttered egg noodles: Weeknight-friendly and kid-approved.
- Crusty bread: Non-negotiable in my house.
- Roasted carrots or broccolini: Simple, bright, and a great contrast.
- Big leafy salad: Lemony vinaigrette is especially nice here.
Troubleshooting
My sauce tastes bitter
Bitterness usually comes from something getting too dark: scorched tomato paste, burnt garlic, a burnt layer of fond on the bottom, or a very tannic wine reduced hard. Fix it by whisking in a small amount of butter and tasting for salt. A tiny splash of balsamic can also round it out. If you suspect burnt bits, strain the sauce and keep reducing gently instead of boiling it aggressively.
My short ribs are tough
They most often need more time, but toughness can also happen if the braise ran too hot or too dry. Make sure the pot is tightly covered and the liquid is still halfway up the ribs, then put them back in the oven and check every 20 to 30 minutes until they relax.
My sauce is thin
Reduce it uncovered over a steady simmer. If you are short on time, you can thicken with a small slurry (1 teaspoon cornstarch mixed with 1 tablespoon cold water), but reducing tastes better.
My sauce is greasy
Skim the surface with a spoon, or chill the sauce and remove the fat cap the next day. It is the easiest clean-up move in the book.
FAQ
Do I need to sear the short ribs first?
I strongly recommend it. Searing creates the browned bits that become the backbone of the sauce. If you skip it, the ribs will still get tender, but the flavor will be noticeably flatter.
Can I braise short ribs on the stovetop instead of the oven?
Yes. Keep the pot at the lowest simmer possible, cover tightly, and check occasionally to make sure it is not bubbling too hard. The oven is more even, but stovetop works if you stay gentle.
Can I use boneless short ribs?
You can, and they will be tasty, but bone-in ribs bring extra richness to the braise. If using boneless, start checking for tenderness a bit earlier.
How many short ribs per person?
For bone-in English-cut ribs, plan on 1 piece per person for most dinners, or 1 1/2 pieces if you are feeding very hungry friends and want leftovers.
What is the best way to reheat short ribs?
Reheat low and slow. I like a covered pot on the stovetop over low heat, or a covered baking dish in a 300°F oven until warmed through. Add a splash of stock if the sauce has thickened too much in the fridge.
A note from my kitchen
Whenever I make braised short ribs, I always think about how cooking can be both comforting and quietly impressive at the same time. This is the dinner you make when you want to take care of someone, including yourself. Put on something cozy, let the oven do the heavy lifting, and do not forget the bread. There is no such thing as too much sauce.