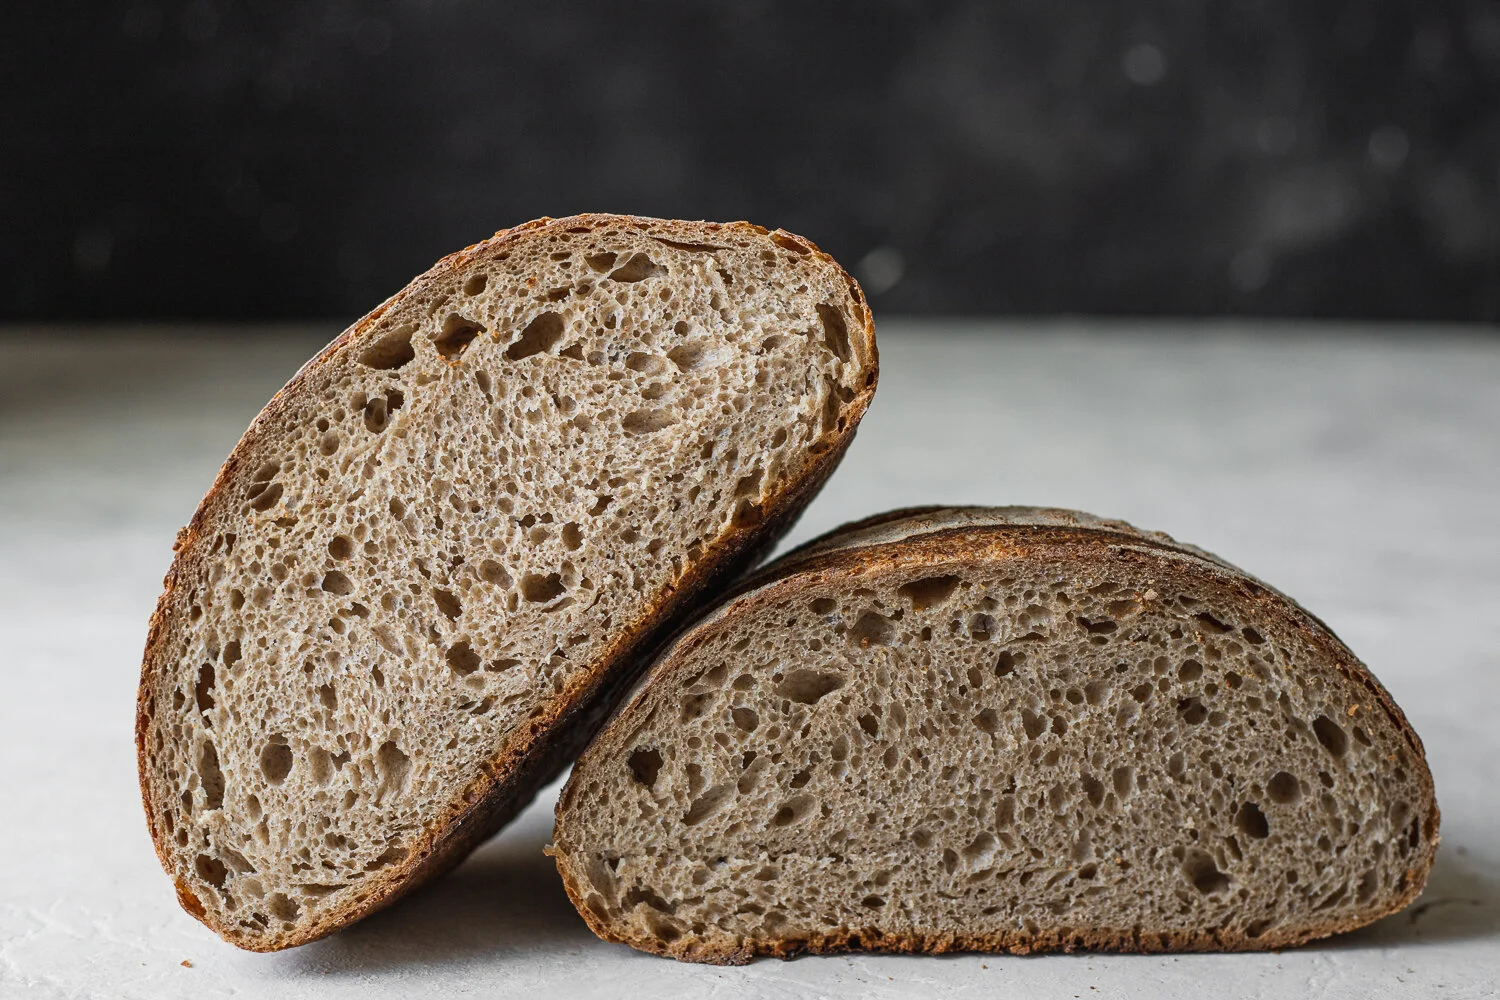
A tangy, creamy wheat loaf with a soft crumb and big flavor. Gram-accurate measurements, step-by-step tips, smart swaps, a preferment option, and troubleshoo...
Recipeva
Homemade Crusty Bread (No-Knead Dutch Oven Loaf)
Bake a crackly, bakery-style no-knead Dutch oven bread with just flour, water, yeast, and salt. Simple steps, big results, plus timing, troubleshooting, and storage tips.

Maya Reynolds
Maya Reynolds is a passionate home cook, recipe developer, and the creative voice behind Recipeva. With over a decade of experience translating complex culinary techniques into approachable weeknight meals, she focuses on creating dishes that bring joy to the dinner table without the stress.
Created September 22, 2026
Updated September 22, 2026
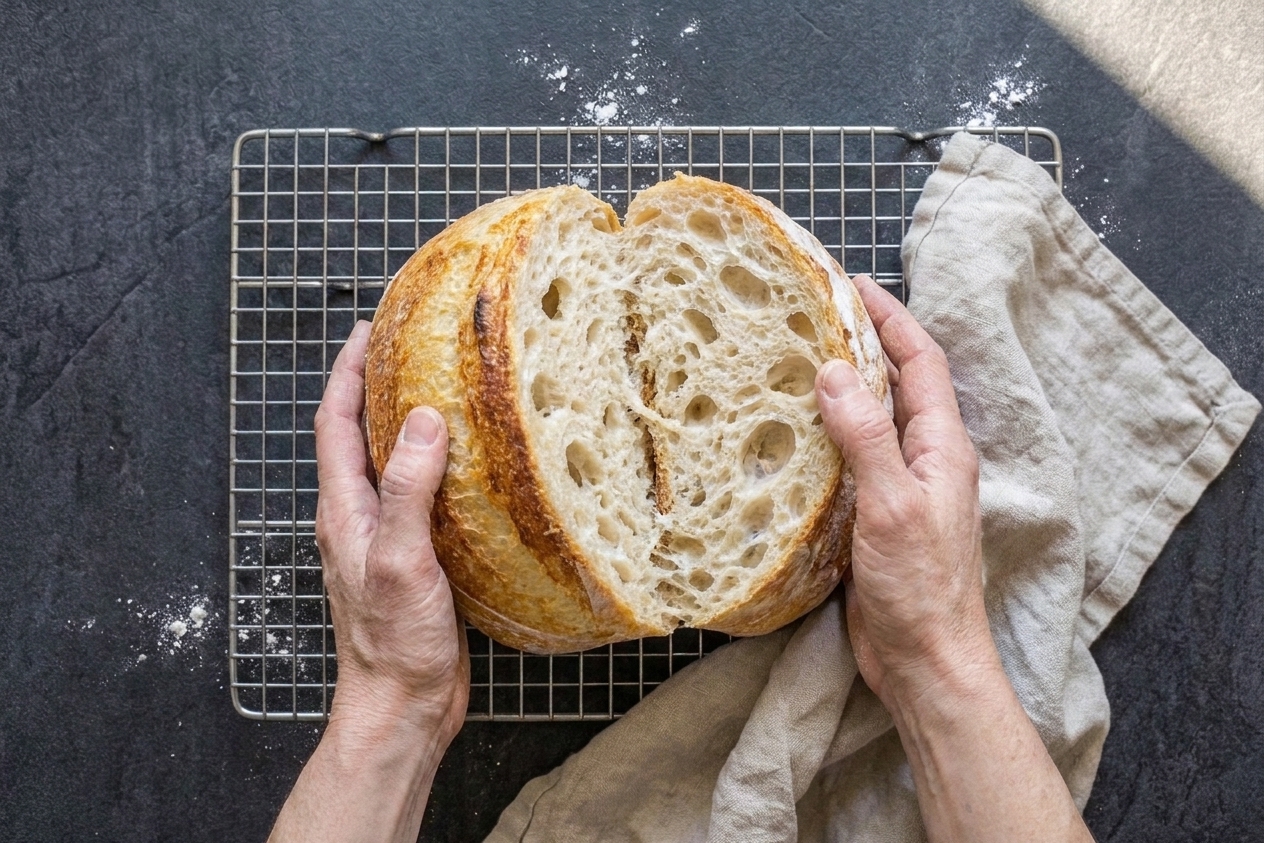
If you have ever walked past a bakery and thought, how do they get that crust? this is your moment. This no-knead Dutch oven loaf is the bread I make when I want something deeply cozy and impressive, but I also want to do approximately zero complicated things. You stir a shaggy dough, let time do the work, then bake it in a blazing hot pot for that crackly crust and gorgeous rise.
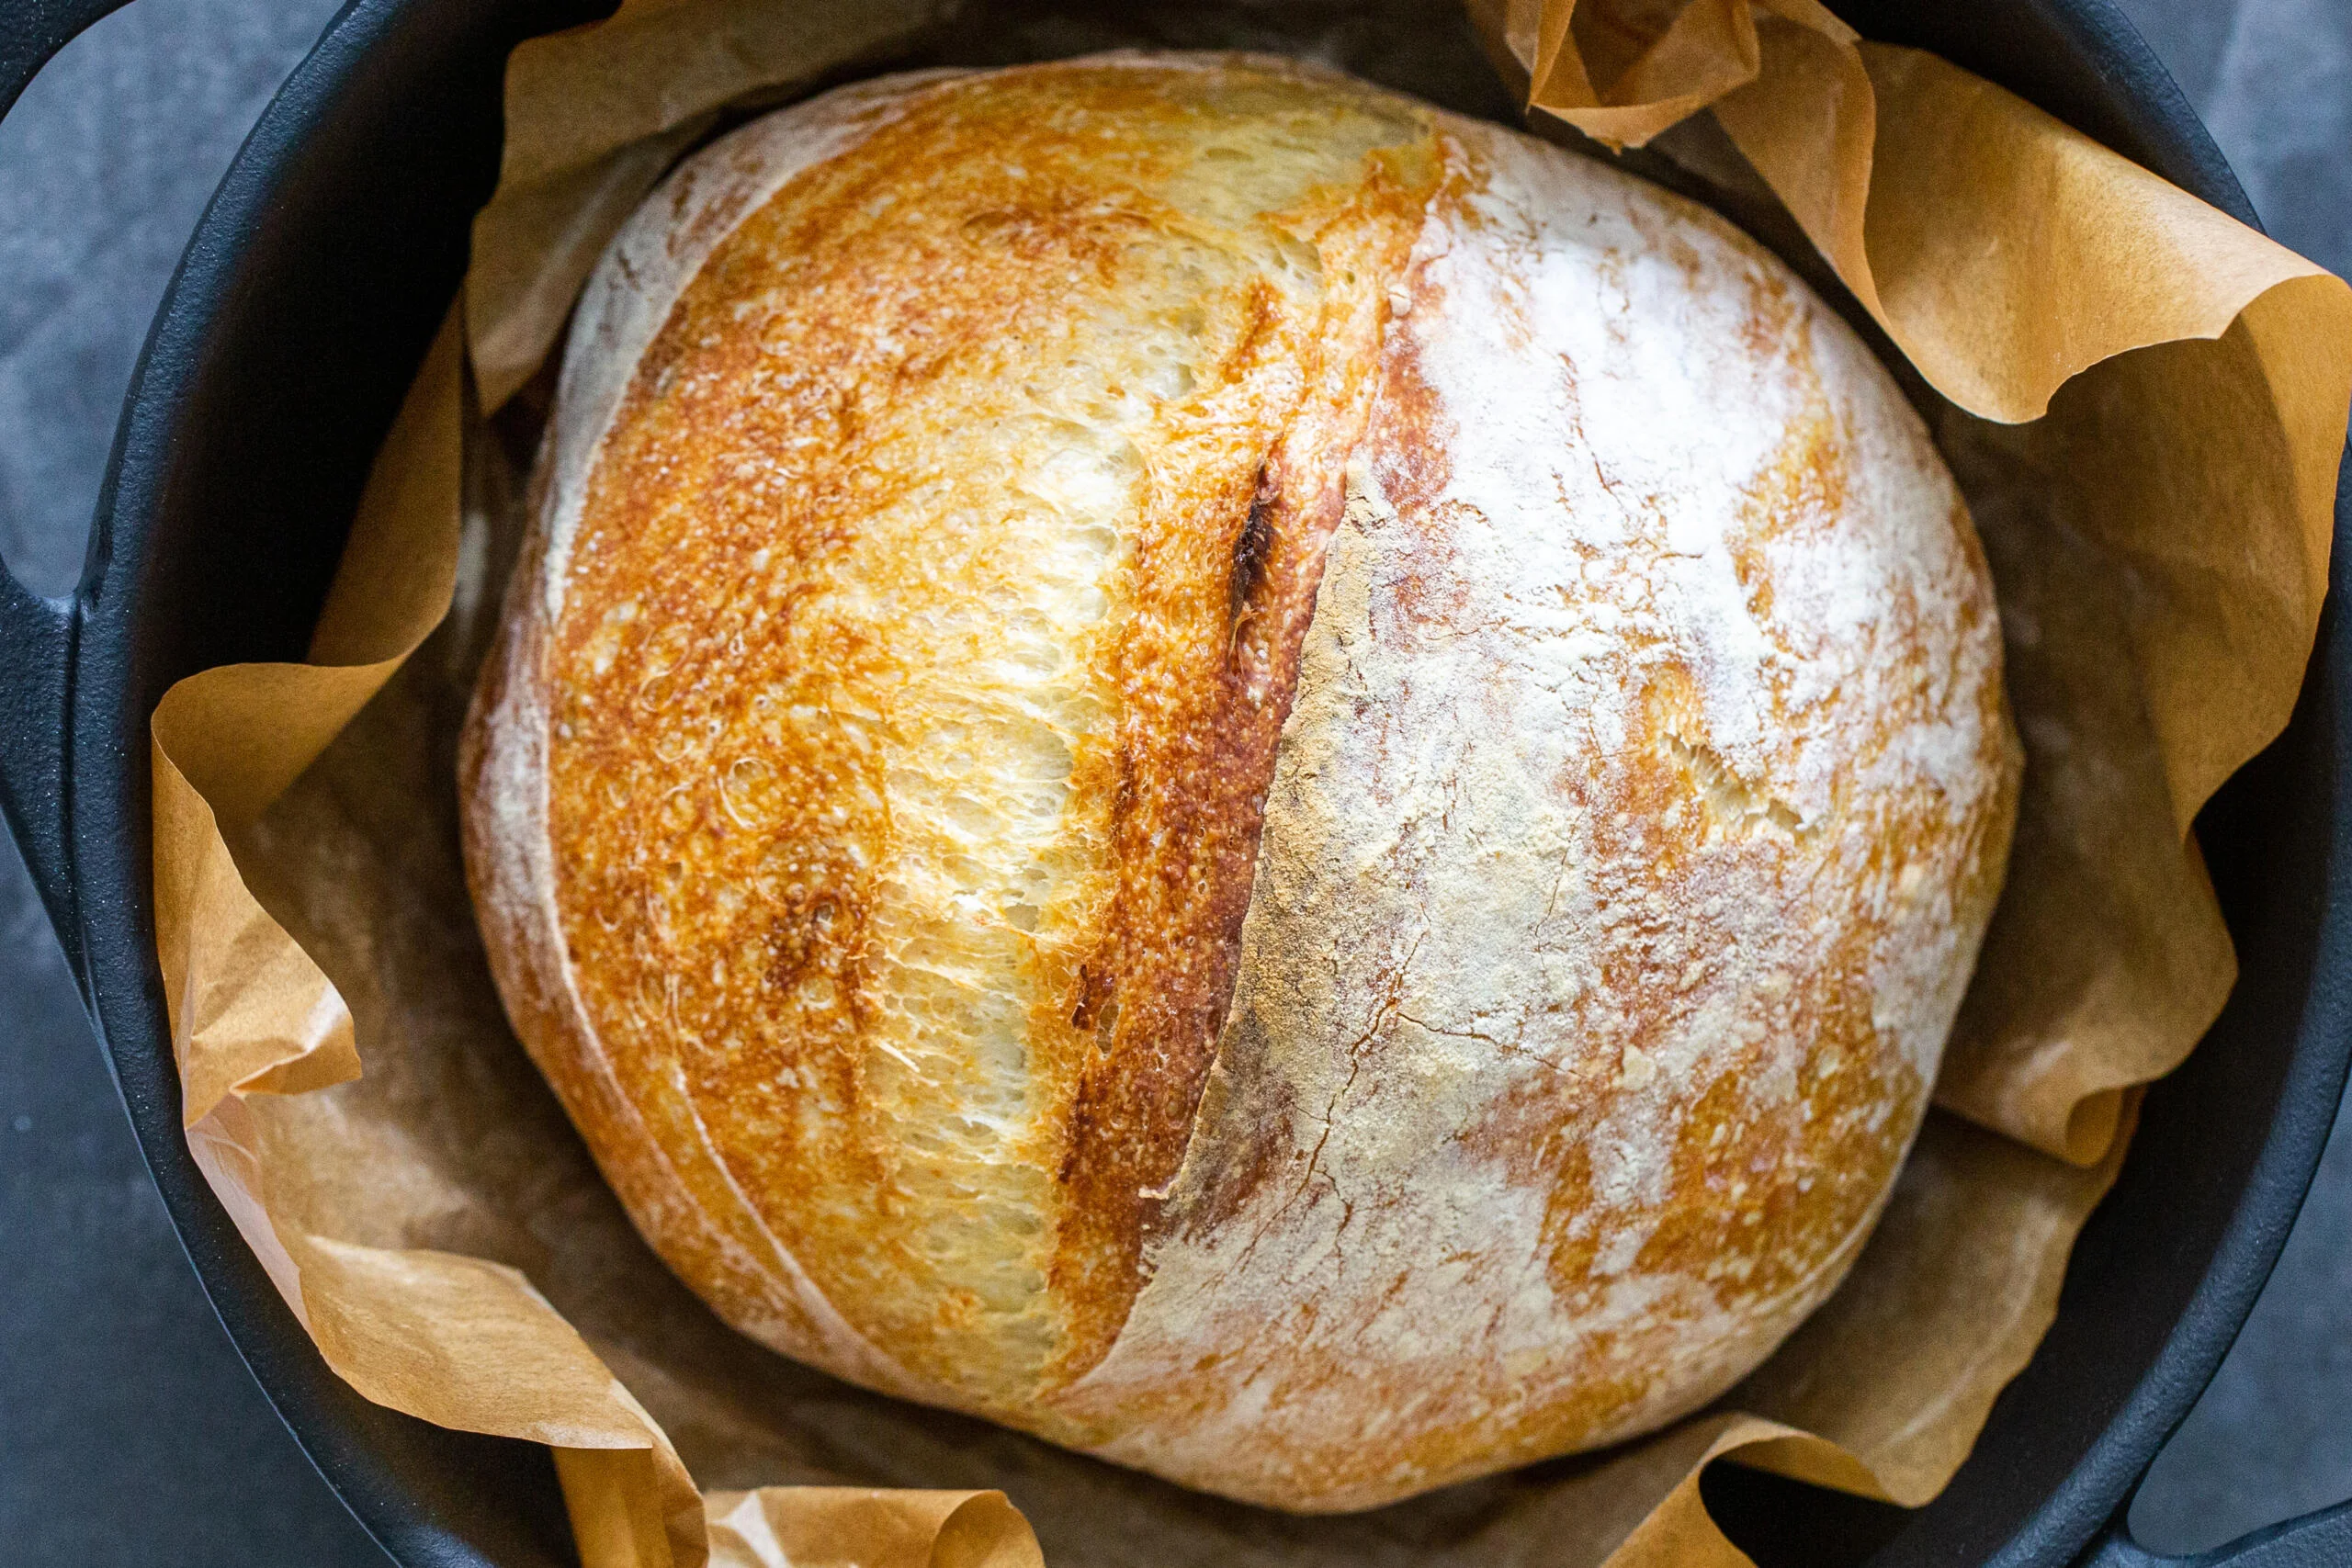
And yes, we are using plenty of patience and plenty of heat. Also yes, there is no such thing as too much garlic, but today we are starting with the classic base so you can make it yours later.
Why this recipe works
- No kneading required: A long fermentation develops gluten and flavor while you sleep or go live your life.
- Dutch oven magic: Trapping steam inside the pot mimics a professional oven, giving you that shiny, blistered crust.
- Simple ingredients: Flour, water, yeast, and salt. That is it.
- Flexible timing: You can do an overnight rise or a same-day schedule.
Ingredients (and what they do)
This is the minimalist pantry list, with a couple of optional add-ins noted below.
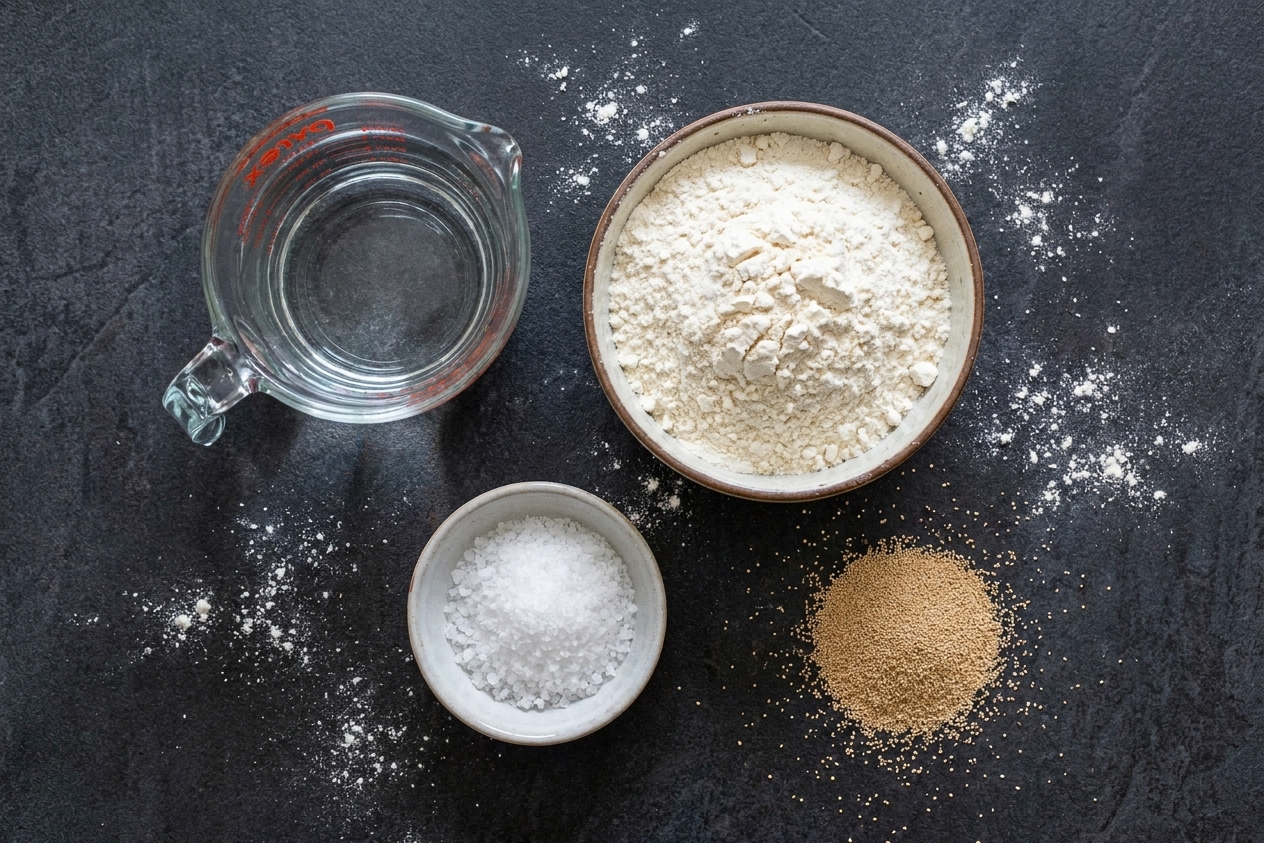
- All-purpose flour: Reliable and accessible. Bread flour also works and gives a slightly chewier crumb.
- Water: Hydration is what makes this dough sticky and open-crumbed. Lukewarm or room temperature is perfect.
- Yeast: Instant yeast is simplest, but active dry works too.
- Salt: Essential for flavor and structure. Do not skip it.
Optional add-ins (once you master the base)
- 1 to 2 teaspoons garlic powder, or 1 to 2 cloves grated garlic
- 1 to 2 teaspoons dried rosemary or thyme
- 1 cup shredded cheddar or grated Parmesan
- 1 to 2 tablespoons sesame seeds or everything seasoning for the crust
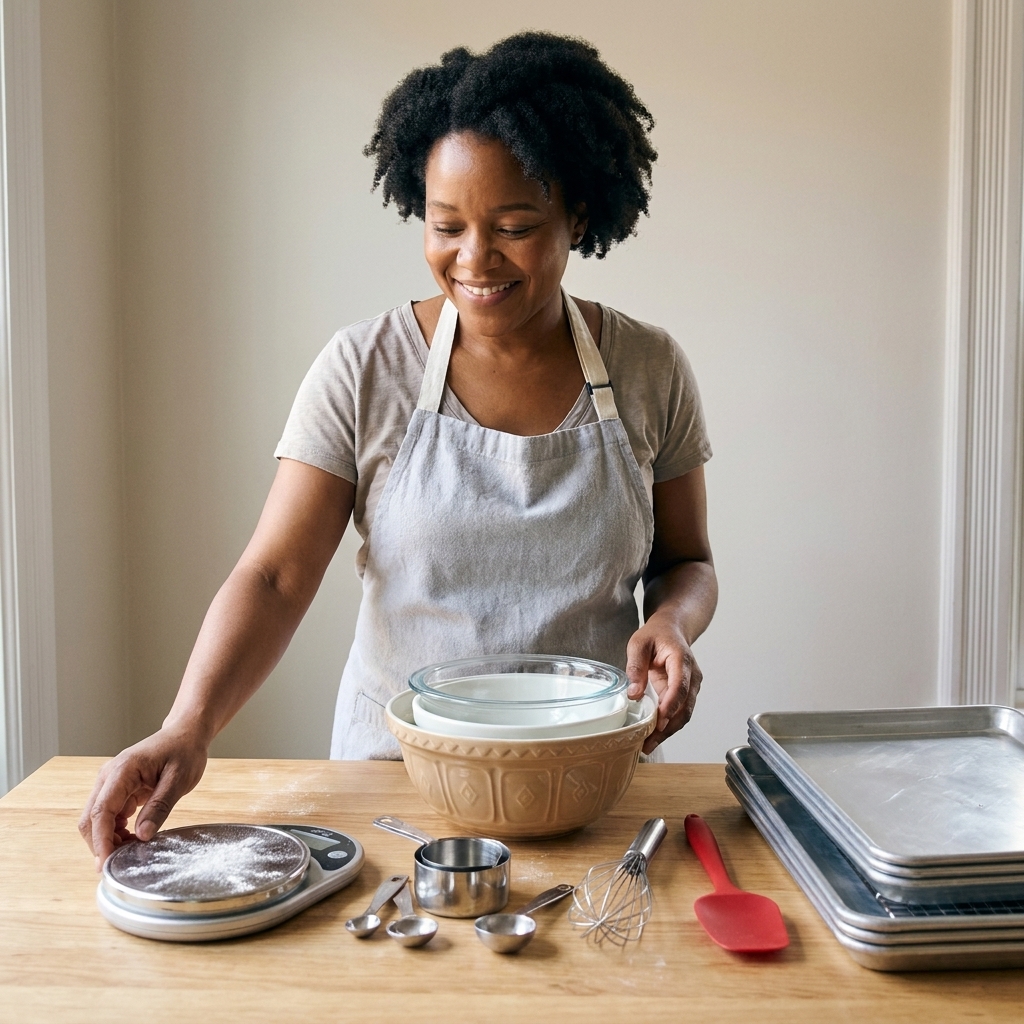
Equipment
- Dutch oven with lid: 5 to 7 quart is ideal. Enameled or cast iron both work.
- Large mixing bowl
- Kitchen scale (optional but wonderful)
- Parchment paper
- Bench scraper or sturdy spatula
If you do not have a Dutch oven, scroll down to the “No Dutch oven?” section for alternatives.
Recipe: No-Knead Dutch Oven Bread
Quick stats
- Total time: 12 to 18 hours (mostly hands-off)
- Active time: about 15 minutes
- Yield: 1 round loaf (about 10 to 12 slices)
Ingredients
- 3 cups (360 g) all-purpose flour
- 1 1/2 teaspoons salt (see note below)
- 1/2 teaspoon instant yeast (or about 3/4 teaspoon active dry yeast)
- 1 1/2 cups (360 g) water, lukewarm or room temperature
Salt note (so your loaf tastes right): Salt weights vary wildly by type and brand. For the most consistent results, weigh it: use 9 g fine sea salt or 6 g Morton kosher or 3 to 4 g Diamond Crystal kosher. If you are measuring by volume (1 1/2 teaspoons), just know your loaf may land slightly saltier or slightly milder depending on what is in your salt cellar.
Step 1: Mix the dough
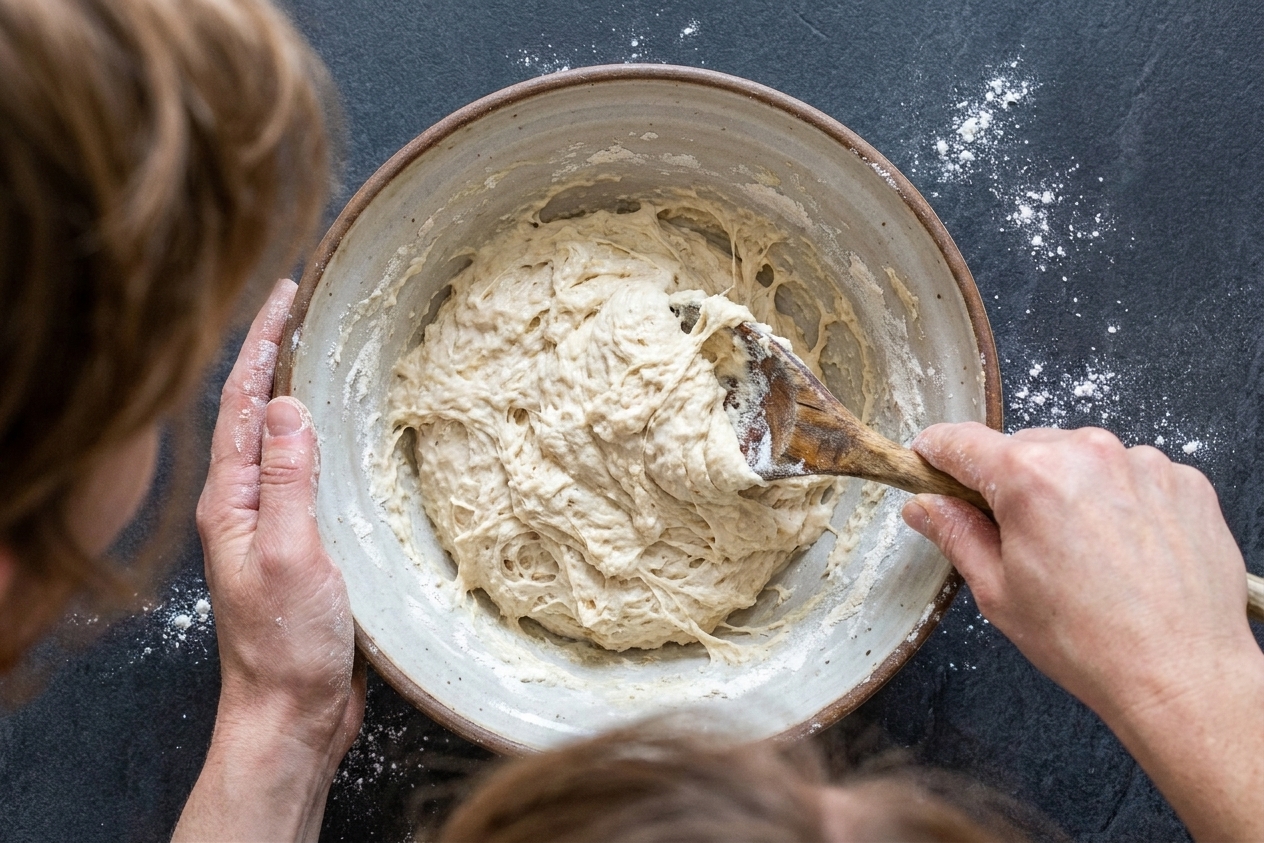
In a large bowl, whisk together the flour, salt, and yeast. Pour in the water and stir with a spoon or spatula until no dry flour remains. The dough will look shaggy and sticky. That is perfect.
Step 2: Long rise (the flavor builder)
Cover the bowl (a lid or plastic wrap is best; a clean towel works in a pinch). Let it rise at room temperature for 12 to 18 hours.
What you are looking for: a noticeably expanded dough with lots of bubbles on the surface, a slightly domed top, and a jiggly feel when you gently nudge the bowl. It should look alive and airy, not tight and smooth.
My teacher brain note: If your kitchen is chilly, aim for the longer end. If it is warm, 12 hours is usually plenty. If you used active dry yeast, fermentation timing can run a little slower or faster depending on your room temperature, so use the visual cues above as your guide.
Step 3: Shape, gently
Lightly flour your counter. Scrape the dough out and use floured hands to shape it into a round by tucking the edges under. Do not over-handle it. We want to keep those lovely air pockets.
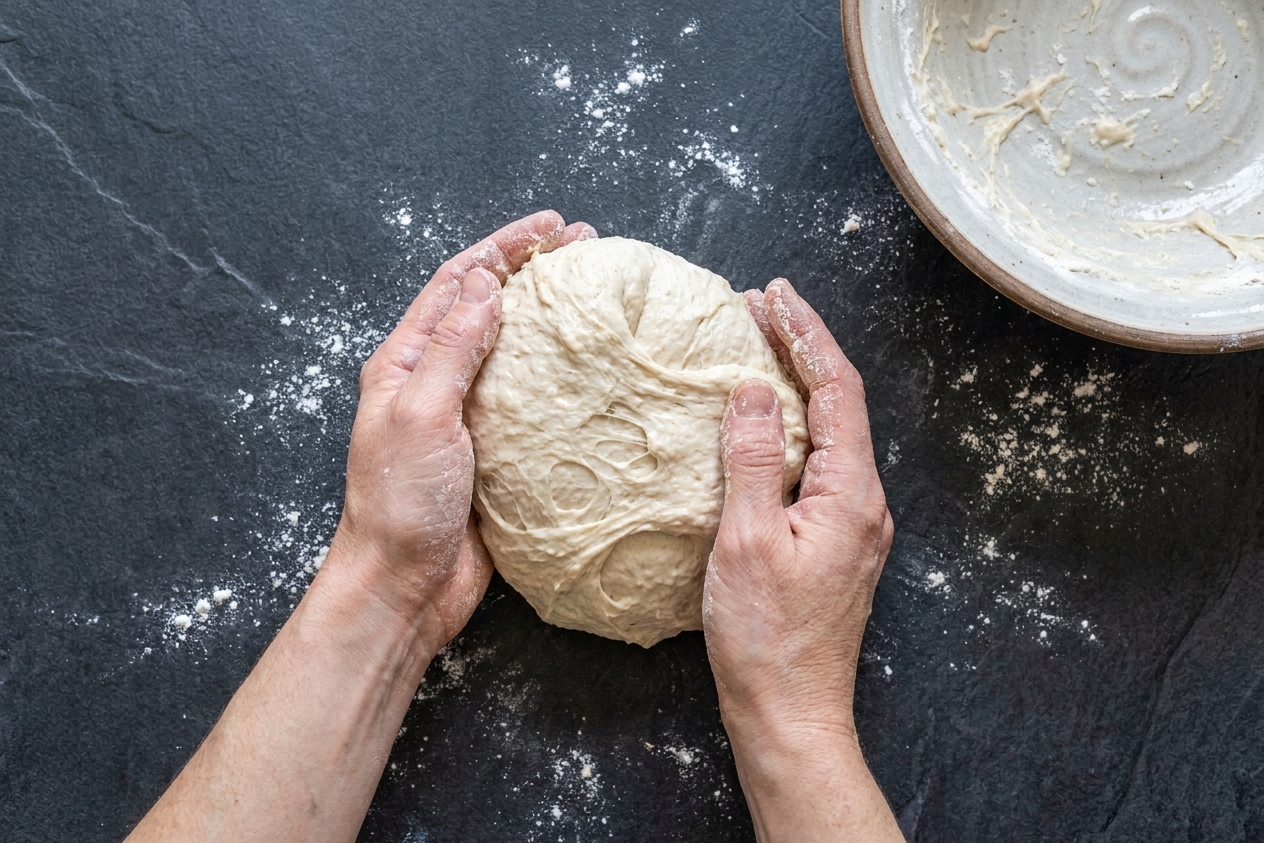
Place the dough seam-side down on a piece of parchment paper. Cover and let it rest for 30 to 60 minutes while the oven heats.
Step 4: Preheat the Dutch oven
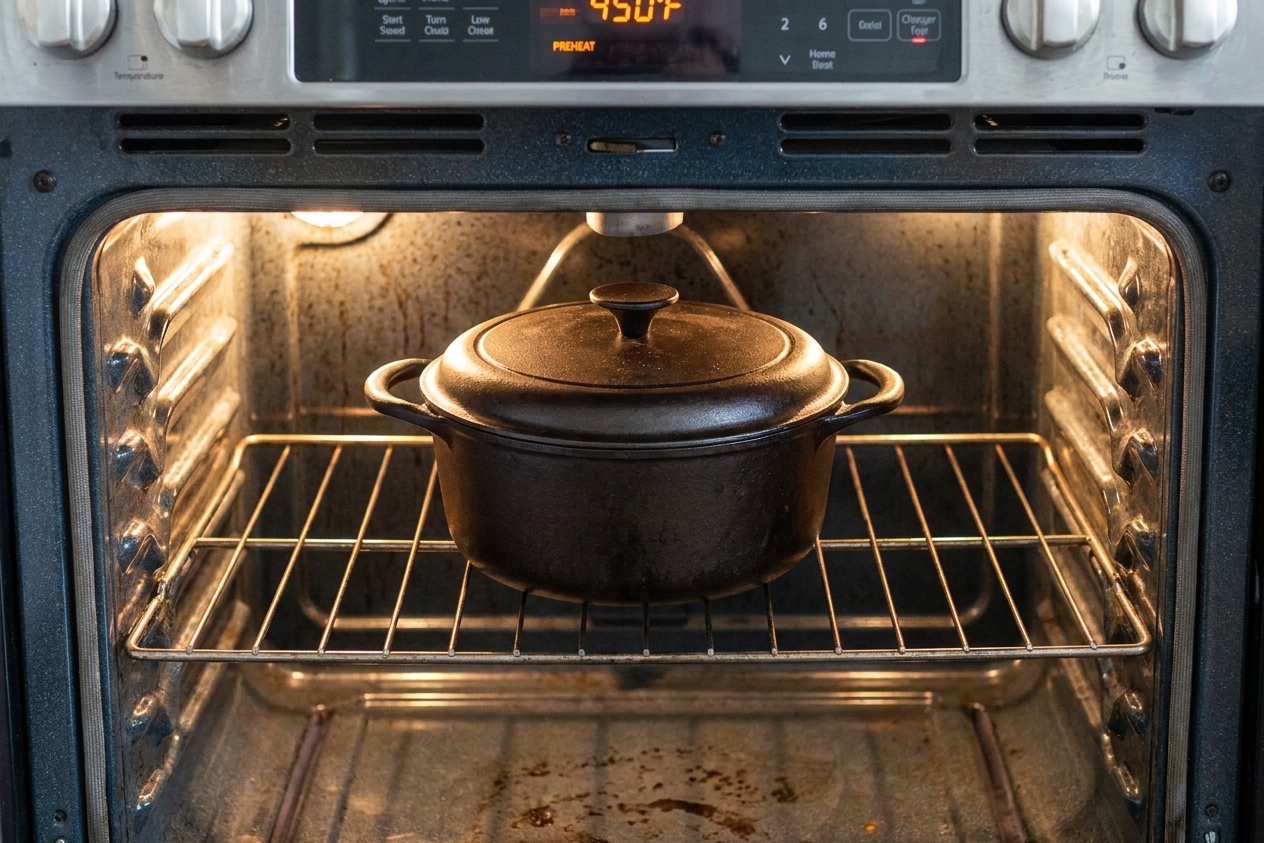
Place your Dutch oven (with the lid on) in the oven and preheat to 450°F for 30 minutes. This step matters. A hot pot equals dramatic oven spring.
Step 5: Bake
Hot pot safety note: A screaming-hot Dutch oven is no joke. Use long oven mitts, keep your face back when you lift the lid, and trim or tuck long parchment edges so they do not flop onto the rack or heating element.
Carefully remove the hot Dutch oven. Using the parchment as a sling, lower the dough into the pot. If you like, score the top with a sharp knife (one slash is plenty). Cover with the lid.
- Bake covered: 30 minutes
- Bake uncovered: 12 to 18 minutes, until deep golden brown
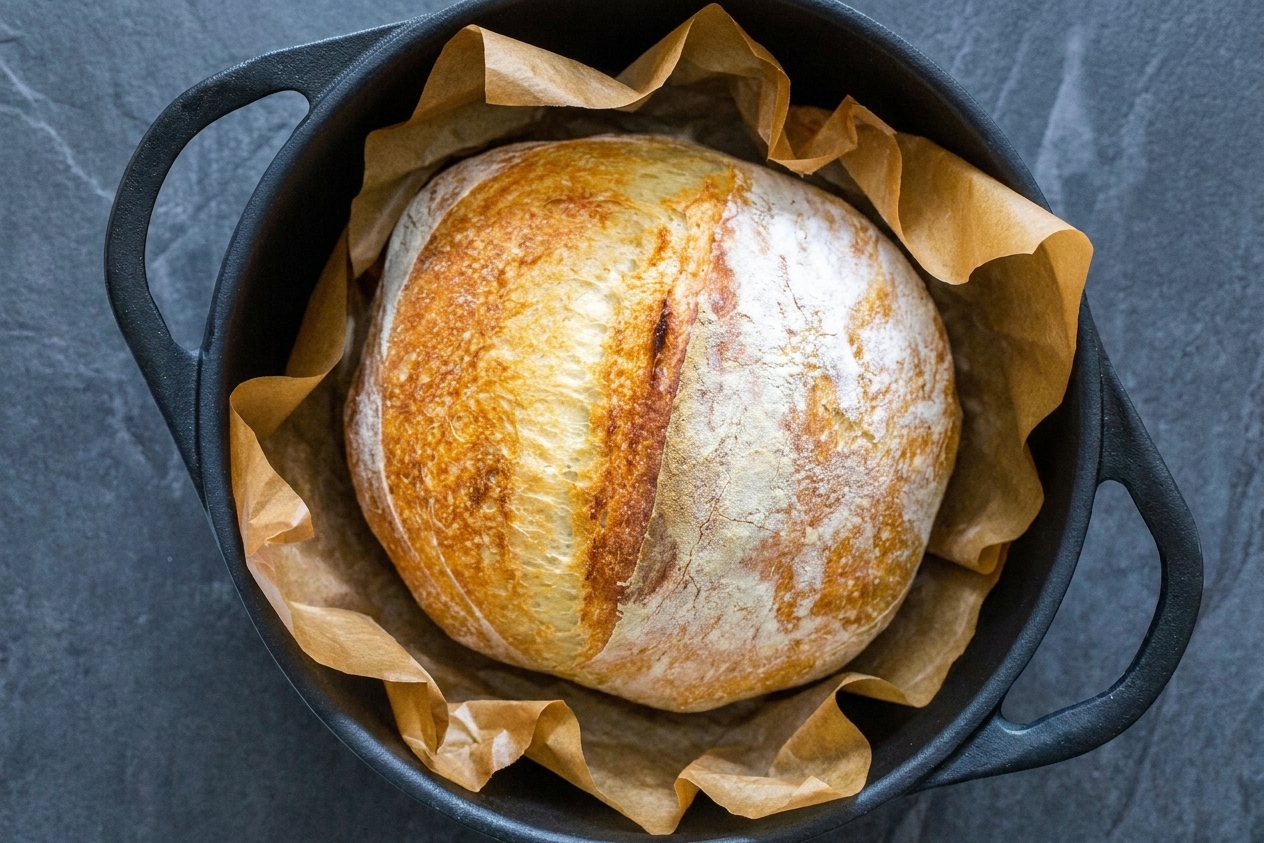
The loaf is done when it is richly browned and sounds hollow when tapped on the bottom. If you have an instant-read thermometer, aim for 205 to 210°F in the center.
Step 6: Cool (yes, really)
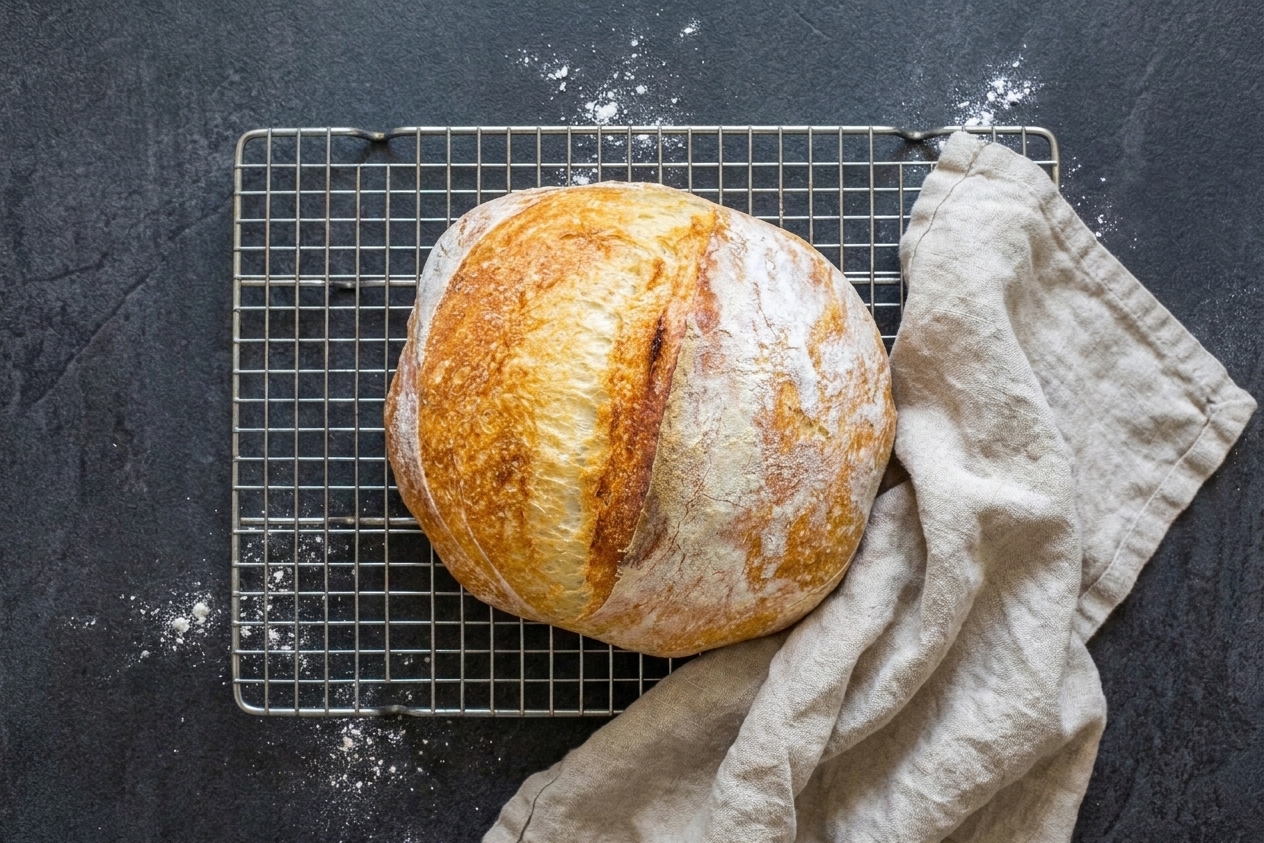
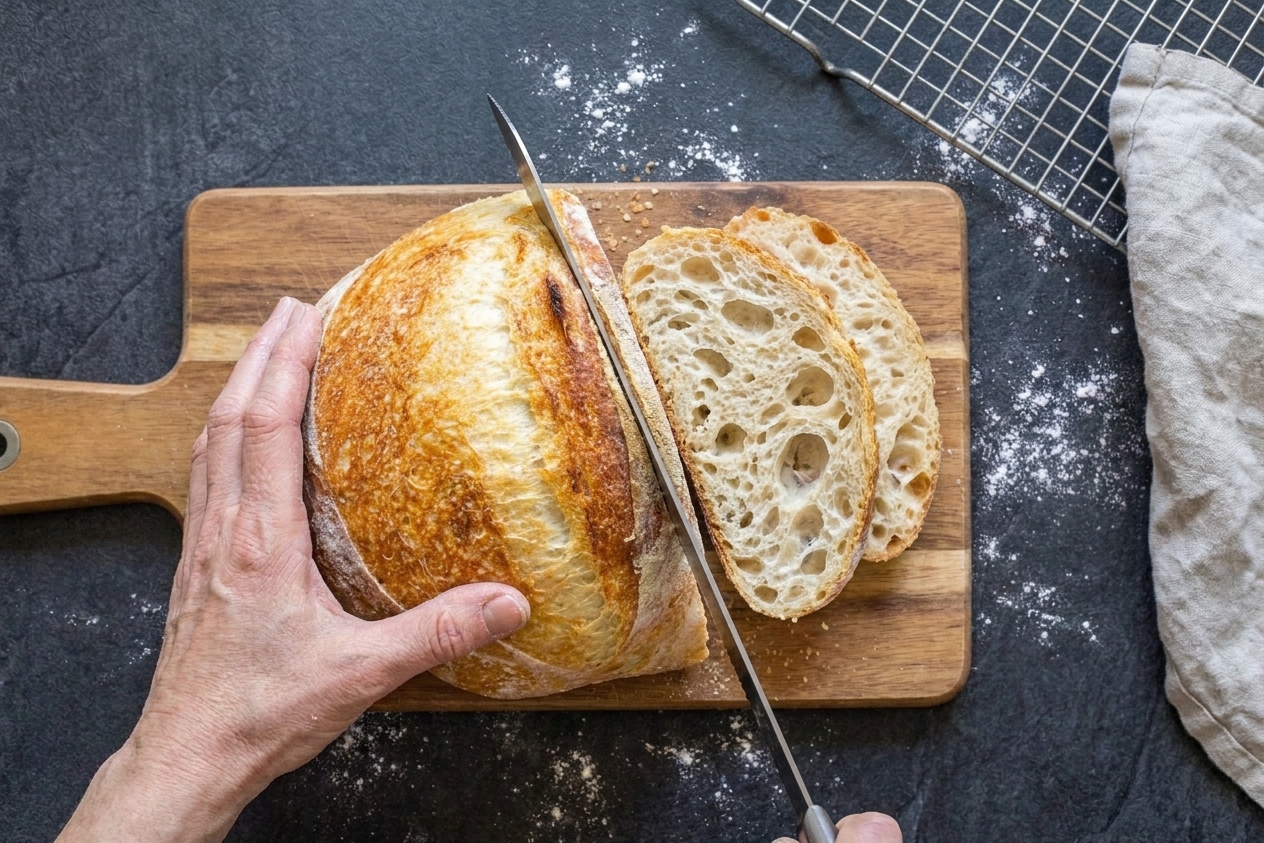
Transfer the bread to a wire rack and cool for at least 45 minutes before slicing. I know it is hard. But slicing too early can compress the crumb and make it gummy.
Same-day option
If you do not want to wait overnight, you can still make a beautiful loaf.
- Mix dough, then let rise in a warm spot for 3 to 4 hours until bubbly and expanded.
- Shape and rest 30 to 45 minutes.
- Bake as directed.
The flavor is a little less complex than the overnight version, but the crust is still crisp and the inside is still wonderfully chewy.
Pro tips for a crusty loaf
- Do not add extra flour “to be safe”: A sticky dough bakes up lighter and more open.
- Preheat the pot: This is the single biggest upgrade for rise and crust.
- Let it get dark: Pale bread is usually underbaked bread. Go for deep golden brown.
- Cool completely: The interior continues to set as it cools.
- Salt matters: If your bread tastes flat, it usually needs a touch more salt.
Troubleshooting
My dough did not rise much
- Your yeast may be old.
- Your kitchen may be cold. Give it more time, or move it to a slightly warmer spot.
- Too much salt can slow yeast if it is in direct contact. Always whisk salt into the flour first.
My loaf is dense
- Most often: the dough did not ferment long enough. Look for lots of bubbles and a jiggly, expanded dough.
- Or: you added too much flour during shaping.
- Or: the oven and Dutch oven were not hot enough at bake time.
The bottom is too dark
- Place a sheet pan on the rack below the Dutch oven to buffer heat.
- Try baking on a higher rack position.
The crust is not crisp
- Let it bake longer uncovered.
- Cool on a wire rack, not on a cutting board.
- If your kitchen is very humid, re-crisp slices in a 350°F oven for 5 to 7 minutes.
No Dutch oven?
1) Covered oven-safe pot
Any heavy, oven-safe pot with a lid can work, as long as it can handle 450°F. Check your handles and lid knob for heat ratings.
2) Sheet pan with steam
Bake the loaf on a preheated sheet pan or pizza stone. Place a second empty metal pan on the bottom rack and carefully pour in 1 cup of hot water right after you put the bread in. Quickly close the door to trap steam. Bake until deeply browned.
Flavor variations
Roasted garlic and rosemary
Stir 1 teaspoon dried rosemary into the flour. Add 6 to 8 cloves roasted garlic (smashed) with the water.
Cheddar and black pepper
Fold in 1 cup shredded cheddar and 1 teaspoon freshly cracked black pepper during shaping.
Seeded crust
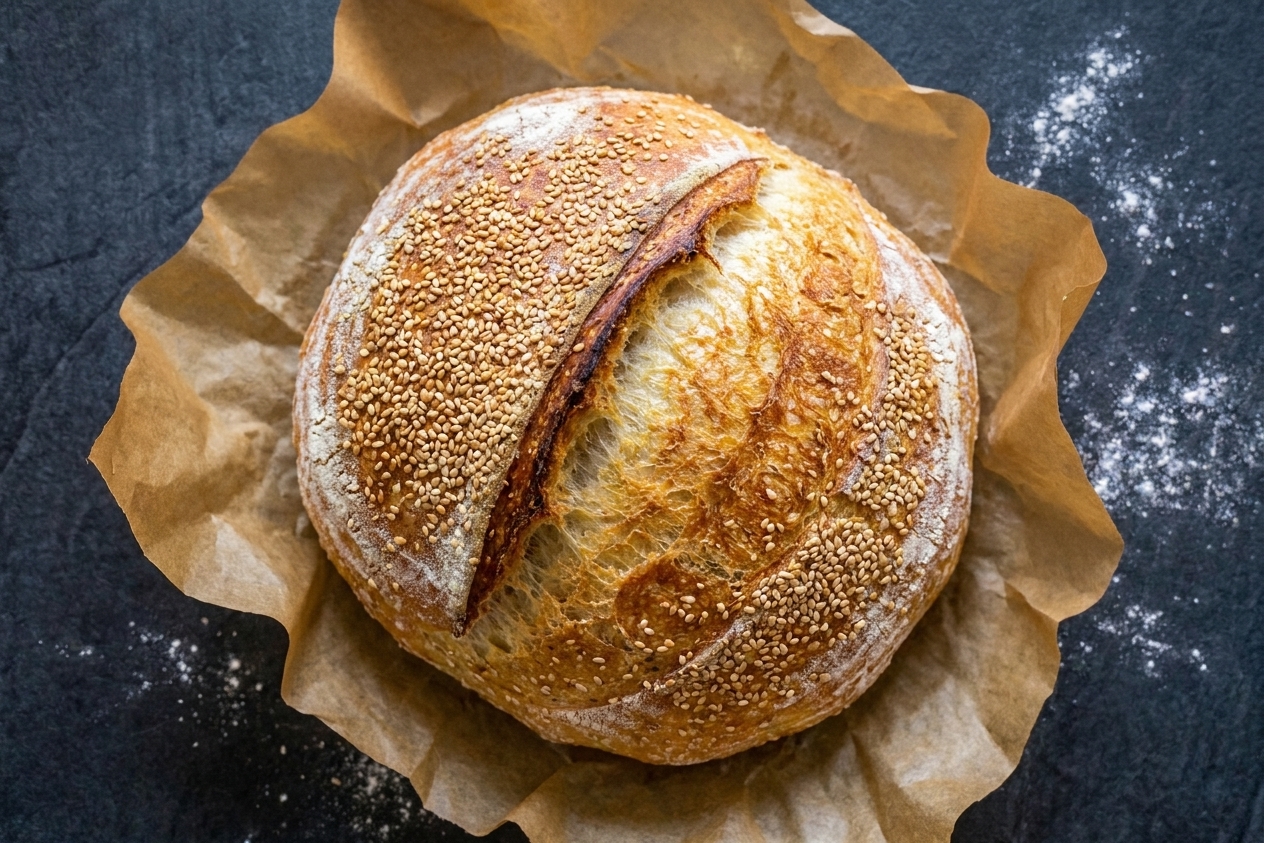
Spritz the shaped dough lightly with water, then sprinkle with sesame seeds before baking.
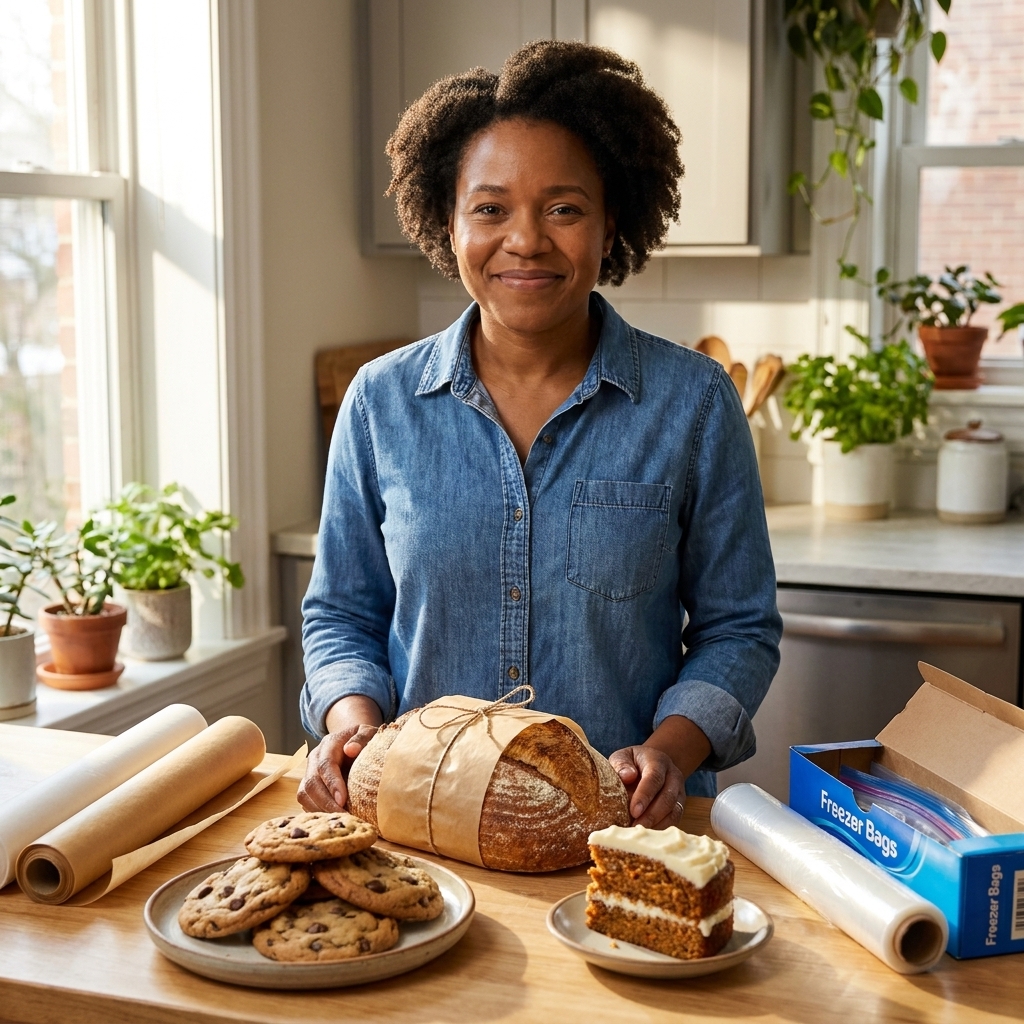
How to store and freeze
- Room temperature: Store cut-side down on a cutting board for 1 day, or in a paper bag for 2 days. Avoid airtight plastic if you love a crisp crust.
- Freeze: Slice once fully cooled, then freeze in a zip-top bag. Toast straight from frozen for the best texture.
- Revive a whole loaf: Mist lightly with water and warm in a 350°F oven for 10 to 15 minutes.
Serving ideas
This bread is a weeknight hero and a weekend flex. A few favorites from my kitchen:
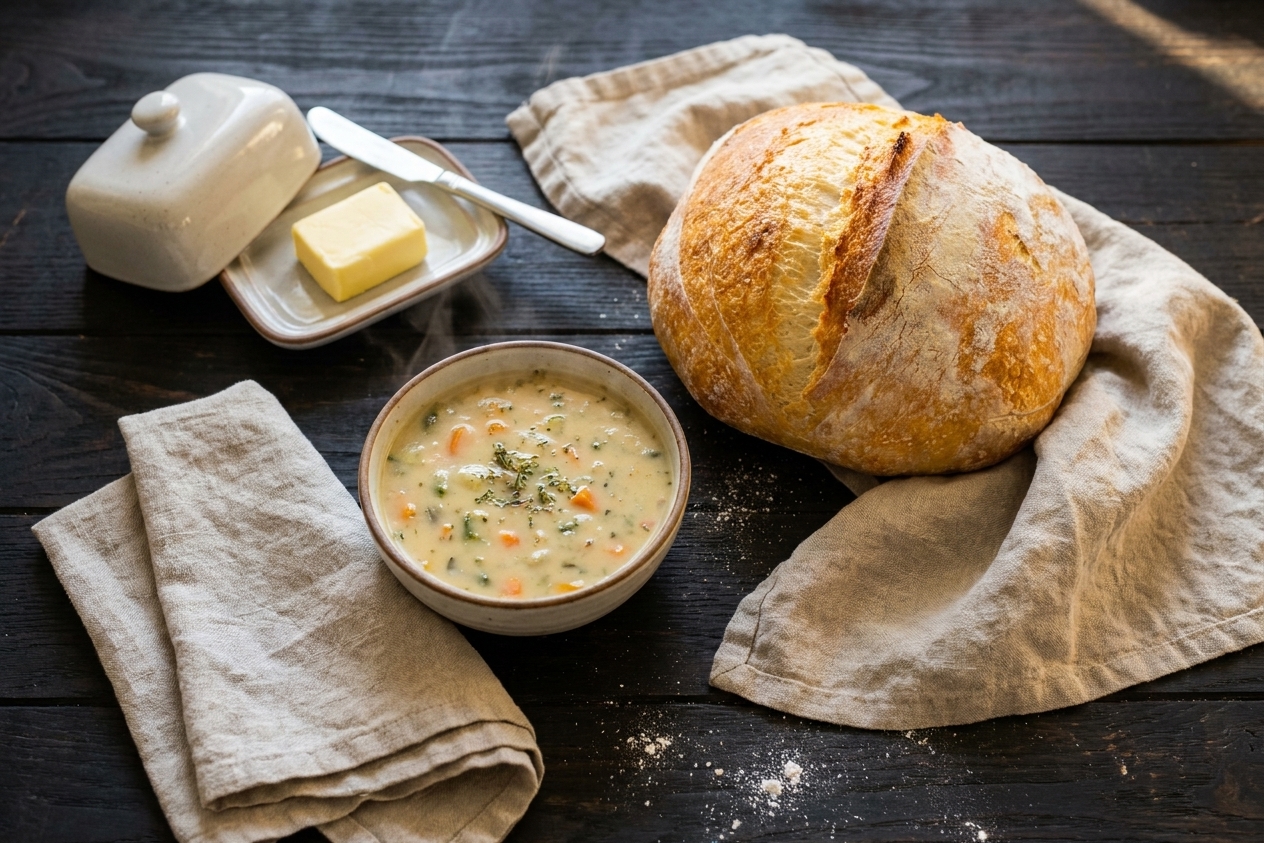
- With a big pot of tomato soup or lentil soup
- As garlic bread alongside pasta
- To mop up pan sauce from chicken or mushrooms
- Toasts with butter and flaky salt, or jam, or both
FAQ
Can I use active dry yeast?
Yes. Use about 3/4 teaspoon active dry yeast. You can mix it right in with the flour for this long rise, or dissolve it in the water first if you prefer. Fermentation timing can vary, so use the “bubbly and expanded” cues as your north star.
Why is the dough so wet?
High hydration is what helps create an open crumb and keeps the bread from drying out. It will feel sticky. Trust the process, and flour your hands rather than adding lots of flour to the dough.
Do I need to score the top?
No, but it helps the loaf expand in a controlled way. One confident slash is enough.
Can I make this with whole wheat flour?
You can swap in up to 25 to 30 percent whole wheat flour without major changes. Whole wheat absorbs more water, so you may need an extra tablespoon or two of water if the dough looks dry.
How do I know it is baked through?
Look for deep browning and a hollow sound when tapped. If you want certainty, use a thermometer and aim for 205 to 210°F in the center.
Do I really need warm water?
Not really. For this long, slow rise, room temperature water works great and is less fussy. If you do warm it, keep it lukewarm. If your water is above about 120°F, you risk harming the yeast.
My favorite ritual
When the loaf cools, I like to tear off the first piece by hand, swipe it through softened butter, and stand at the counter for a second like I am in a tiny bakery I own. If you are new to bread, I hope this recipe gives you that same feeling: calm, capable, and just a little bit proud.