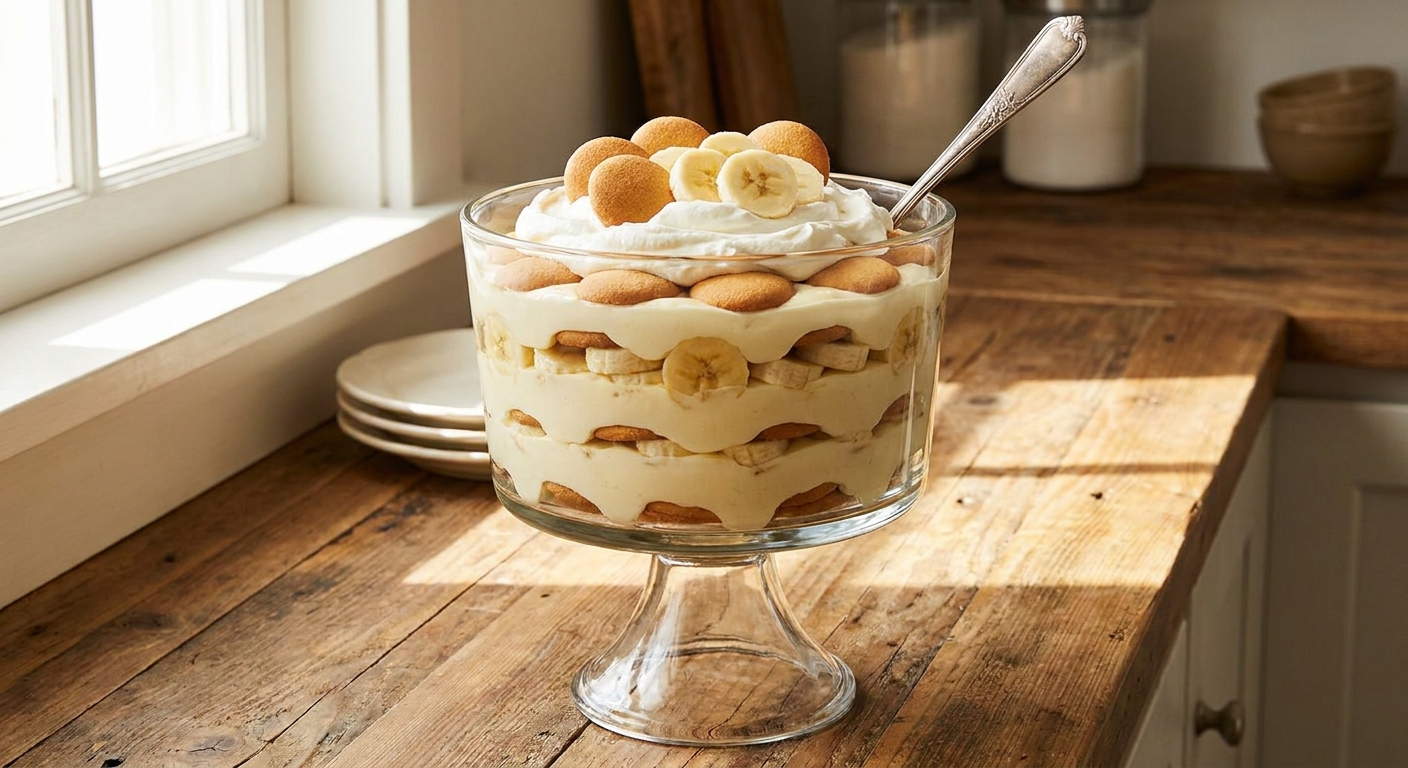
A no-fuss, ultra-creamy banana pudding with tender bananas, vanilla wafers, and a cloudlike vanilla cream. Includes make-ahead tips, storage, and serving ideas.
Recipeva
Homemade Whipped Cream
Learn how to make homemade whipped cream that is fluffy, stable, and perfectly sweet. Includes tips for soft vs stiff peaks, flavor variations, and make-ahead storage.

Maya Reynolds
Maya Reynolds is a passionate home cook, recipe developer, and the creative voice behind Recipeva. With over a decade of experience translating complex culinary techniques into approachable weeknight meals, she focuses on creating dishes that bring joy to the dinner table without the stress.
Created September 24, 2026
Updated September 24, 2026
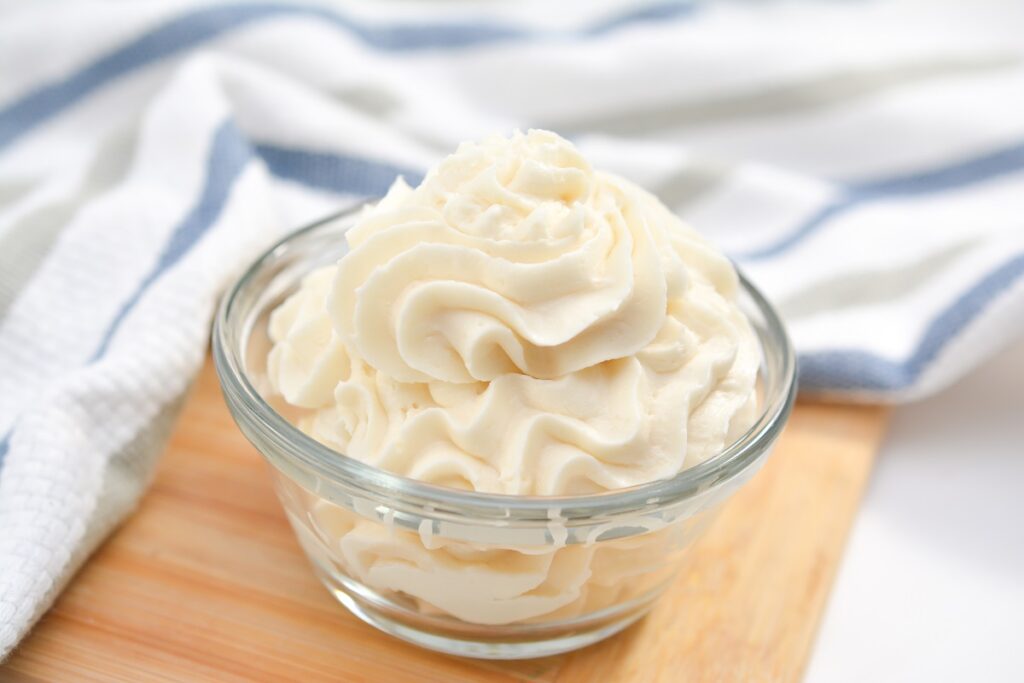
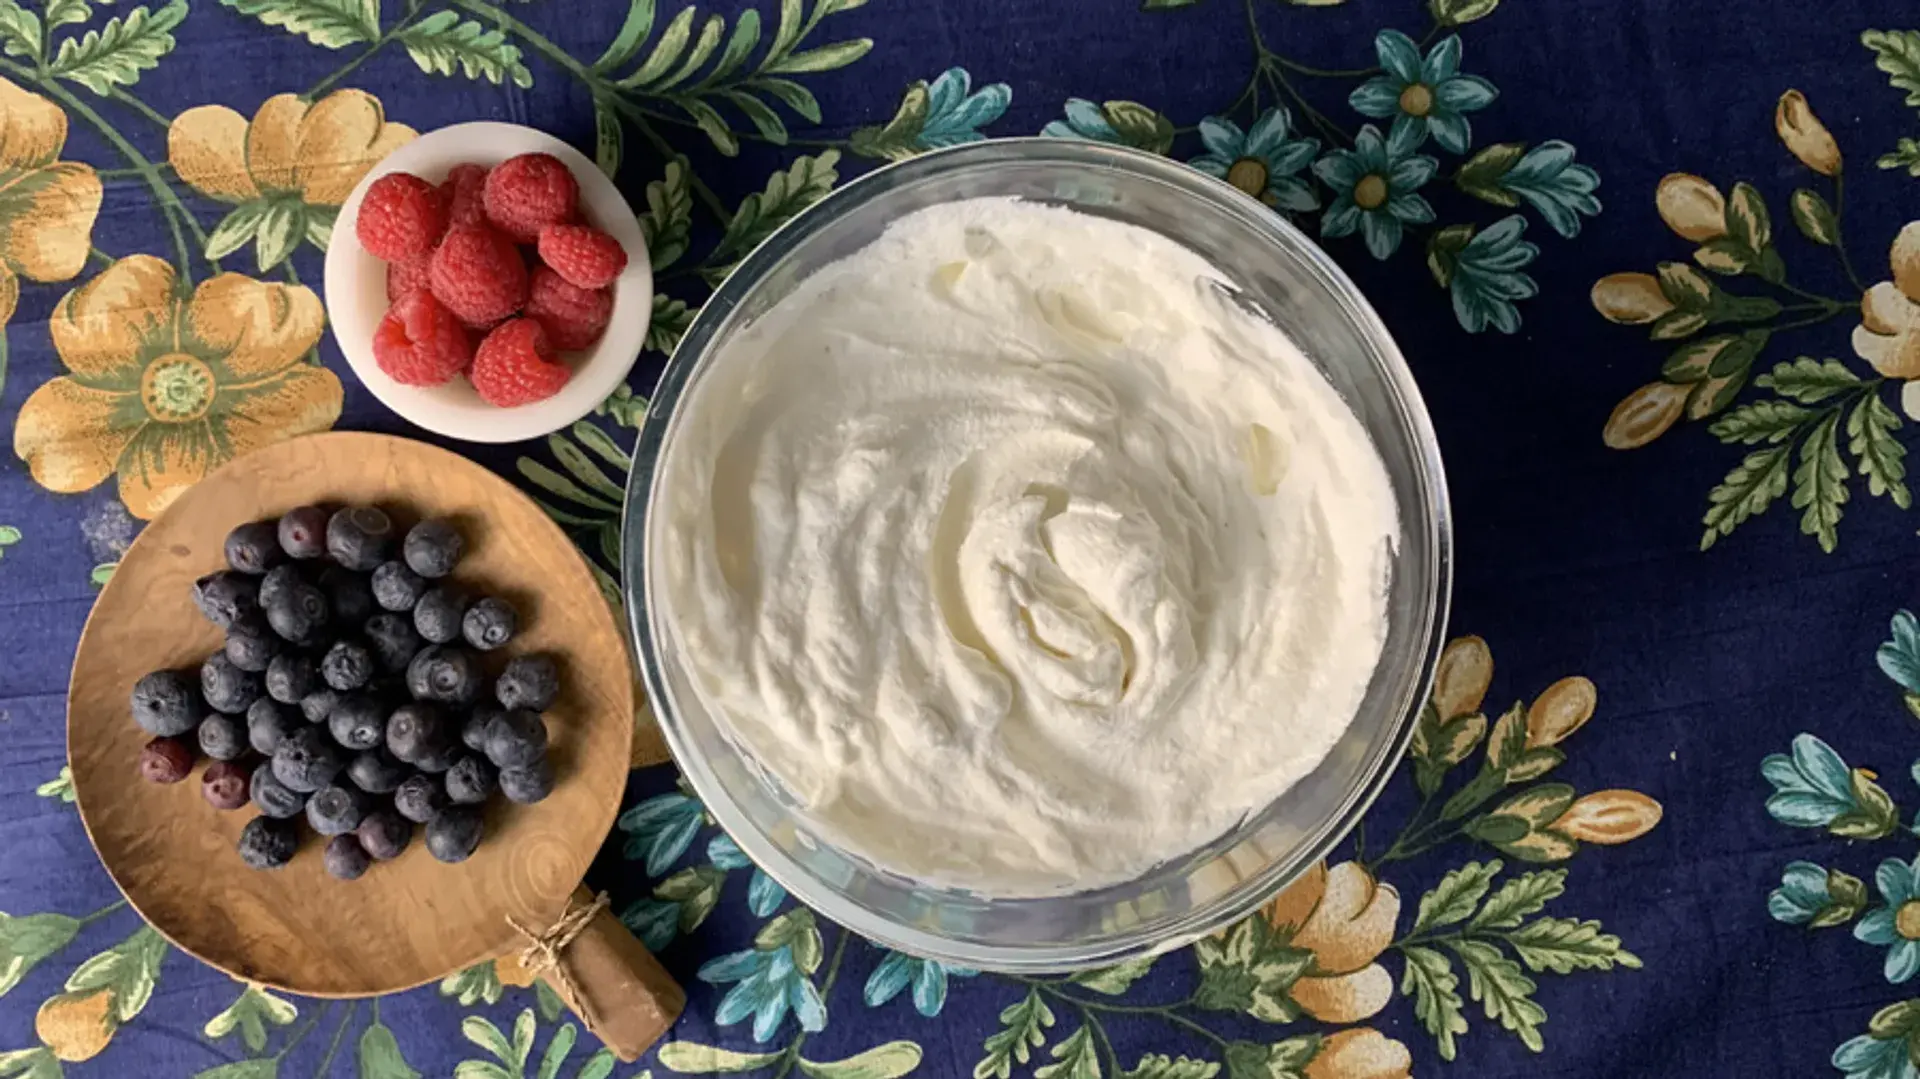
Homemade whipped cream is one of those tiny kitchen wins that makes everything feel a little more special. It takes about 3 minutes, uses simple ingredients, and tastes cleaner and fresher than anything from a tub. Once you learn what to look for (those peak stages), you will never feel intimidated by it again.
What you need
This is delightfully short. The key is starting cold.
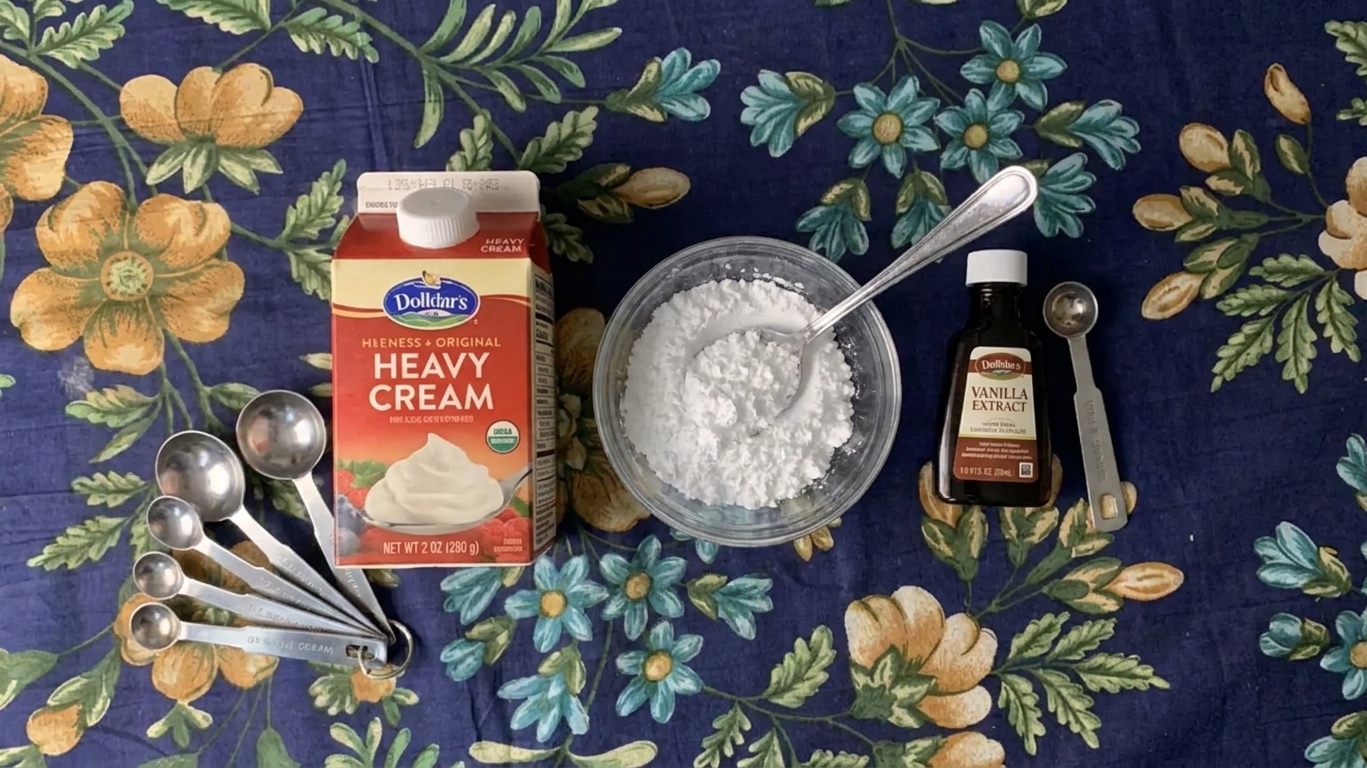
- Heavy cream (about 36%+ milkfat if you can): it whips up the most reliably and holds its shape better. Regular “whipping cream” can work too, it is just a little less sturdy.
- Sweetener: powdered sugar is my favorite for smooth, quick-dissolving sweetness. Granulated sugar works too, it just takes longer to dissolve.
- Vanilla extract (optional but highly recommended).
- Pinch of salt (optional): it makes the flavor pop.
Equipment
- Stand mixer, hand mixer, or a whisk and some determination
- Chilled bowl (especially helpful in warm kitchens)
Basic whipped cream
This makes about 2 cups whipped cream, enough for a pie, a pan of brownies, or a very enthusiastic hot chocolate night.
- 1 cup cold heavy cream
- 2 to 3 tablespoons powdered sugar (more or less to taste)
- 1 teaspoon vanilla extract
- Pinch of salt (optional)
Step-by-step
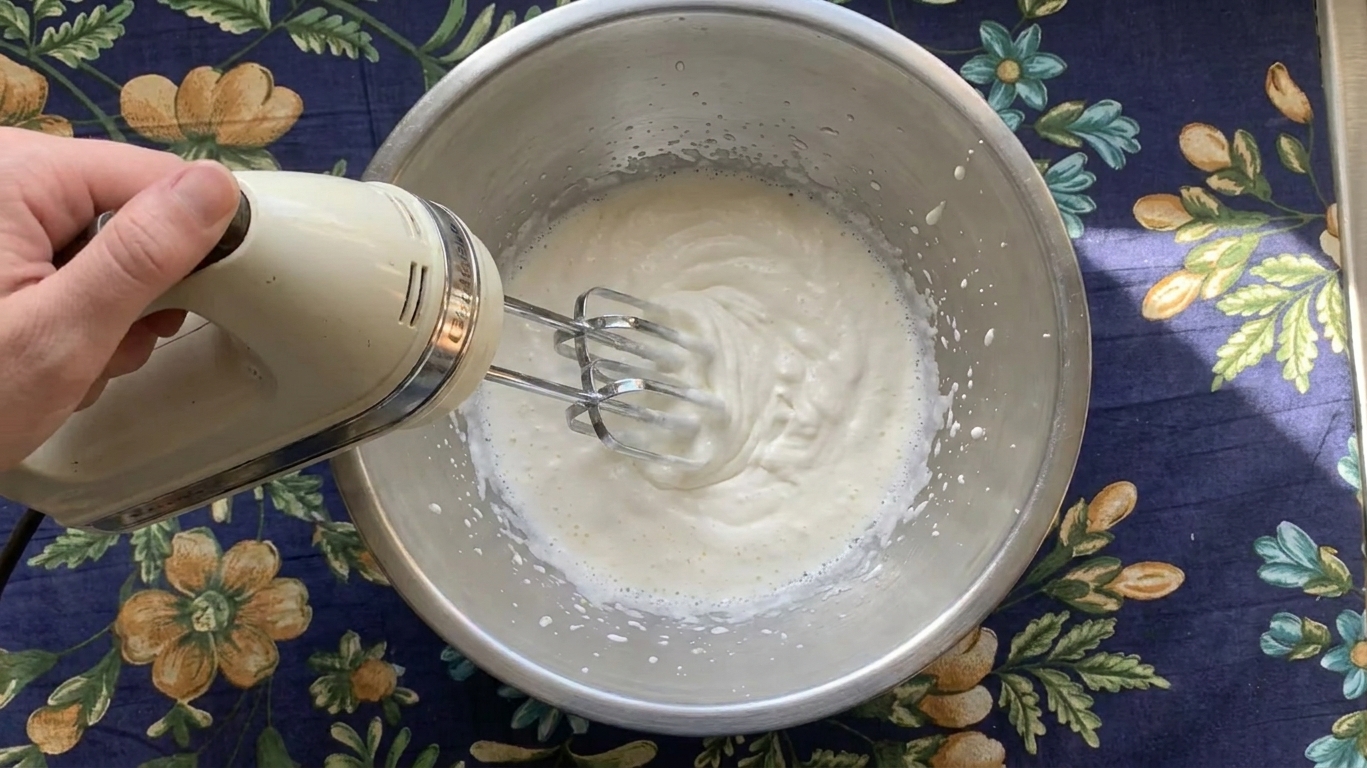
- Chill your setup. If you have time, pop the bowl and beaters in the freezer for 10 minutes. Keep the cream in the fridge until the second you pour it.
- Start slow. Pour cream into the bowl. Mix on low until it looks foamy and starts to thicken slightly, then increase to medium.
- Add sugar and vanilla. Once the cream is foamy, sprinkle in powdered sugar (this avoids a sugar cloud), then add vanilla and salt.
- Whip to your preferred peaks. Increase to medium-high and watch closely. Stop and check often near the end. Whipped cream goes from perfect to overwhipped faster than you think.
Peak guide
If you have ever wondered what “peaks” are supposed to look like, here is the simplest way to judge it: stop the mixer, lift the beater or whisk, and look at the little tip of cream left behind.
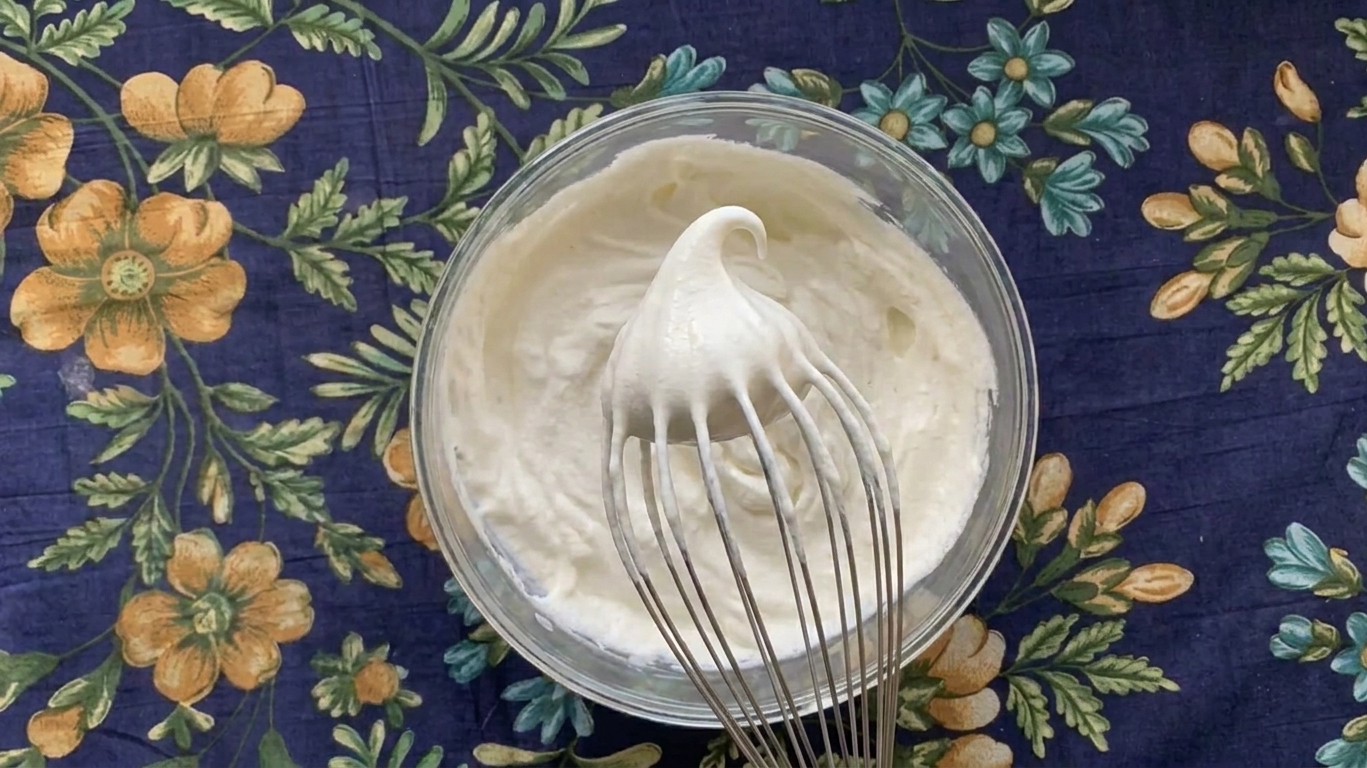
- Soft peaks: the peak curls over like a soft wave. Best for spooning onto berries, folding into mousse, or topping hot drinks because it looks silky and relaxed.
- Medium peaks: the peak mostly stands but the tip still has a tiny bend. Great all-purpose stage for desserts.
- Stiff peaks: the peak stands straight up. Best for piping, topping a pie that needs clean slices, or anything that will sit out briefly.
Maya note: If I am unsure, I stop at medium peaks. You can always whip 10 seconds more. You cannot unwhip.
Keep it from going runny
Homemade whipped cream is naturally delicate. If you want it to hold longer for topping cakes, piping, or making ahead, stabilize it. Here are the options I actually use in a home kitchen.
Option 1: Powdered sugar
Powdered sugar usually contains a bit of starch, which helps slightly. Use 2 to 3 tablespoons per cup of cream.
Option 2: Cornstarch
Add 1 teaspoon cornstarch per cup of cream along with the powdered sugar, then whip as usual. It is a subtle boost, not a miracle, and too much can give a faint “starchy” taste.
Option 3: Gelatin
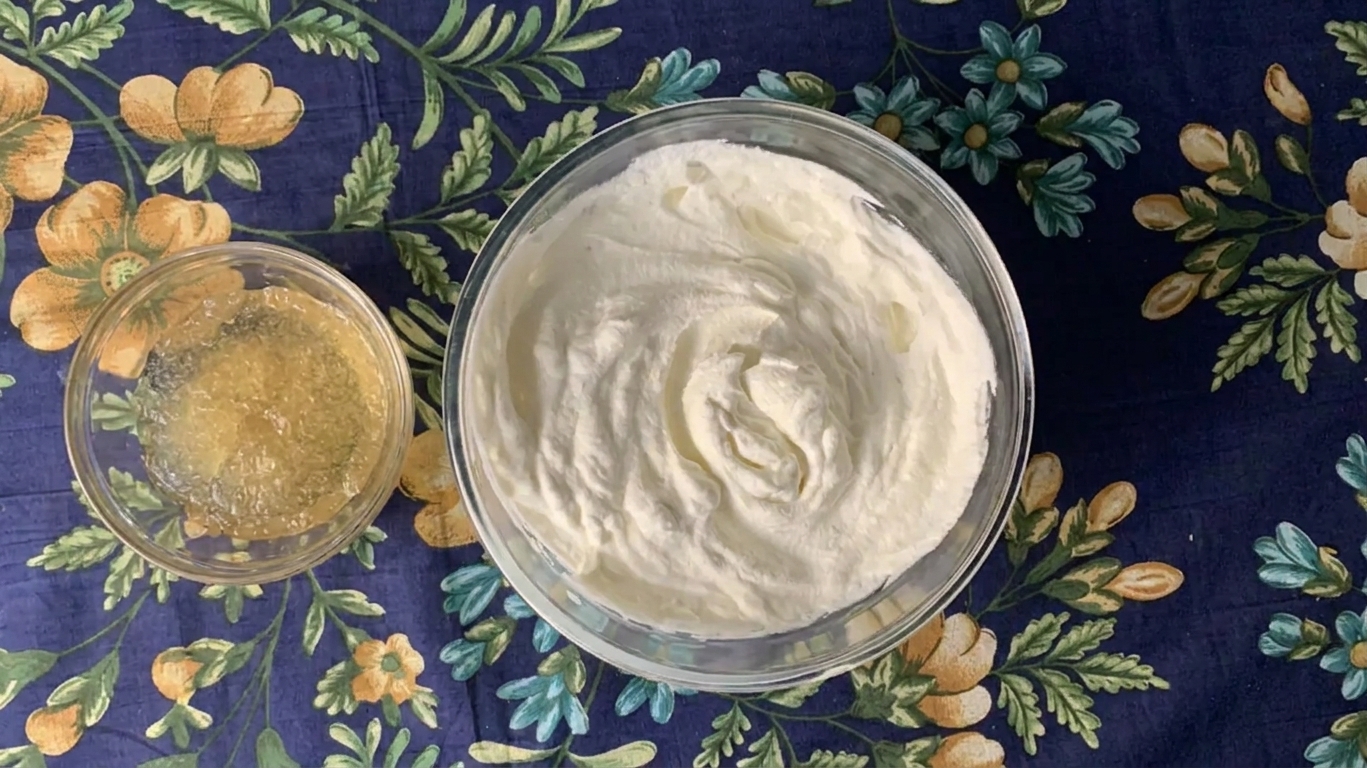
This is the most reliable when you need whipped cream to hold for hours.
- Sprinkle 1/2 teaspoon unflavored gelatin over 1 tablespoon cold water in a small bowl (this amount stabilizes about 1 cup cream). For a firmer, very pipeable set, you can use 1 teaspoon per cup.
- Let it bloom 5 minutes, then warm gently until fully melted (microwave 5 to 10 seconds at a time).
- Temper it. Whisk a spoonful of lightly whipped cream into the melted gelatin to cool it down.
- With the mixer running on low, slowly stream the gelatin mixture in once the cream is foamy, then whip to peaks.
Tip: Make sure the gelatin is melted but not hot. Hot gelatin can create little lumps when it hits cold cream.
Option 4: Mascarpone or cream cheese
Beat 2 to 4 tablespoons mascarpone (or softened cream cheese) into the cream once it is slightly thickened, then continue whipping. This is amazing on pumpkin pie and anything apple-forward.
Flavor ideas
Once you have the basic method down, whipped cream becomes your blank canvas.
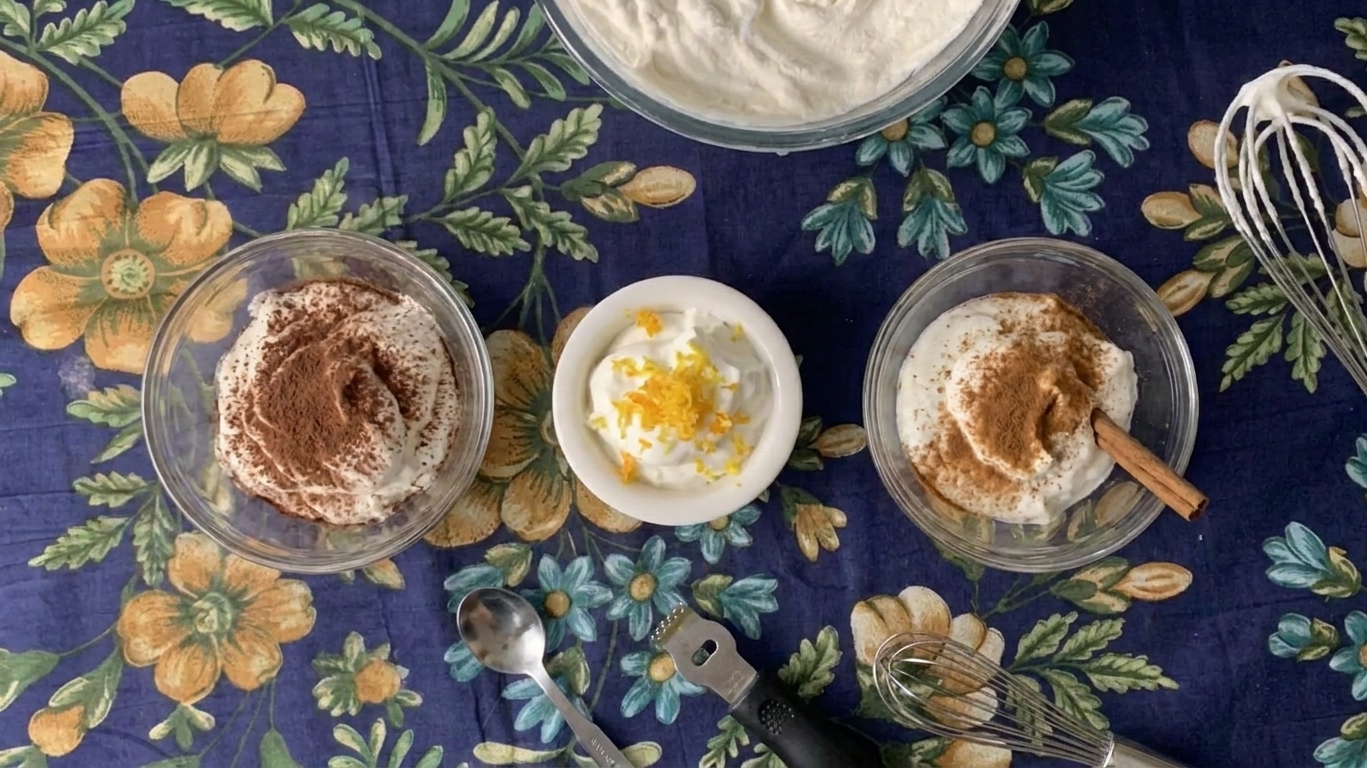
- Chocolate: add 1 to 2 tablespoons sifted cocoa powder with the sugar.
- Maple: use 1 to 2 tablespoons maple syrup instead of sugar (soft peaks recommended).
- Citrus: add 1 teaspoon lemon or orange zest with the sugar.
- Cinnamon: add 1/2 teaspoon ground cinnamon and a pinch of salt.
- Espresso: dissolve 1 teaspoon instant espresso powder in 1 teaspoon vanilla, then add.
- Boozy: add 1 to 2 teaspoons bourbon, rum, or Irish cream at soft peaks.
Garlic disclaimer: I put garlic in almost everything. Whipped cream is not one of those things. Probably.
Make-ahead and storage
Fresh is best, but you absolutely can prep ahead with the right expectations.
How long does it last?
- Unstabilized: best within a few hours. It may start to weep in the fridge overnight.
- Stabilized with gelatin: 2 to 3 days in the fridge, holding its shape much better.
How to store
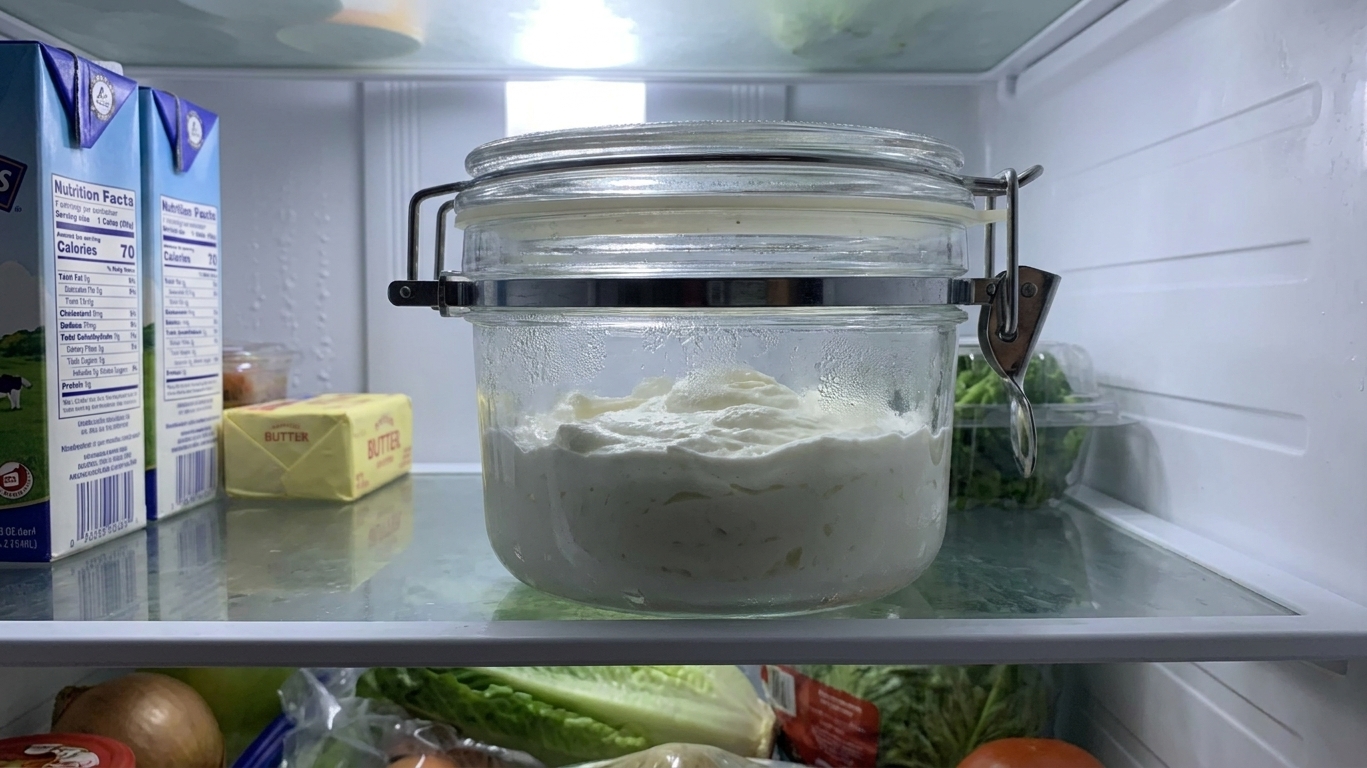
- Store in an airtight container in the refrigerator.
- If it weeps a little, gently fold it to recombine. If it needs more help, whisk briefly by hand. Re-whipping too aggressively can push it toward grainy, especially if it was already at stiff peaks.
Can you freeze it?
Yes, for dollops. Pipe or spoon mounds onto a parchment-lined tray, freeze until firm, then transfer to a freezer bag. Great for plopping onto hot chocolate or coffee drinks.
Troubleshooting
It will not whip
- Your cream may be too warm. Chill the bowl and try again.
- Make sure you are using heavy cream, not half-and-half or light cream.
- If you are using ultra-pasteurized cream: it still whips, but it can take a bit longer and sometimes looks a little less billowy. Cold fixes most problems here.
I overwhipped it
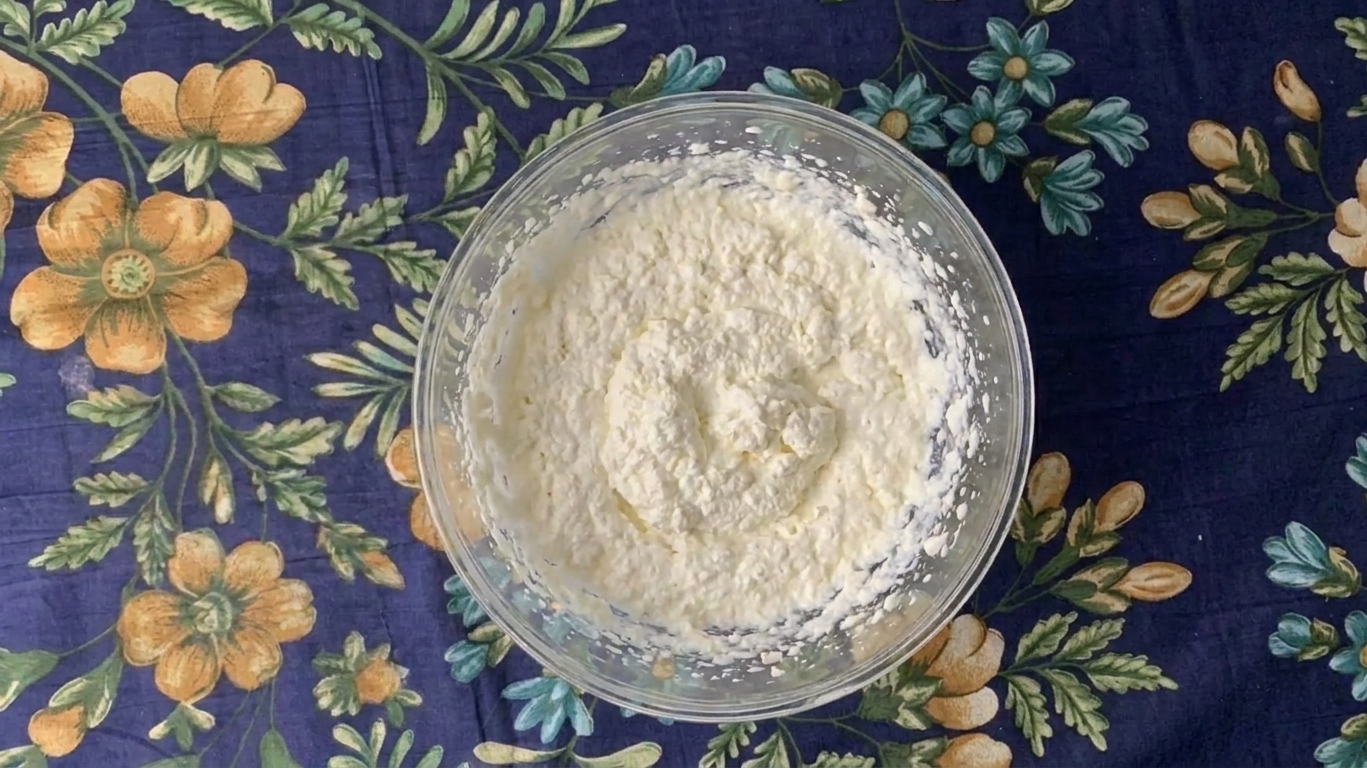
If it looks grainy but is not fully butter yet, you can often save it by drizzling in 1 to 2 tablespoons cold cream and whisking by hand just until smooth.
If you keep going, it will separate into butter and liquid. Not a tragedy, just a different project.
It tastes bland
Add a pinch of salt and a touch more vanilla. Whipped cream needs a tiny bit of seasoning to taste like itself.
Ways to use it
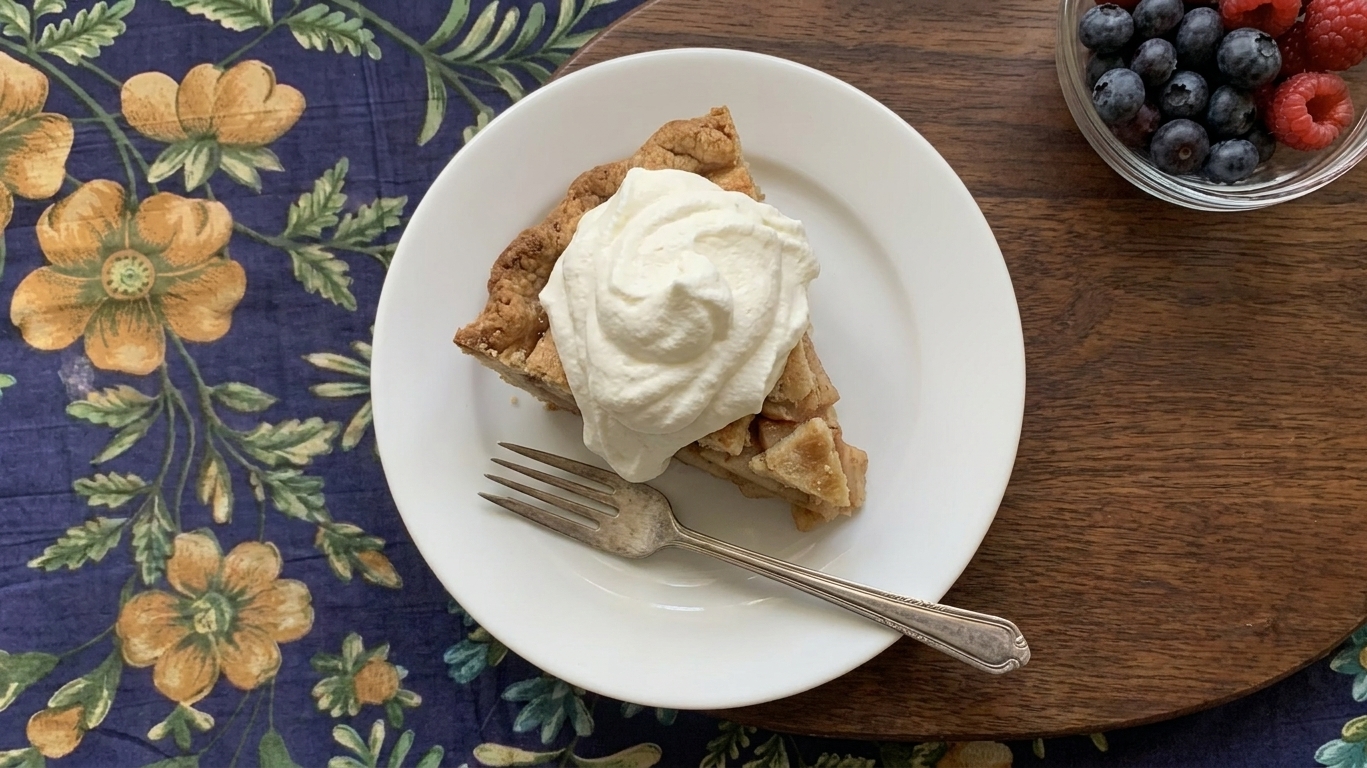
- Pies of every kind (pumpkin, chocolate, key lime, berry)
- Shortcakes, waffles, pancakes, French toast
- Hot chocolate, coffee drinks, affogato
- Fresh fruit and berries
- Filling and topping for cakes, cupcakes, trifles
FAQ
Can I make whipped cream without powdered sugar?
Absolutely. Use granulated sugar (start with 1 to 2 tablespoons per cup of cream) and whip a bit longer so it dissolves. Superfine sugar works even better if you have it.
Why does my whipped cream taste “buttery”?
It is likely overwhipped and the fat has started to clump. Stop earlier next time and aim for medium peaks, especially if you are using a stand mixer which works fast.
Can I use a whisk instead of a mixer?
Yes. Use a large bowl, cold cream, and whisk vigorously. It will take 4 to 8 minutes depending on your speed. Consider it your arm workout with a delicious reward.
Is it safe to leave out?
For serving, it is fine at room temperature for a short time, but for food safety and best texture, refrigerate anything sitting out longer than about 2 hours. If it is very hot (above 90°F or 32°C), aim for 1 hour.
My best tip
Stop the mixer early and finish with 10 to 20 seconds of whisking by hand. It gives you more control, smoother texture, and it dramatically lowers the odds of accidentally making butter. Also, if you are wondering whether to add “just one more” clove of garlic to dinner, the answer is yes. Always yes.