A chilled roundup of no-oven summer desserts: creamy, fruity, and chocolate options with short prep, make-ahead tips, and serving ideas for BBQs and beach days.
Recipeva
Best Banana Pudding (Creamy and Sweet)
This creamy, sweet banana pudding is layered with ripe bananas, vanilla wafers, and a fluffy vanilla cream. Easy, make-ahead, and perfect for feeding a crowd.

Maya Reynolds
Maya Reynolds is a passionate home cook, recipe developer, and the creative voice behind Recipeva. With over a decade of experience translating complex culinary techniques into approachable weeknight meals, she focuses on creating dishes that bring joy to the dinner table without the stress.
Created September 22, 2026
Updated September 22, 2026
If you ask me, banana pudding is the dessert equivalent of a cozy blanket. It’s creamy, sweet, and nostalgic in the best way, but it should still feel fresh and not overly heavy. This is my go-to version: a smooth vanilla pudding base that sets up beautifully, layers of ripe bananas, and vanilla wafers that soften into cake-like perfection as it chills.
It’s also the kind of dessert that makes you look like you planned ahead, even if you assembled it the night before. We love that energy.
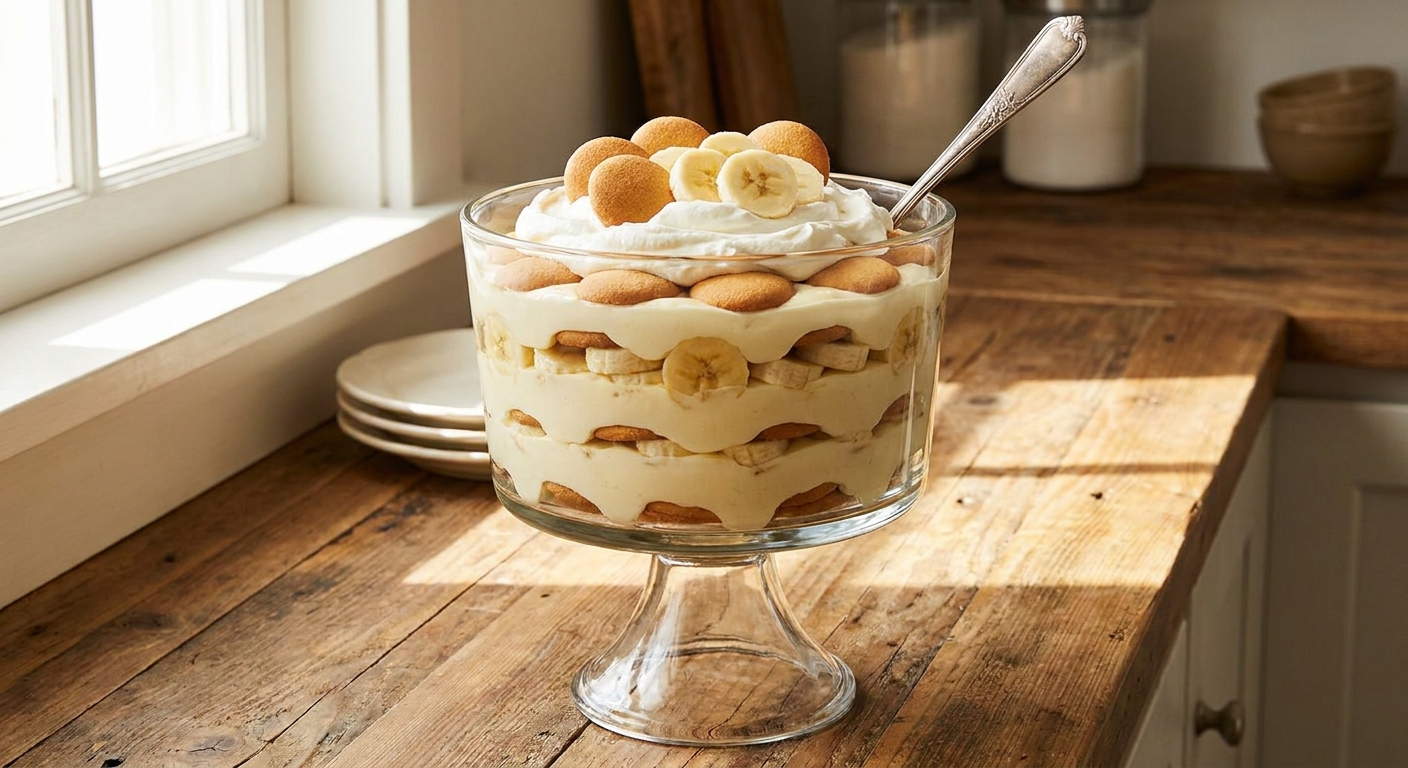
What makes this the best banana pudding
- Deep vanilla flavor: Real vanilla plus a little cream cheese for tangy balance.
- Stable, fluffy texture: Whipped cream folded into the pudding for a mousse-like finish.
- Make-ahead magic: After a good chill, the wafers soften into tender layers.
- No weeping, no runny mess: A properly cooked pudding base and smart layering help it hold its shape really well.
Ingredients
Here’s what you’ll need. Nothing fancy, all supermarket-friendly.
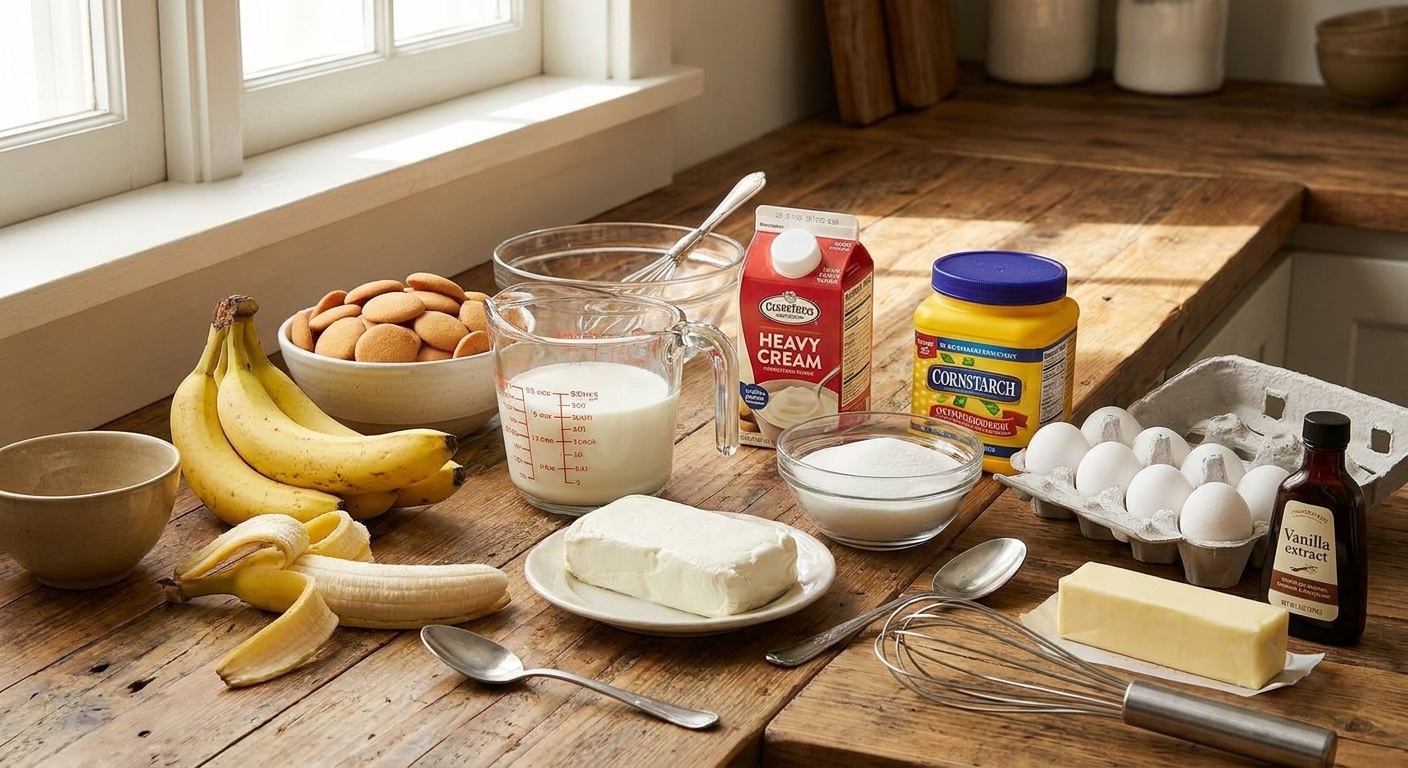
For the pudding base
- 2 1/2 cups whole milk
- 3/4 cup granulated sugar
- 1/4 cup cornstarch
- 1/4 teaspoon fine salt
- 3 large egg yolks
- 2 tablespoons unsalted butter
- 1 tablespoon vanilla extract (or 2 teaspoons vanilla extract plus 1 teaspoon vanilla bean paste, optional)
For the whipped layer
- 4 ounces cream cheese, softened
- 1/4 cup powdered sugar
- 1 1/2 cups heavy cream, very cold
For layering
- 4 to 5 ripe bananas (yellow with a few brown speckles, not mushy)
- 1 (11-ounce) box vanilla wafers
- Optional: a squeeze of lemon juice for the banana slices (it helps slow browning, but it’s not foolproof)
How to make banana pudding
Set yourself up with a 9x13-inch dish, a 3 to 4 quart trifle bowl, or individual jars. I usually do a trifle when I want the wow factor, and a 9x13 when I want easy scooping.
1) Cook the pudding
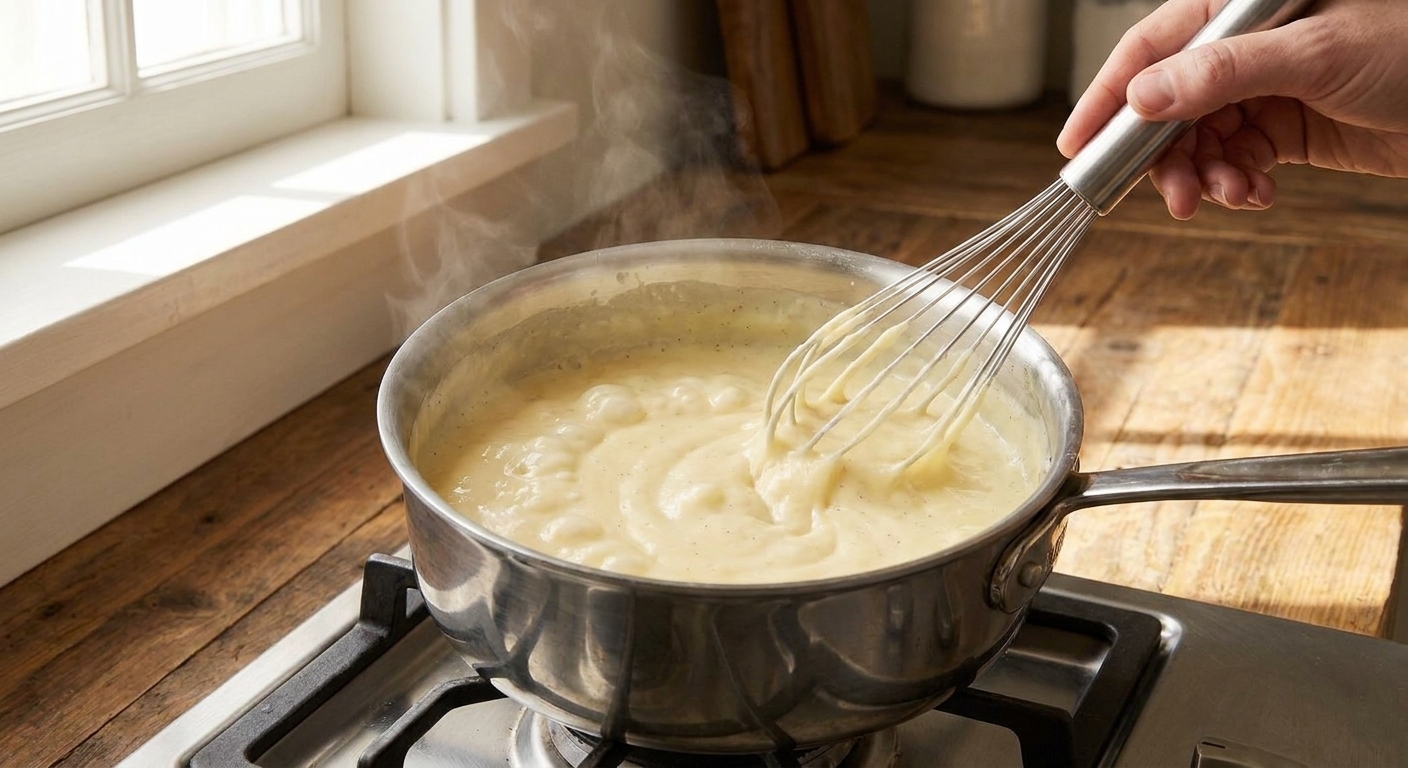
In a medium saucepan, whisk together the sugar, cornstarch, and salt. Slowly whisk in the milk until smooth. Place over medium heat and cook, whisking constantly, until the mixture thickens and starts to bubble slowly, about 6 to 10 minutes.
In a bowl, whisk the egg yolks. Slowly drizzle about 1/2 cup of the hot milk mixture into the yolks while whisking (this tempers them so they don’t scramble). Pour the yolk mixture back into the saucepan.
Once it’s bubbling, cook 30 to 60 seconds more while whisking, until thick enough to coat the whisk and the pudding leaves tracks for a second before smoothing out. Remove from heat and whisk in butter and vanilla.
2) Chill the pudding base
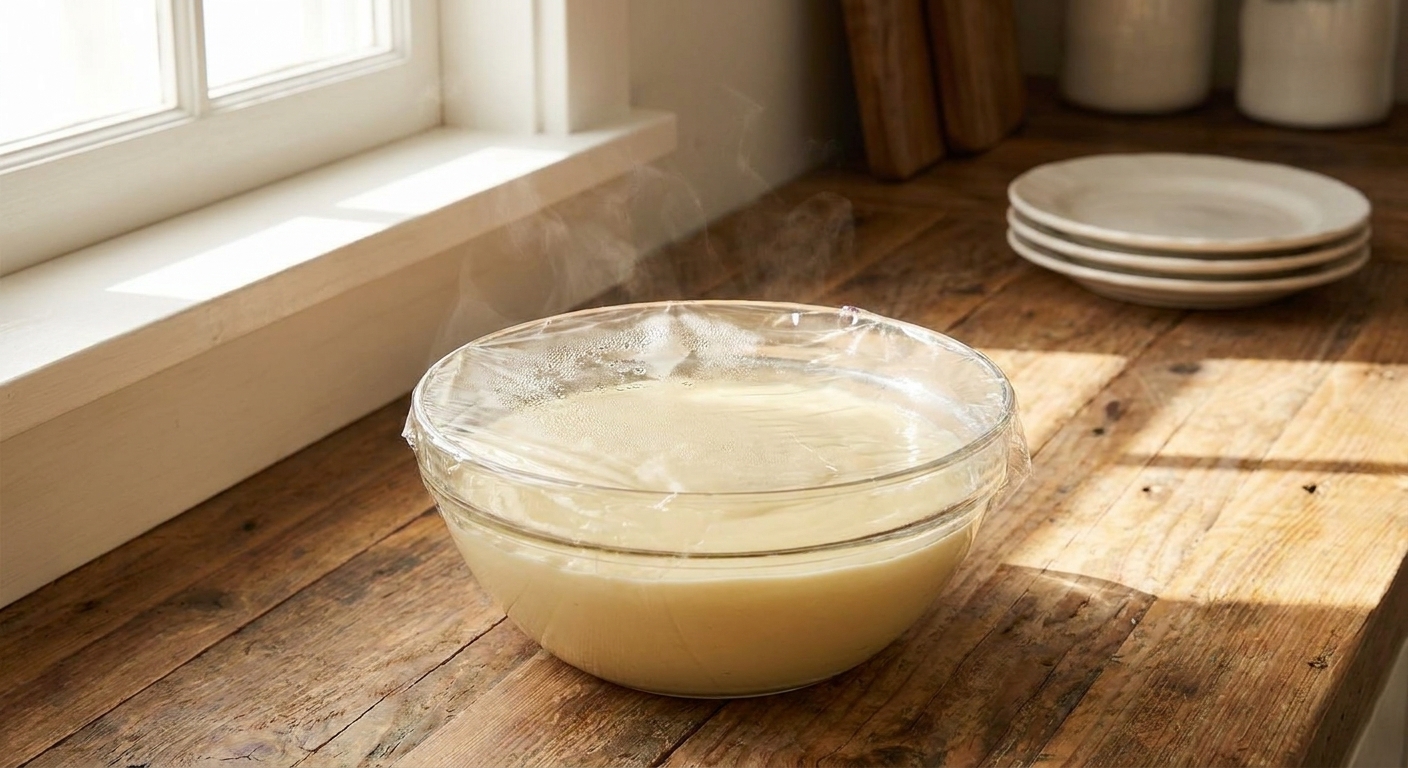
Pour the pudding into a bowl and press plastic wrap directly onto the surface (this prevents a skin). Chill until cold, at least 2 hours. If you’re in a hurry, spread it in a shallow dish to cool faster.
3) Make the whipped layer
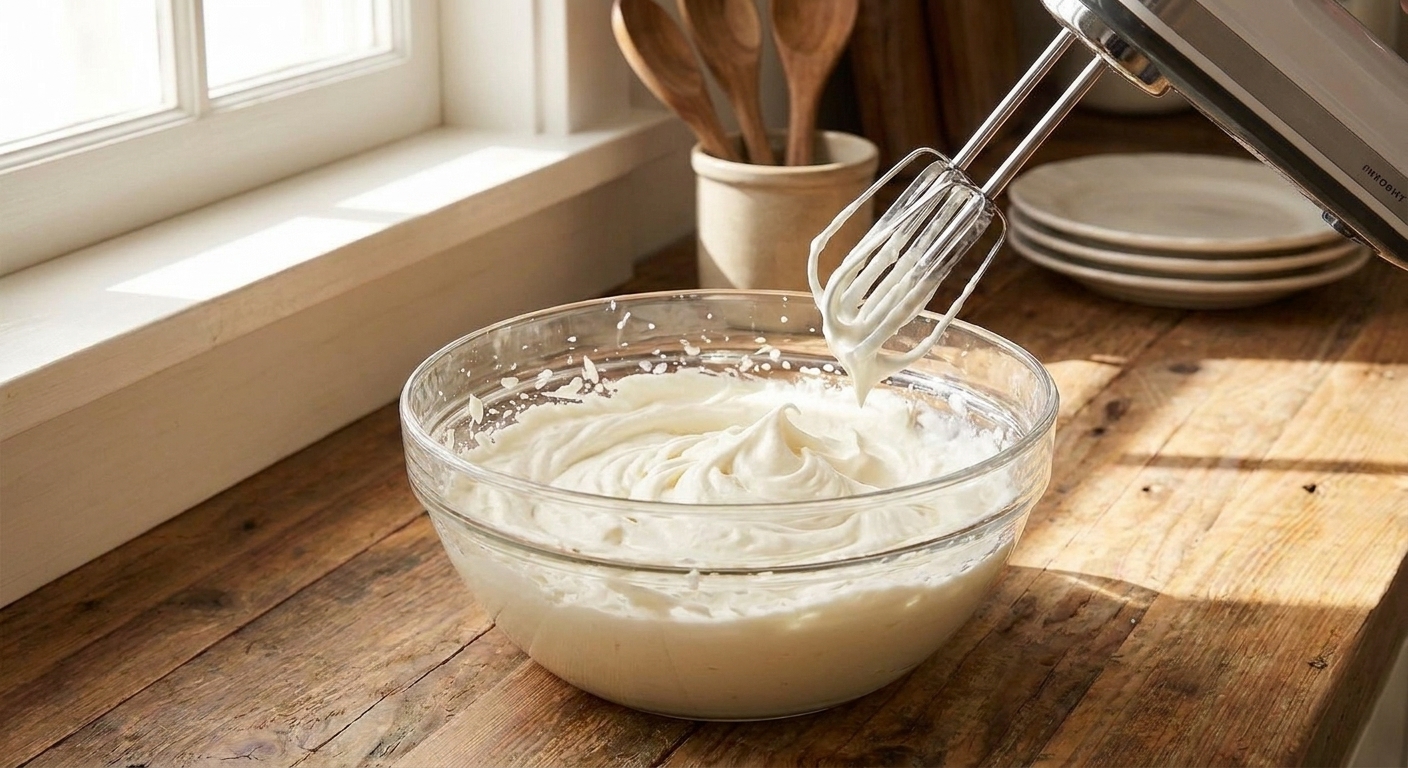
In a mixing bowl, beat the softened cream cheese and powdered sugar until smooth and creamy. Add the cold heavy cream and whip until medium peaks form. (Think: fluffy, holds its shape, but still looks silky.)
Once the pudding base is fully cold, whisk it briefly until smooth to loosen it, then fold it into the whipped cream mixture until no streaks remain. This is your cream mixture for layering.
4) Layer it up
Slice the bananas. If you’re serving the next day and want extra insurance against browning, toss the slices very lightly with a squeeze of lemon juice. It shouldn’t taste lemony, and the bananas can still darken a bit over time.
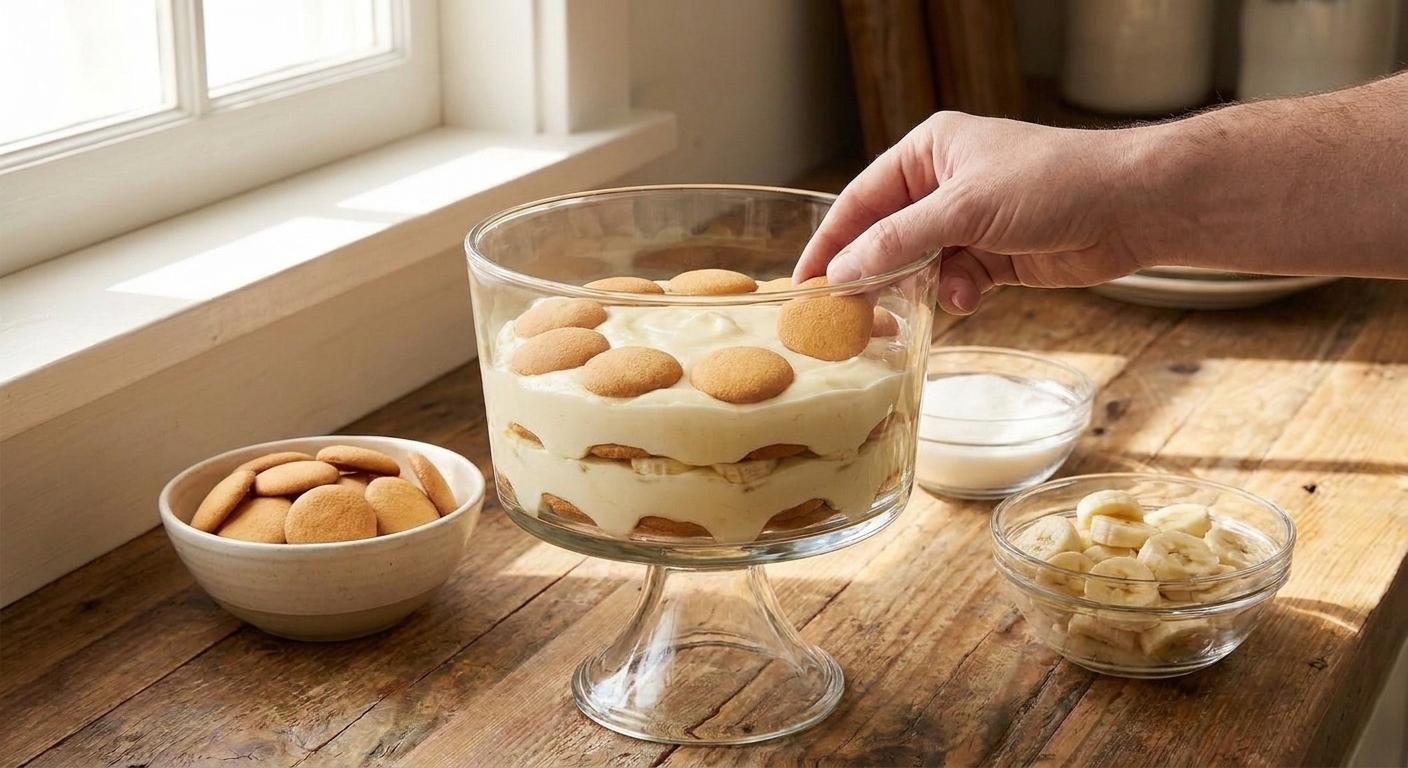
- Spread a thin layer of the cream mixture on the bottom of your dish.
- Add a layer of vanilla wafers.
- Add a layer of banana slices.
- Add a generous layer of cream mixture.
- Repeat for about 2 to 3 total rounds (depending on your dish), finishing with cream on top.
Top with a few crushed wafers or whole wafers right before serving for a little crunch.
5) Chill, then serve
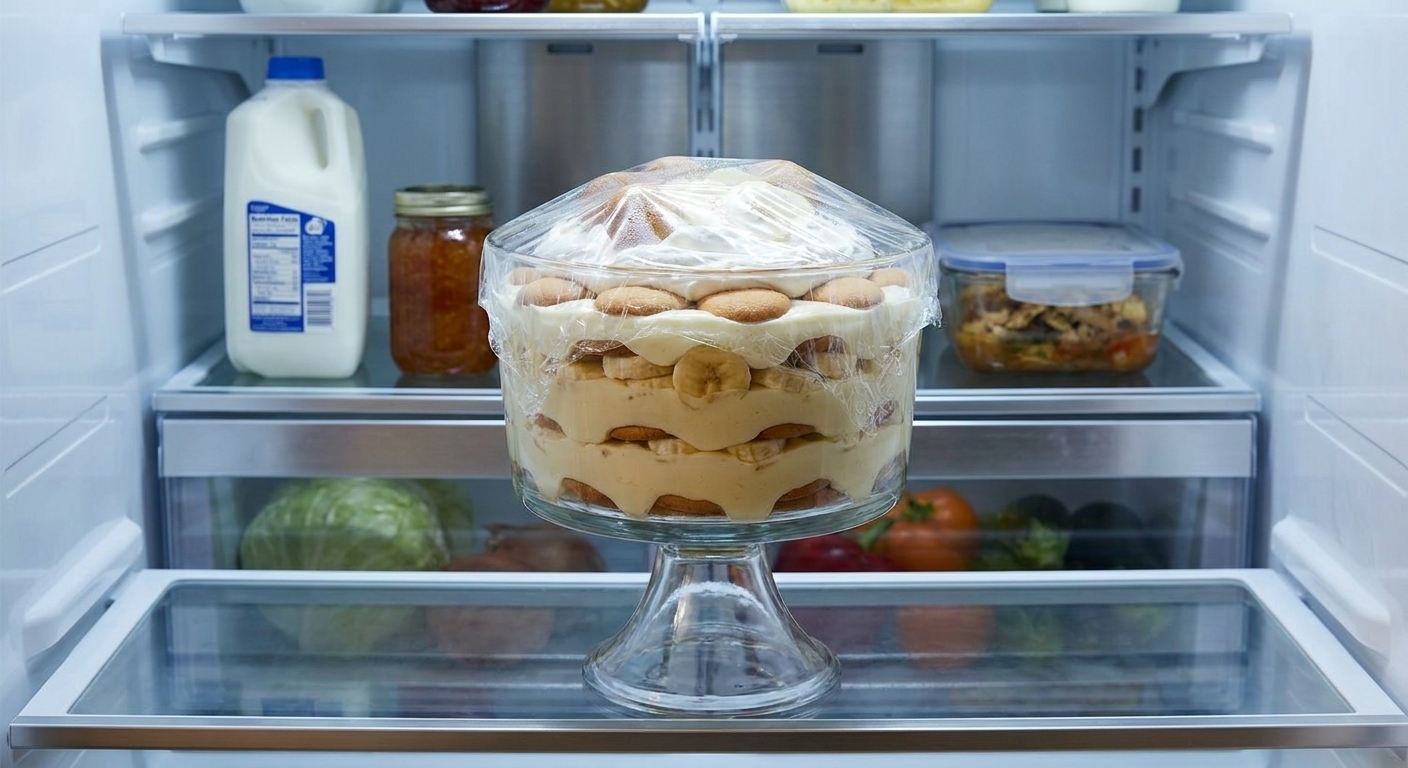
Cover and refrigerate at least 6 hours, ideally overnight. This is when the wafers soften and the whole dessert becomes spoonable perfection.
My best tips
- Use ripe but firm bananas: Too green tastes flat. Too ripe turns mushy and browns faster.
- Don’t rush the chill: Warm pudding will melt the whipped layer and leave you with a loose texture.
- Press wrap onto the pudding base: This one little step saves you from pudding skin.
- Fold, don’t stir: Gentle folding keeps the cream airy.
- Save the crunchy topping for the end: If you love a little crisp, add your top wafers right before serving.
Variations
Extra banana flavor
Mash 1 very ripe banana and whisk it into the cooked pudding base off the heat. It’ll taste more banana-forward and slightly darker.
Chocolate banana pudding
Add 2 tablespoons cocoa powder to the sugar and cornstarch mixture at the start. Or scatter mini chocolate chips between layers.
Peanut butter twist
Beat 1/3 cup creamy peanut butter into the cream cheese before whipping in the cream. Banana plus peanut butter is always a yes in my kitchen.
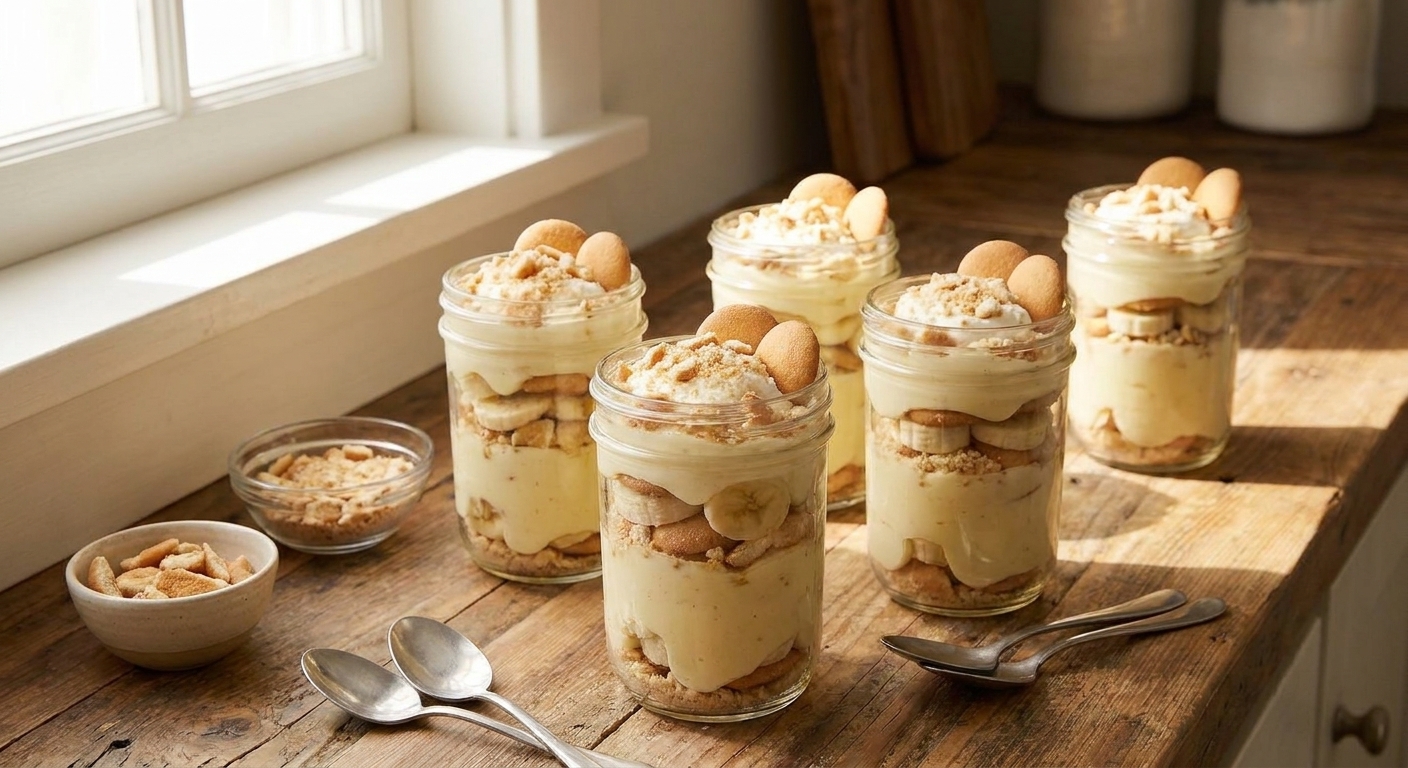
Individual jars
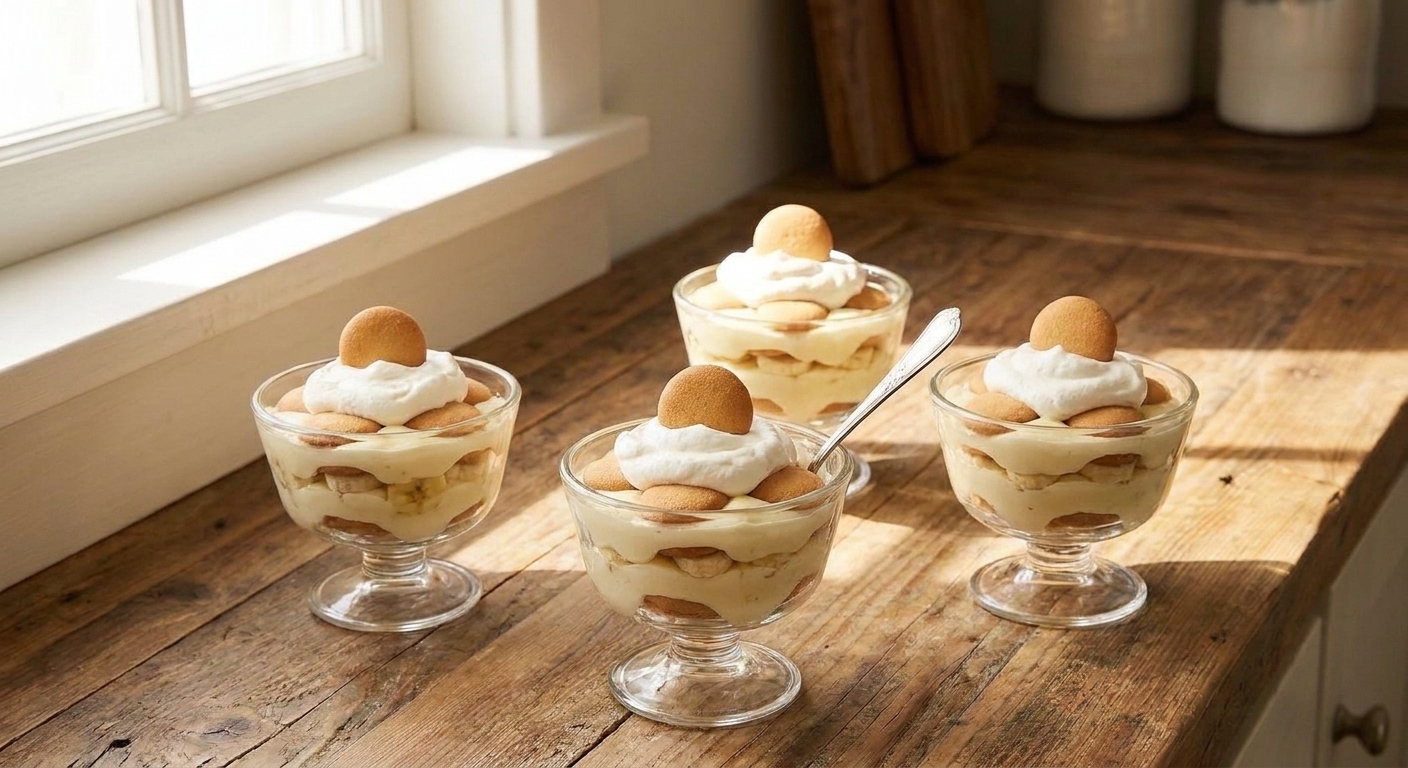
Layer in small jars or cups for parties. It feels special, and nobody has to fight over the perfect scoop.
Swaps and dietary notes
- Gluten-free: Use gluten-free vanilla cookies in place of vanilla wafers.
- Dairy-free: Use your favorite unsweetened non-dairy milk (thicker ones work best), dairy-free cream cheese, and a plant-based whipping cream. The set will be a little softer, but still delicious.
Make-ahead and storage
How far ahead can I make it?
Best texture is made the day before. You can assemble it up to 24 hours in advance.
How long does it last?
It’s best within 2 days. It’s typically still fine to eat up to 3 days if it’s been continuously refrigerated, but the bananas soften and darken and the wafers get very, very tender.
Can I freeze banana pudding?
I don’t recommend it. The cream layer and bananas change texture after thawing, and it tends to turn watery.
Serving ideas
- Classic: A big spoon and a cold bowl. No notes.
- Potluck-friendly: Make it in a 9x13 and bring a sleeve of wafers for topping.
- Fancy-but-easy: Add a few banana slices and a wafer on the side of each serving right before it hits the table.
FAQ
Why did my banana pudding turn runny?
Usually one of three things: the pudding base wasn’t cooked long enough to fully thicken, it was still warm when mixed with the whipped layer, or it didn’t chill long enough to set. Next time, cook until you see slow bubbles, then keep whisking for 30 to 60 seconds more, and make sure the pudding base is fully cold before folding.
How do I keep bananas from browning?
Use bananas that are ripe but still firm, keep the dessert cold, and make sure banana slices are tucked between cream layers. A very light toss with lemon juice helps slow browning, but it’s not a guarantee.
Can I use instant pudding instead?
Yes. If you need a shortcut, use two (3.4-ounce) boxes of instant vanilla pudding and prepare with cold milk according to the package. Fold into whipped cream and proceed with layering. Homemade tastes richer and more custardy, but instant is absolutely allowed on a busy week.
What dish is best?
A 3 to 4 quart trifle bowl is gorgeous for layers, a 9x13 is easiest for serving, and individual jars are best for parties. Choose your vibe.
Printable recipe
Best Banana Pudding (Creamy and Sweet)
Yield: 10 to 12 servings
Prep: 25 minutes
Cook: 10 minutes
Chill: at least 6 hours (overnight is best)
Ingredients
- 2 1/2 cups whole milk
- 3/4 cup granulated sugar
- 1/4 cup cornstarch
- 1/4 teaspoon fine salt
- 3 large egg yolks
- 2 tablespoons unsalted butter
- 1 tablespoon vanilla extract
- 4 ounces cream cheese, softened
- 1/4 cup powdered sugar
- 1 1/2 cups heavy cream, very cold
- 4 to 5 ripe bananas
- 1 (11-ounce) box vanilla wafers
Instructions
- In a saucepan, whisk sugar, cornstarch, and salt. Slowly whisk in milk until smooth. Cook over medium heat, whisking constantly, until thickened and bubbling slowly, 6 to 10 minutes.
- Temper egg yolks with 1/2 cup of hot mixture, then whisk yolks back into the saucepan. Once bubbling, cook 30 to 60 seconds more, whisking, until the pudding coats the whisk and briefly holds tracks.
- Remove from heat and whisk in butter and vanilla. Transfer to a bowl and press plastic wrap directly onto the surface. Chill until cold, at least 2 hours.
- Beat cream cheese and powdered sugar until smooth. Add heavy cream and whip to medium peaks.
- Whisk chilled pudding base until smooth to loosen, then fold into the whipped cream mixture until fully combined.
- Layer a thin smear of cream mixture, wafers, banana slices, and more cream mixture in a trifle or 9x13 dish. Repeat, finishing with cream on top.
- Cover and chill at least 6 hours, ideally overnight. Top with crushed or whole wafers right before serving.
Maya tip: If you’re making it a full day ahead, tuck banana slices under the cream and wait to decorate the top until serving time for the prettiest finish.