

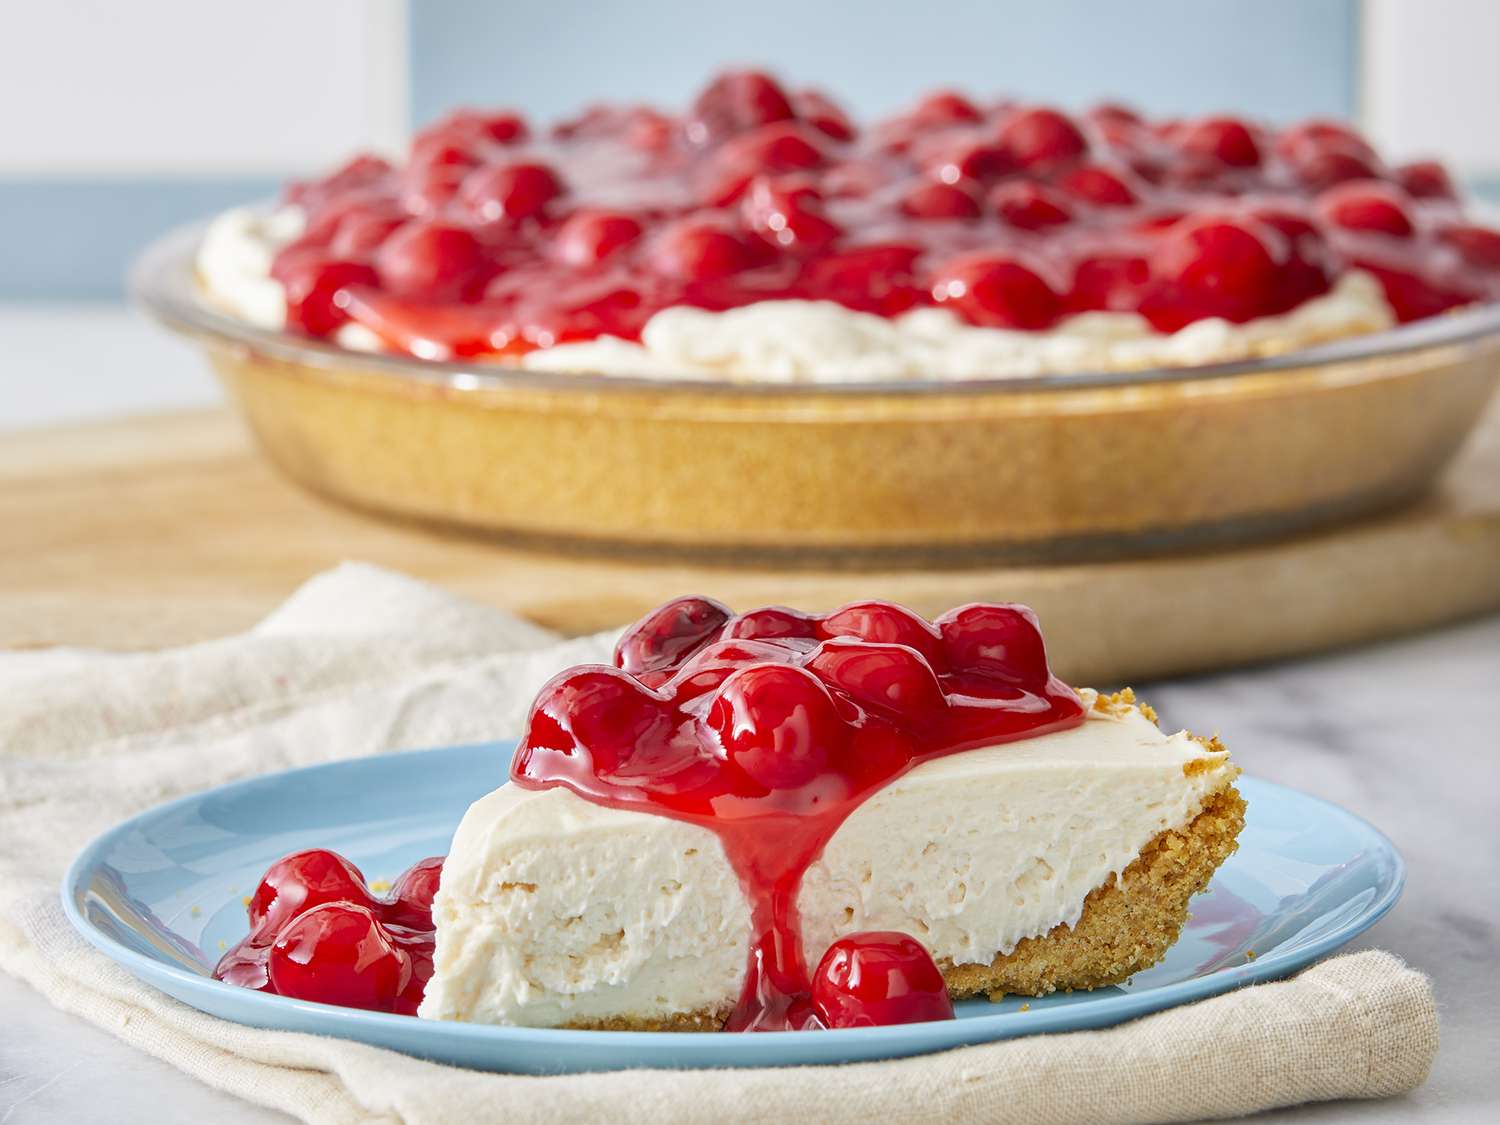
If you have ever wanted cheesecake without the whole water bath, cracked top, and nervous oven-watching, this is your dessert. This rustic no bake cheesecake is intentionally unfussy: a press-in crust, a creamy tangy filling, and a swoopy, imperfect finish that looks like you meant it (because you did).
This is the kind of dessert to make when you want something special for a weeknight, a potluck, or a birthday, but you also want to keep your kitchen calm. Plan for chilling time: the active work is easy, but the fridge does the real magic.
Rustic just means leaning into the charm. Instead of aiming for perfectly sharp edges, you get a simple press-in crust that does not need baking, a creamy filling you can swirl and swoop with a spoon, and toppings that look natural.

The idea
Why This Recipe Works
- No oven required: You skip the water bath, cracked tops, and oven-watching.
- Rustic styling is forgiving: Swirls and swoops are part of the look, so it is a friendly place to start if you are new to cheesecake.
- Full-fat cream cheese plus whipped cream: Whipped cream and a full chill help it set up sliceable with a lighter, mousse-like texture in most kitchens.
- Chill time does the work: At least 6 hours (ideally overnight) improves slicing and flavor.
Shopping
Ingredient Notes
Everything is standard grocery-store friendly. The only non-negotiable is using full-fat cream cheese for the right set and texture.
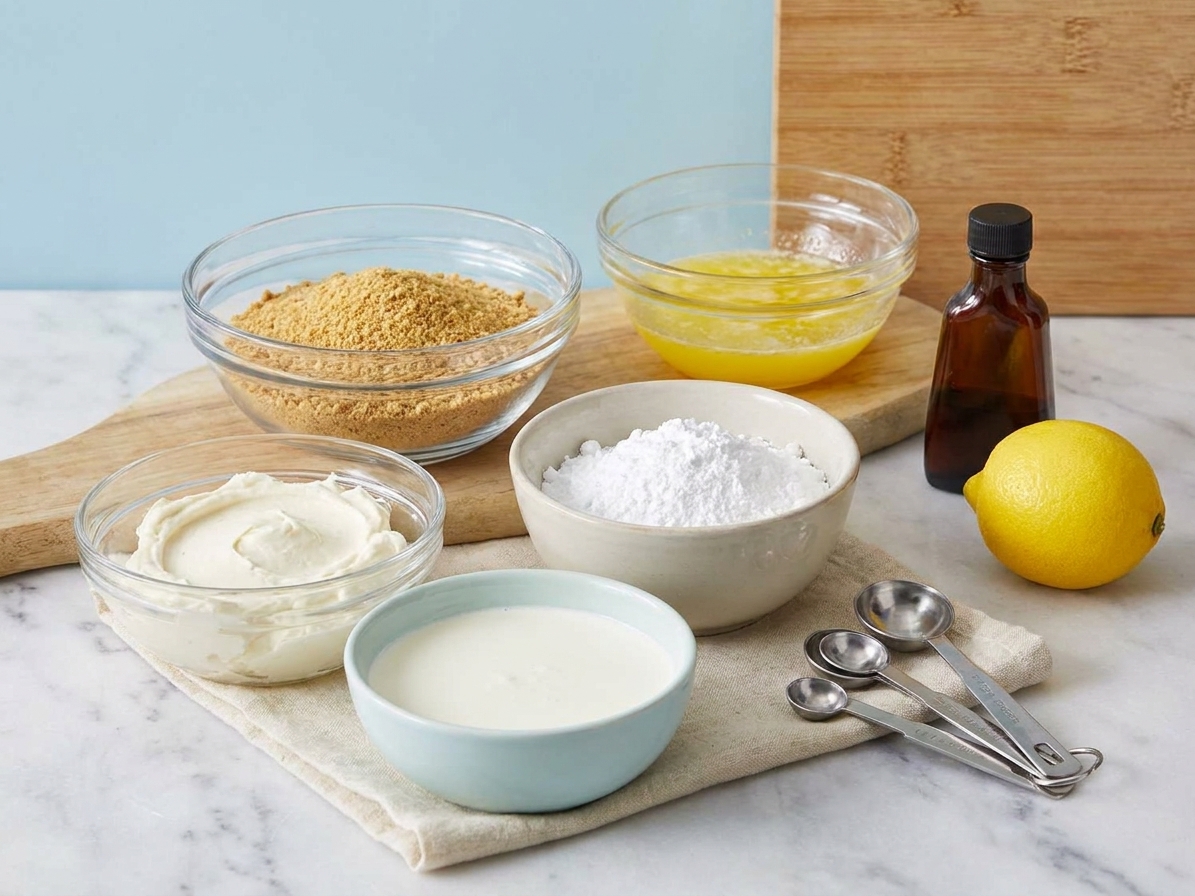
- Graham cracker crumbs: 1 1/2 cups (about 10 full sheets). You can also use digestive biscuits, vanilla wafers, or gingersnaps.
- Sugar in the crust: Optional (1 to 2 tablespoons), depending on your crumbs and sweetness preference.
- Cream cheese: 16 ounces (2 blocks), softened fully to room temperature to avoid lumps.
- Powdered sugar: 3/4 cup; it dissolves smoothly with no grit.
- Vanilla extract: 2 teaspoons (or 1 tablespoon if you want extra vanilla).
- Lemon: 1 tablespoon lemon juice, plus 1 teaspoon zest if you want extra brightness.
- Heavy cream: 1 cup, very cold; it whips up and helps the cheesecake set sliceable.
- Salt: A pinch in the crust and a tiny pinch in the filling help the sweetness taste cleaner and the tang pop.
Get set up
Equipment You Will Need
- 9-inch pie dish or 9-inch springform pan
- Electric mixer (hand or stand)
- Mixing bowls and a spatula
- Optional: parchment for lining the springform base for easier release
Technique
Tips for Getting It Right
- Soften the cream cheese properly: Cold cream cheese is the number one cause of lumps. Let it sit out until it is truly soft to the touch.
- Keep the heavy cream cold: Warm cream will not whip as well, and the filling will set softer.
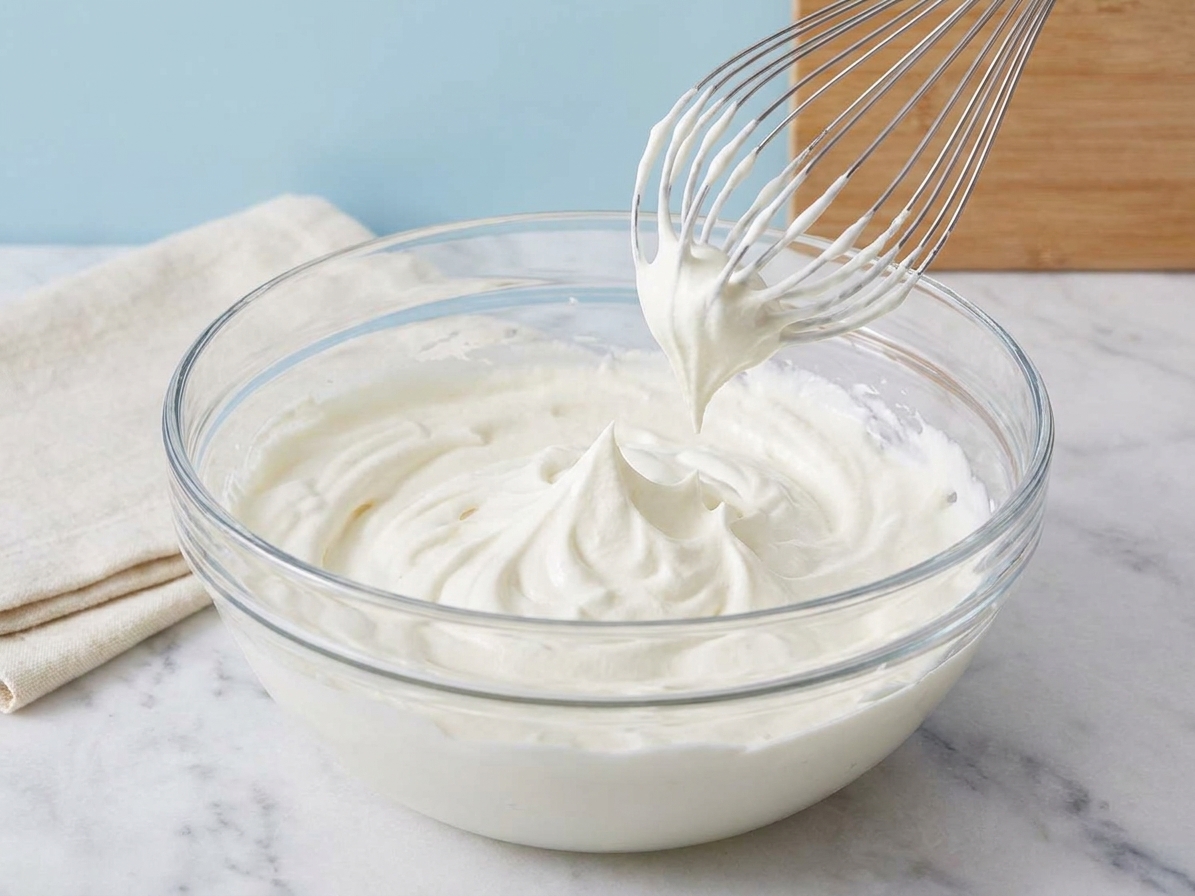
- Whip to stiff peaks: It should stand up on the whisk and look smooth and glossy, not grainy or starting to turn buttery.
- Scrape the bowl well: When mixing the base, scrape so you do not end up with sneaky cream cheese lumps.
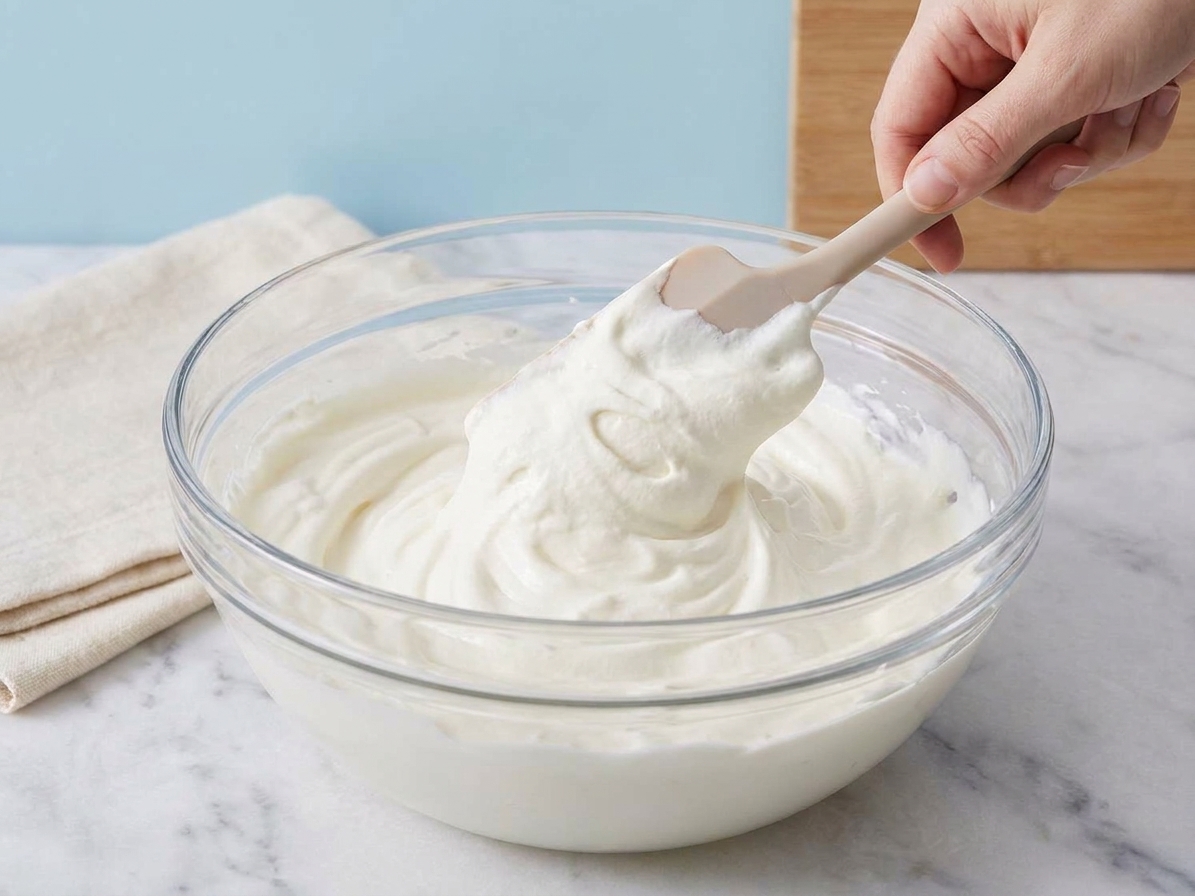
- Fold gently: Once whipped cream is in, gentle folding keeps the filling airy and helps it set up nicely.
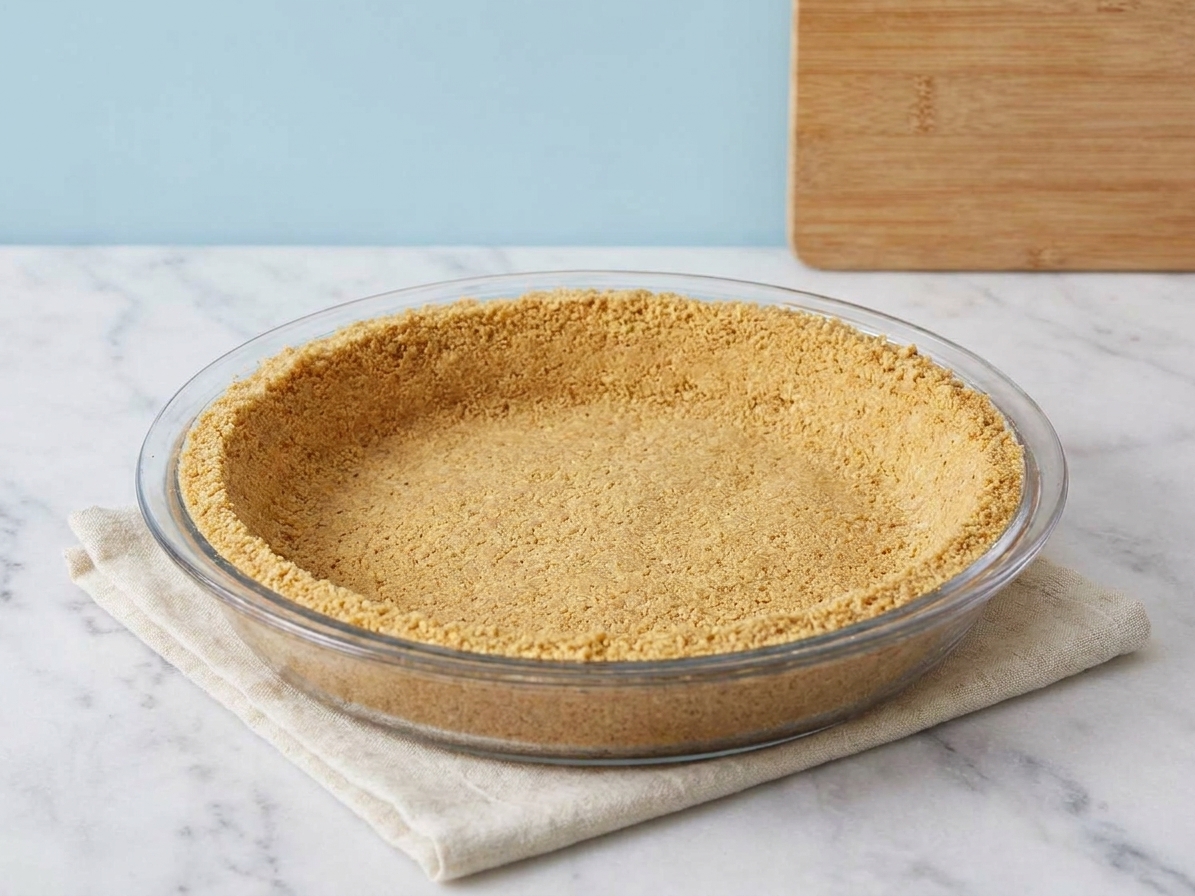
- Compact the crust: Use the bottom of a measuring cup to press crumbs firmly, especially around the edges.
- Chill longer than you think: Six hours works, overnight is best. This is not the dessert to rush.
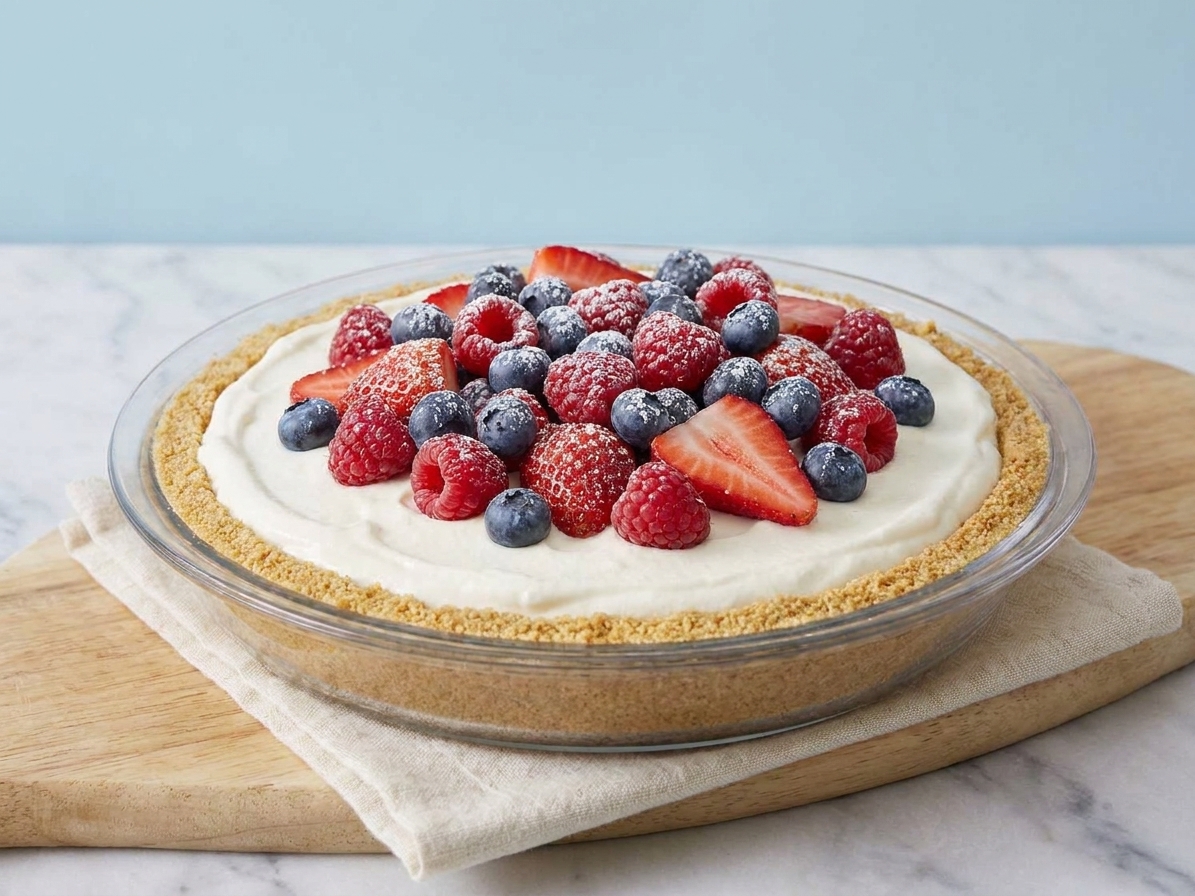
- Toppings last: Add toppings right before serving for the freshest look and best texture. If using berries, pat them dry first so they do not weep into the top.
Flexibility
Substitutes That Work
- Crust cookies: Swap graham cracker crumbs for digestive biscuits, vanilla wafers, or gingersnaps.
- Pan choice: Use a pie dish for an easy rustic look, or a springform pan for taller, sharper slices (parchment on the base helps release).
- Heavy cream alternative: You can use whipped topping instead of heavy cream; it will set, but the flavor is less rich and the texture can be a bit bouncier.
Make it yours
Variations to Try
- Lemon: Add 1 to 2 teaspoons lemon zest and top with lemon curd.
- Berry swirl: Swirl a few spoonfuls of berry jam into the top before chilling, then add fresh berries at serving.
- Gingersnap crust: Swap graham crumbs for gingersnap crumbs for a warm, spicy base that is incredible with peaches or apples.
- Optional mix-in: Mini chocolate chips folded into the filling.
On the table
What to Serve It With
This cheesecake is a blank canvas.
Fresh and bright
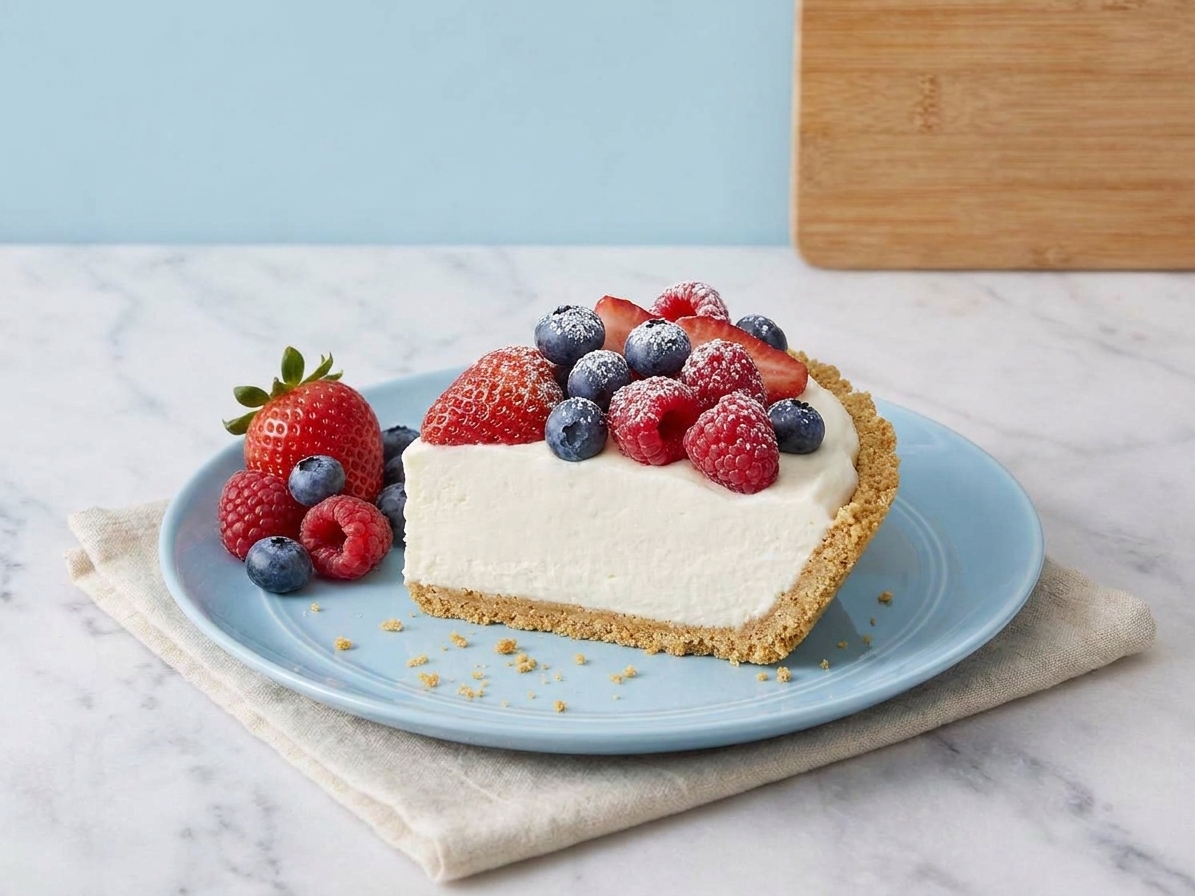
- Fresh berries with a squeeze of lemon
- Sliced strawberries and a spoonful of jam
- Sliced peaches plus a drizzle of honey
Cozy and caramel
- Apple pie filling (store-bought is fine)
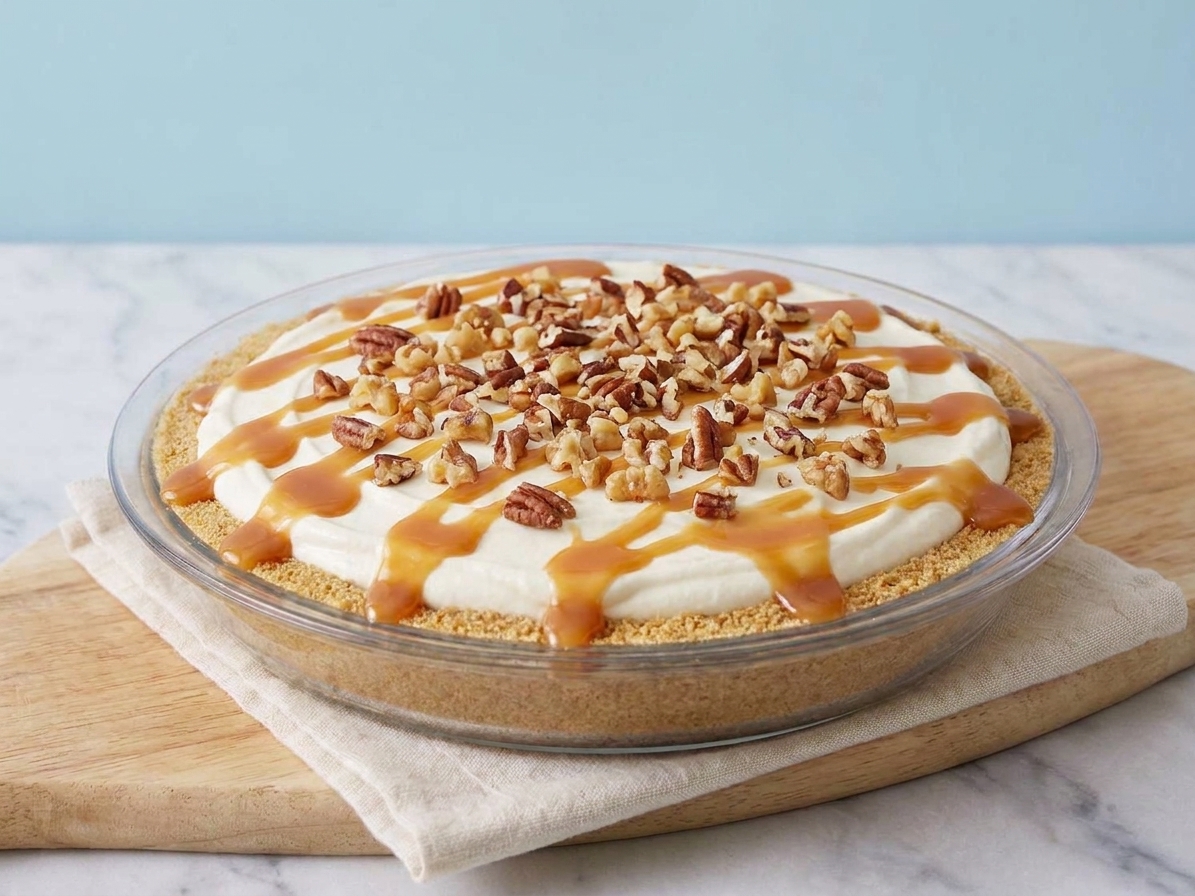
- Dulce de leche drizzle and toasted pecans
- Salted caramel sauce and crushed pretzels
Chocolate
- Chocolate ganache and shaved chocolate
- Crushed chocolate sandwich cookies
- Chocolate shavings
Later
Storage, Freezing and Reheating
Make ahead
You can make this cheesecake 1 to 2 days ahead. In fact, it slices better after an overnight chill.
Storage
Keep it covered and refrigerated for up to 4 days. If it starts to get watery or the crust softens too much, it is time to say goodbye. For the prettiest results, store toppings separately when possible.
Freezing
You can freeze the cheesecake (without fresh fruit) for up to 1 month. Freeze it firm, then wrap well. Thaw overnight in the fridge. The texture may be slightly denser, but still very delicious.
Watch out
Common Mistakes to Avoid
Runny filling
- The heavy cream may not have been whipped to stiff peaks.
- You may have used low-fat cream cheese, which sets softer.
- Too much liquid can do it, like extra lemon juice or a very runny topping mixed in.
- It may simply need more chill time. Give it overnight if you can.
Too sweet
Add a bit more lemon juice or a pinch more salt. You can also serve with tart berries to balance it.
Crumbly crust
It likely needs a touch more butter or firmer pressing. Next time, pack it down firmly and chill the crust for 10 to 15 minutes before filling.
Lumps in the filling
That is almost always cream cheese that was not fully softened. Beat the cream cheese alone first until it is completely smooth before adding anything else.
Questions
Frequently Asked Questions
Do I need gelatin?
Not for this style. Whipped cream plus a full chill sets it up sliceable in most kitchens, with a lighter, mousse-like texture. If you want a very firm, bakery-style slice (or you are serving in a warm room), gelatin can help, but it is not required for a lovely rustic cheesecake.
Can I use whipped topping instead of heavy cream?
You can, and it will set, but the flavor is less rich and the texture can be a bit bouncier. If you can, heavy cream is worth it here.
Can I make it in a pie dish?
Absolutely. A pie dish is perfect for the rustic look and easy slicing. If you want taller, sharper slices, use a springform pan (and lining the base with parchment makes life easier).
How do I get cleaner slices?
Chill overnight, then slice with a sharp knife dipped in hot water and wiped dry between cuts.
The recipe
Rustic No Bake Cheesecake
A rustic no bake cheesecake with a simple press-in graham cracker crust, a creamy tangy filling (extra vanilla encouraged), and a swoopy, imperfect finish. Chilling time does the work, so you get a sliceable, lighter cheesecake without turning on the oven.
Ingredients
- Graham cracker crumbs: 1 1/2 cups (about 10 full sheets)
- Melted butter: 6 tablespoons
- Salt: 1 pinch (for the crust)
- Sugar (optional): 1 to 2 tablespoons
- Cream cheese: 16 ounces (2 blocks), softened fully to room temp
- Powdered sugar: 3/4 cup
- Vanilla extract: 2 teaspoons (or 1 tablespoon)
- Lemon juice: 1 tablespoon
- Lemon zest (optional): 1 teaspoon
- Heavy cream: 1 cup, very cold
- Salt: 1 tiny pinch (for the filling)
- Optional toppings: fresh berries or sliced peaches; jam thinned with a splash of warm water; lemon curd; chocolate ganache or shaved chocolate; crushed cookies; toasted nuts; drizzle of honey
Instructions
- Make the crust: Stir together graham cracker crumbs, melted butter, a pinch of salt, and sugar (if using) until the texture is like damp sand. Press firmly into a 9-inch pie dish or a 9-inch springform pan, compacting well (especially around the edges).
- Optional chill: Chill the crust for 10 to 15 minutes while you make the filling.
- Whip the cream: Whip the cold heavy cream until it holds stiff peaks. It should stand up on the whisk and look smooth and glossy, not grainy or starting to turn buttery.
- Mix the cheesecake base: In a separate bowl, beat the softened cream cheese until completely smooth. Add powdered sugar, vanilla, lemon juice (and zest if using), and a tiny pinch of salt. Scrape the bowl well.
- Fold and fill: Gently fold the whipped cream into the cream cheese mixture in two additions. Spoon into the crust and swirl the top with the back of a spoon for a rustic look.
- Chill until set: Cover and refrigerate at least 6 hours, ideally overnight.
- Top and serve: Add toppings right before serving. If using fresh berries, pat them dry first so they do not weep into the top.
Recipe notes
- Texture and set: Full-fat cream cheese and properly whipped cream are key to a sliceable no-bake set.
- For cleaner slices: Chill overnight, then slice with a sharp knife dipped in hot water and wiped dry between cuts.
- Pan options: A pie dish is perfect for the rustic look; a springform pan gives taller, sharper slices (parchment on the base helps release).
Nutrition (per serving, approximate)
- Calories: 420
- Fat: 31 g
- Carbs: 31 g
- Protein: 6 g
- Fiber: 1 g
- Sugar: 20 g
- Sodium: 290 mg
Nutrition values are approximate and will vary based on specific ingredients used and any optional sugar or toppings.