From cheesecake cups to no-bake bars and quick blender sorbet, these desserts come together with under-30-minute active time and keep your kitchen cool.
Recipeva
Easy No-Bake Desserts for Hot Summer Days
Stay cool with these easy no-bake desserts. From creamy pies to fruity parfaits and chocolatey treats, each is quick to prep, make-ahead friendly, and perfect for summer.

Maya Reynolds
Maya Reynolds is a passionate home cook, recipe developer, and the creative voice behind Recipeva. With over a decade of experience translating complex culinary techniques into approachable weeknight meals, she focuses on creating dishes that bring joy to the dinner table without the stress.
Created September 22, 2026
Updated September 22, 2026
When it is too hot to even look at your oven, dessert should still be on the table. This is my favorite kind of summer cooking: stir, layer, chill, and let the fridge do the heavy lifting. Below is a lineup of easy no-bake desserts with a mix of creamy, fruity, and chocolate options, plus make-ahead and serving tips so you can keep things low-stress.
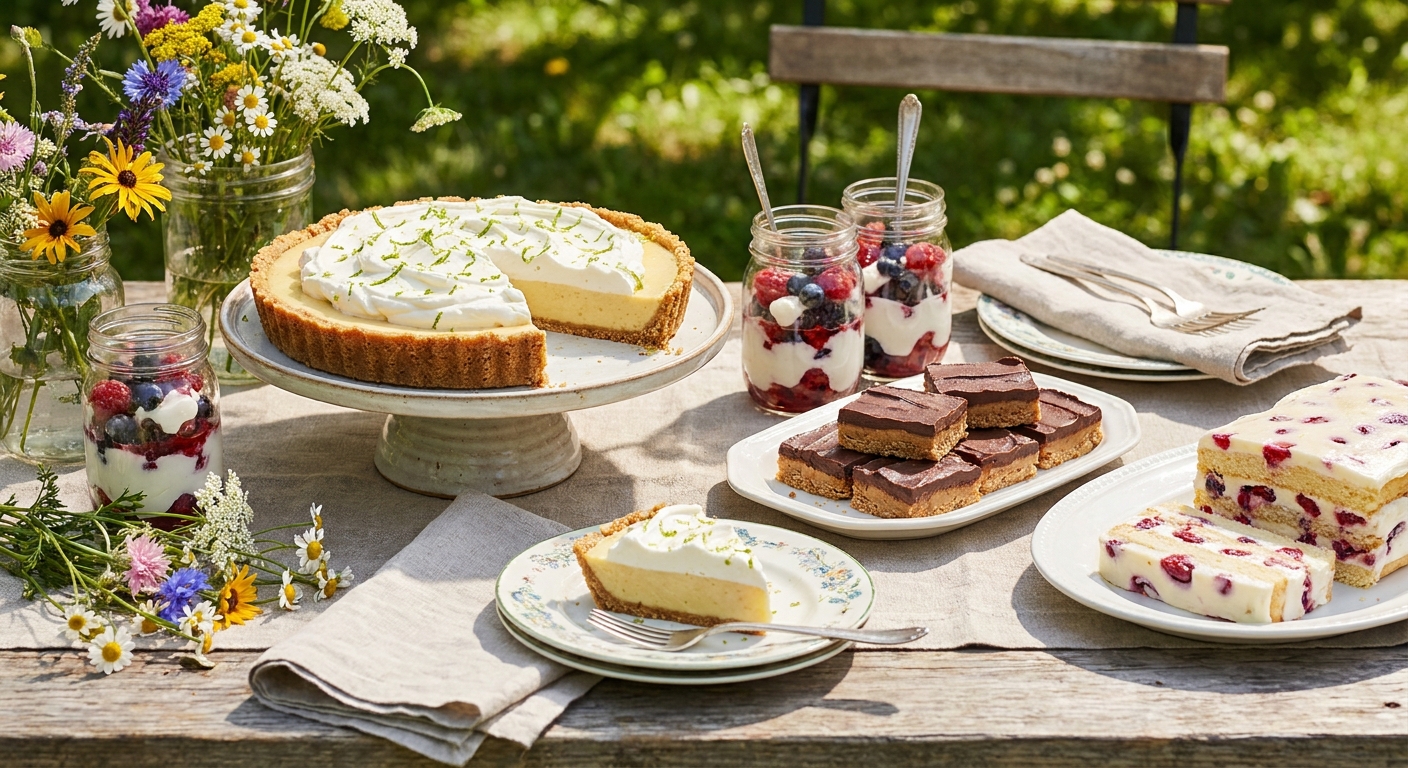
No-bake success tips
- Chill time is part of the recipe. Many creamy no-bake desserts taste best after 4 to 8 hours in the fridge. Frozen desserts are their own thing, and some bars set faster, so use the recipe cues below.
- Keep dairy cold from start to finish. Soft, warm dairy can go loose and weepy, especially whipped cream. Pull ingredients out only when you need them.
- Use the freezer strategically. A quick 15 to 25 minutes in the freezer helps set crusts and firm up bars before slicing, but do not forget them.
- Salt makes everything better. A pinch of salt in chocolate and creamy fillings makes flavors pop.
- Plan for the heat. If you are serving outdoors, keep desserts in a cooler with ice packs and set them out in small batches. Rule of thumb: creamy and chocolate desserts should not sit out much longer than 30 to 45 minutes on a hot day (especially above 85°F).
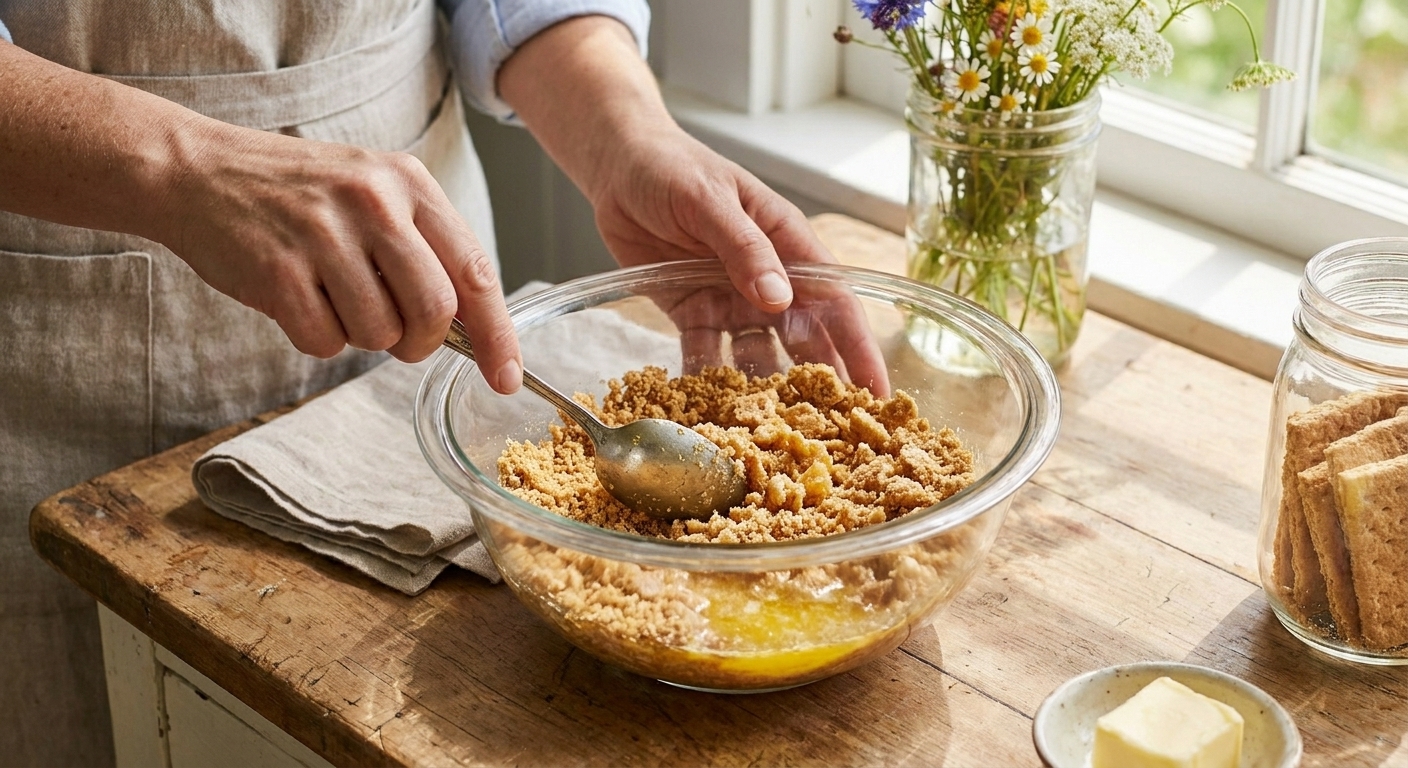
Creamy no-bake desserts
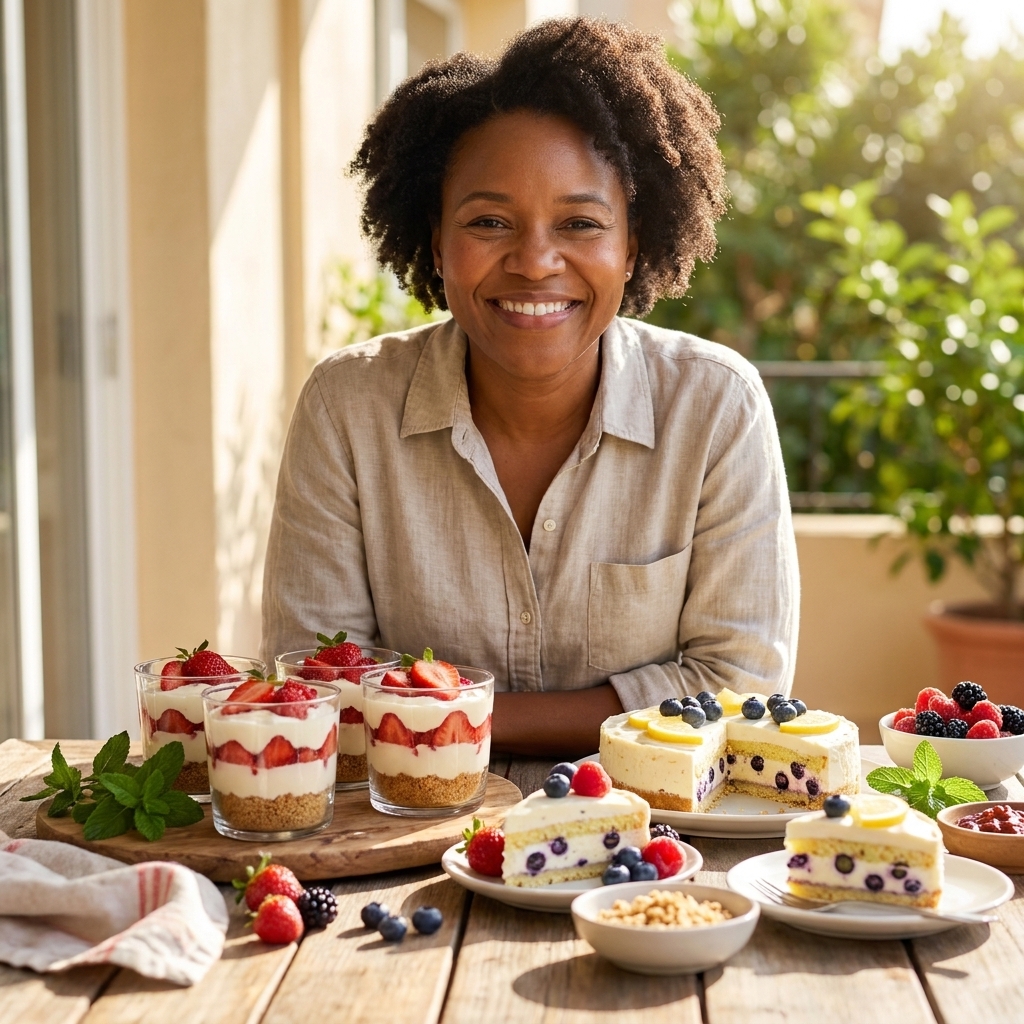
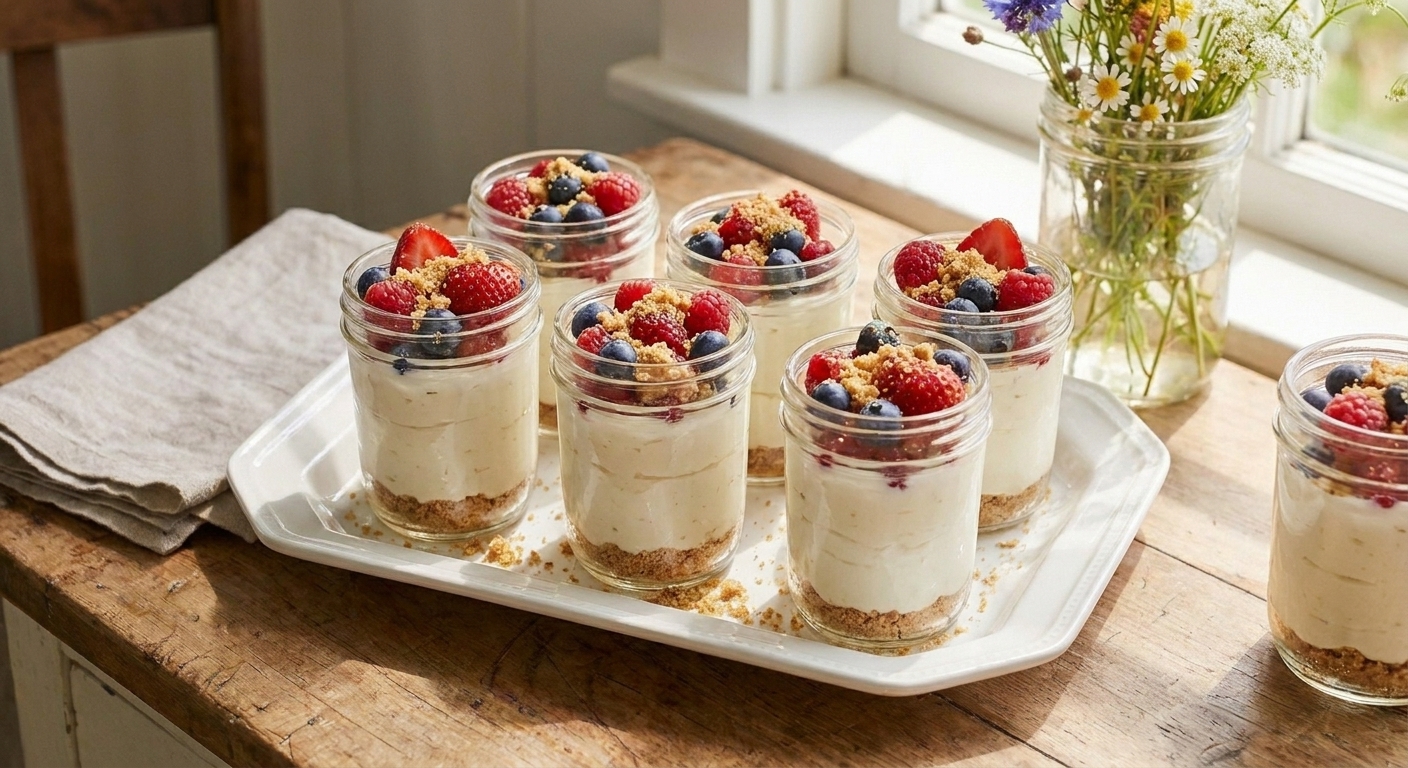
1) No-Bake Cheesecake Cups (any topping)
Why you will love it: All the cheesecake vibes, none of the water bath drama. These are cute for parties and easy to customize.
- Quick build: Press crushed graham crackers plus butter into the bottom of small cups.
- Filling: Beat cream cheese, powdered sugar, vanilla, a pinch of salt, and lemon zest. Fold in whipped cream (or whipped topping for extra stability).
- Top it: Berry compote, lemon curd, peach slices, or even chocolate shavings.
Typical chill time: 4 to 8 hours.
Set cue: The tops should look matte (not glossy) and hold a spoon mark.
Make-ahead: Refrigerate up to 3 days in an airtight container. Add crunchy toppings right before serving.
Swaps: Use gluten-free cookies for the crust. For dairy-free, use dairy-free cream cheese plus coconut whipped topping.
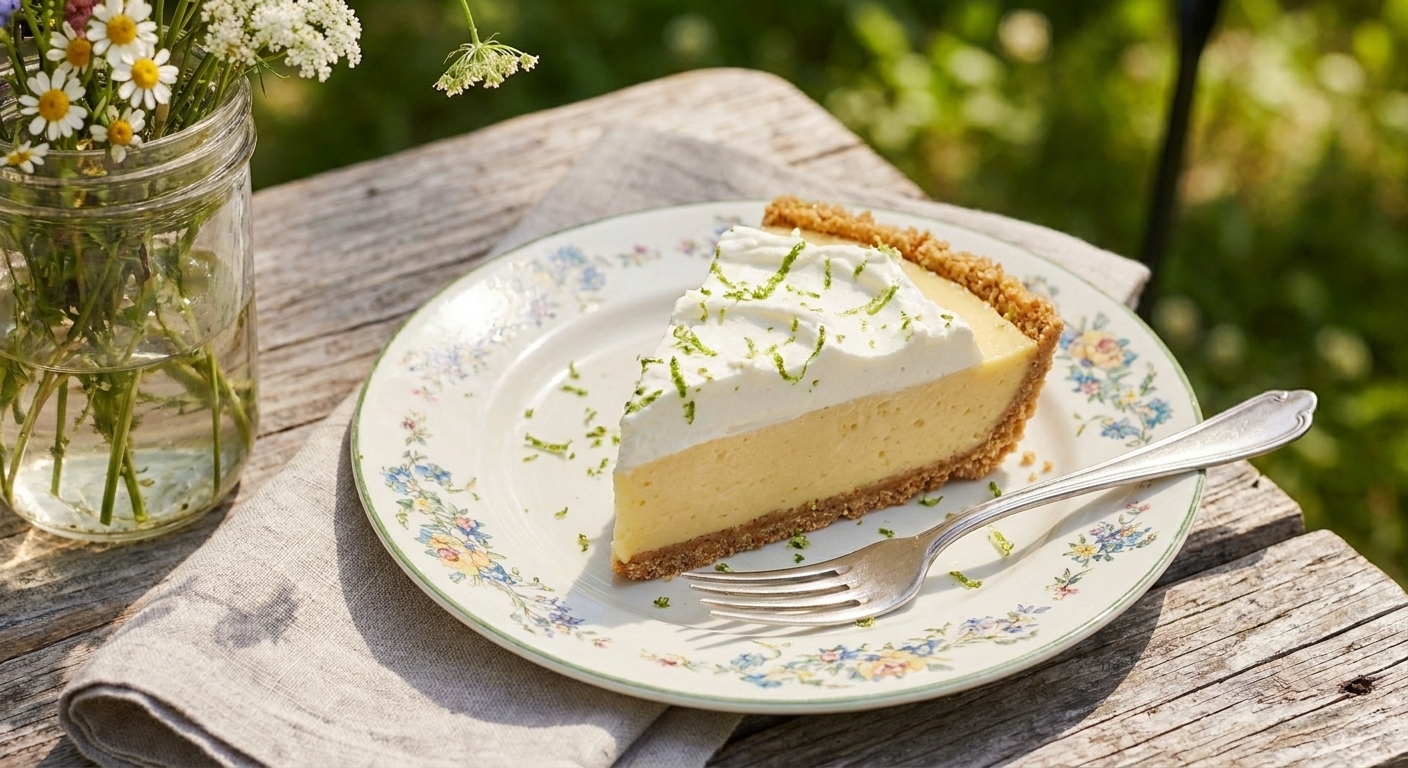
2) Icebox Lemon Cream Pie
Why you will love it: Bright, cold, and perfect after grilled dinner. This is the one I make when the day has been sticky and I want something that tastes like a fresh start.
- Crust: Graham cracker or vanilla wafer crust, pressed firmly into a pie plate.
- Filling idea: Sweetened condensed milk + lemon juice + lemon zest + whipped cream. (The acid thickens the milk like magic.)
- Finish: Whipped cream and thin lemon slices.
Typical chill time: At least 6 hours.
Set cue: The center should jiggle like Jell-O, not slosh like a milkshake.
Make-ahead: Best after at least 6 hours chilled. You can freeze it for 30 minutes before slicing for extra clean wedges.
Swaps: Gluten-free crust works great. For a dairy-free version, look for dairy-free sweetened condensed milk and use coconut whipped topping.
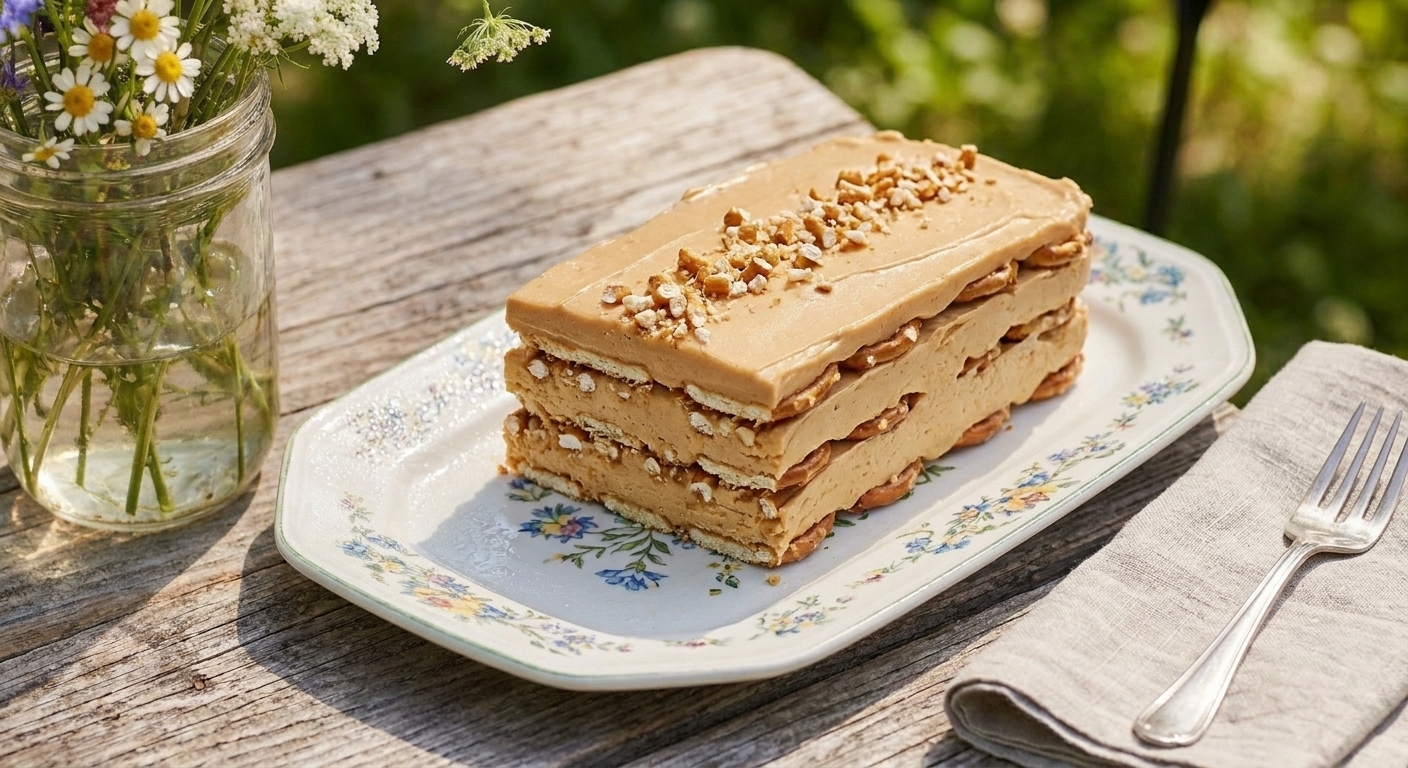
3) Peanut Butter Pretzel Icebox Cake
Why you will love it: Sweet-salty perfection with a little crunch. It is also incredibly forgiving.
- Base: Layer pretzel thins or crushed pretzels with a peanut butter cream (cream cheese, peanut butter, powdered sugar, whipped cream).
- Upgrade: Add thin banana slices or a drizzle of chocolate between layers.
Typical chill time: Overnight.
Set cue: A knife should cut cleanly through the layers without the filling squeezing out.
Make-ahead: Chill overnight for the best sliceable texture. Keep it cold until the last minute.
Swaps: Need nut-free? Use sunflower seed butter. Gluten-free pretzels work well here.
Fruity and refreshing
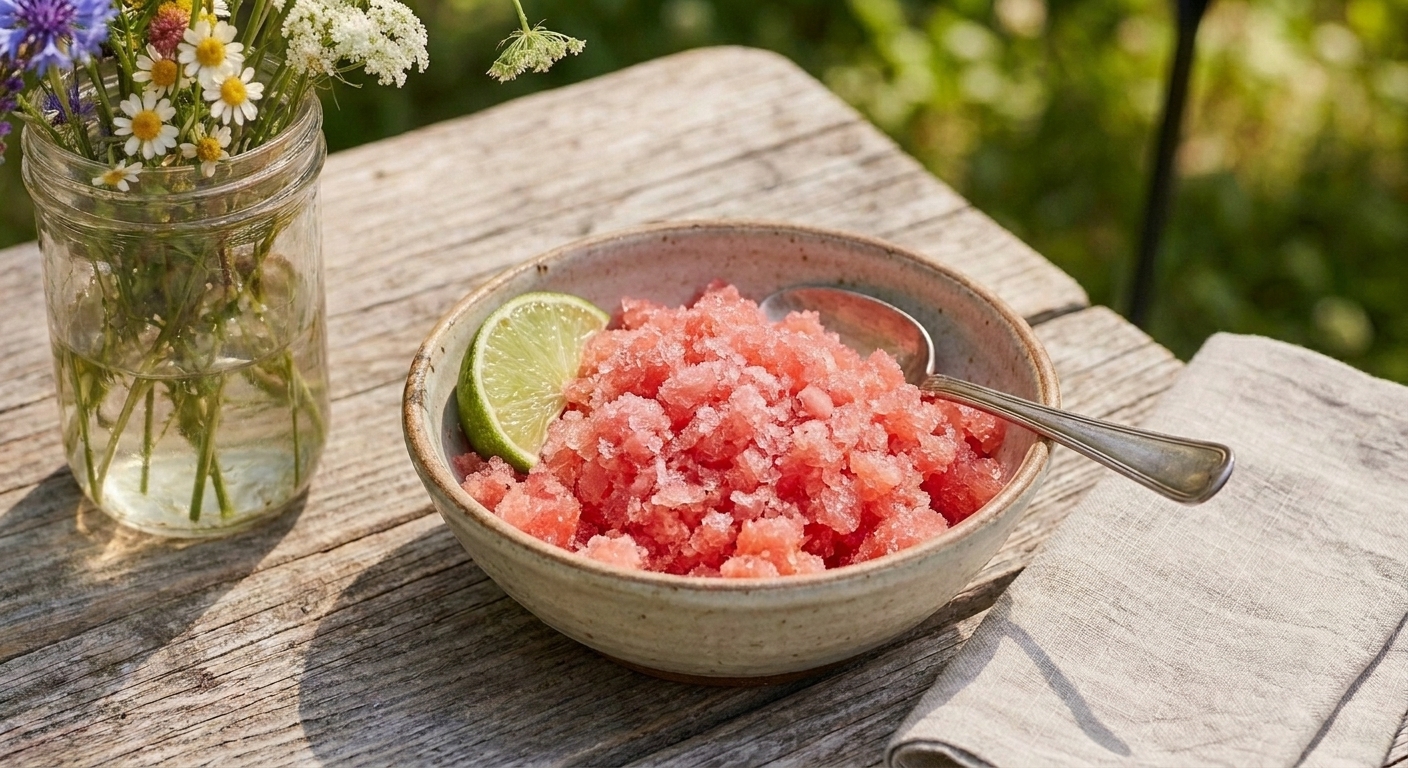
4) Watermelon Granita (blender and freezer)
Why you will love it: It is basically edible air conditioning. Great between courses at a backyard dinner.
- Blend: Seedless watermelon, lime juice, a pinch of salt, and a spoonful of sugar or honey if needed.
- Freeze: Pour into a shallow pan and scrape with a fork every 30 to 45 minutes until fluffy crystals form.
Typical freeze time: 3 to 5 hours, depending on your freezer and pan size.
Make-ahead: Store in the freezer up to 1 week in an airtight container. Fluff again with a fork before serving.
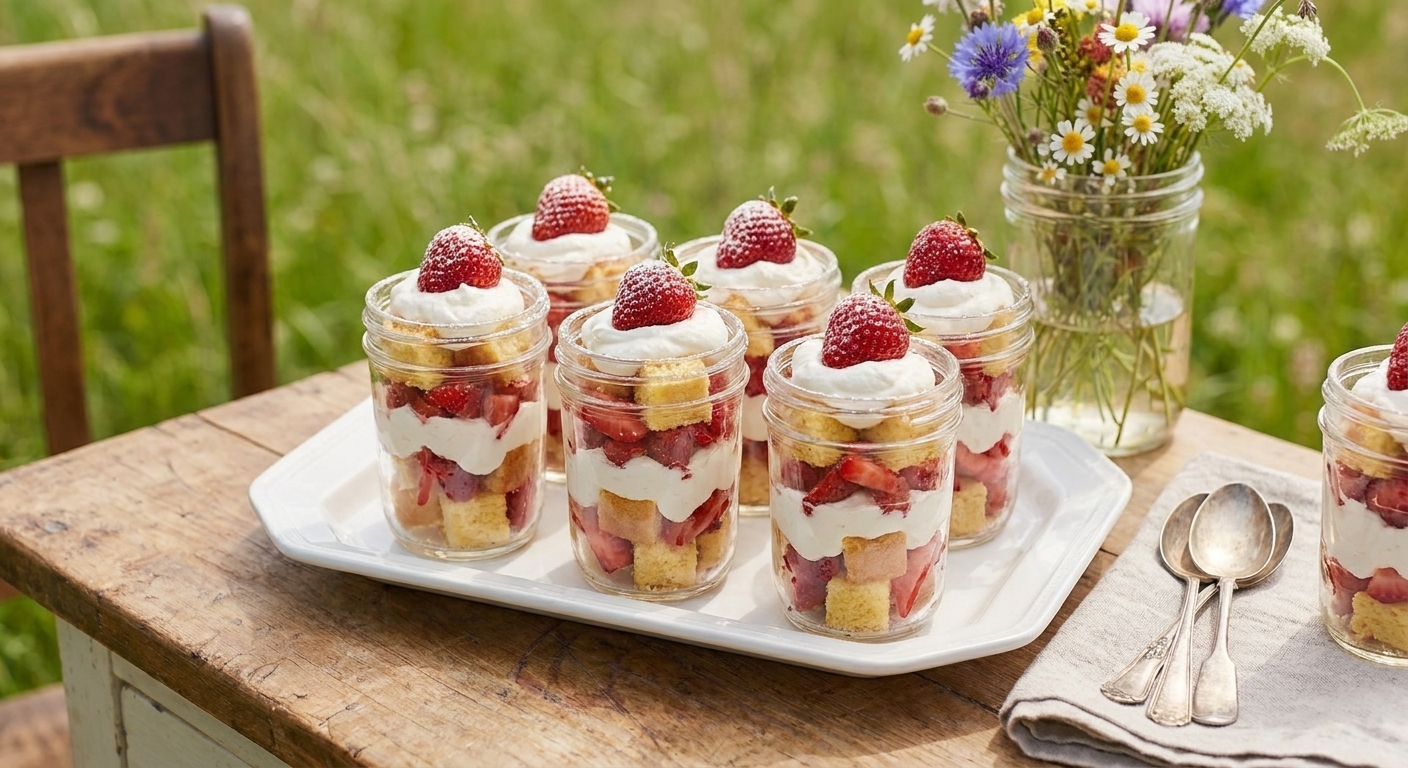
5) Strawberry Shortcake Parfaits (no-bake version)
Why you will love it: All the joy of shortcake with zero baking. Perfect for potlucks because it travels well in jars.
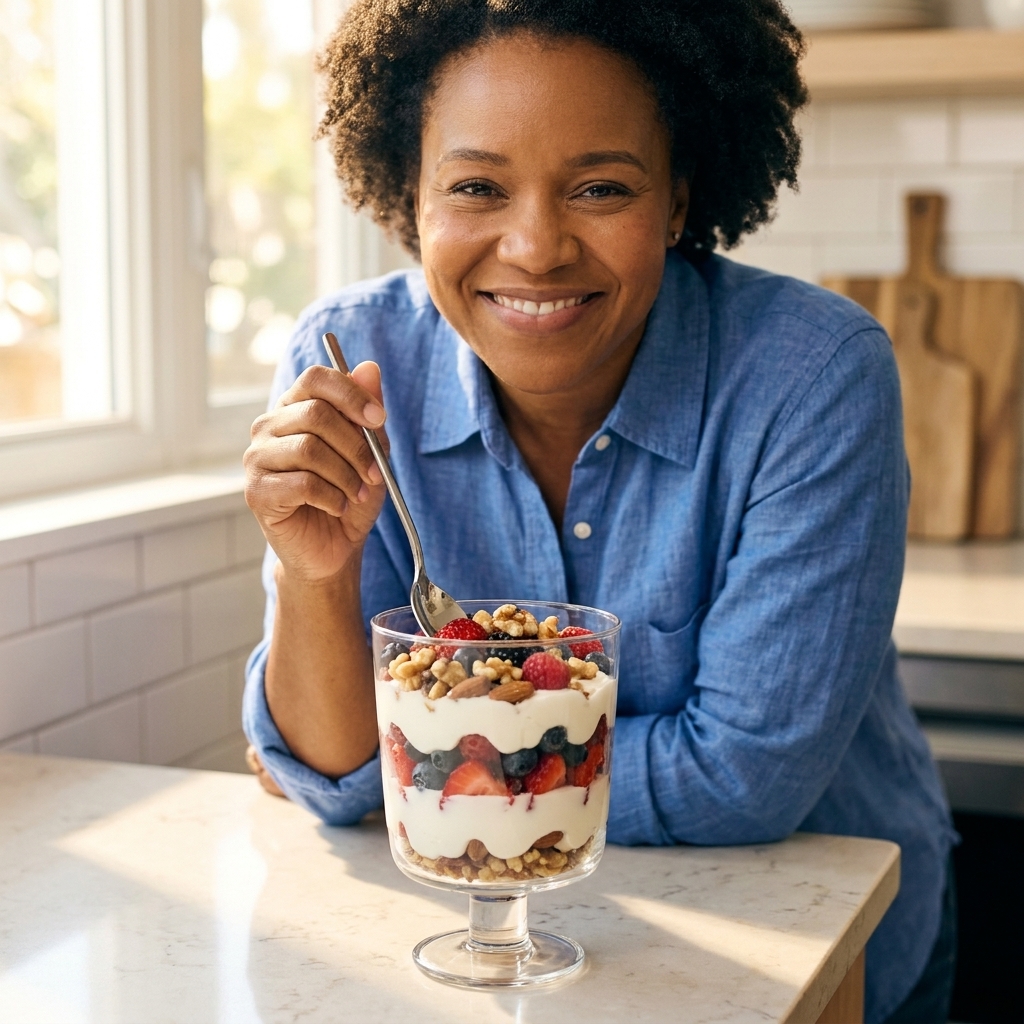
- Layer: Store-bought pound cake cubes or crumbled shortbread cookies, macerated strawberries, and whipped cream or vanilla yogurt.
- Flavor tip: Add a tiny splash of balsamic or a pinch of black pepper to strawberries for a grown-up twist.
Typical chill time: 1 to 4 hours (or serve right away if you like more texture).
Beginner cue: You will literally see the strawberries turn glossy and syrupy as they sit.
Make-ahead: Assemble up to 8 hours ahead. Keep cake or cookies on the thicker side so they do not dissolve.
Swaps: Use gluten-free pound cake or cookies if needed. For dairy-free, use coconut yogurt or dairy-free whipped topping.
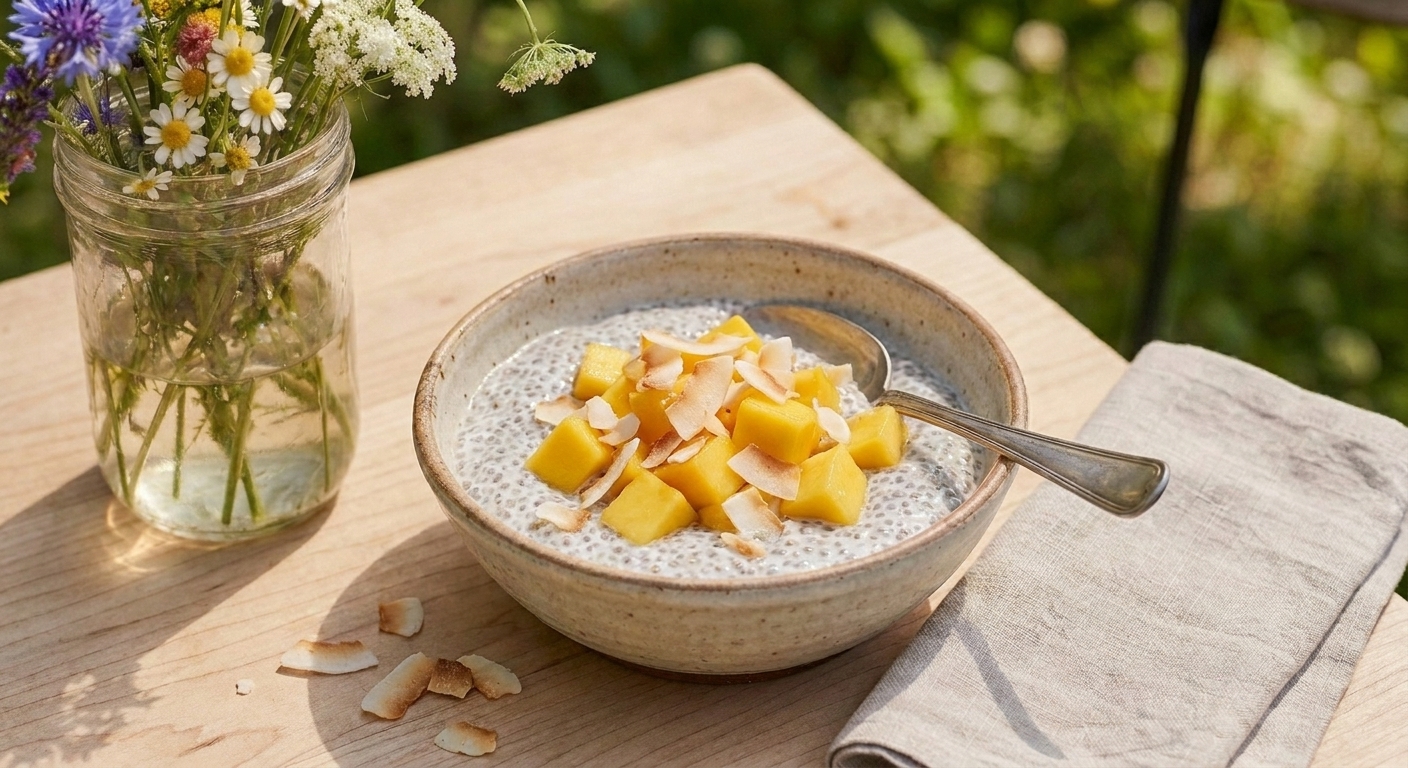
6) Mango Coconut Chia Pudding
Why you will love it: Light, creamy, and naturally gluten-free. This one is especially nice for brunchy summer get-togethers.
- Stir: Canned coconut milk, a little maple syrup, vanilla, and chia seeds.
- Chill: 4 hours or overnight until thick.
- Top: Mango, toasted coconut, and lime zest.
Typical chill time: 4 hours or overnight.
Make-ahead: Keeps 3 to 5 days in the fridge in an airtight container. For best texture, add fresh fruit toppings the day you serve (they can get watery over time). Stir before serving.
Chocolate options
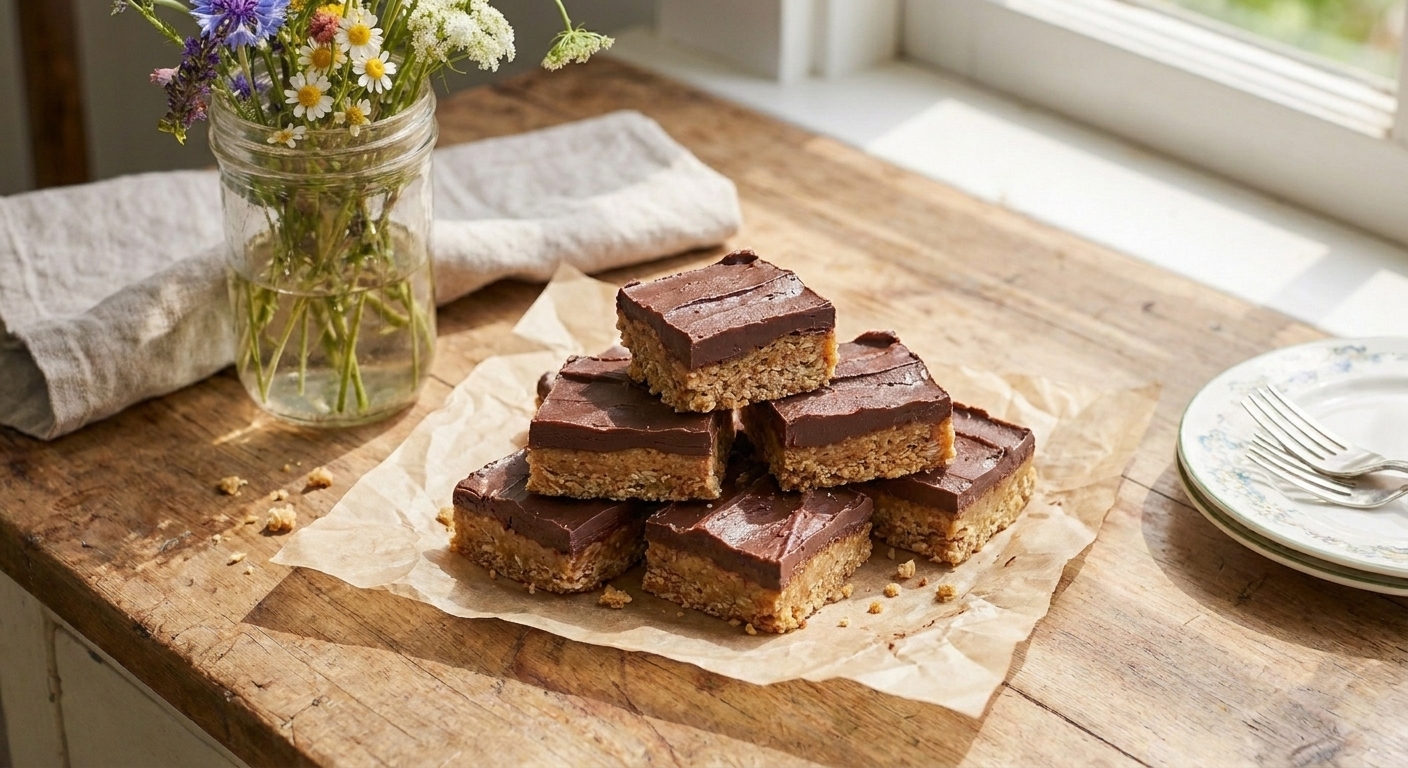
7) No-Bake Chocolate Oat Bars
Why you will love it: Pantry-friendly and sturdy enough for a cooler. Think lunchbox bar, but make it summer.
- Base: Oats, brown sugar, melted butter, a pinch of salt, and vanilla.
- Middle: Melted chocolate chips with peanut butter (or cookie butter) spread in the center.
- Set: Chill until firm, then slice.
Typical chill time: 2 to 3 hours (or 20 minutes in the freezer to speed things up).
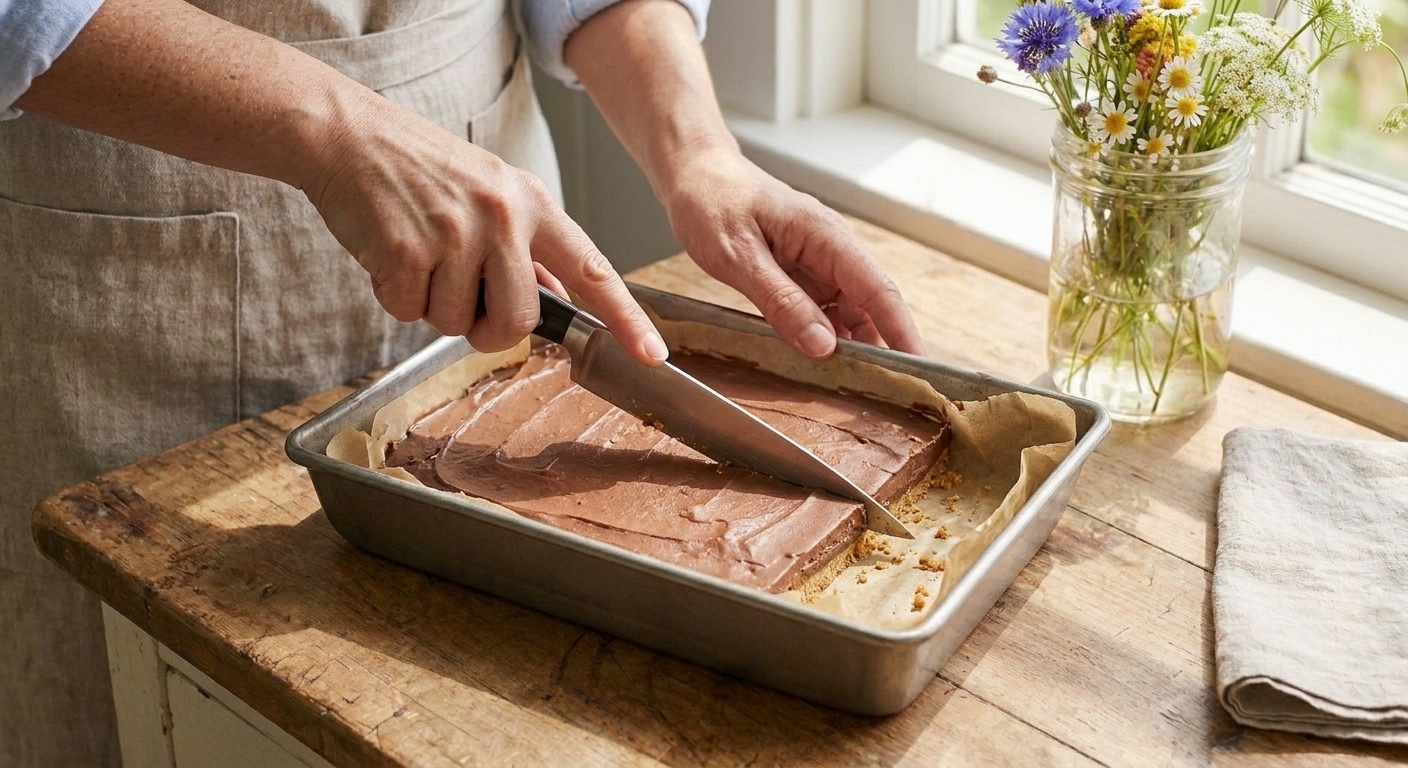
Make-ahead: Refrigerate up to 1 week in an airtight container. For clean slices, chill well and use a warm knife.
Swaps: Use sunflower seed butter for nut-free. Use certified gluten-free oats if needed.
8) Chocolate Avocado Mousse
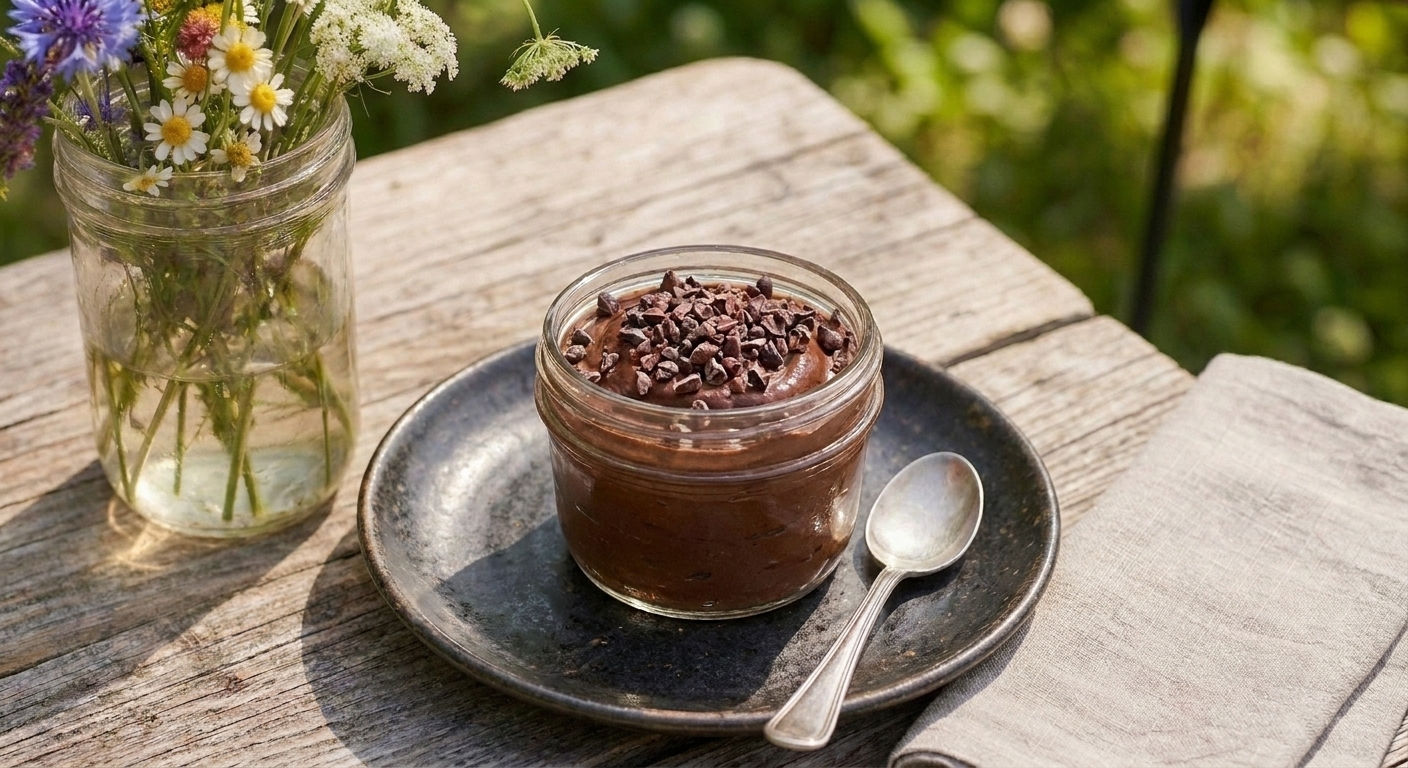
Why you will love it: Creamy, intensely chocolatey, and surprisingly elegant. Serve it in small glasses and people will think you worked much harder than you did.
- Blend: Ripe avocado, cocoa powder, melted dark chocolate (optional but amazing), maple syrup, vanilla, and a pinch of salt.
- Adjust: Add a splash of milk as needed to blend smooth.
Typical chill time: 1 to 2 hours.
Make-ahead: Best within 24 hours. Press plastic wrap directly onto the surface to prevent browning.
Swaps: Use any milk you like (dairy or non-dairy). Top with berries or toasted coconut for a no-nut finish.
9) No-Bake Chocolate Tart with Cookie Crust
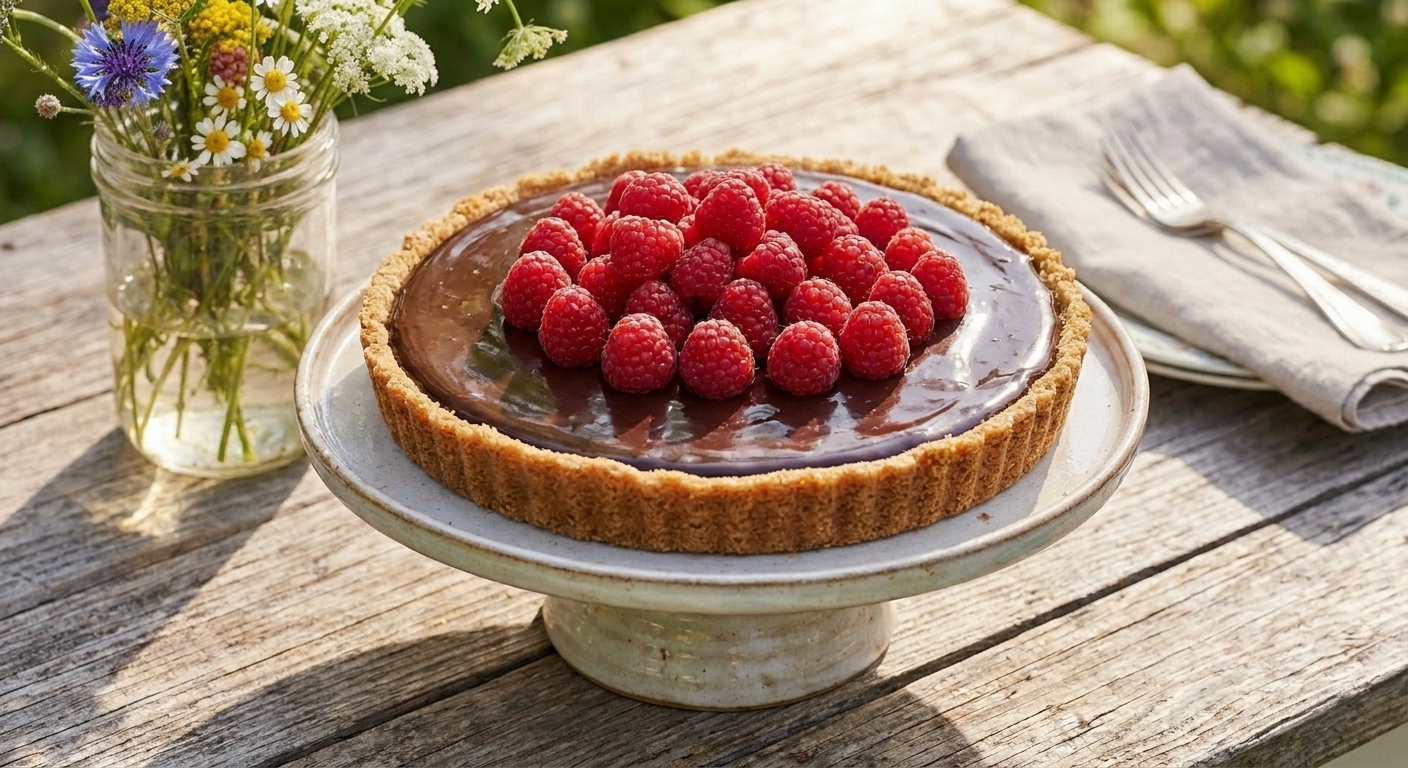
Why you will love it: This is the “showstopper” that still does not require turning on the oven. Great for birthdays, anniversaries, and any Tuesday that needs help.
- Crust: Crushed chocolate sandwich cookies plus melted butter, pressed into a tart pan.
- Filling: Chocolate ganache (chopped chocolate + hot cream) chilled until set.
- Finish: Flaky salt, raspberries, or whipped cream.
Typical chill time: 4 to 6 hours.
Set cue: The top should look glossy but feel firm when lightly tapped. A slice should hold its edge.
Make-ahead: Chill at least 4 hours. Keeps 3 days refrigerated, covered.
Swaps: Use gluten-free chocolate cookies for the crust. For dairy-free, use coconut cream in place of heavy cream.
Last-minute options
- Affogato bar: Scoop vanilla ice cream, pour over espresso or strong coffee, top with shaved chocolate.
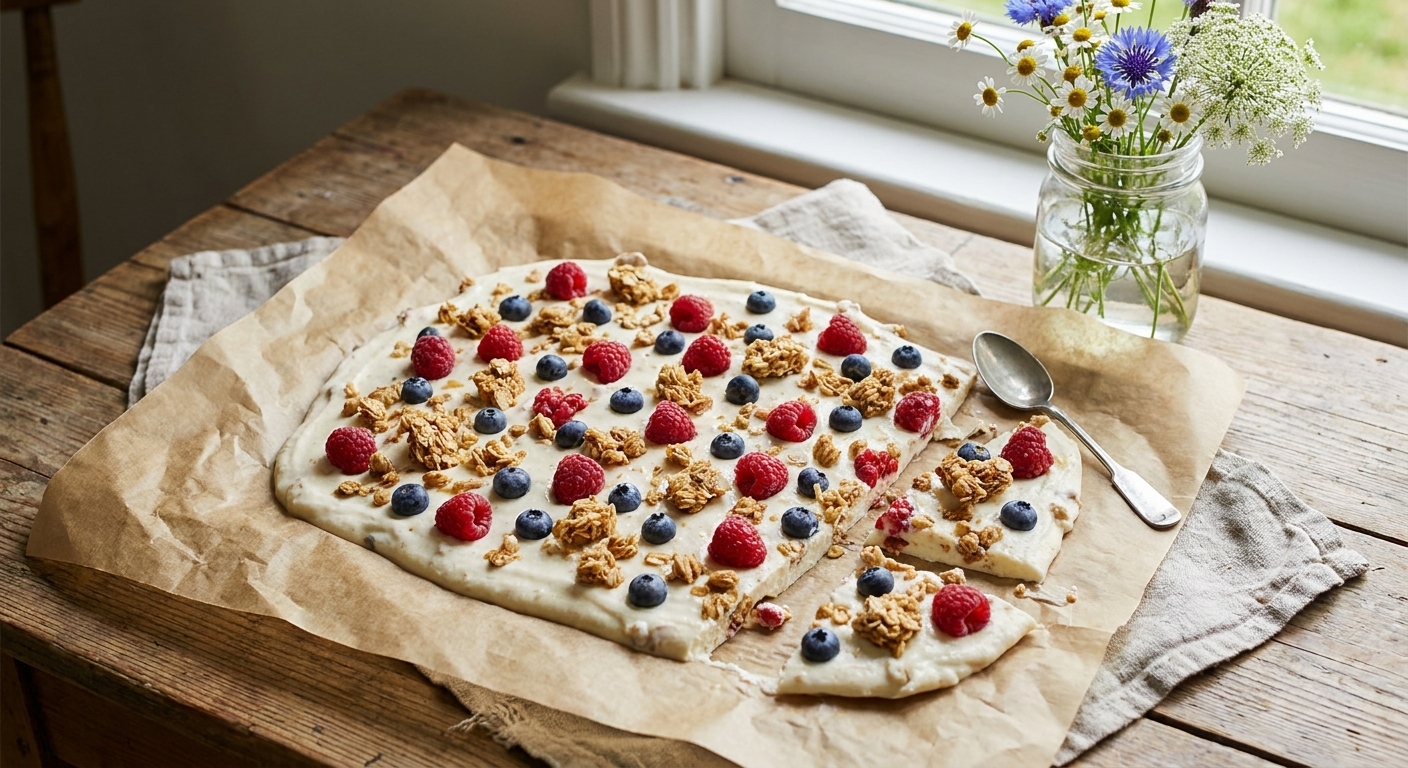
- Frozen yogurt bark: Spread Greek yogurt sweetened with honey on a sheet pan, add berries and granola, freeze, then break into pieces.
- “Nice” cream: Blend frozen bananas with a spoonful of peanut butter or cocoa. Serve immediately for soft-serve vibes.
Serving and storage
Keeping desserts cold outside
- Serve small, replenish often. Keep the main dessert in the fridge or cooler and set out a smaller platter.
- Shade matters. A dessert in direct sun can soften in minutes, especially whipped fillings and chocolate.
- Use chilled plates. Pop plates in the freezer for 10 minutes before serving mousse, parfaits, or pie slices.
Best containers for make-ahead
- Jars with lids: Perfect for parfaits and pudding. No spills, easy stacking.
- Metal loaf pan: Great for icebox cakes and bars. It chills quickly and slices neatly.
- Glass pie plate or tart pan: Ideal for pies and tarts, plus you can see those pretty layers.
FAQ
What is the easiest no-bake dessert for beginners?
Parfaits, chia pudding, and no-bake oat bars are the most beginner-friendly because there is no setting mystery. You are mostly stirring, layering, and chilling, and you can see clear cues like thickened chia, syrupy fruit, and bars that feel firm to the touch.
How far ahead can I make no-bake desserts?
Most creamy desserts (cheesecake cups, lemon pie, icebox cake) are happiest made 1 to 2 days ahead. Fruit-forward options like parfaits are best within 8 to 24 hours so they stay fresh and not watery. Store everything covered and airtight for best quality.
Why is my no-bake cheesecake filling runny?
Usually it is one of three things: the dairy was too warm, the whipped cream was deflated while mixing, or it simply needs more chill time. Next time, keep ingredients cold, fold gently, and plan for at least 6 hours in the fridge.
Can I freeze these desserts?
Many can be frozen, especially pies, tarts, and bars. Some mousse and whipped desserts can freeze, but texture changes can be noticeable when thawed (a little grainy or watery). If you do freeze them, consider serving slightly semi-frozen for the best feel. Granita is made for the freezer.
If you are hosting, remember: a chilled dessert that you made ahead is basically a gift to Future You. Future You deserves that.
If you want, tell me what you have on hand (berries, chocolate, a tub of yogurt, that lonely can of coconut milk) and I will point you to the best pick from this list.