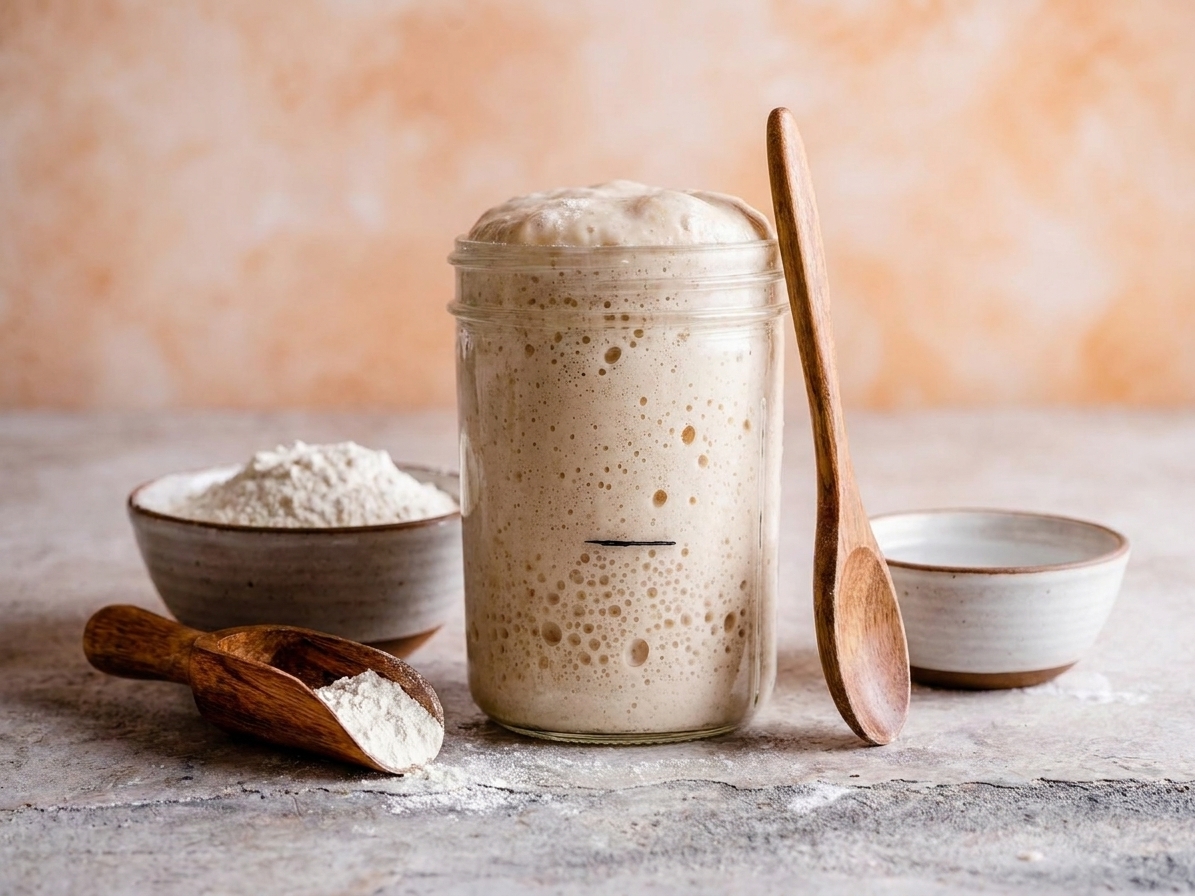

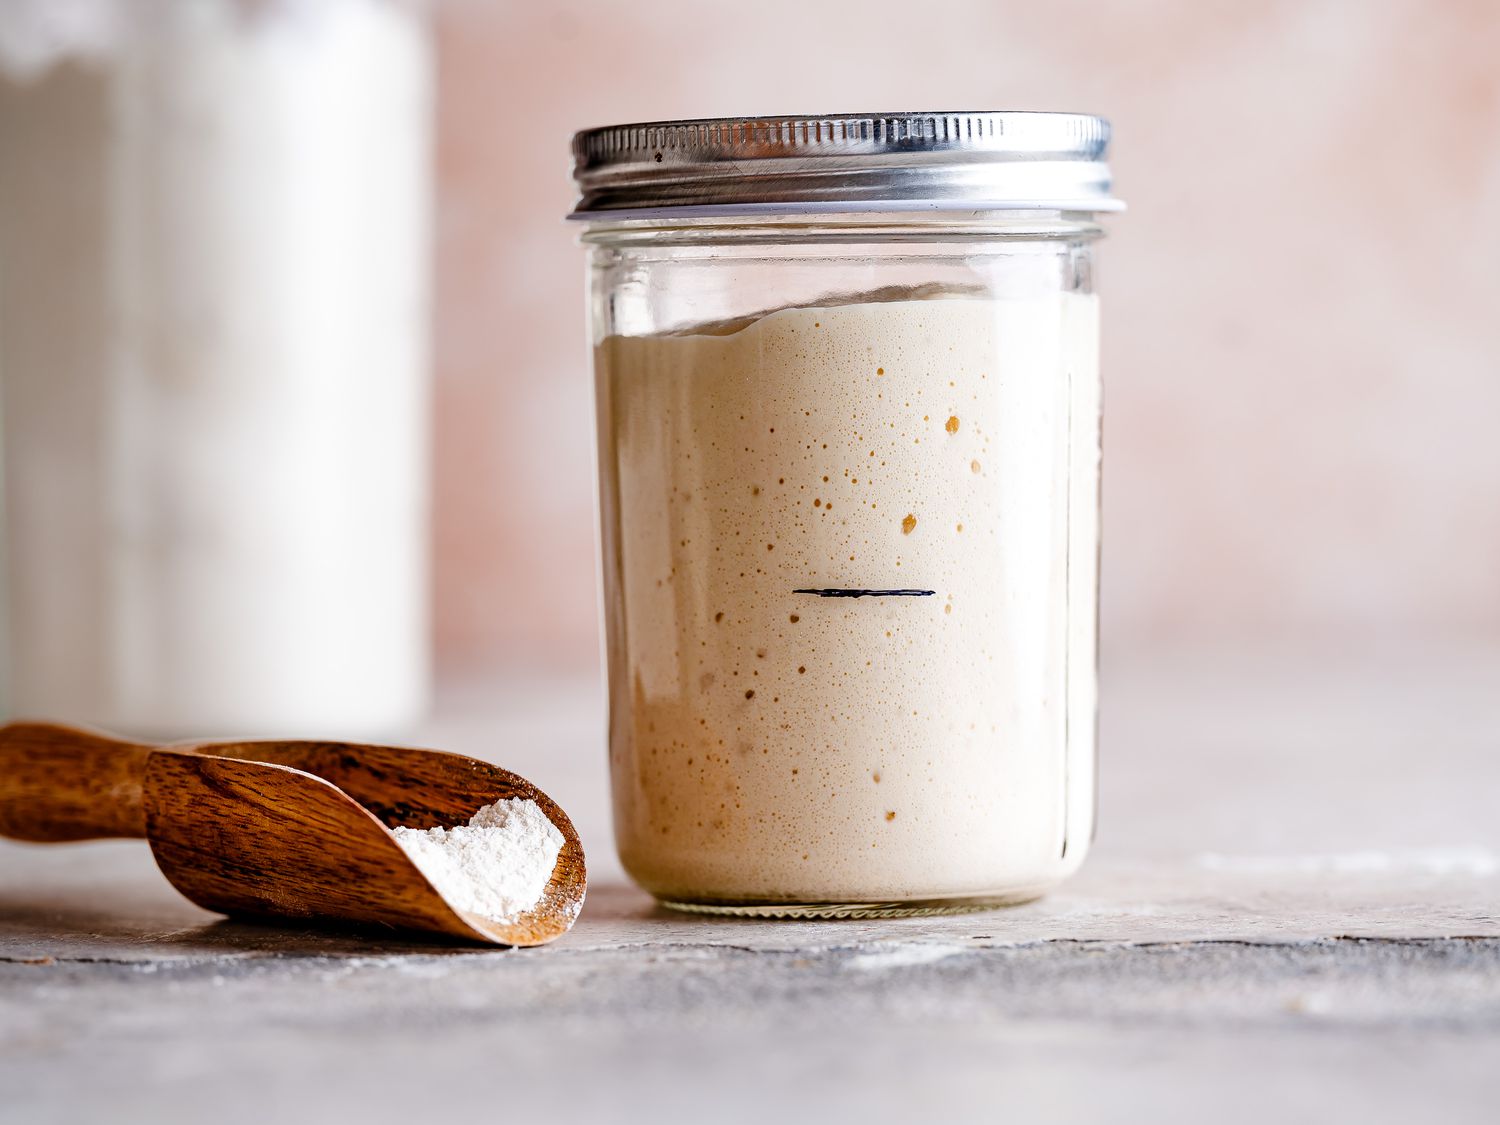
Sourdough starter sounds like a big, mysterious project until you actually do it once. Then it becomes a tiny daily ritual: stir, feed, peek at bubbles, feel proud. You only need flour, water, and a clean jar, and you do not need fancy equipment or a perfect kitchen schedule. I will walk you through a simple day-by-day method that works for real life, plus exactly what to do if your starter acts weird (because it will, and that is normal).

What a starter is
A sourdough starter is a living culture of wild yeast and friendly bacteria. When you mix flour and water and keep feeding it, the microbes that naturally live in the flour and your environment wake up and start fermenting. That fermentation creates bubbles (carbon dioxide) and flavor (the tang you love in sourdough).
Think of it like a pet that only eats flour and water. Happily, it is quiet, does not shed, and can nap in the fridge.
What you need
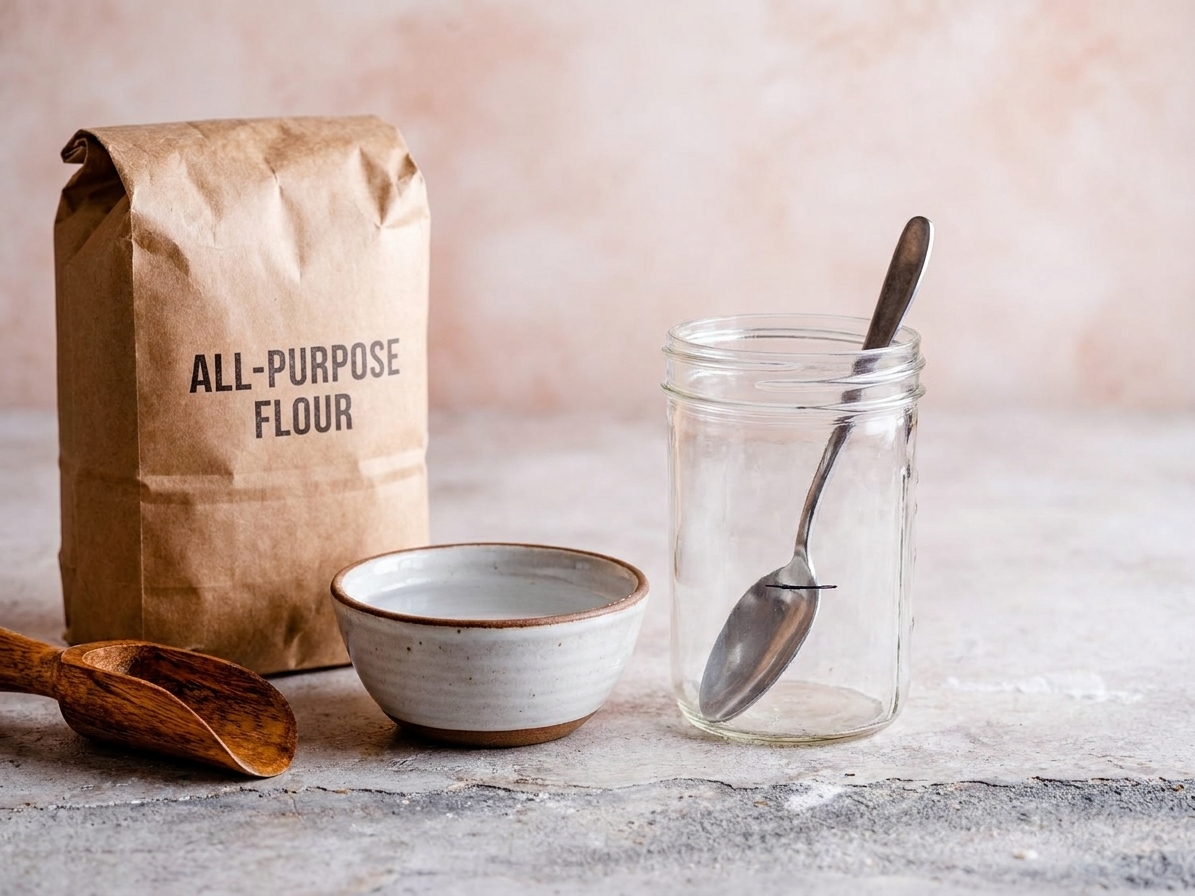
- A jar: 16 to 32 ounces is perfect. Wide mouth helps.
- Flour: Unbleached all-purpose works great. For an extra boost, add a little whole wheat or rye in the first few days.
- Water: Room temperature. If your tap water is heavily chlorinated or treated with chloramine, use filtered or bottled water. Letting water sit out can help with chlorine, but it does not always remove chloramine.
- A spoon or spatula
- Something to cover the jar: A lid set on top loosely or a piece of cloth secured with a rubber band.
- Optional but helpful: A rubber band or piece of tape to mark the starter level so you can actually see the rise.
My easy method (7 to 10 days)
This method uses small amounts so you are not throwing away cups of flour. We will build strength gradually, then switch to a consistent feeding ratio once your starter is reliably active.
Quick note on texture: You are aiming for thick pancake batter. If you are not using a scale, use that consistency as your guide and keep your measuring tools consistent.
Day 1
In your jar, mix 30 g flour (about 1/4 cup) with 30 g water (about 2 tablespoons). Stir until no dry bits remain. Scrape down the sides. Cover loosely and leave at room temperature.
If you want to track progress, put a rubber band around the jar at the starter level.
Day 2
Stir. You might see nothing, a few bubbles, or it may smell a little “grainy.” All normal.
Should you feed today? Usually, no. If it doubled and then collapsed within 24 hours, you can start feeding now. Otherwise, wait until Day 3.
Day 3
Now we start feeding. Discard all but 30 g starter (roughly 2 tablespoons, give or take). Add 30 g water and 30 g flour. Stir well, cover, and let it sit.
Tip: In the early days, switching to a clean jar every couple of days (and washing the old one) helps keep the sides tidy and can reduce mold risk.
Days 4 to 6 (feed daily)
Once a day, around the same time:
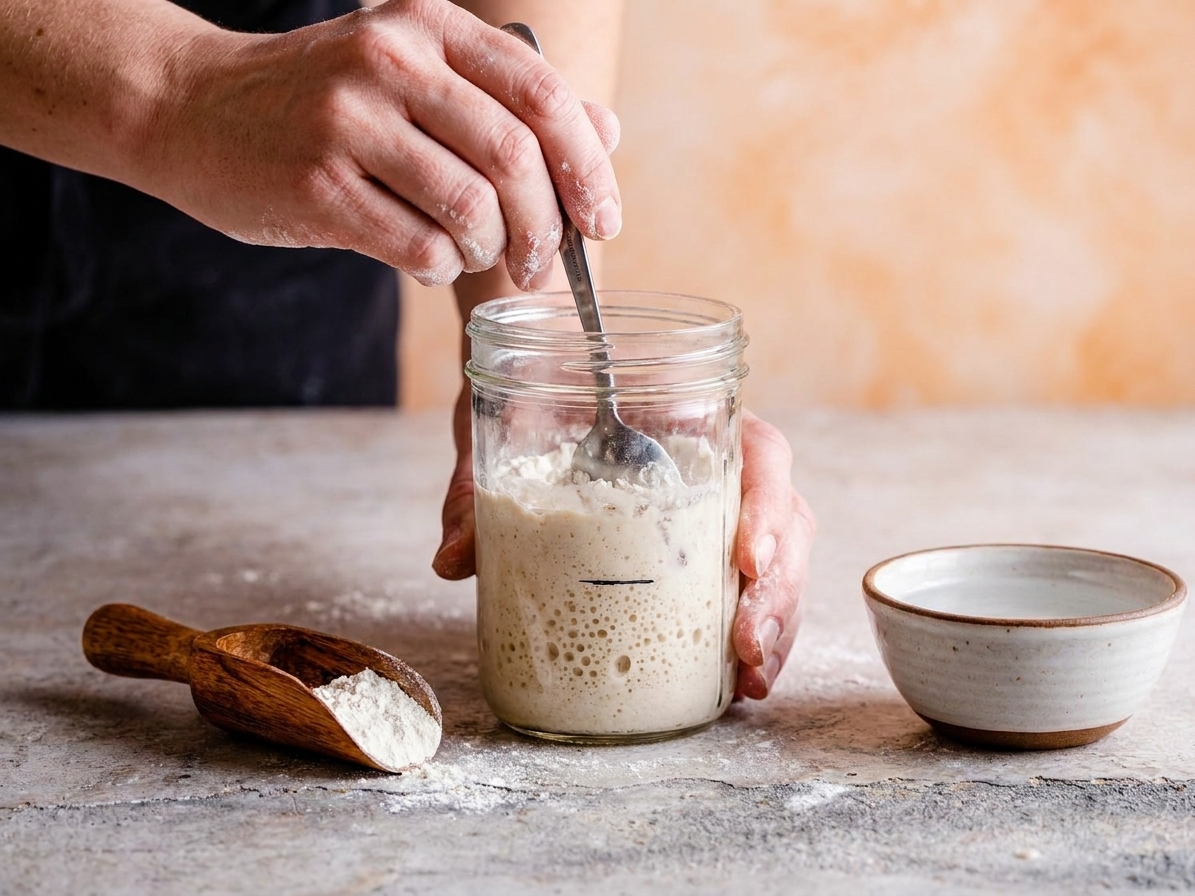
- Discard all but 30 g starter.
- Add 30 g water and 30 g flour.
- Stir vigorously, scrape down the sides, cover loosely.
What you might see: a burst of activity one day, then it seems to “go quiet.” That early burst is often bacteria partying before the yeast population catches up. Keep going.
Days 7 to 10 (feed twice daily if needed)
When your starter starts rising and then falling after feedings within 24 hours, it is ready for a little more food and a more predictable routine.
Switch to this: keep 20 g starter, then feed 40 g water and 40 g flour (this is a 1:2:2 feeding). If it is peaking and falling fast, feed twice a day (morning and evening).
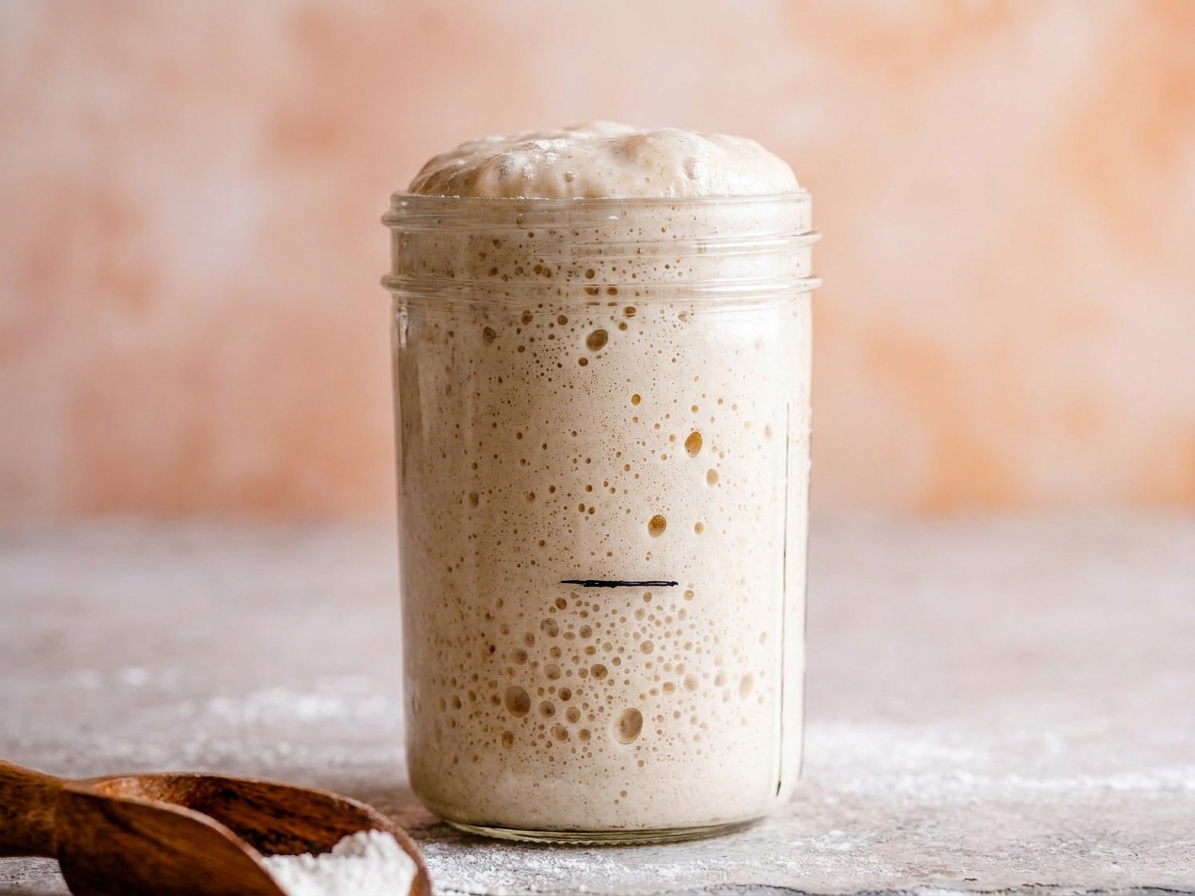
Your goal: it should roughly double in volume within 4 to 8 hours of a feeding at normal room temperature.
How to tell when it is ready
A starter is “ready” when it is predictable and strong, not when it hits an arbitrary day on the calendar. Look for these signs:
- Consistent rise: it doubles after a feeding for at least 2 to 3 days in a row.
- Bubbly structure: lots of bubbles on the sides and throughout.
- Pleasant smell: tangy, yogurty, fruity, or lightly yeasty. A little sharp is fine.
- It peaks: the top domes, then eventually flattens. You learn its rhythm.
About the float test: Some people drop a spoonful in water to see if it floats. It can work, but it is not foolproof. A starter can fail the float test and still bake great bread. I trust rise timing and bubble structure more.
The easiest schedule
If you bake often
Keep your starter at room temperature and feed it daily (or twice daily if it peaks quickly). Use it when it is at or near its peak for best lift.
If you bake once a week (or less)
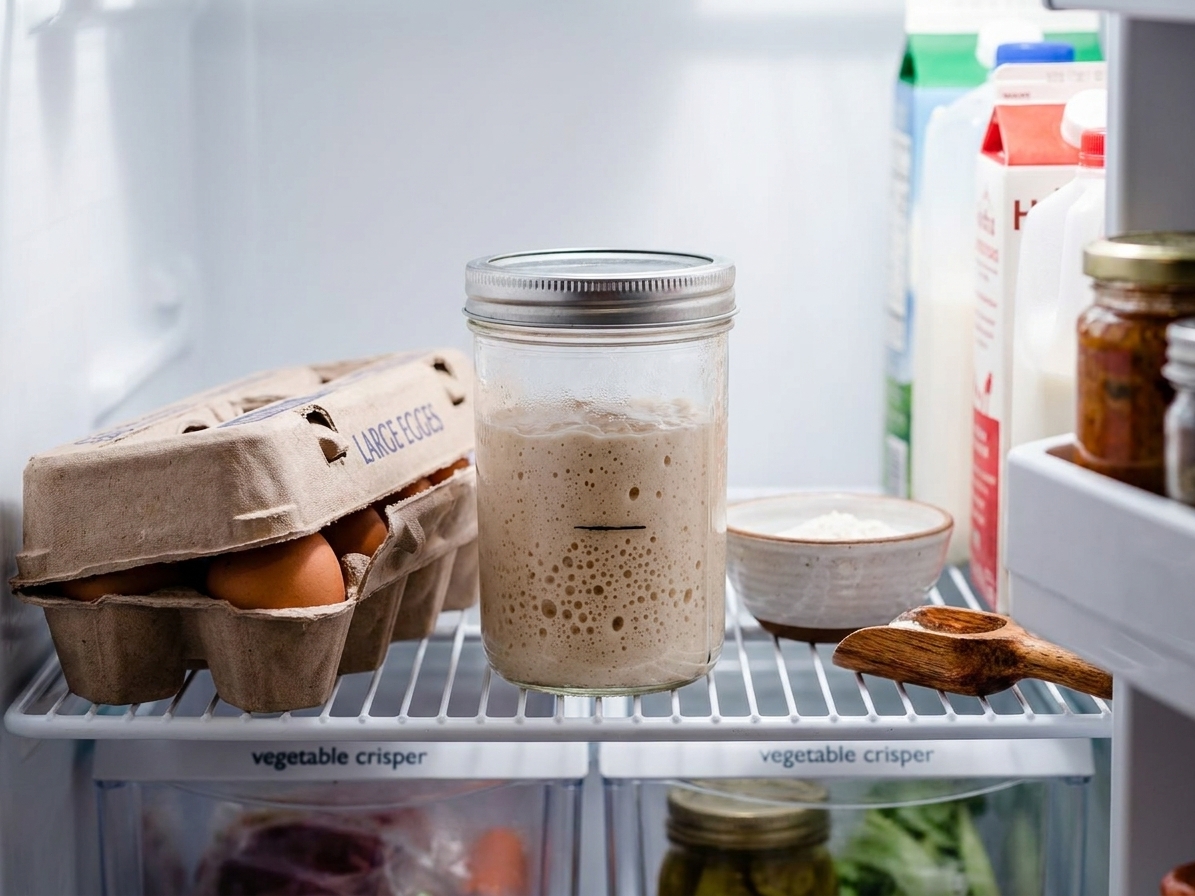
Store it in the fridge and feed it about once a week:
- Take it out.
- Let it warm up 1 to 2 hours.
- Discard down to 20 g.
- Feed 40 g water + 40 g flour (1:2:2).
- Let it start fermenting at room temperature for 2 to 4 hours, then refrigerate.
Feeding ratios
Here is the simple pattern:
- 1:1:1 (starter:water:flour) is gentle and great early on.
- 1:2:2 is my go-to once it is active.
- 1:3:3 or 1:4:4 is helpful if it gets too acidic or peaks too fast.
Use a kitchen scale if you can. It removes the guessing, and sourdough becomes weirdly relaxing.
| Ratio | Keep | Feed | Best for |
|---|---|---|---|
| 1:1:1 | 30 g | 30 g water + 30 g flour | Early days, slow starters |
| 1:2:2 | 20 g | 40 g water + 40 g flour | Everyday maintenance |
| 1:3:3 | 15 g | 45 g water + 45 g flour | Overly sour, very fast peak |
Troubleshooting
It smells like nail polish remover
That is usually a sign it is hungry and acidic. Feed it more generously (try 1:3:3) and feed a bit more often for a day or two. Keep it somewhere not too warm.
There is dark liquid on top
That liquid is called hooch. It is usually harmless and just means your starter ran out of food. You can pour it off or stir it in, then feed your starter. If you also see mold, pink or orange streaks, or it smells putrid, toss it and start over.
It is not bubbling by Day 4
Totally normal in cooler kitchens (many homes sit around 65 to 70 F). Move it somewhere warmer (aim for 72 to 78 F) and keep feeding daily. A turned-off oven with the light on can work, but check the temperature if you can and avoid letting it climb much above 80 to 85 F.
It bubbled like crazy, then stopped
Classic. Keep going. Early activity is often bacteria before the yeast population stabilizes. Stay consistent with feedings.
There is mold
If you see fuzzy growth (white, green, black) or pink or orange discoloration, or it smells rotten, toss it and start over. Mold is the one thing we do not negotiate with. Clean your jar thoroughly and use fresh flour.
How to store your starter
In the fridge
Best for most beginners. It slows fermentation so you are not feeding daily. Use a lid, but do not crank it down super tight if your starter is freshly fed and active.
On the counter
Best if you bake frequently and enjoy the routine. Plan on regular feedings and keep an eye on peak timing.
Drying for backup
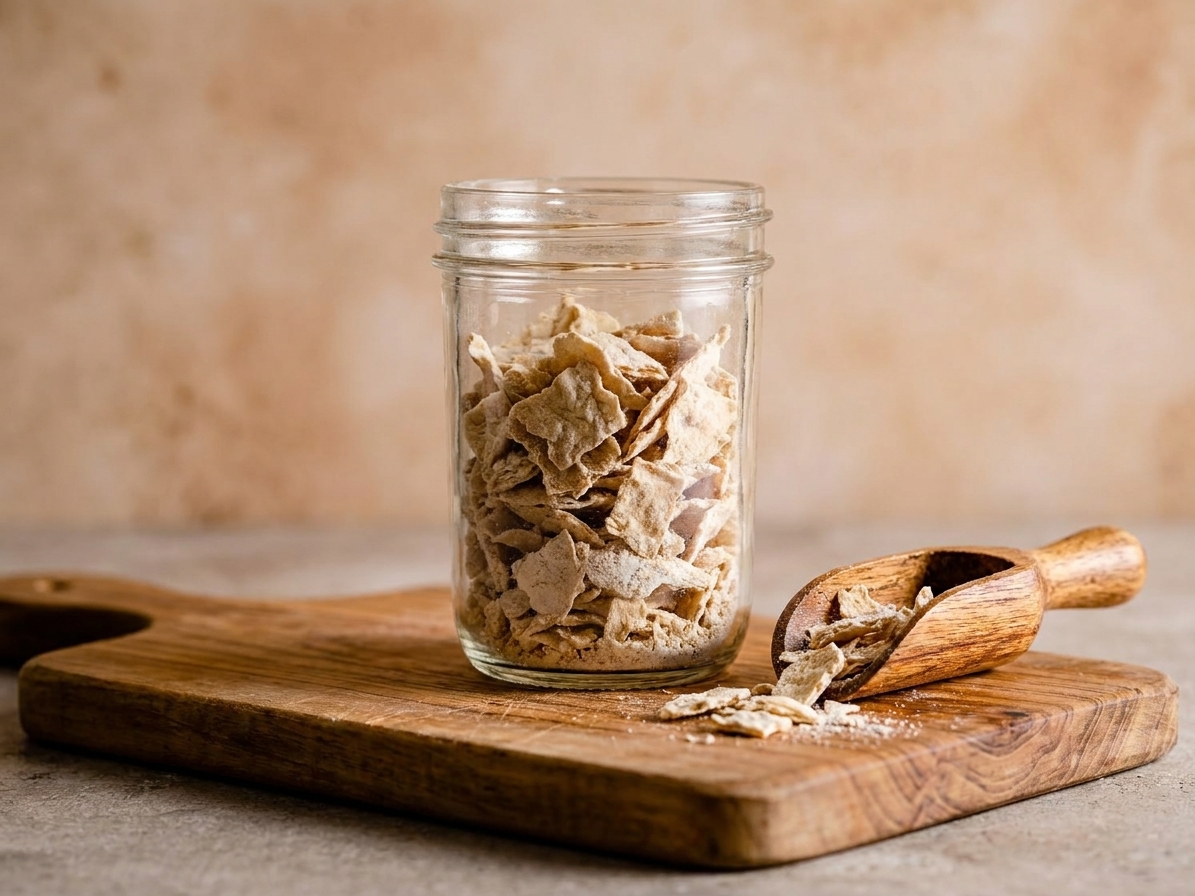
Once your starter is strong, you can spread a thin layer on parchment, let it dry completely, then crumble and store airtight. It is like an emergency starter insurance policy for future you.
What to do with discard
Once you are feeding regularly, you will have discard. If your starter is brand new, I prefer to wait until it is reliably active and smells clean and tangy before using discard in recipes.
- Quick discard pancakes or waffles for weekend breakfast
- Crackers with olive oil, salt, and too much garlic (my favorite)
- Scallion flatbread in a hot skillet
- Banana bread for extra tenderness
FAQ
Do I have to use whole wheat or rye?
No. Unbleached all-purpose flour works. That said, adding 10 to 30 percent whole wheat or rye for the first few days can kickstart activity because those flours tend to carry more microbes and nutrients.
Can I use tap water?
Usually, yes. If your water is heavily chlorinated or treated with chloramine, use filtered or bottled water. Letting water sit out can help with chlorine, but it does not always remove chloramine.
What is the best jar size?
A 16 to 32 ounce jar gives you headroom for rising. Wide mouth makes stirring and cleaning easier.
How warm should my kitchen be?
Room temp is fine, but fermentation moves faster in warmth. Aim for 72 to 78 F if possible. If your kitchen runs cooler (65 to 70 F), do not panic. It can still work, it may just take longer.
Can I start a starter without a scale?
You can, but it is less consistent because flour packs differently in cups. If you do not have a scale, keep your starter at a thick pancake batter consistency and stay consistent with your measuring tools.
My starter doubles, but it takes 10 to 12 hours. Is that okay?
Yes, especially early on. Keep feeding consistently. As it strengthens, the rise time usually shortens. You can also try a warmer spot or a slightly smaller seed amount with a larger feed (like 1:3:3).
A gentle pep talk
Your starter does not need you to be perfect. It needs you to be consistent. If you miss a feeding, feed it when you remember. If it smells odd, we troubleshoot and keep going. In about a week, you will have a jar of bubbly, tangy possibility on your counter, and you will feel like you unlocked a secret kitchen skill. You did.