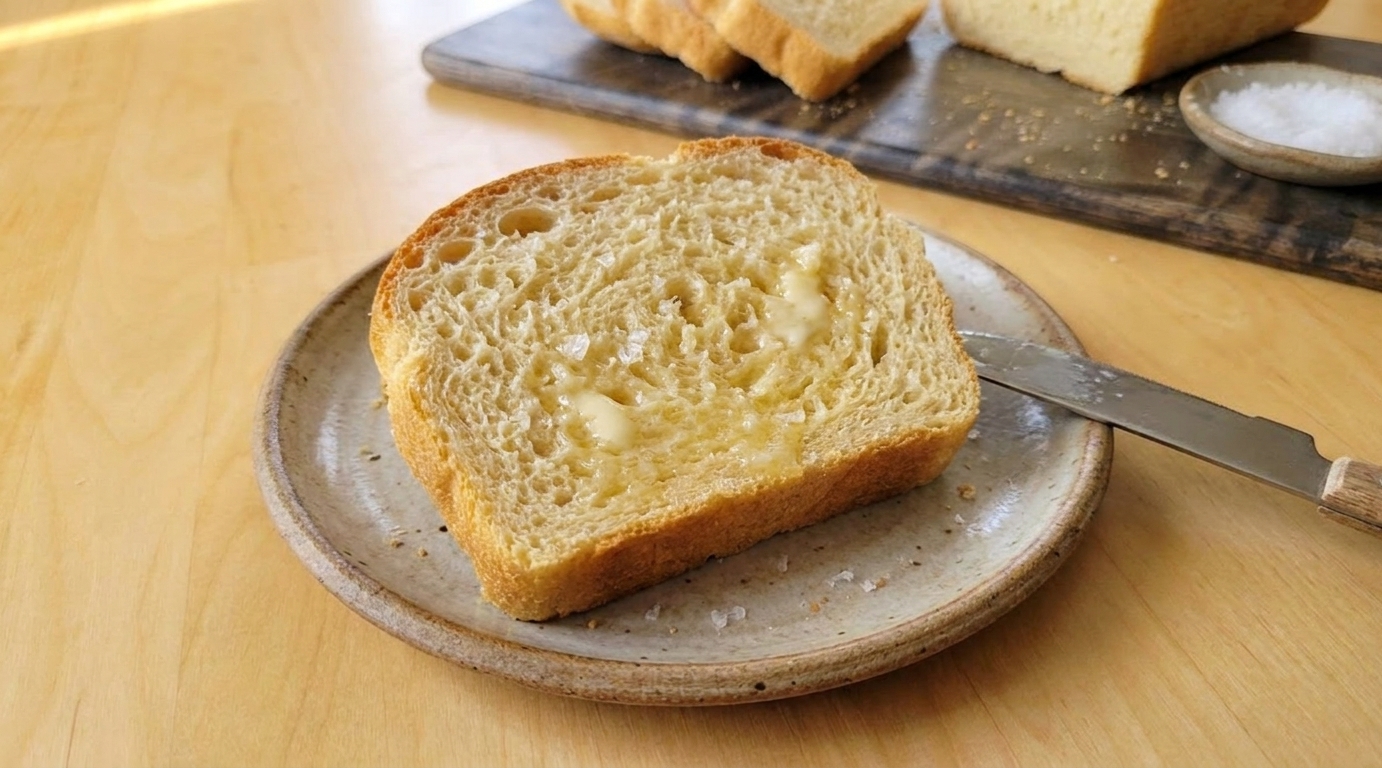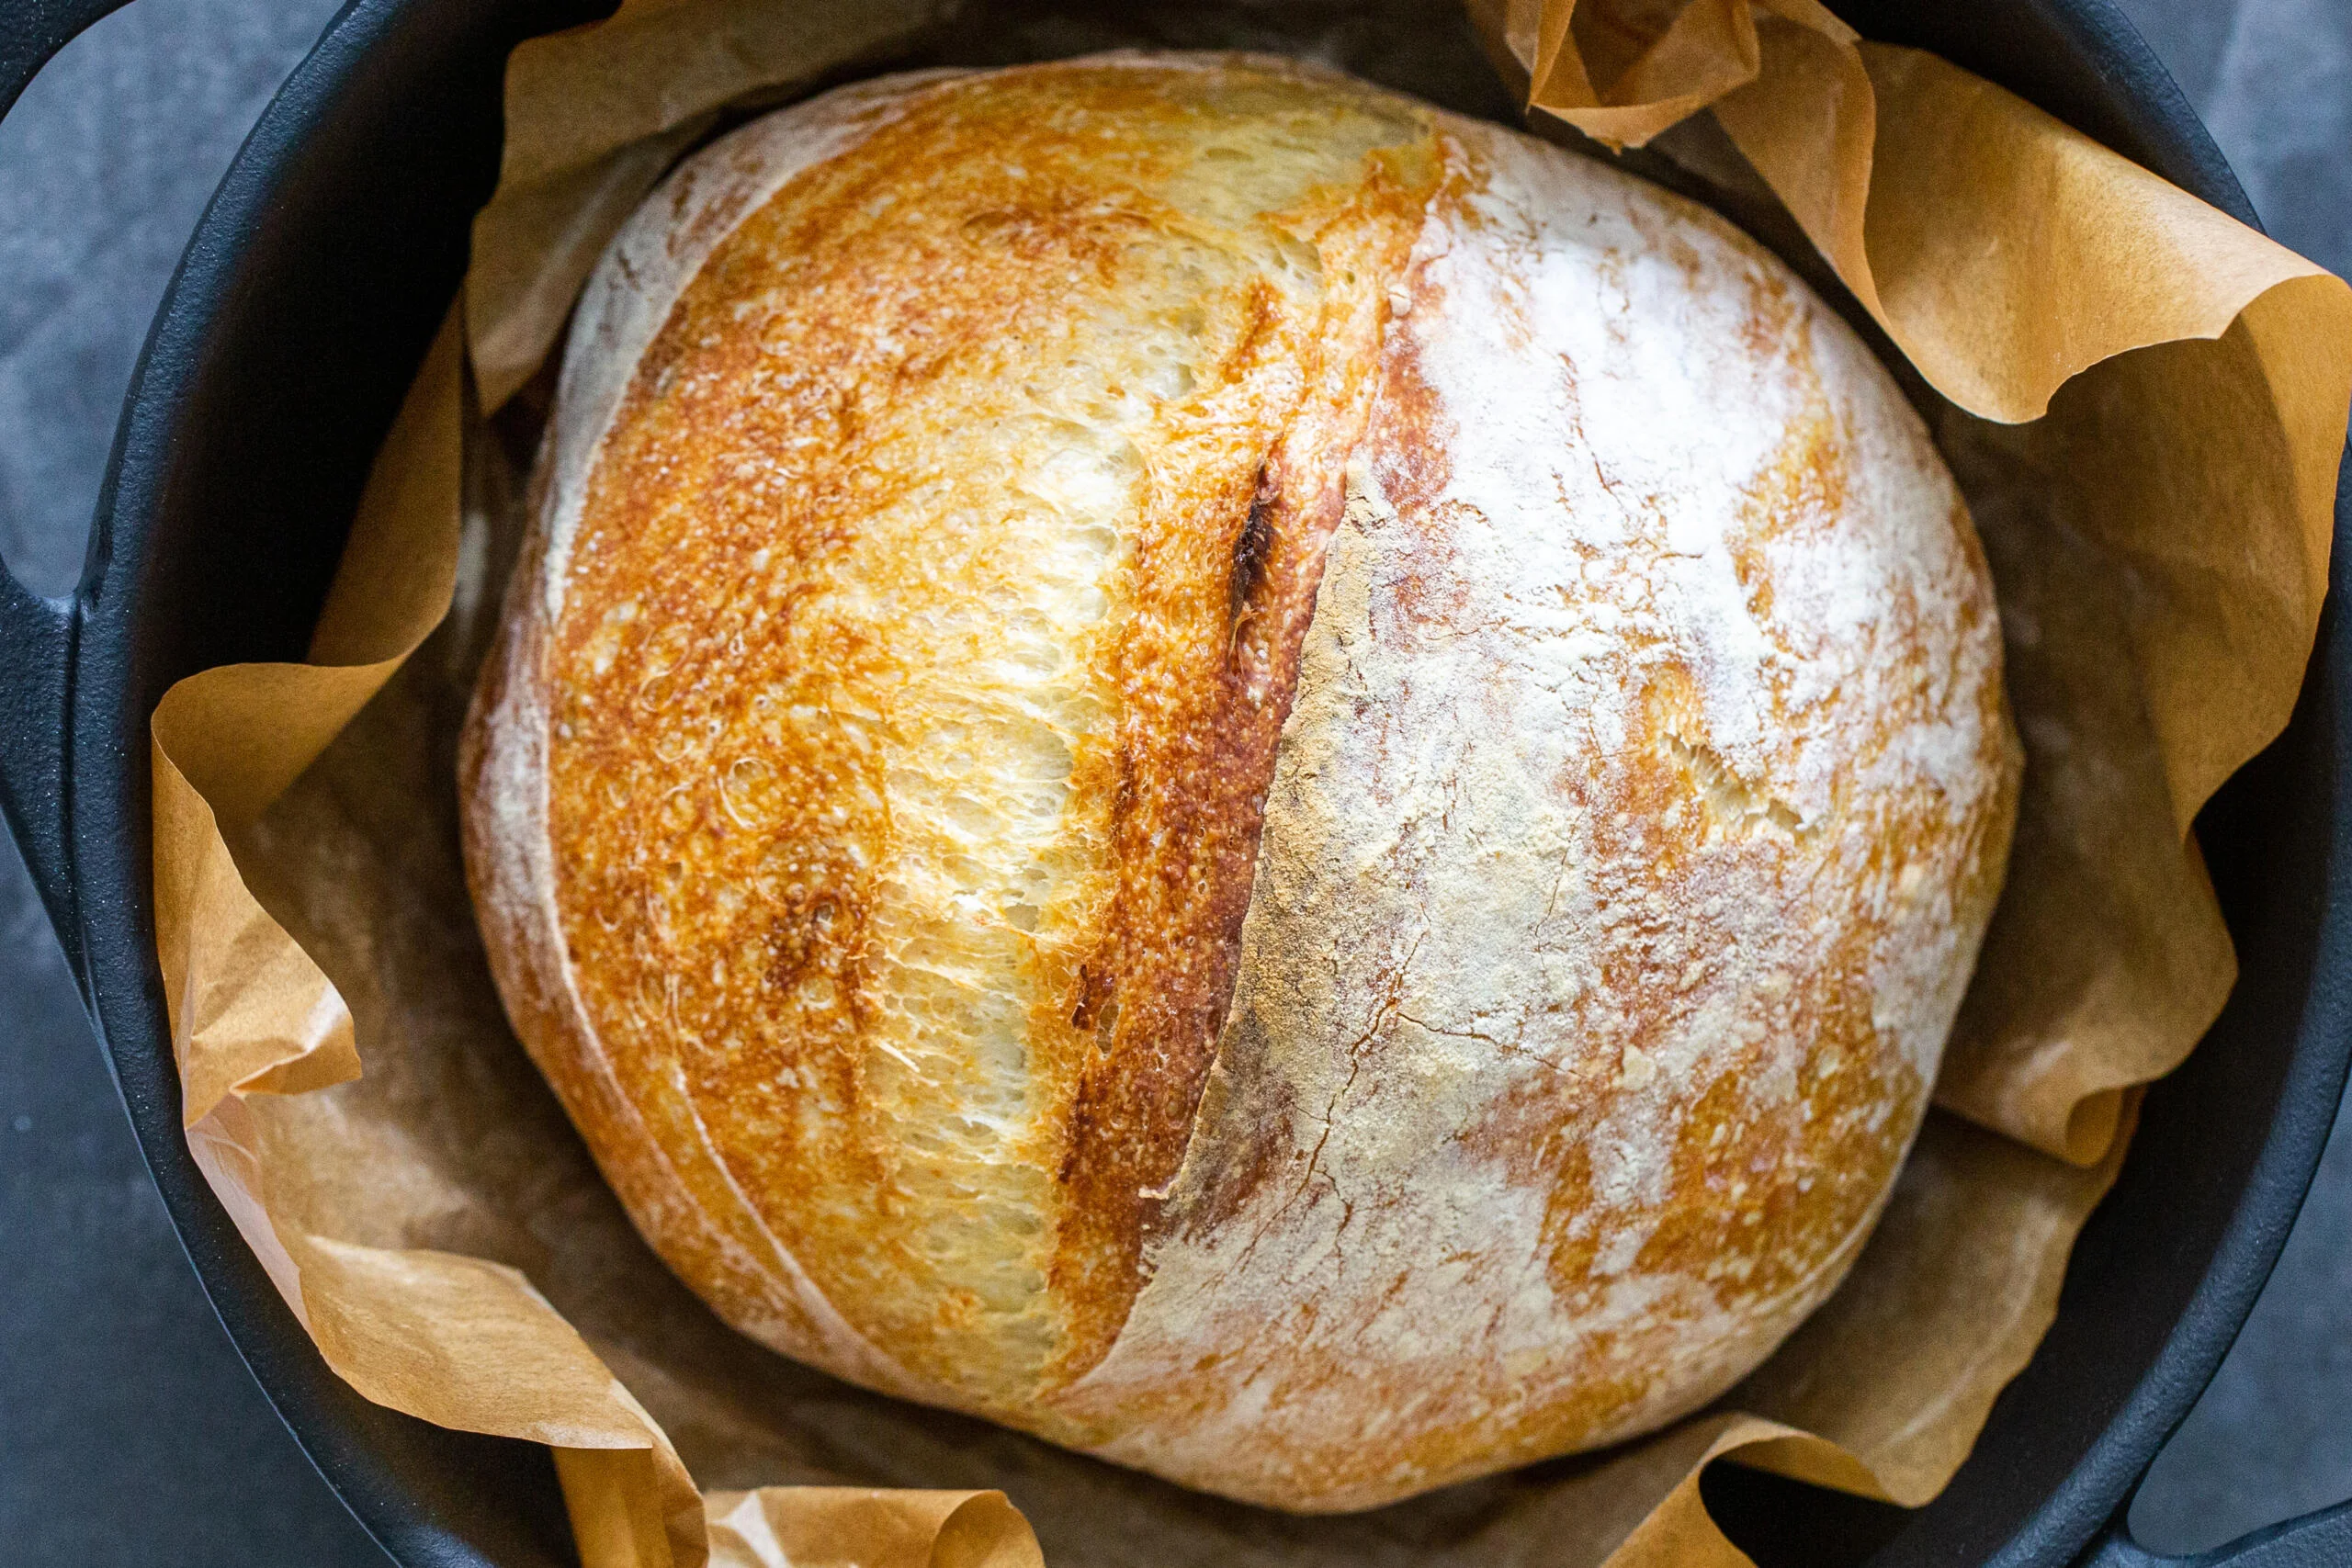
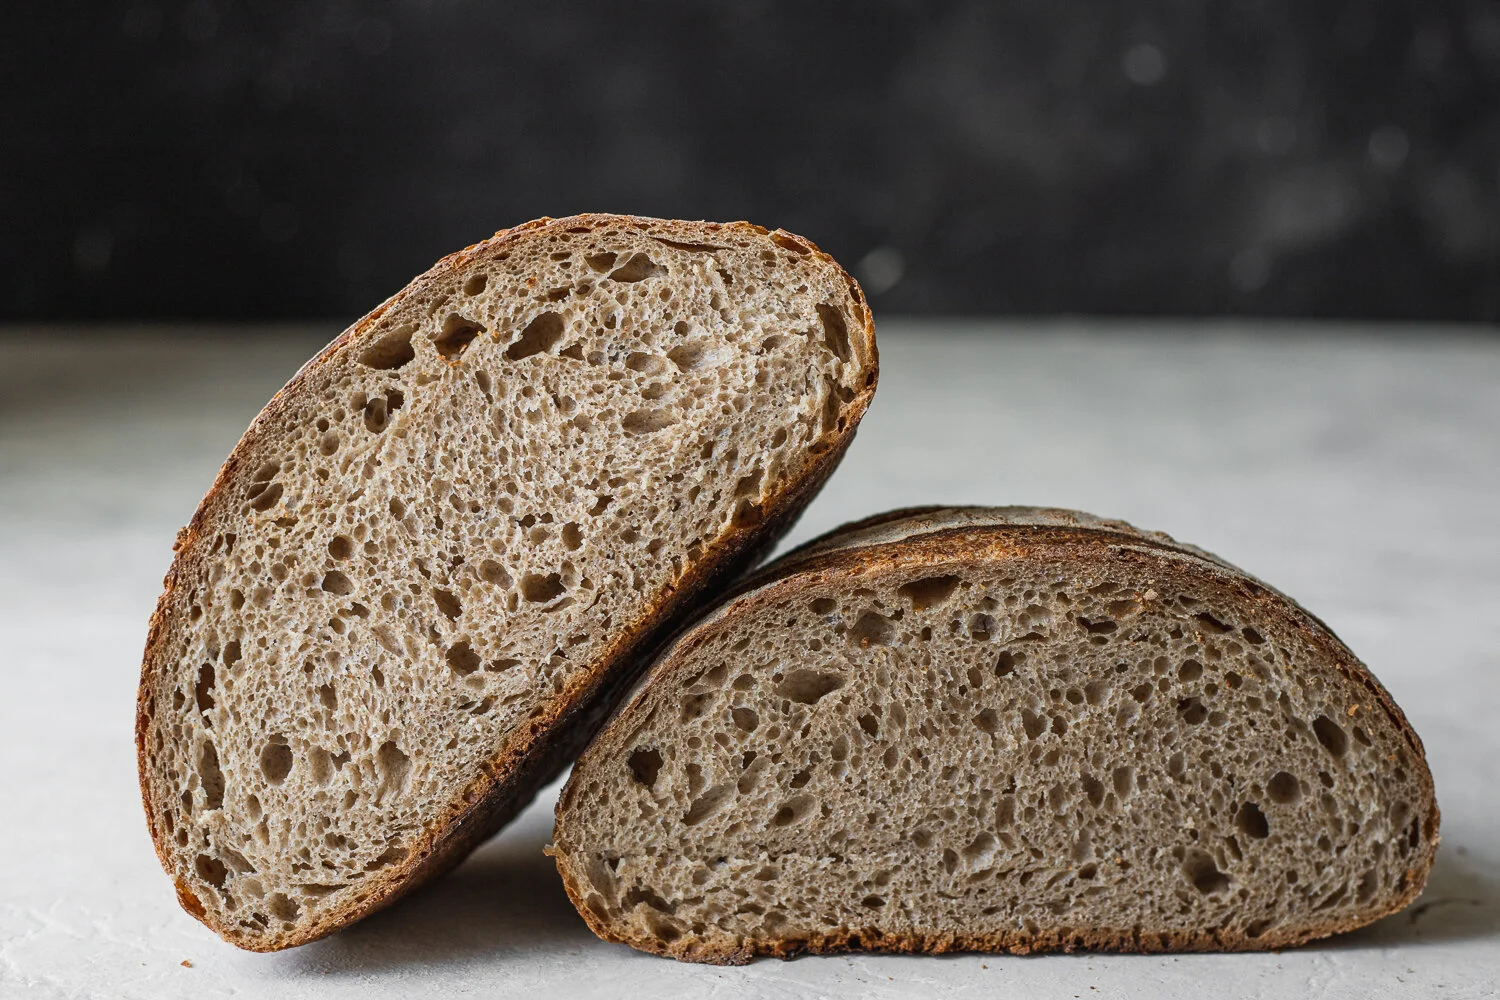
A tangy, creamy wheat loaf with a soft crumb and big flavor. Gram-accurate measurements, step-by-step tips, smart swaps, a preferment option, and troubleshoo...
Recipeva
Easy Yeast Bread
A simple, dependable yeast bread you can make on a weeknight with pantry staples. Step-by-step instructions, troubleshooting, and make-ahead tips for a soft, golden loaf.

Maya Reynolds
Maya Reynolds is a passionate home cook, recipe developer, and the creative voice behind Recipeva. With over a decade of experience translating complex culinary techniques into approachable weeknight meals, she focuses on creating dishes that bring joy to the dinner table without the stress.
Created September 24, 2026
Updated September 24, 2026
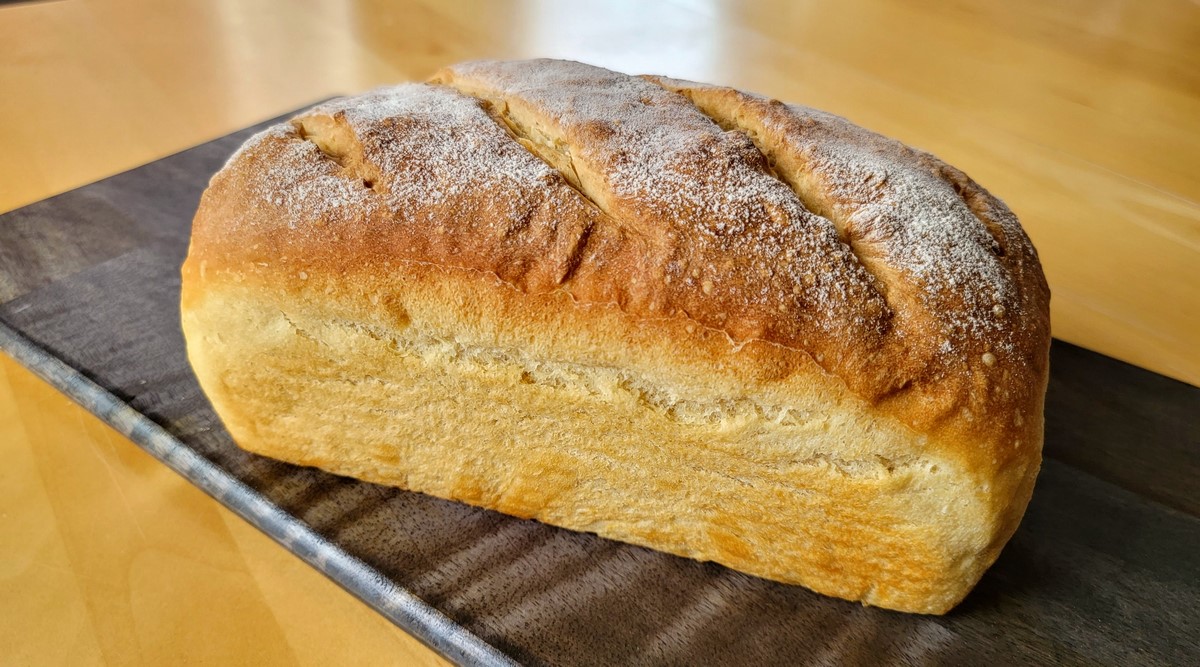
Homemade yeast bread has a reputation for being fussy, but I promise it does not have to be. This is my go-to easy yeast bread recipe for busy weeks when you want a warm slice with butter and maybe a little honey, without turning your kitchen into a science lab.
We are going for a loaf that is soft, lightly chewy, and beautifully golden, using basic supermarket ingredients. I will walk you through what to look for at each step, plus the small adjustments that make bread predictable, even if you are brand new to yeast.
Why this bread works
- Simple dough: Flour, water, yeast, salt, and a little fat and sugar for tenderness and flavor.
- Flexible timing: The rise is based on how the dough looks and feels, not a strict stopwatch.
- Beginner-friendly shaping: No fancy braids, just an easy log that fits a standard loaf pan.
- Soft crumb: A touch of oil or butter keeps it tender for sandwiches and toast.
Ingredients
This recipe makes 1 standard loaf (8 1/2 x 4 1/2-inch pan or 9 x 5-inch pan).
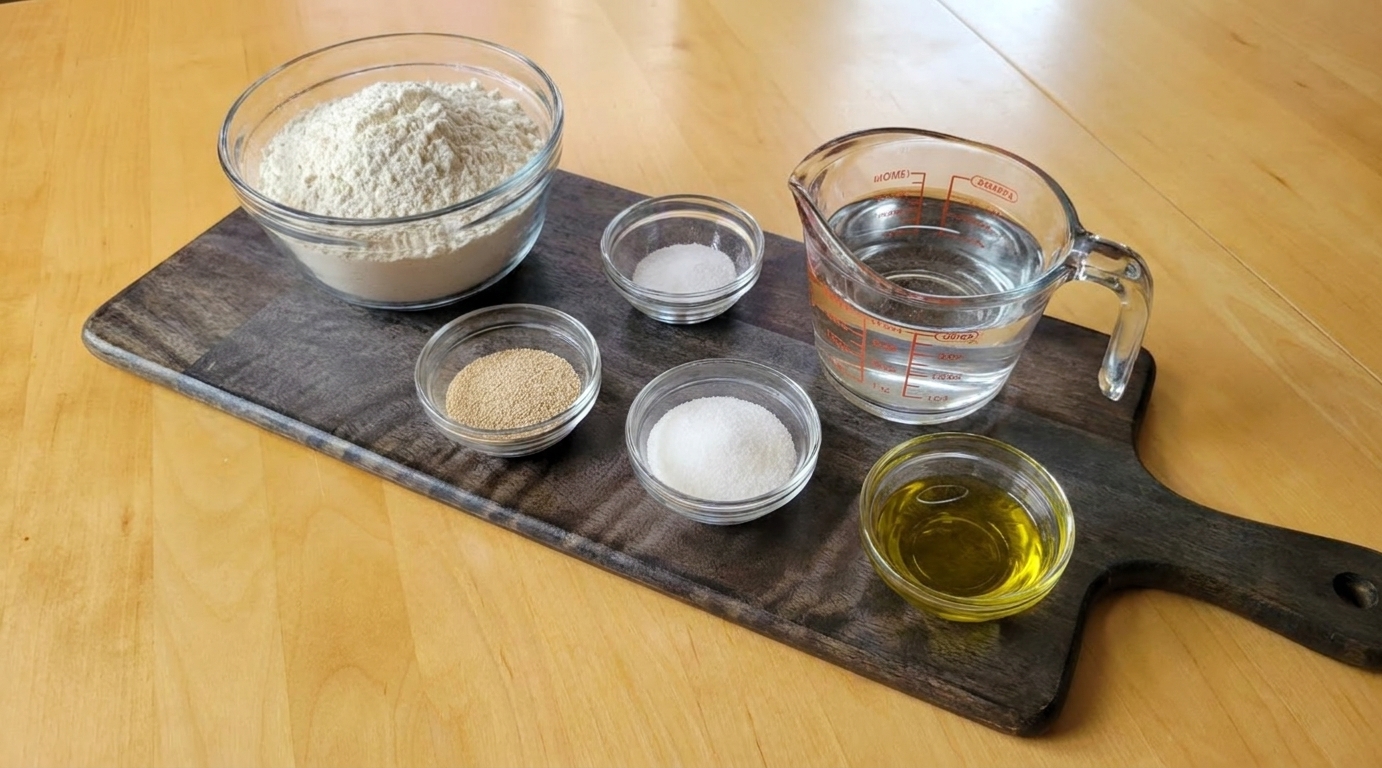
- 3 1/4 cups all-purpose flour (390 g), plus a little extra for dusting
- 2 1/4 teaspoons instant yeast (1 packet)
- 1 1/2 teaspoons fine salt (fine sea salt or table salt, not flaky)
- 1 tablespoon sugar (helps the yeast get going and softens the loaf)
- 1 1/4 cups warm water (about 295 g, and roughly 100 to 110°F, warm not hot)
- 2 tablespoons olive oil or melted butter
If you only have active dry yeast: You can still use it. Dissolve it in the warm water with the sugar and let it sit 5 to 10 minutes until it looks foamy or a little creamy on top, then proceed.
Step-by-step
1) Mix the dough
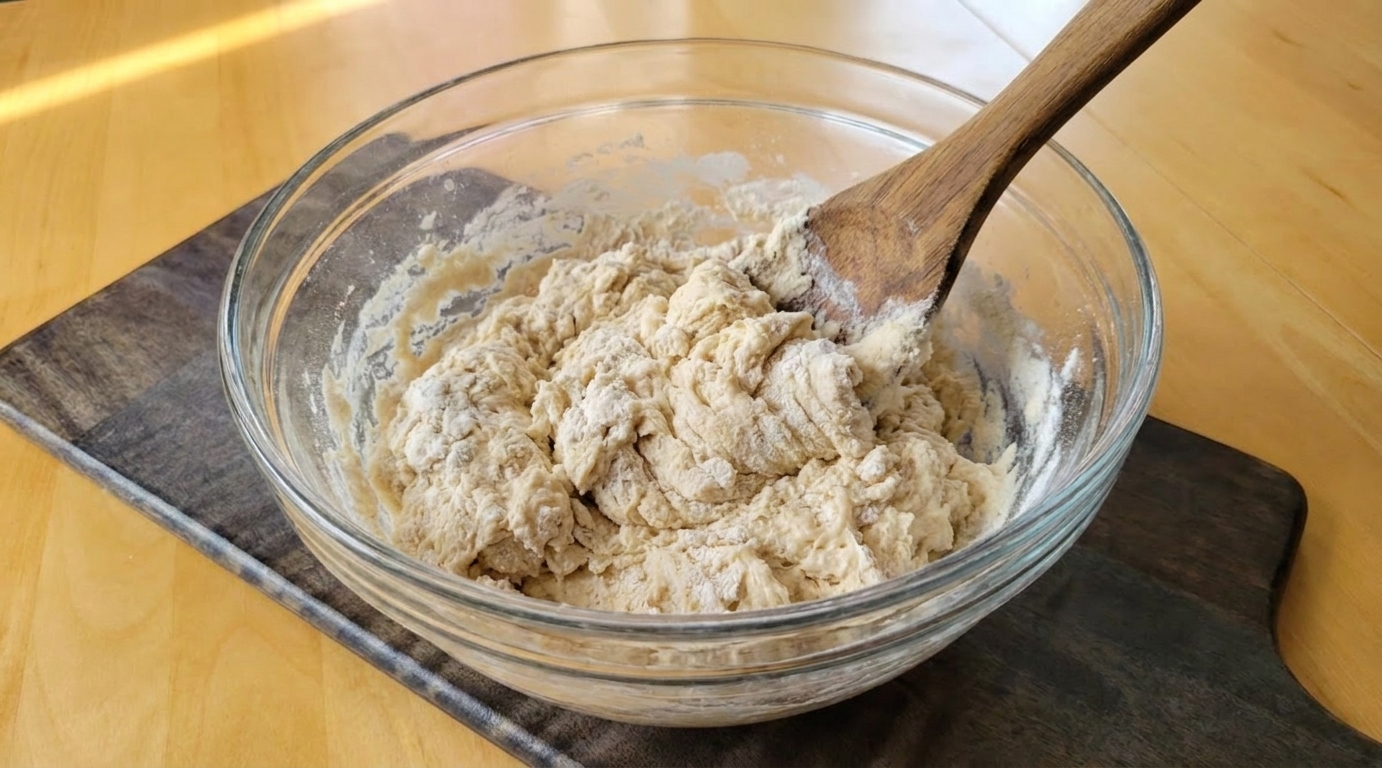
In a large bowl, whisk together the flour, instant yeast, salt, and sugar. Add the warm water and oil. Stir with a sturdy spoon until you get a shaggy dough and most of the flour is absorbed.
2) Knead until smooth
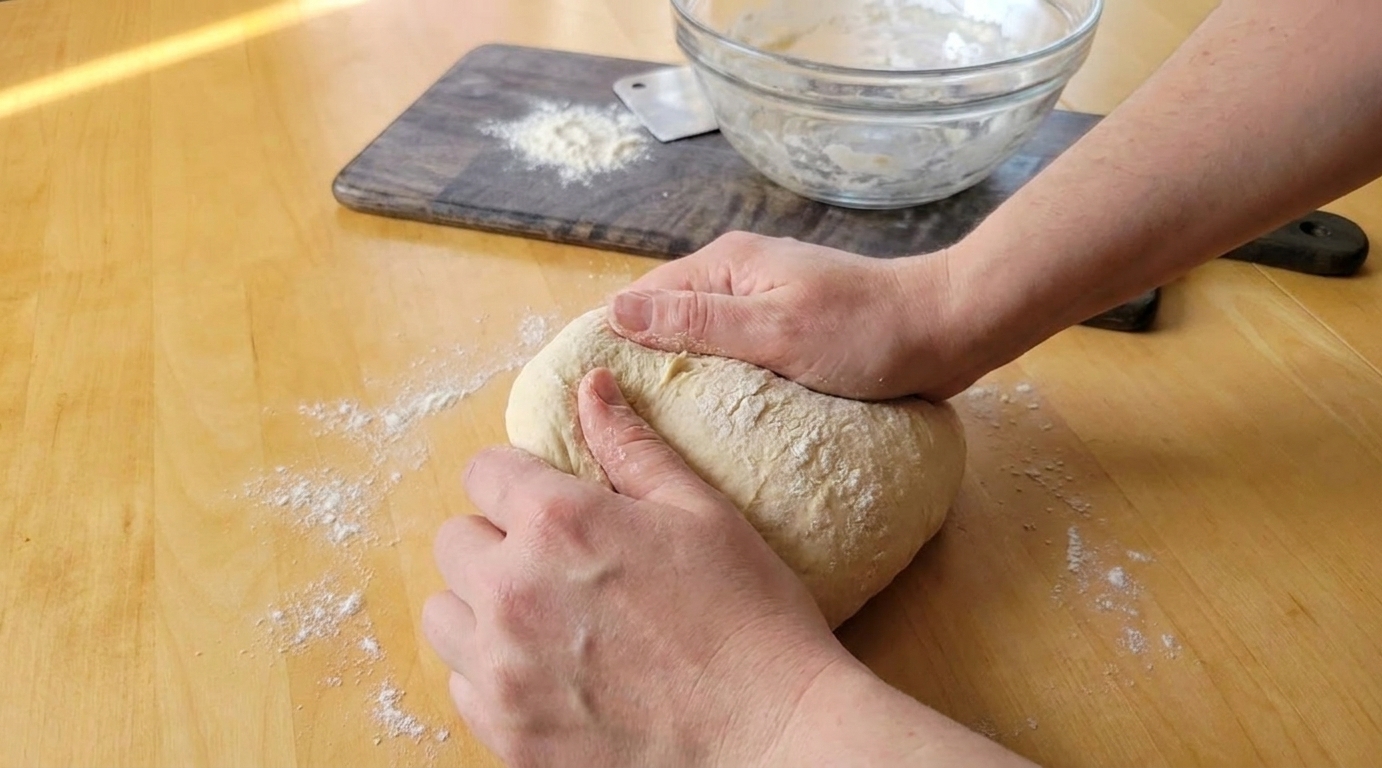
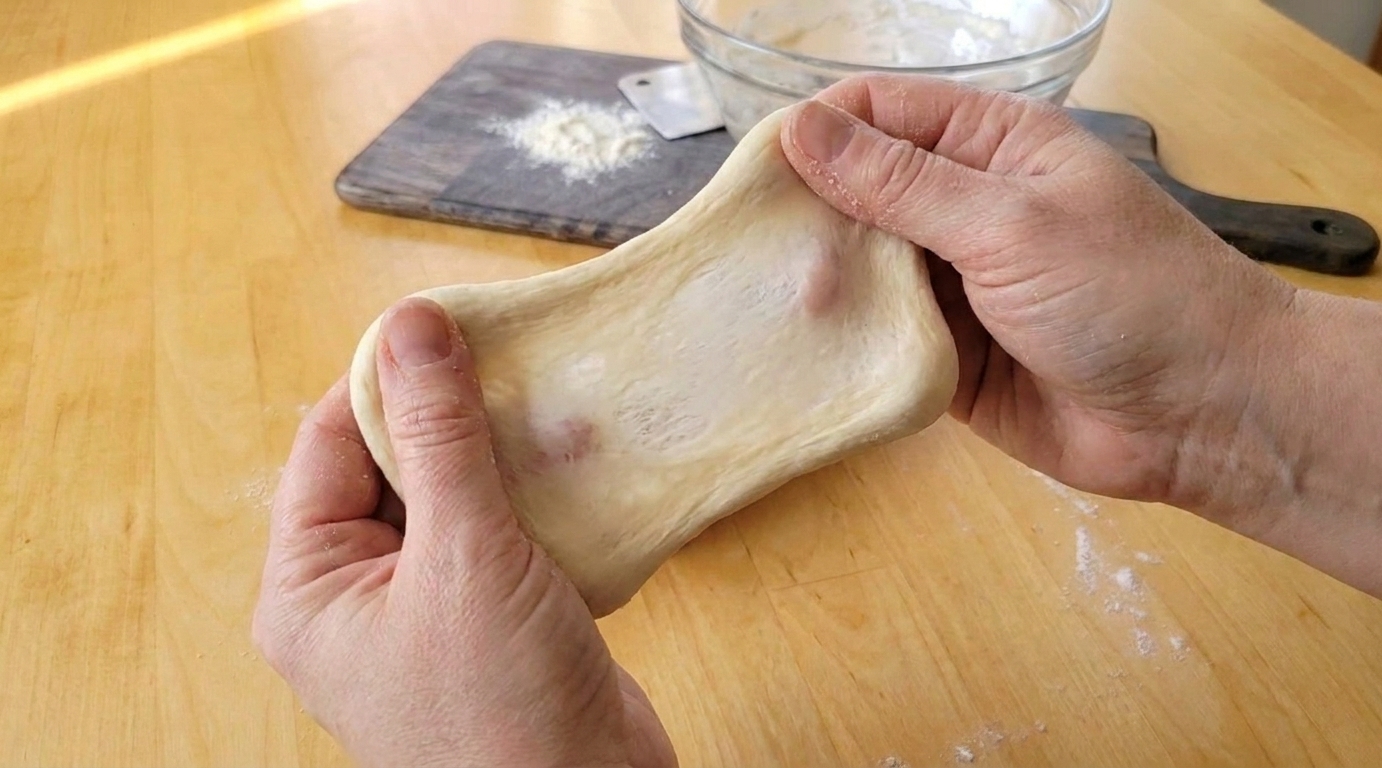
Turn the dough onto a lightly floured counter and knead for 8 to 10 minutes, until it looks smoother and feels elastic. If the dough is sticking to everything, dust with a sprinkle of flour. If it feels dry and stiff, wet your hands and keep kneading.
What you are aiming for: Dough that feels soft and slightly tacky, but not gluey.
3) First rise (until doubled)
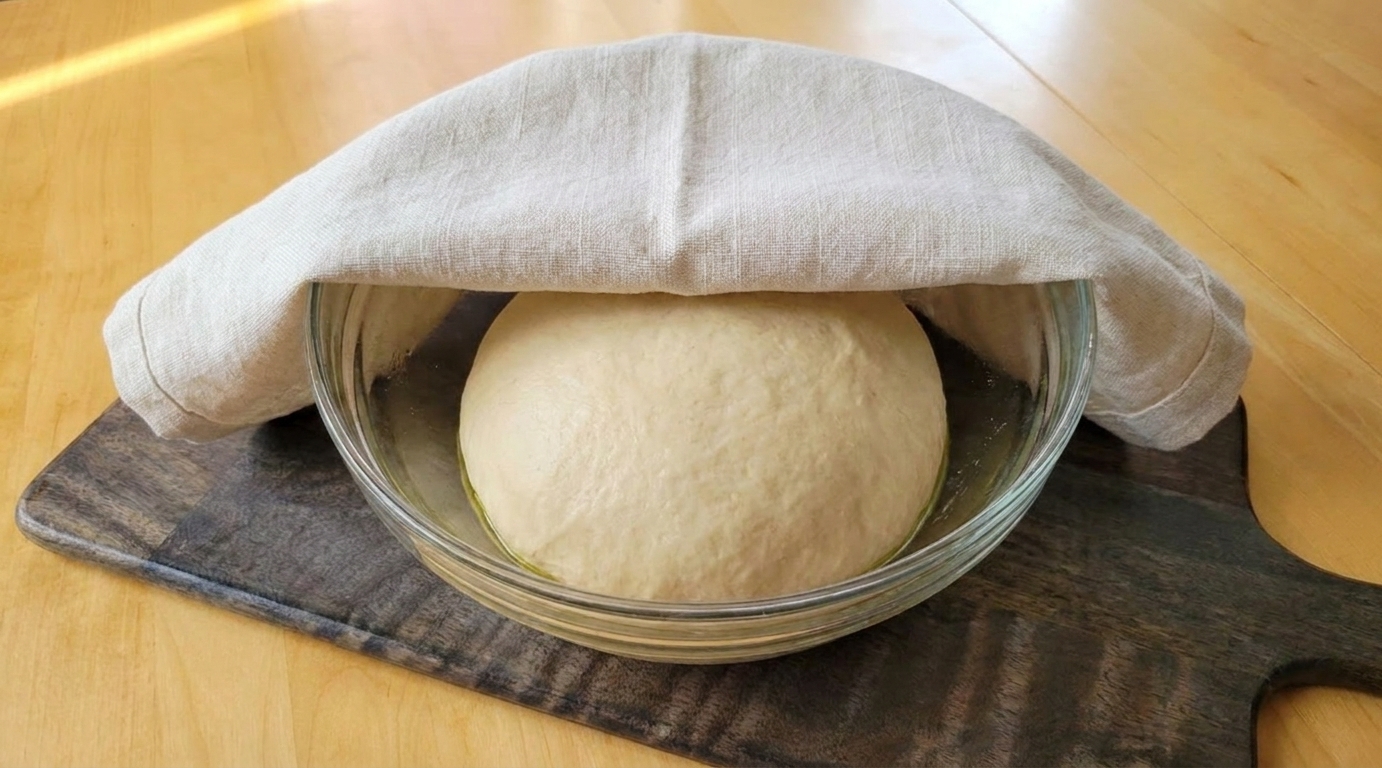
Lightly oil a clean bowl. Place the dough inside, turn once to coat, then cover. Let it rise in a warm spot until doubled in size, usually 60 to 90 minutes.
My favorite warm spot: The oven with the light on and the oven turned off.
4) Shape the loaf
Prep your loaf pan: grease it well, or grease and line it with a sling of parchment (the parchment makes lifting the loaf out extra easy).
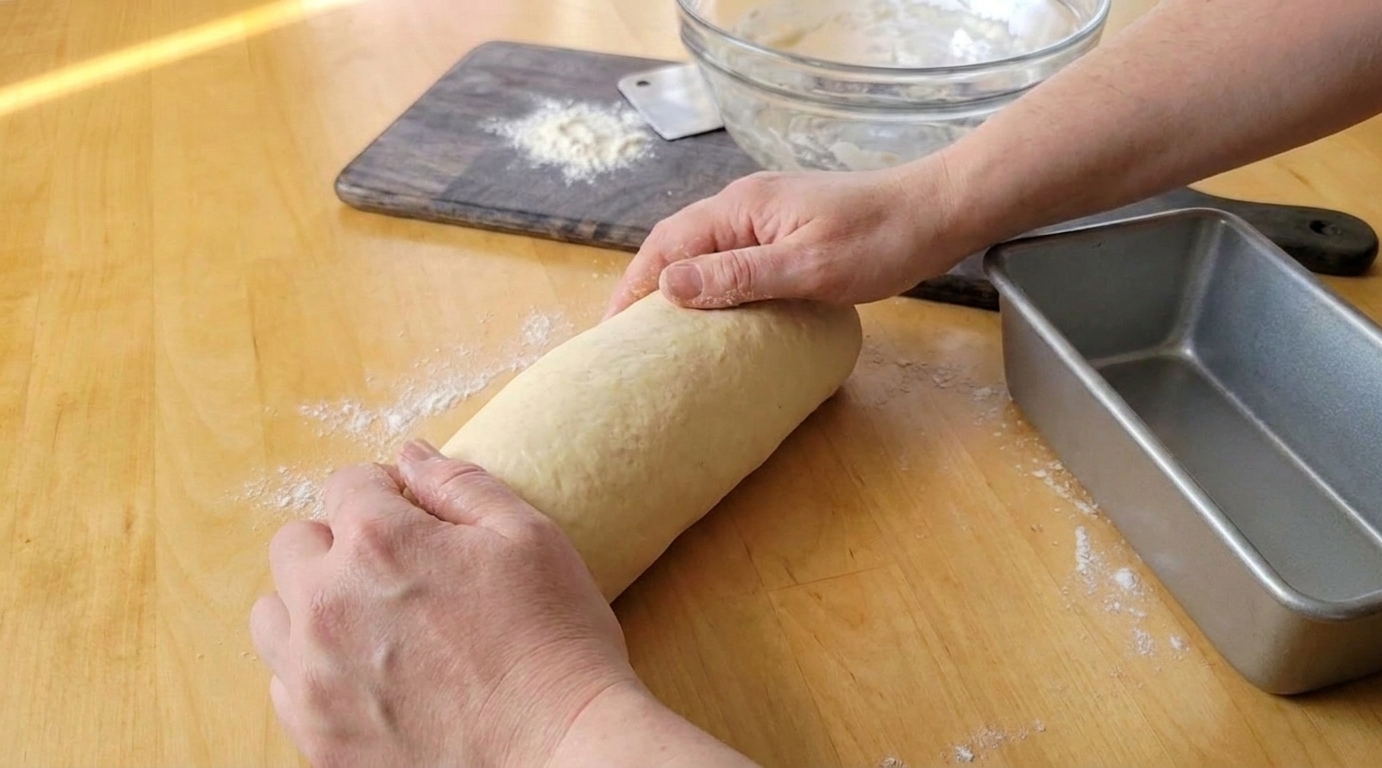
Gently deflate the dough, then turn it out onto the counter. Pat it into a rectangle about the width of your loaf pan. Roll it up into a tight log, pinch the seam closed, and place seam-side down in the pan.
5) Second rise (until domed)
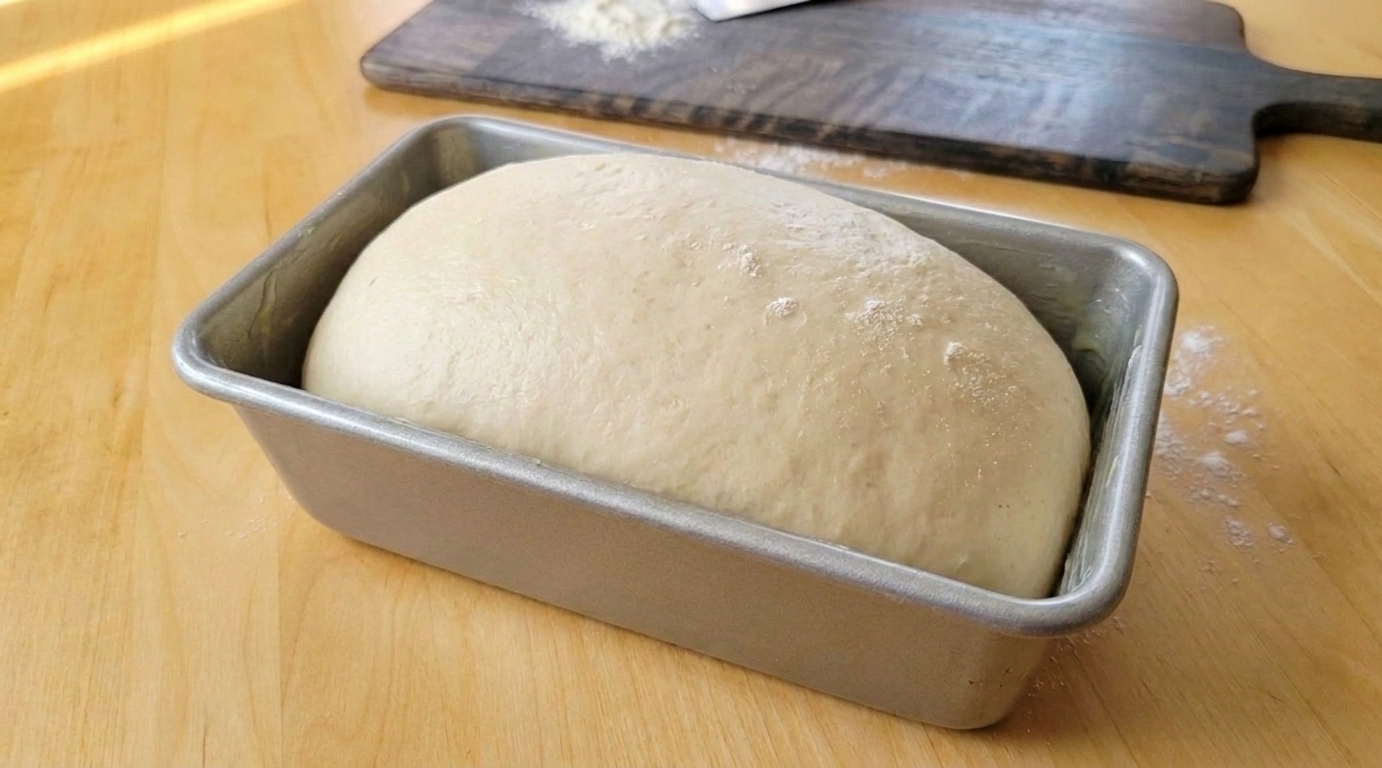
Cover the pan and let the dough rise again until the top is about 1 inch above the rim of the pan, usually 30 to 60 minutes.
Do not rush this: Under-proofed dough often splits on the side and bakes up dense. It can also happen if the seam is not sealed well, so give it a good pinch when you shape.
6) Bake
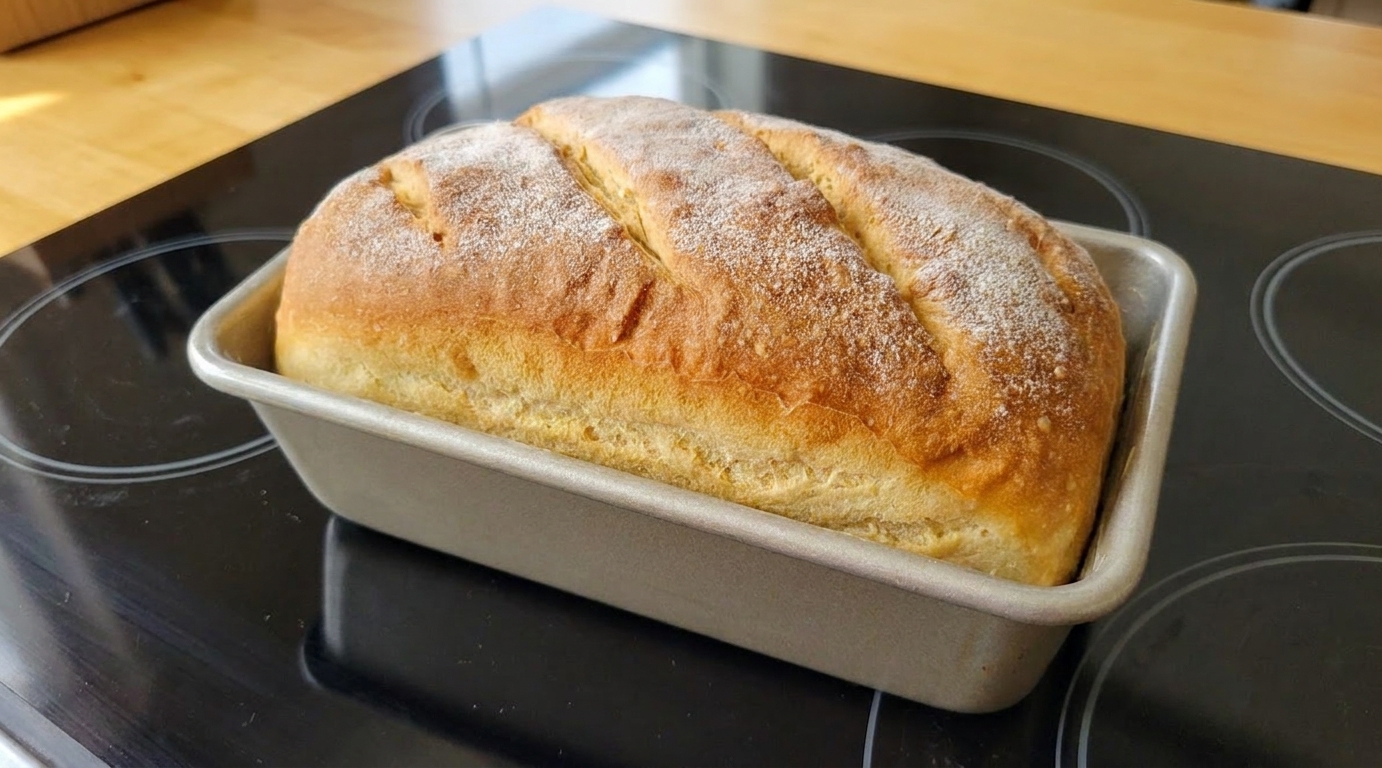
Heat the oven to 375°F. Bake for 30 to 35 minutes, until deep golden brown.
Optional for a shinier top: Right before baking, brush the loaf gently with a little milk or beaten egg.
How to know it's done:
- The top is golden and feels firm.
- The loaf sounds hollow when you tap the bottom.
- Optional but very reliable: an instant-read thermometer in the center reads 190 to 200°F.
7) Cool before slicing
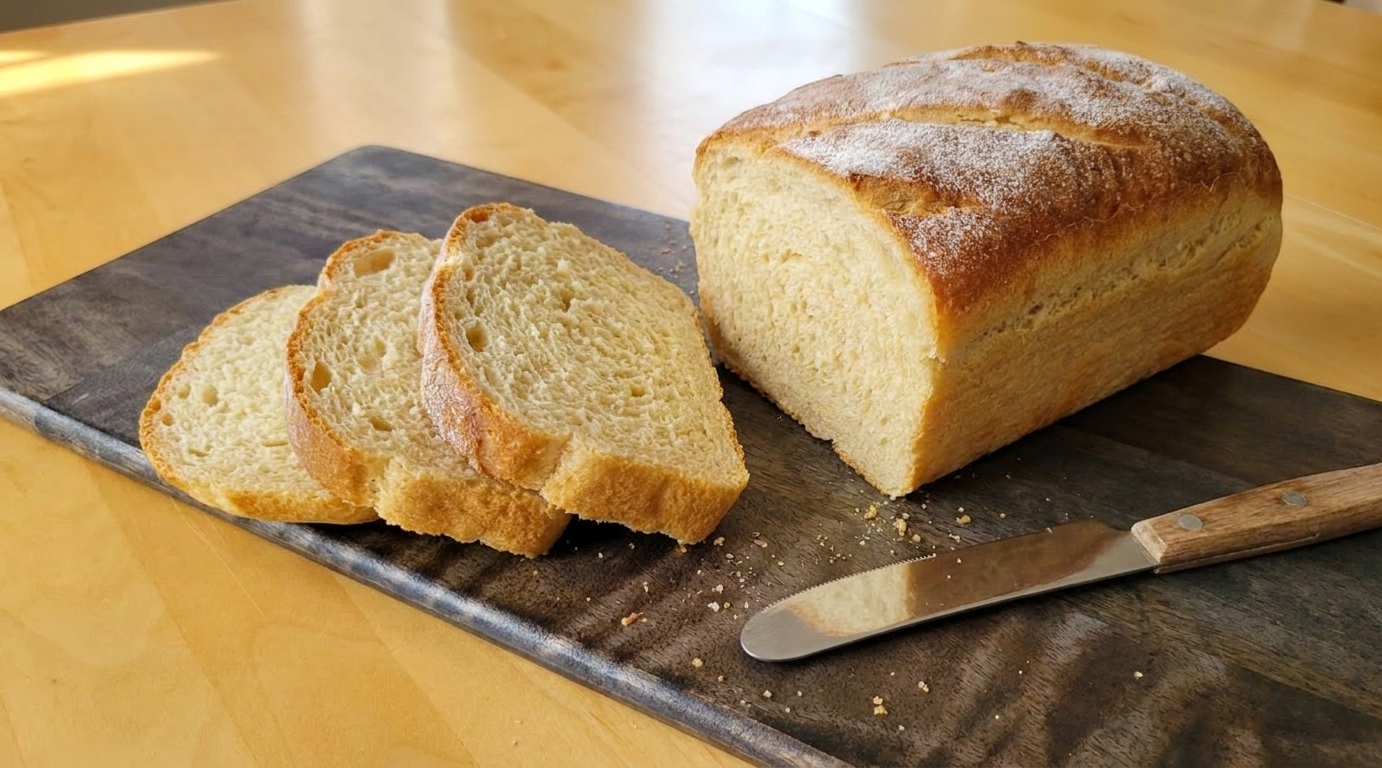
Let the bread cool in the pan for 5 minutes, then turn it out onto a rack. Cool at least 30 minutes before slicing so the crumb sets. I know it is hard. This is the part where I hover like a cartoon.
Best tips
Warm water, not hot
If the water is too hot, it can damage the yeast. If it is too cool, the rise takes forever. Aim for warm bathwater, roughly 100 to 110°F.
Flour is a feel, not a fixed number
Humidity, brands, and how you scoop flour all change the dough. Add flour only as needed to keep the dough workable. A slightly tacky dough bakes up softer than a dry one.
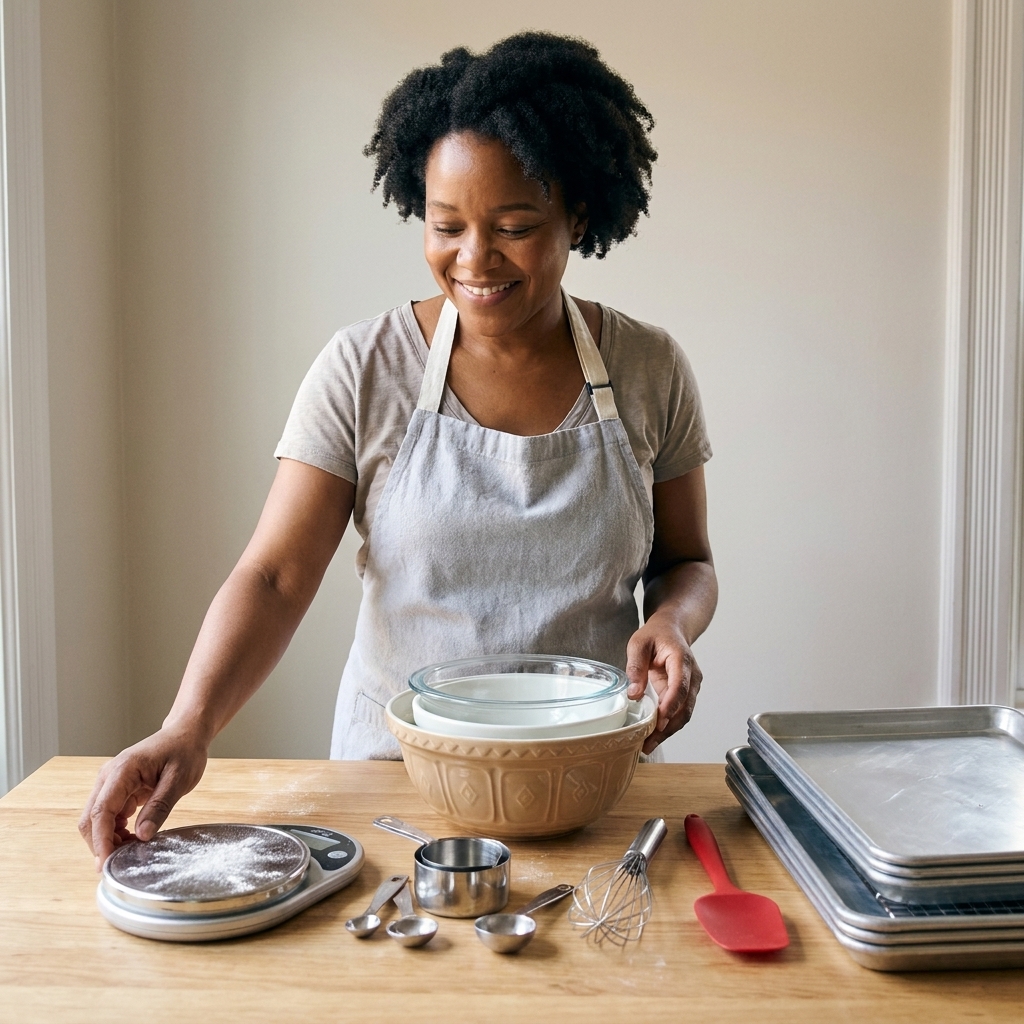
If you can: Use the gram measurement for the flour. It makes this recipe even more predictable.
Kneading builds structure
That stretchy, elastic feel means gluten has formed, which helps the bread trap gas from the yeast and rise high instead of spreading flat.
Rise by volume
Times are estimates. Look for doubling on the first rise and a nicely domed top on the second rise.
Troubleshooting
My dough is not rising
- Room too cool: Move the dough to a warmer spot (off oven with light on works great).
- Water too hot or too cold: Next time aim for warm water, roughly 100 to 110°F.
- Yeast is old: If you are not sure, proof it in warm water with sugar. If it does not look foamy or creamy after 10 minutes, replace it.
My bread is dense
- Not enough kneading.
- Too much flour added during kneading.
- Under-proofed second rise. Let it get that nice dome before baking.
The top browned too fast
- Tent loosely with foil for the last 10 minutes.
- Check oven temperature with a thermometer if this happens often.
The loaf split on the side
- Usually under-proofed.
- Sometimes the seam was not sealed well.
- Sometimes the oven is too hot. Try 365°F if your oven runs hot.
Easy variations
Garlic butter loaf
Brush the top with 1 tablespoon melted butter mixed with 1 small grated garlic clove right after baking. Yes, you can add more garlic. I support you.
Seeded top
Before baking, brush with a little water or beaten egg, then sprinkle with sesame seeds, poppy seeds, or everything seasoning.
Whole wheat swap
Replace up to 1 cup of the all-purpose flour with whole wheat flour. Add an extra 1 to 2 tablespoons water if the dough feels dry.
Dinner rolls
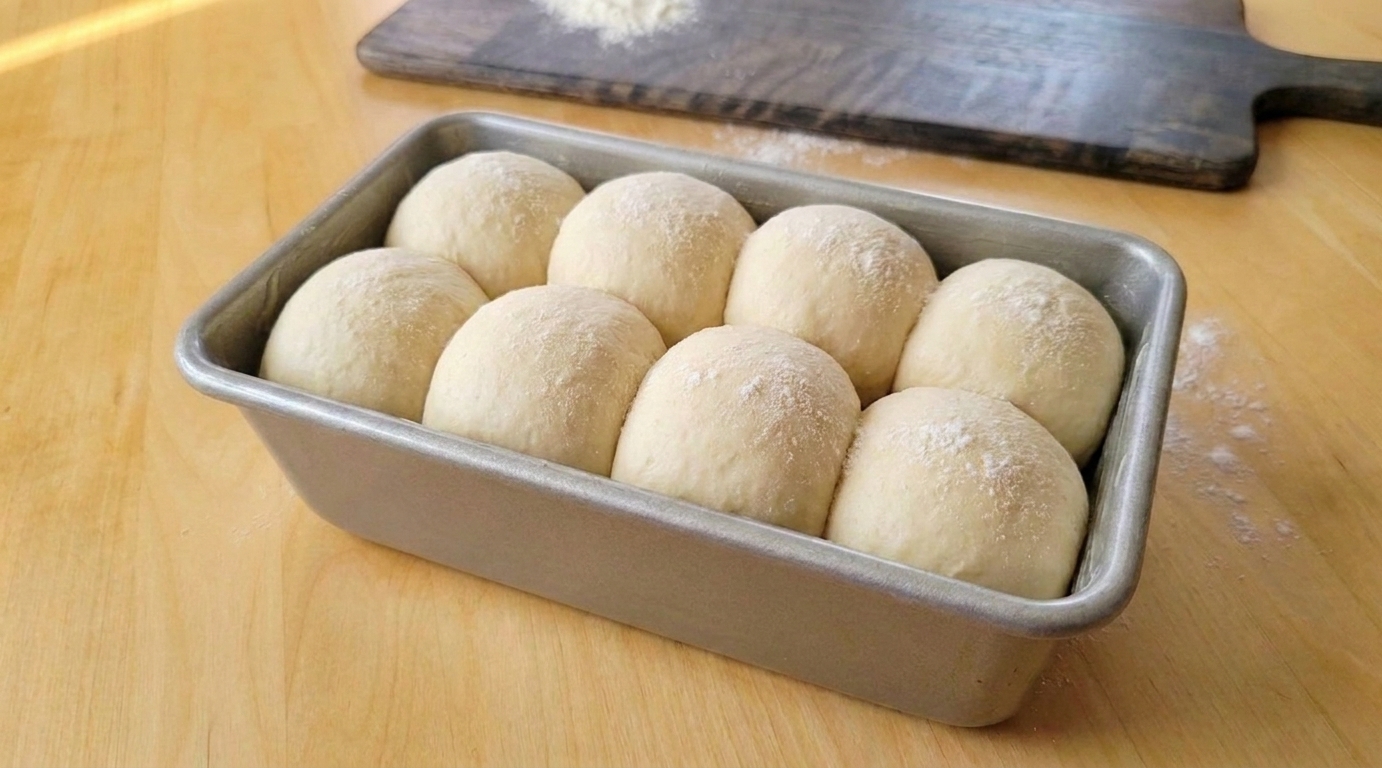
After the first rise, divide into 12 pieces, shape into balls, and place in a greased 9 x 13-inch pan. Rise until puffy, then bake at 375°F for 18 to 22 minutes.
Storage and freezing
Storing
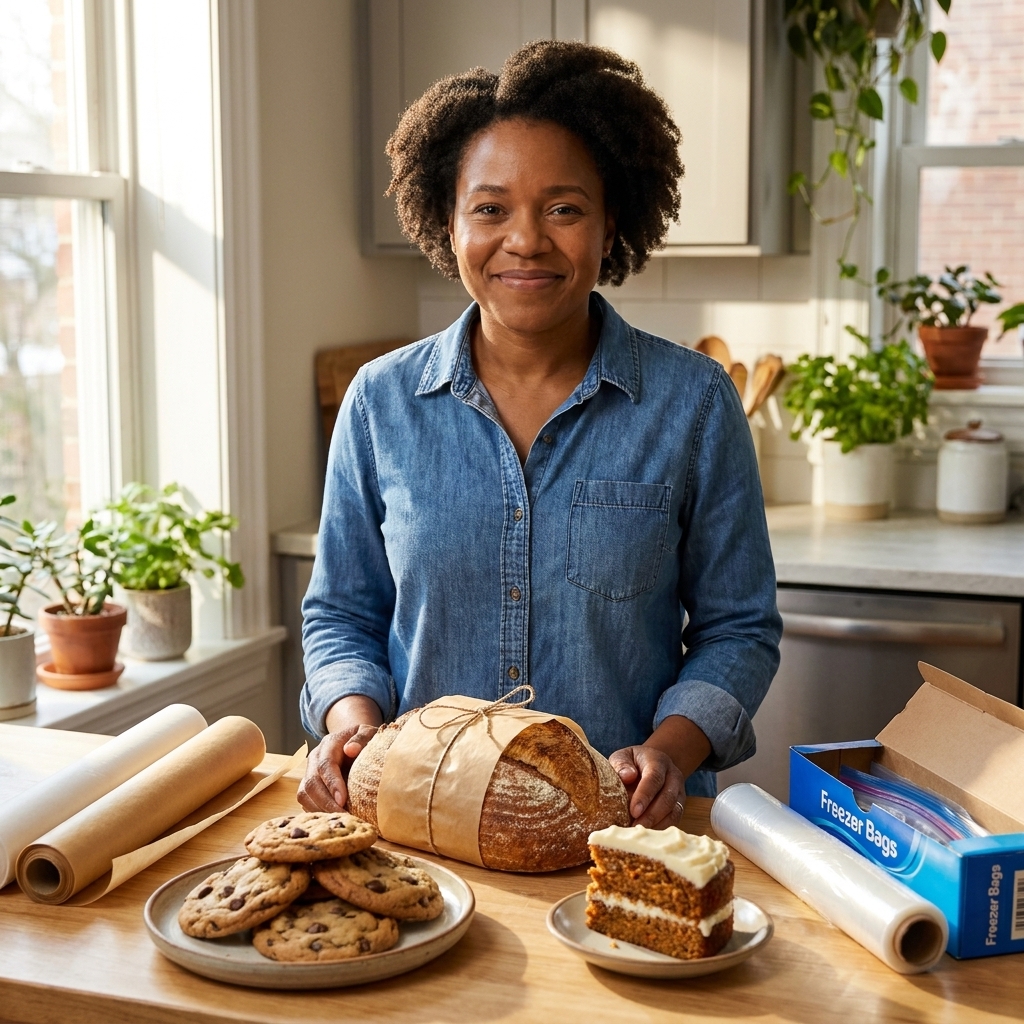
Once fully cool, store bread at room temperature in a bag or airtight container for 2 to 3 days. If you prefer a crisper crust, store in paper for the first day, then switch to airtight.
Freezing
Slice the cooled loaf, then freeze slices in a freezer bag. Toast straight from frozen. Homemade bread on a Tuesday morning with zero effort feels like a tiny life upgrade.
FAQ
Can I make this without a stand mixer?
Absolutely. I wrote it for hand-kneading. If you have a mixer, use a dough hook on medium-low for about 6 to 8 minutes, then finish with a quick hand-knead if needed.
Do I need bread flour?
Nope. All-purpose flour makes a soft, everyday loaf. Bread flour gives a slightly chewier texture, so feel free to use it if you have it.
Can I let the dough rise overnight?
Yes. For the first rise, cover the dough tightly and refrigerate for 8 to 12 hours. The next day, let it sit at room temp for about 45 to 60 minutes, then shape, proof, and bake. The flavor gets even better.
Why does my bread taste bland?
Usually it needs a touch more salt, or it was under-proofed and did not have time to develop flavor. Make sure you are using the full salt amount (and that it is fine salt, not flaky) and letting the rises get to the visual cues described above.
Before you start
If yeast bread has ever intimidated you, start here. Read the steps once, set out your ingredients, and give yourself permission to learn as you go. Bread is forgiving, and every loaf teaches you something.
And if your first loaf comes out a little rustic, call it charming. Then toast a slice, add butter, and try again soon. You have got this.