

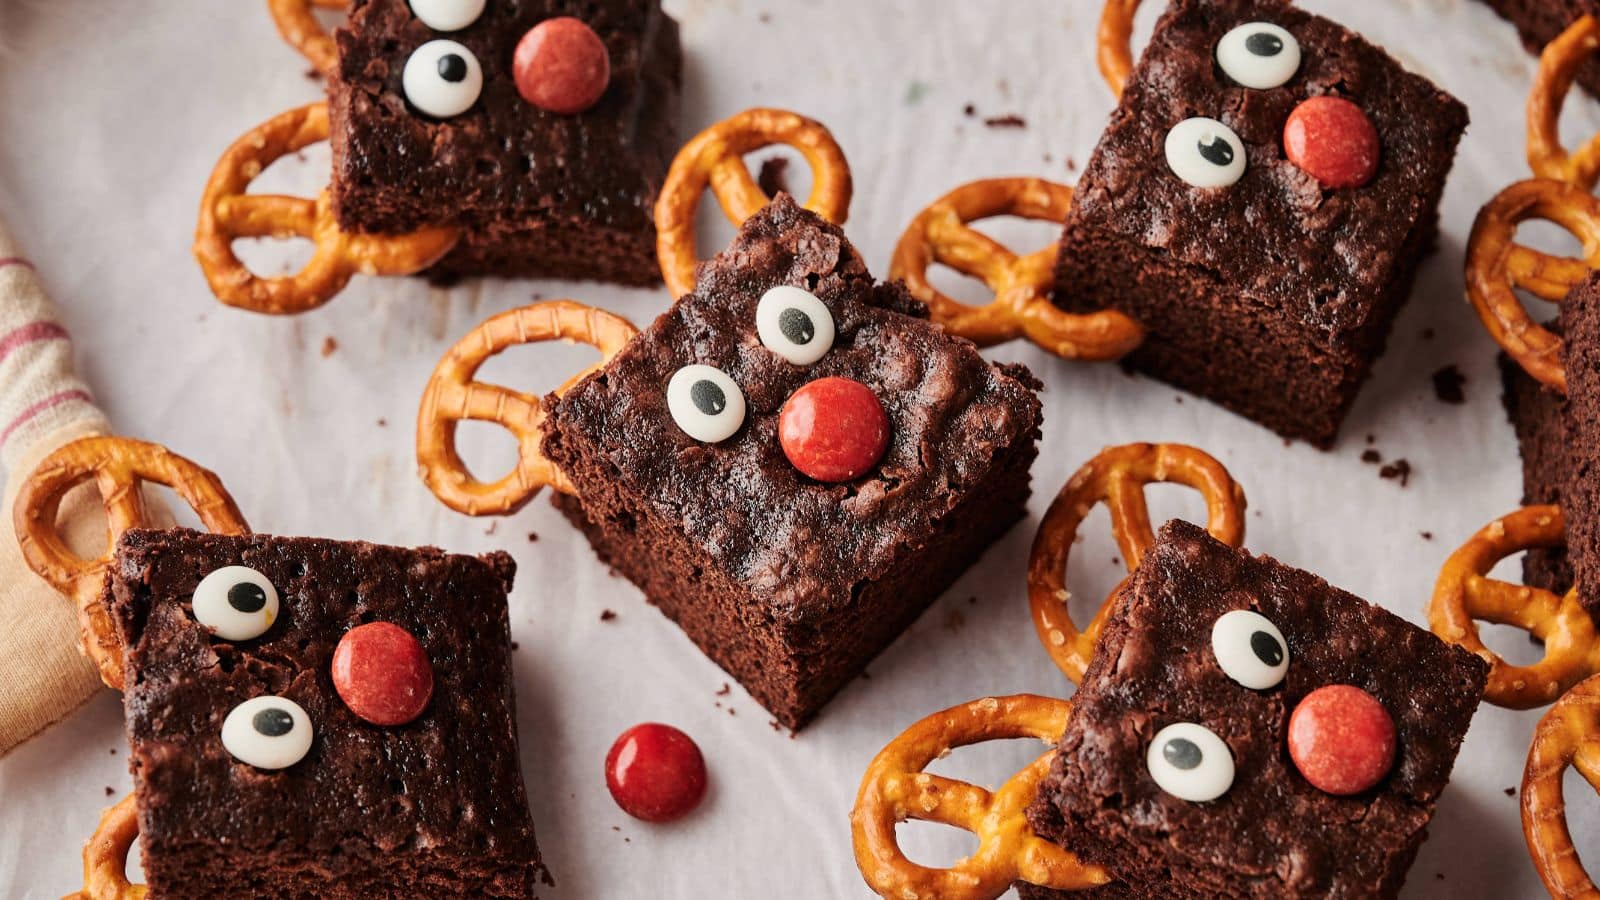
If you love a brownie that feels rich and chocolatey but not dense like a fudge brick, you are in exactly the right place. These are my festive light and creamy chocolate brownies: glossy top, tender middle, and a soft, almost truffle-like creaminess that comes from a smart mix of cocoa, melted chocolate, and just enough fat to keep everything luscious.
They are also a dream for busy weeks. One bowl, no mixer, and you can dress them up for a party with peppermint, sprinkles, or a snowy dusting of powdered sugar. And yes, there is garlic in none of this, but I still want it on your dinner later. Consider these brownies your dessert reward.

The idea
Why This Recipe Works
When people say “light,” they usually mean two things: the brownie is not overly thick, and it melts easily instead of feeling sticky and heavy. Here is how we get there.
- A balanced chocolate base: A mix of melted semi-sweet chocolate and cocoa powder gives depth without requiring tons of extra flour or fat.
- Just enough flour: We keep flour modest so the crumb stays tender. Too much flour is how you get cakey brownies.
- Extra yolk for creaminess: One extra egg yolk adds a silky texture without making the brownies heavy.
- Warm chocolate-butter mixture, not hot: You want the sugar to dissolve a bit for that shiny top, but you do not want to scramble the eggs.
The result is a brownie that feels special, slices cleanly, and still tastes like a full chocolate moment.
Shopping
Ingredient Notes
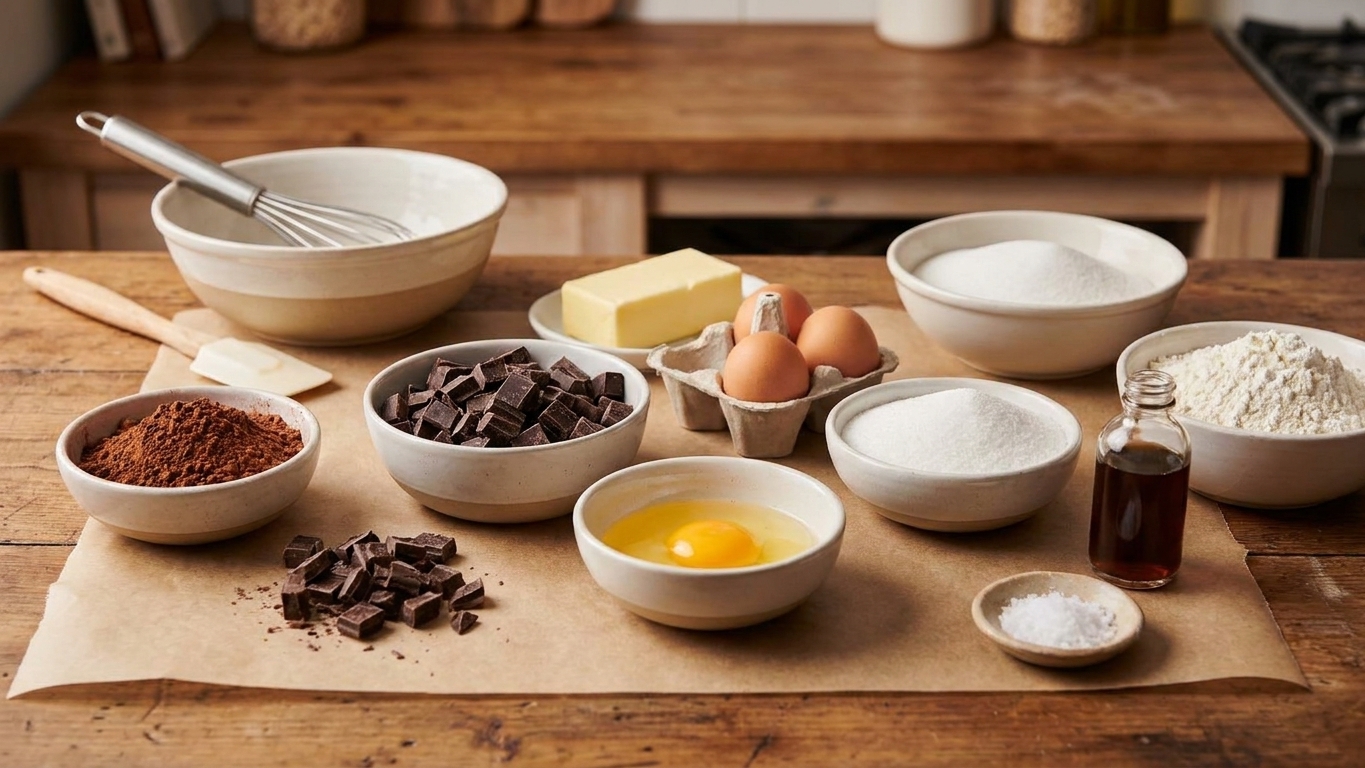
- Butter: Unsalted preferred. If using salted, reduce added salt slightly.
- Semi-sweet chocolate: A bar or good-quality chips both work. If you like a guide, aim for semi-sweet in the 55 to 65% cocoa range.
- Unsweetened cocoa powder: Dutch-process or natural both work here since there is no baking soda or baking powder, but the flavor and color will vary. Dutch tastes smoother and looks darker; natural tastes a bit brighter and can read more intense.
- Granulated sugar: Helps with that classic crackly top when it is well dissolved and whisked in.
- Brown sugar: A little adds moisture and that “creamy” chew.
- Eggs + 1 egg yolk: The extra yolk is the secret softness.
- Vanilla extract: Optional but highly recommended.
- All-purpose flour: Keep it light. Spoon and level, do not pack it in.
- Salt: Makes chocolate taste like itself.
- Optional mix-ins: Mini chocolate chips, chopped toasted nuts, peppermint pieces, or crushed freeze-dried raspberries.
Get set up
Equipment You Will Need
Equipment: 8-inch square pan, parchment, whisk, spatula
Technique
Tips for Getting It Right
- Warm, not hot: Let the melted butter and chocolate cool for a minute or two. Warm is perfect.
- Go for gloss: Whisk the eggs, yolk, and vanilla until the batter looks glossy and slightly thickened (about 30 to 45 seconds), with ribbons that briefly sit on the surface before melting back in.
- Fold gently: Fold in flour and salt just until you do not see dry streaks. Overmixing makes brownies tough.
- Use doneness cues, not just the clock: Pull when a toothpick comes out with moist crumbs (not wet batter). If it is clean, they may be overbaked.
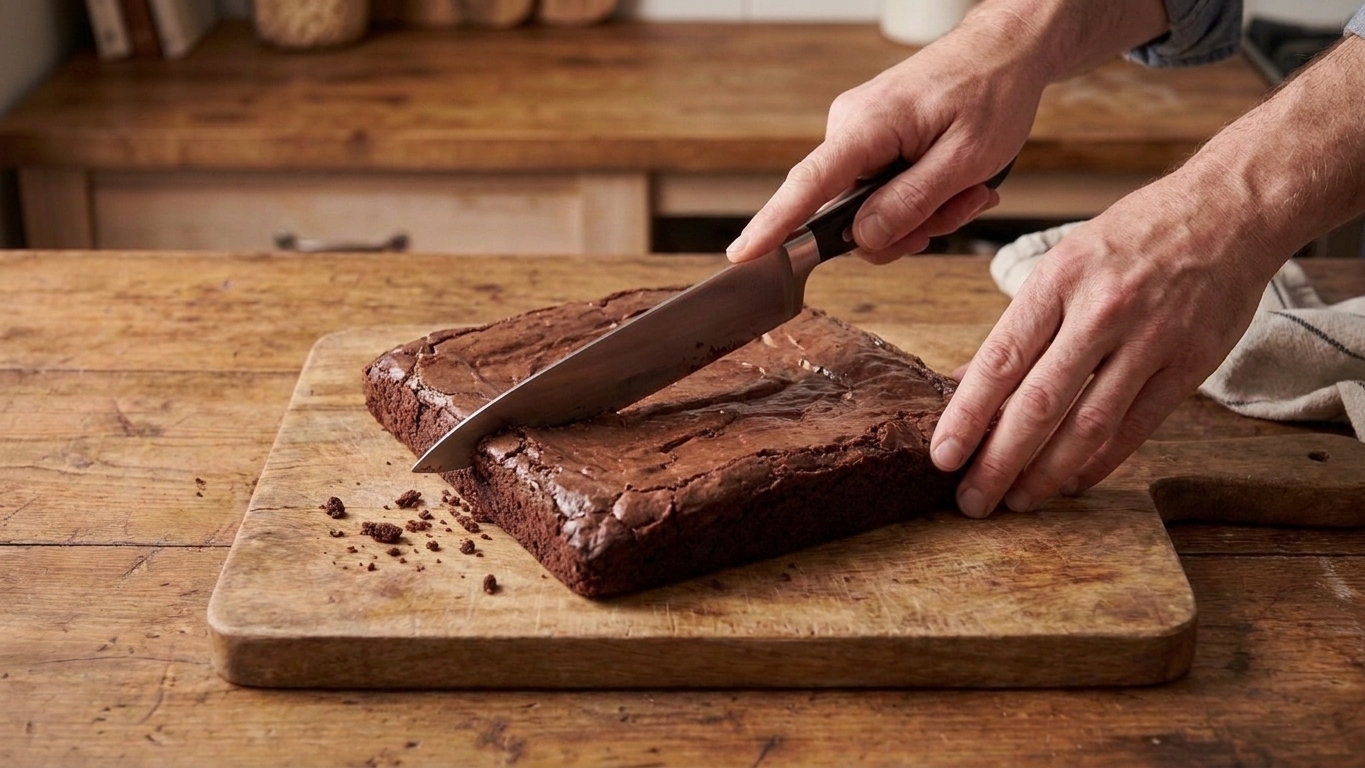
- Cool for clean slices: Cool at least 45 minutes. For clean cuts, chill 30 minutes more, then slice with a large knife wiped clean between cuts.
Flexibility
Substitutes That Work
- Salted butter: If using salted butter, reduce the added salt slightly.
- Chocolate: Semi-sweet chocolate can be a bar or chips. A chopped bar melts a bit smoother; chips are convenient and still delicious.
- Gluten-free: Use a 1:1 gluten-free all-purpose flour blend. Do not use straight almond flour here, it changes the structure too much.
- Dairy-free: Swap butter for a plant-based butter formulated for baking, and use dairy-free chocolate.
Make it yours
Variations to Try
Use any of these optional add-ins to change the vibe without changing the method.
- Fold in about 1/2 cup mix-ins (or sprinkle on top): peppermint pieces, mini chocolate chips, chopped toasted nuts, or crushed freeze-dried raspberries.
On the table
What to Serve It With
This is where you can make a simple weeknight bake look like it belongs on a cookie tray.
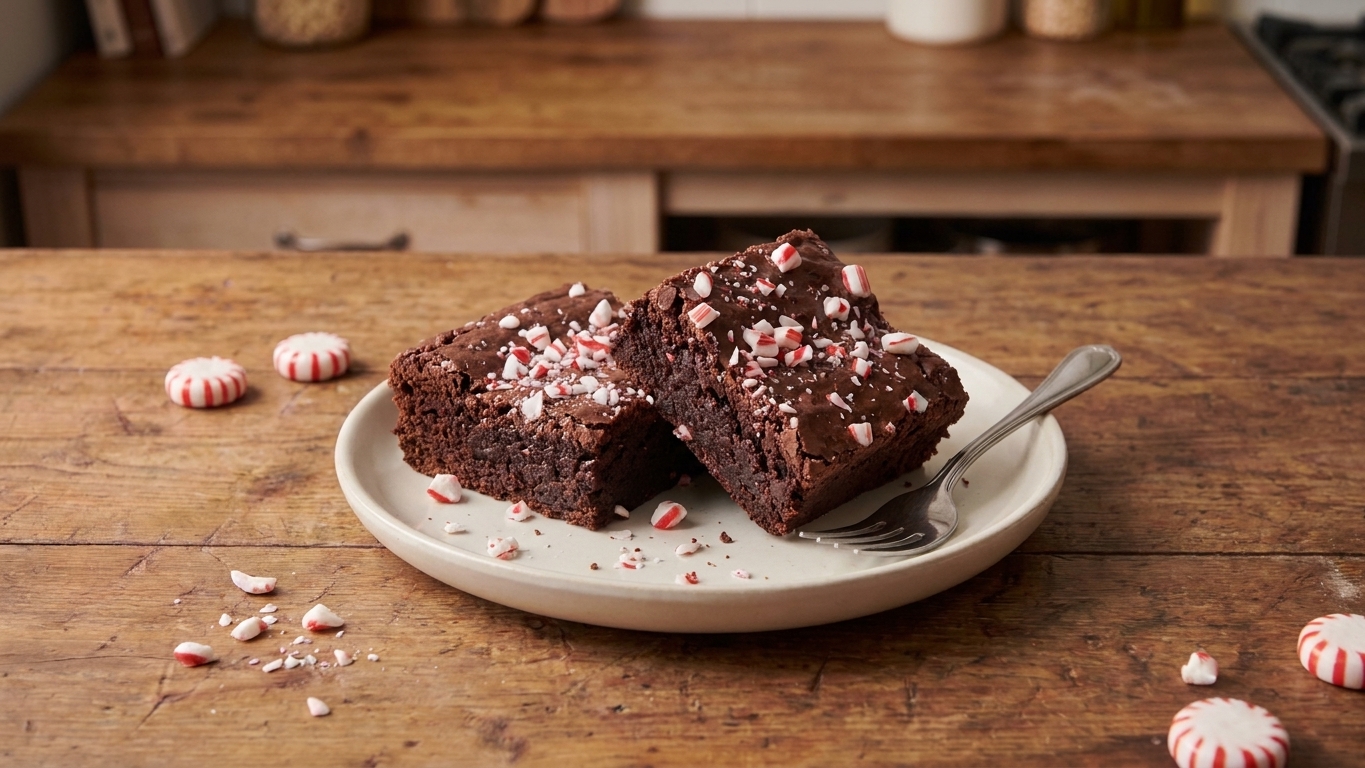
- Peppermint snow: Dust with powdered sugar, then sprinkle crushed peppermint candies.
- Holiday sparkle: Add festive sprinkles right after baking so they lightly melt in.
- Chocolate glaze: Warm 1/3 cup heavy cream and pour over 4 oz chopped chocolate. Rest 2 minutes, stir, then spread thinly over cooled brownies.
- Raspberry pinch: Sprinkle crushed freeze-dried raspberries over the top for color and tang.
- Salted finish: A few flakes of flaky salt make chocolate taste deeper and more grown-up.
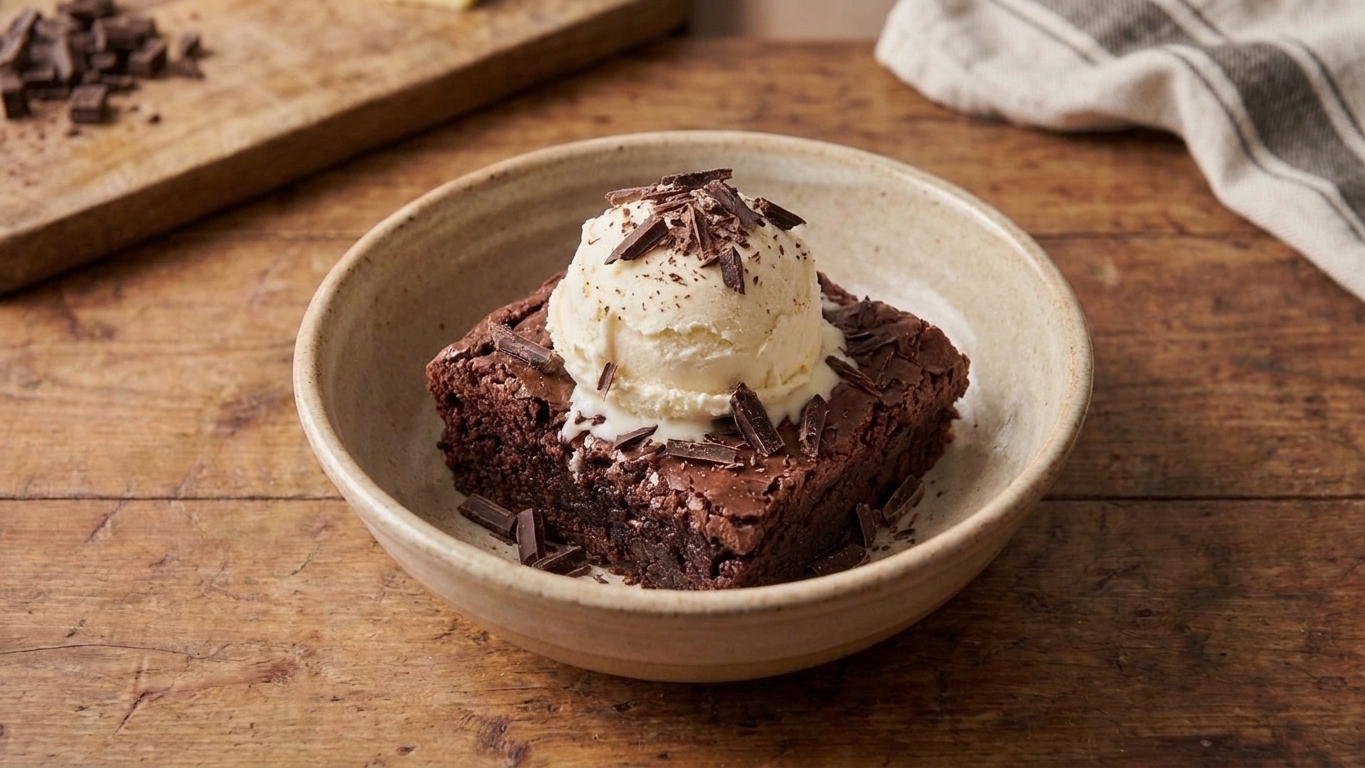
For a holiday gathering: plate small squares on a big platter, dust lightly with powdered sugar, and add a bowl of fresh berries on the side. For a cozy night in: warm a brownie for 8 seconds in the microwave and add a scoop of vanilla ice cream. It is simple, but it feels like a celebration.
Later
Storage, Freezing and Reheating
These are ideal for parties because the texture often gets even better after a rest.
- Room temperature: Store airtight for up to 3 days.
- Refrigerator: Up to 6 days. Let brownies come to room temp before serving for the creamiest bite.
- Freezer: Wrap individually and freeze up to 2 months. Thaw at room temperature.
Clean slices
Chill the slab, then slice with a large knife wiped clean between cuts. It feels fussy, but it takes 2 minutes and looks so polished.
Watch out
Common Mistakes to Avoid
- Brownies turned out cakey: Too much flour or overmixing. Next time, spoon and level the flour and fold gently.
- They are too gooey in the middle: Underbaked. Pop them back in for 3 to 5 minutes. Totally fixable.
- No shiny top: Usually sugar not dissolving enough, or not enough whisking to get the batter glossy. Make sure the chocolate mixture is warm when you add sugars, then whisk the eggs in until the batter thickens slightly and looks shiny.
- Dry brownies: Overbaked. Start checking at 20 minutes and pull when you see moist crumbs.
Questions
Frequently Asked Questions
Can I use a 9-inch pan?
Yes. The brownies will be thinner and bake faster. Start checking at 18 minutes, and use the doneness cues above.
Can I double this recipe?
Absolutely. Use a 9x13-inch pan and bake about 28 to 38 minutes. Ovens vary a lot, so start checking early and rely on the moist-crumb toothpick test.
Should I use chocolate chips or a chocolate bar?
Either works. A chopped bar melts a bit smoother, but chips are convenient and still delicious.
How do I make them extra festive without extra work?
Sprinkle crushed peppermint or holiday sprinkles on top right after baking, then finish with a tiny pinch of flaky salt.
The recipe
Festive Light & Creamy Chocolate Brownies
Glossy-topped, tender brownies with a soft, creamy (almost truffle-like) middle from a balanced mix of cocoa, melted chocolate, and an extra egg yolk. Made in one bowl with no mixer, and easy to dress up with festive mix-ins or toppings.
Ingredients
- 8 tbsp (113 g) unsalted butter
- 5 oz (140 g) semi-sweet chocolate, chopped or chips
- 1/3 cup (30 g) unsweetened cocoa powder
- 2/3 cup (135 g) granulated sugar
- 1/4 cup (50 g) packed light brown sugar
- 2 large eggs, room temperature if possible
- 1 large egg yolk
- 2 tsp vanilla extract
- 1/2 cup (65 g) all-purpose flour
- 1/2 tsp fine salt
- Optional: 1/2 cup mix-ins (peppermint pieces, mini chips, toasted walnuts, etc.)
Instructions
- Heat oven to 350°F. Line an 8-inch square pan with parchment (a light buttering or spray under the parchment helps).
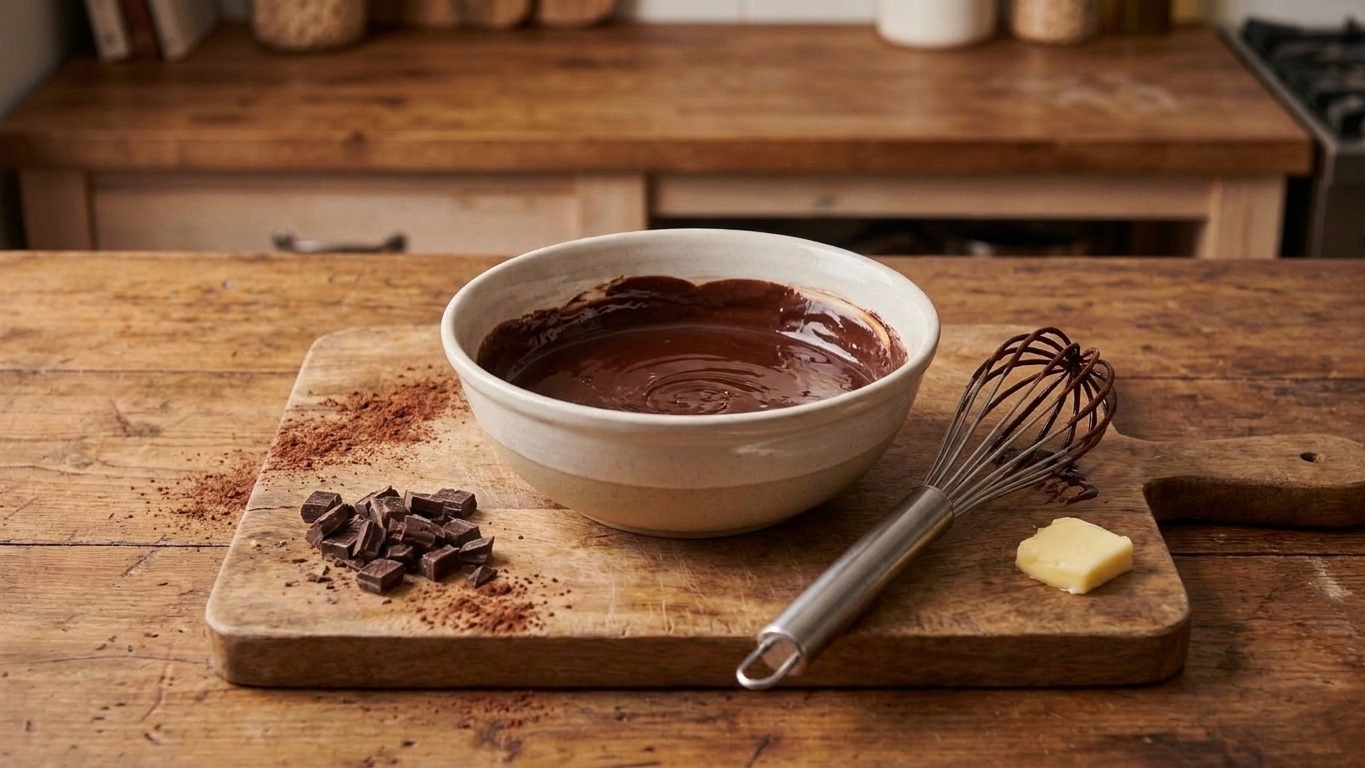
- Melt butter and chocolate together (microwave in 20-second bursts or use a double boiler). Stir until smooth. Cool 2 minutes.
- Whisk in cocoa powder until smooth. Whisk in both sugars.
- Whisk in eggs, yolk, and vanilla until glossy and slightly thickened.
- Fold in flour and salt just until combined. Fold in mix-ins if using.
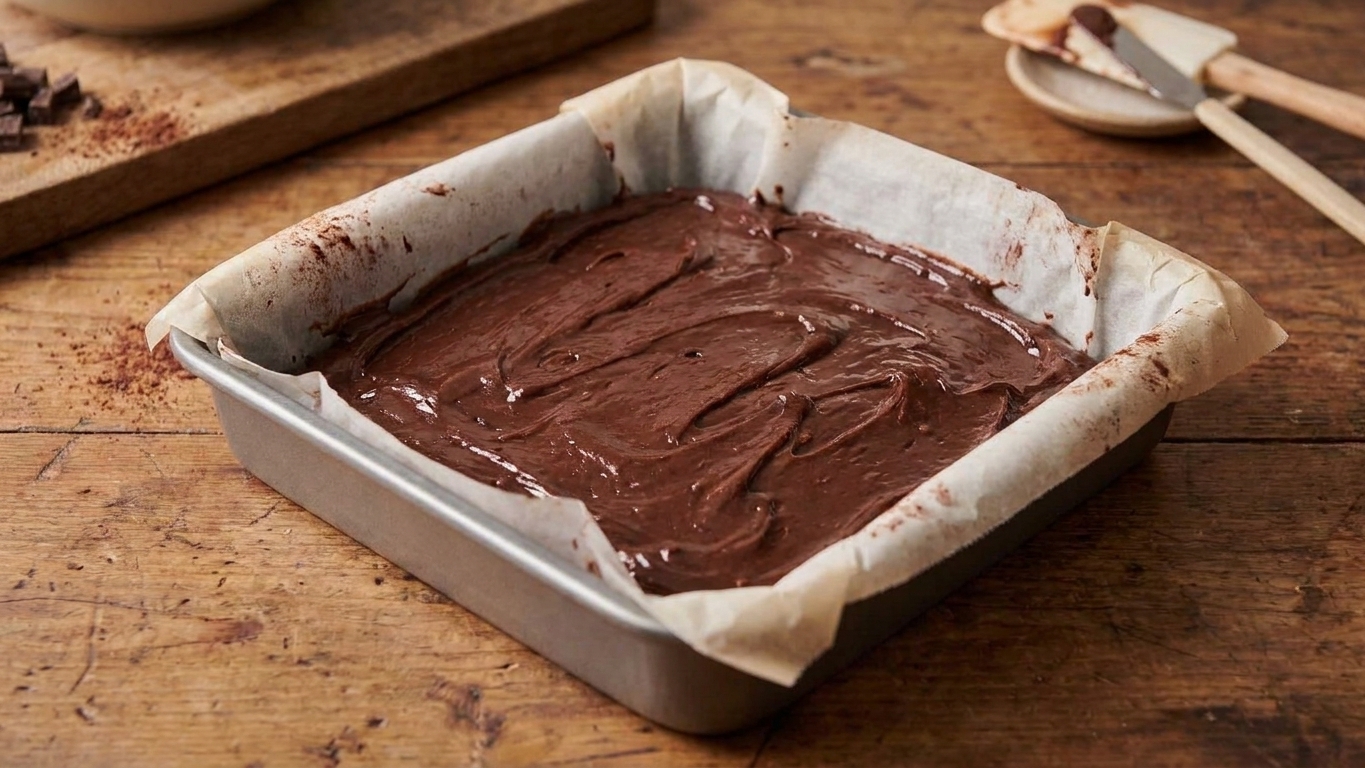
- Spread into pan and bake 20 to 26 minutes, until the top looks set and a toothpick comes out with moist crumbs (not wet batter).
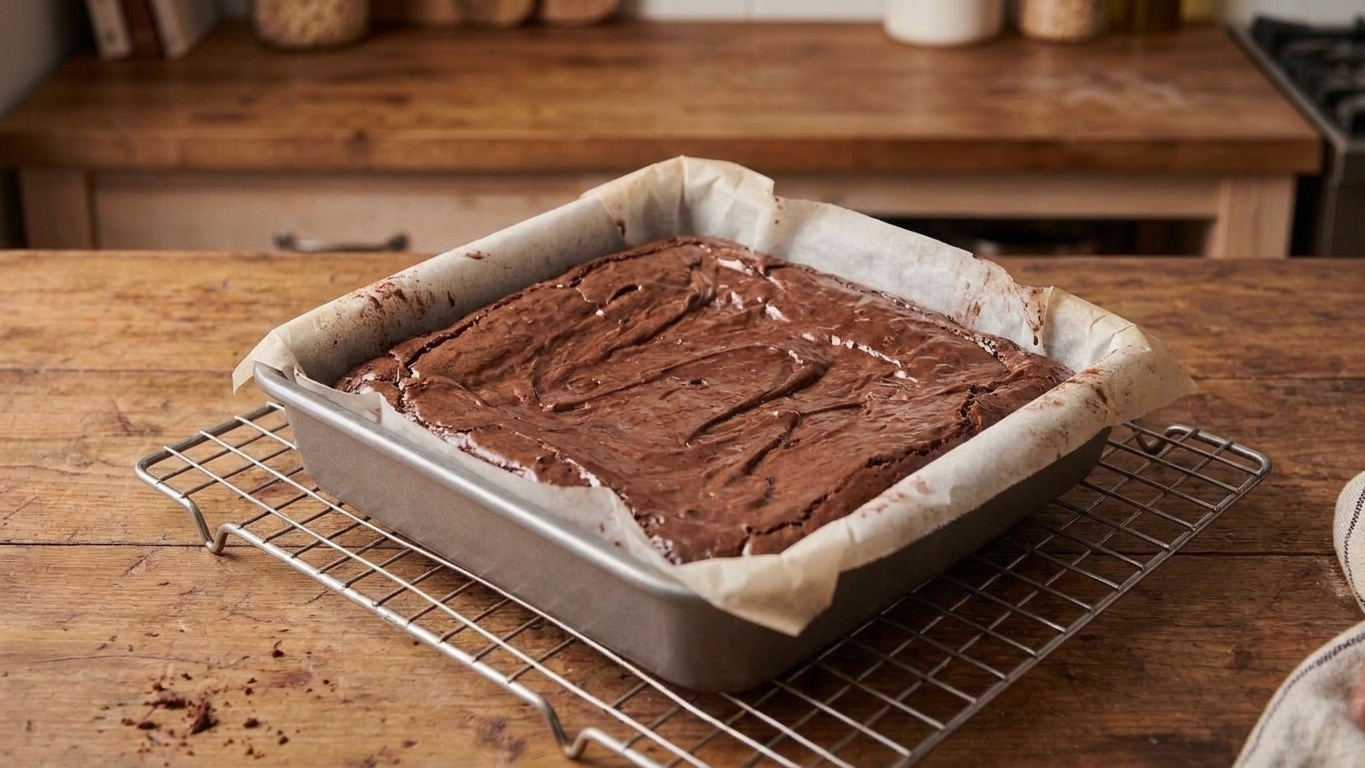
- Cool in the pan at least 45 minutes. Lift out, slice, and serve.
Recipe notes
- Mix-ins: Fold in about 1/2 cup mix-ins, or sprinkle them on top.
- Doneness checklist: Edges should look set and slightly pulled from the pan; center should look set on top but still have a gentle give; a toothpick should show moist crumbs (clean can mean overbaked, wet batter means it needs more time).
- Residual heat: Brownies keep baking from residual heat, so pull them slightly earlier than you think if you want a creamy center.
- Pan options: For a 9-inch pan, brownies will be thinner and bake faster. Start checking at 18 minutes.
- Doubling: Double the recipe in a 9x13-inch pan and bake about 28 to 38 minutes, checking early and using the moist-crumb toothpick test.
Nutrition (per serving, approximate)
- Calories: 165
- Fat: 10 g
- Carbs: 19 g
- Protein: 2 g
- Fiber: 1 g
- Sugar: 14 g
- Sodium: 90 mg
Nutrition values are approximate and will vary by ingredients and mix-ins.