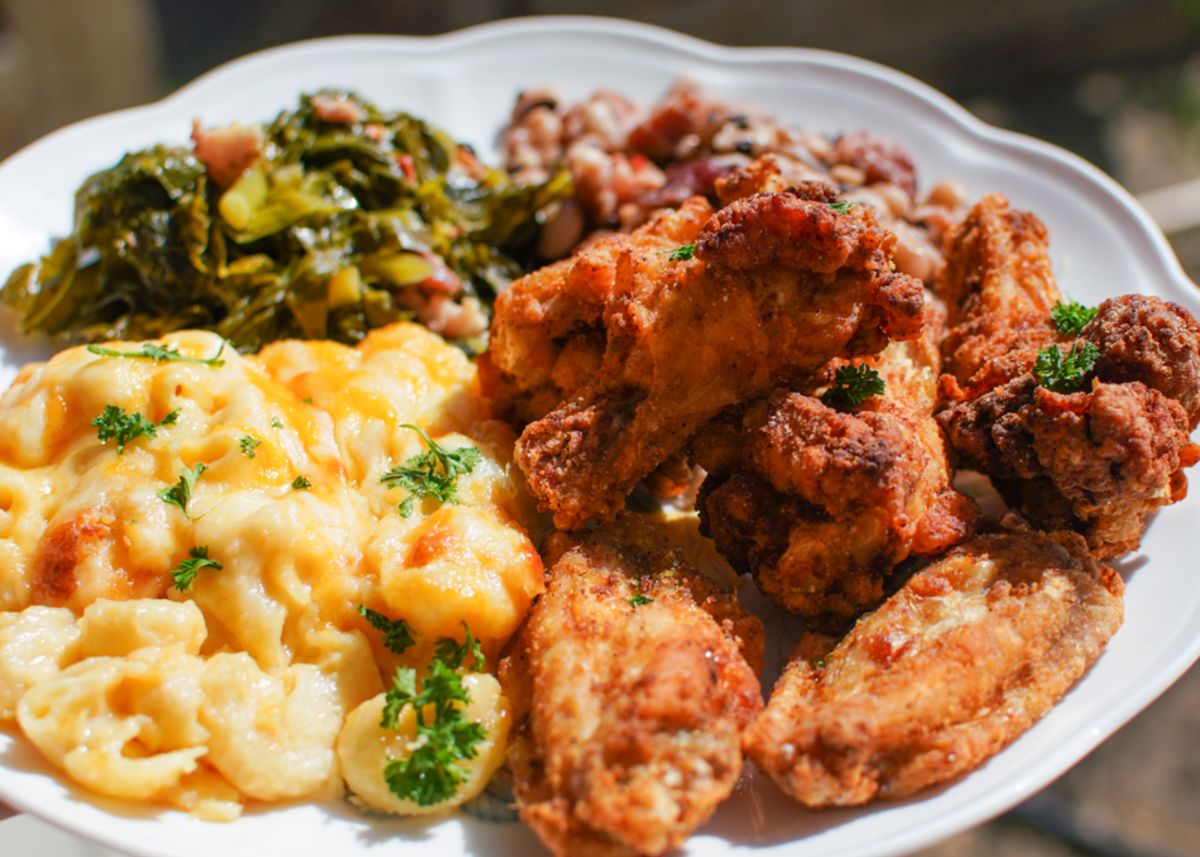
Learn my stress-free method for extra-crispy Southern fried chicken: buttermilk soak, seasoned flour, double dredge, and the oil temp sweet spot for juicy re...
Recipeva
Crispy Asian Chicken
Crunchy, saucy, and deeply satisfying, this Crispy Asian Chicken brings takeout-style flavor home. Extra-crisp coating, glossy garlic-ginger sauce, and weeknight-friendly steps.

Maya Reynolds
Maya Reynolds is a passionate home cook, recipe developer, and the creative voice behind Recipeva. With over a decade of experience translating complex culinary techniques into approachable weeknight meals, she focuses on creating dishes that bring joy to the dinner table without the stress.
Created September 22, 2026
Updated September 22, 2026
If you love that crunchy, glossy, sweet-salty chicken from your favorite takeout spot, this is the homemade version I make when I want maximum comfort with minimum drama. We’re talking real crunch, a sauce that actually clings, and hearty portions that feel like a full meal when you pile it over rice with a handful of quick veggies.
My biggest promise: you don’t need a deep fryer, and you don’t need a pantry full of specialty ingredients. If you’ve got soy sauce, garlic, and cornstarch , you’re already dangerously close.
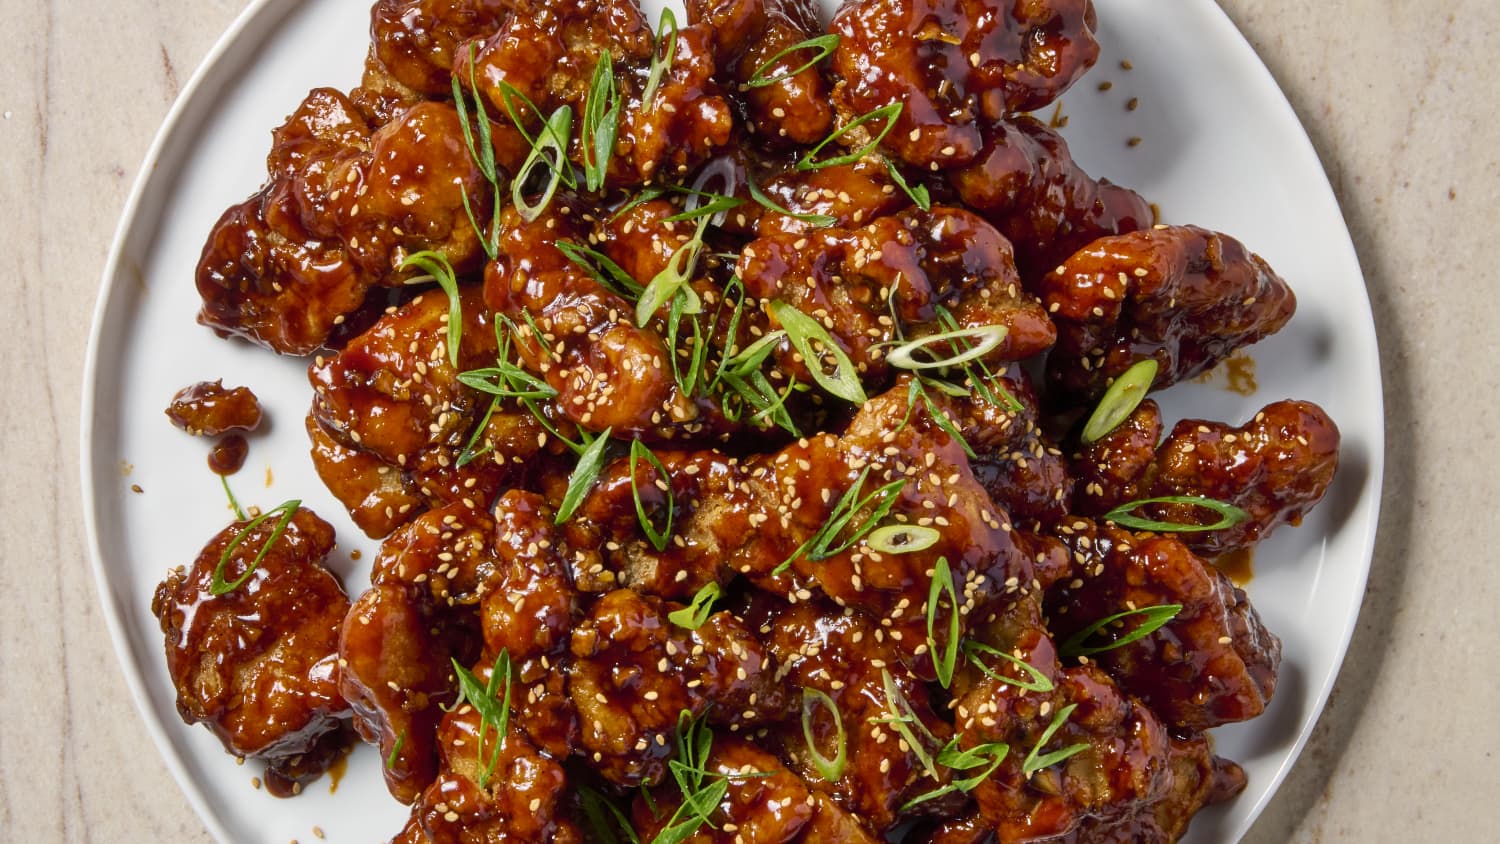
Why it gets crispy
Let’s talk crunch, because that’s the whole point.
- Cornstarch-forward coating: Cornstarch often fries up lighter and crisper than flour alone, with that delicate shatter you want.
- Double-dredge option: A quick dip back into the egg and starch makes little crags and edges that hold sauce without turning soggy instantly.
- Hot oil, small batches: Crowding drops the oil temp and makes the coating absorb oil. Small batches keep it crisp and golden.
- Sauce added at the end: We toss quickly, then serve right away. The coating stays crisp longer when it isn’t simmering in sauce.
Ingredients
This recipe is built from supermarket staples. If you can find toasted sesame oil and rice vinegar, they add a ton of flavor, but I’ll give swaps too.
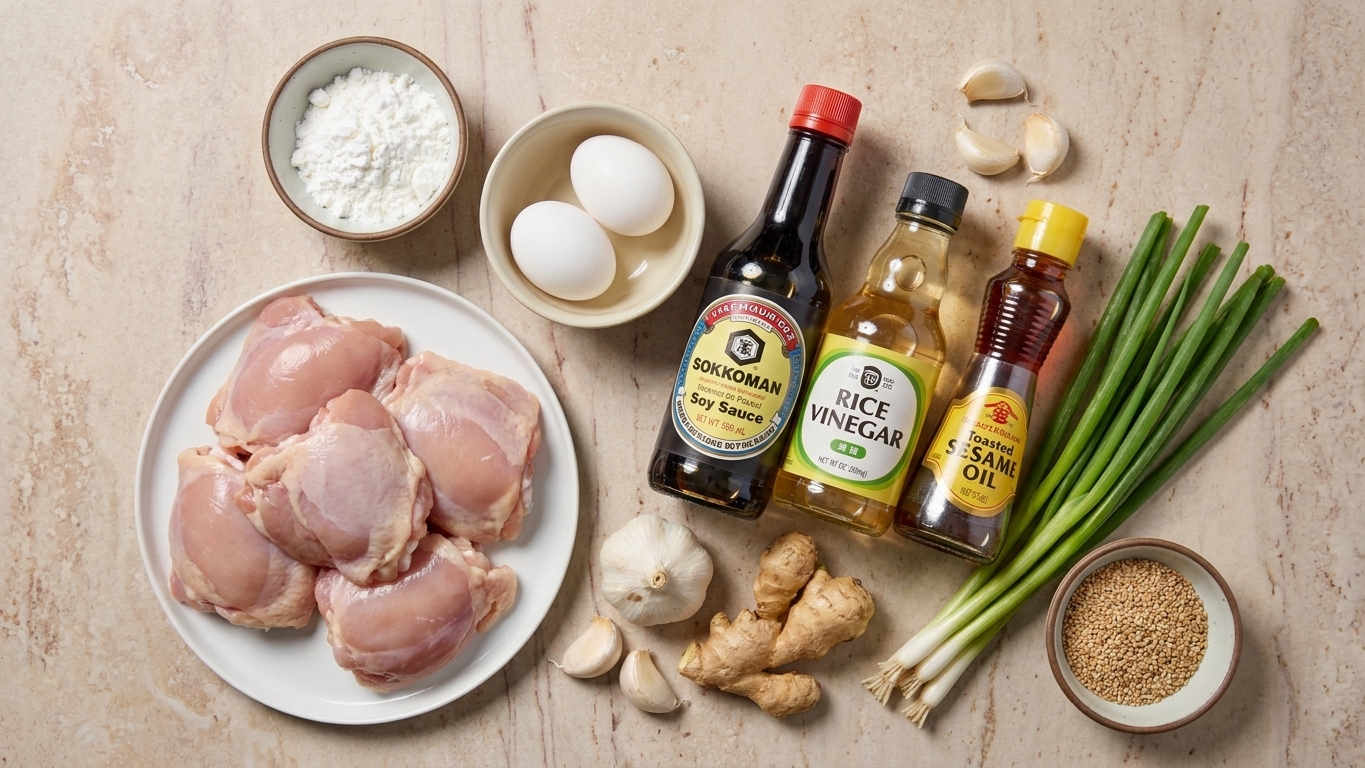
For the crispy chicken
- Chicken: 1 1/2 pounds boneless skinless chicken thighs or breasts, cut into 1-inch pieces (thighs stay juicier)
- Kosher salt: 1 teaspoon
- Black pepper: 1/2 teaspoon
- Garlic powder (optional): 1/2 teaspoon
- Eggs: 2 large, beaten
- Cornstarch: 1 cup
- All-purpose flour: 1/3 cup (helps with structure, but you can use all cornstarch if needed)
- Baking powder (optional but great): 1 teaspoon (extra airy crunch)
- Neutral oil for frying: enough for about 1 inch of oil (typically 2 to 3 cups in a 10 to 12-inch skillet or Dutch oven)
For the sticky garlic-ginger sauce
- Soy sauce: 1/3 cup (use low-sodium if you prefer)
- Honey or brown sugar: 1/3 cup (honey gives a glossy finish)
- Rice vinegar: 2 tablespoons (or apple cider vinegar in a pinch)
- Fresh garlic: 4 to 6 cloves, finely minced (garlic lovers, you’re in the right place)
- Fresh ginger: 1 tablespoon, grated or very finely minced
- Toasted sesame oil: 2 teaspoons
- Water: 1/3 cup
- Cornstarch slurry: 1 tablespoon cornstarch mixed with 2 tablespoons cold water
- Optional heat: 1 to 2 teaspoons chili garlic sauce or sriracha, or a pinch of red pepper flakes
For serving
- Sliced scallions
- Sesame seeds
- Steamed rice or noodles
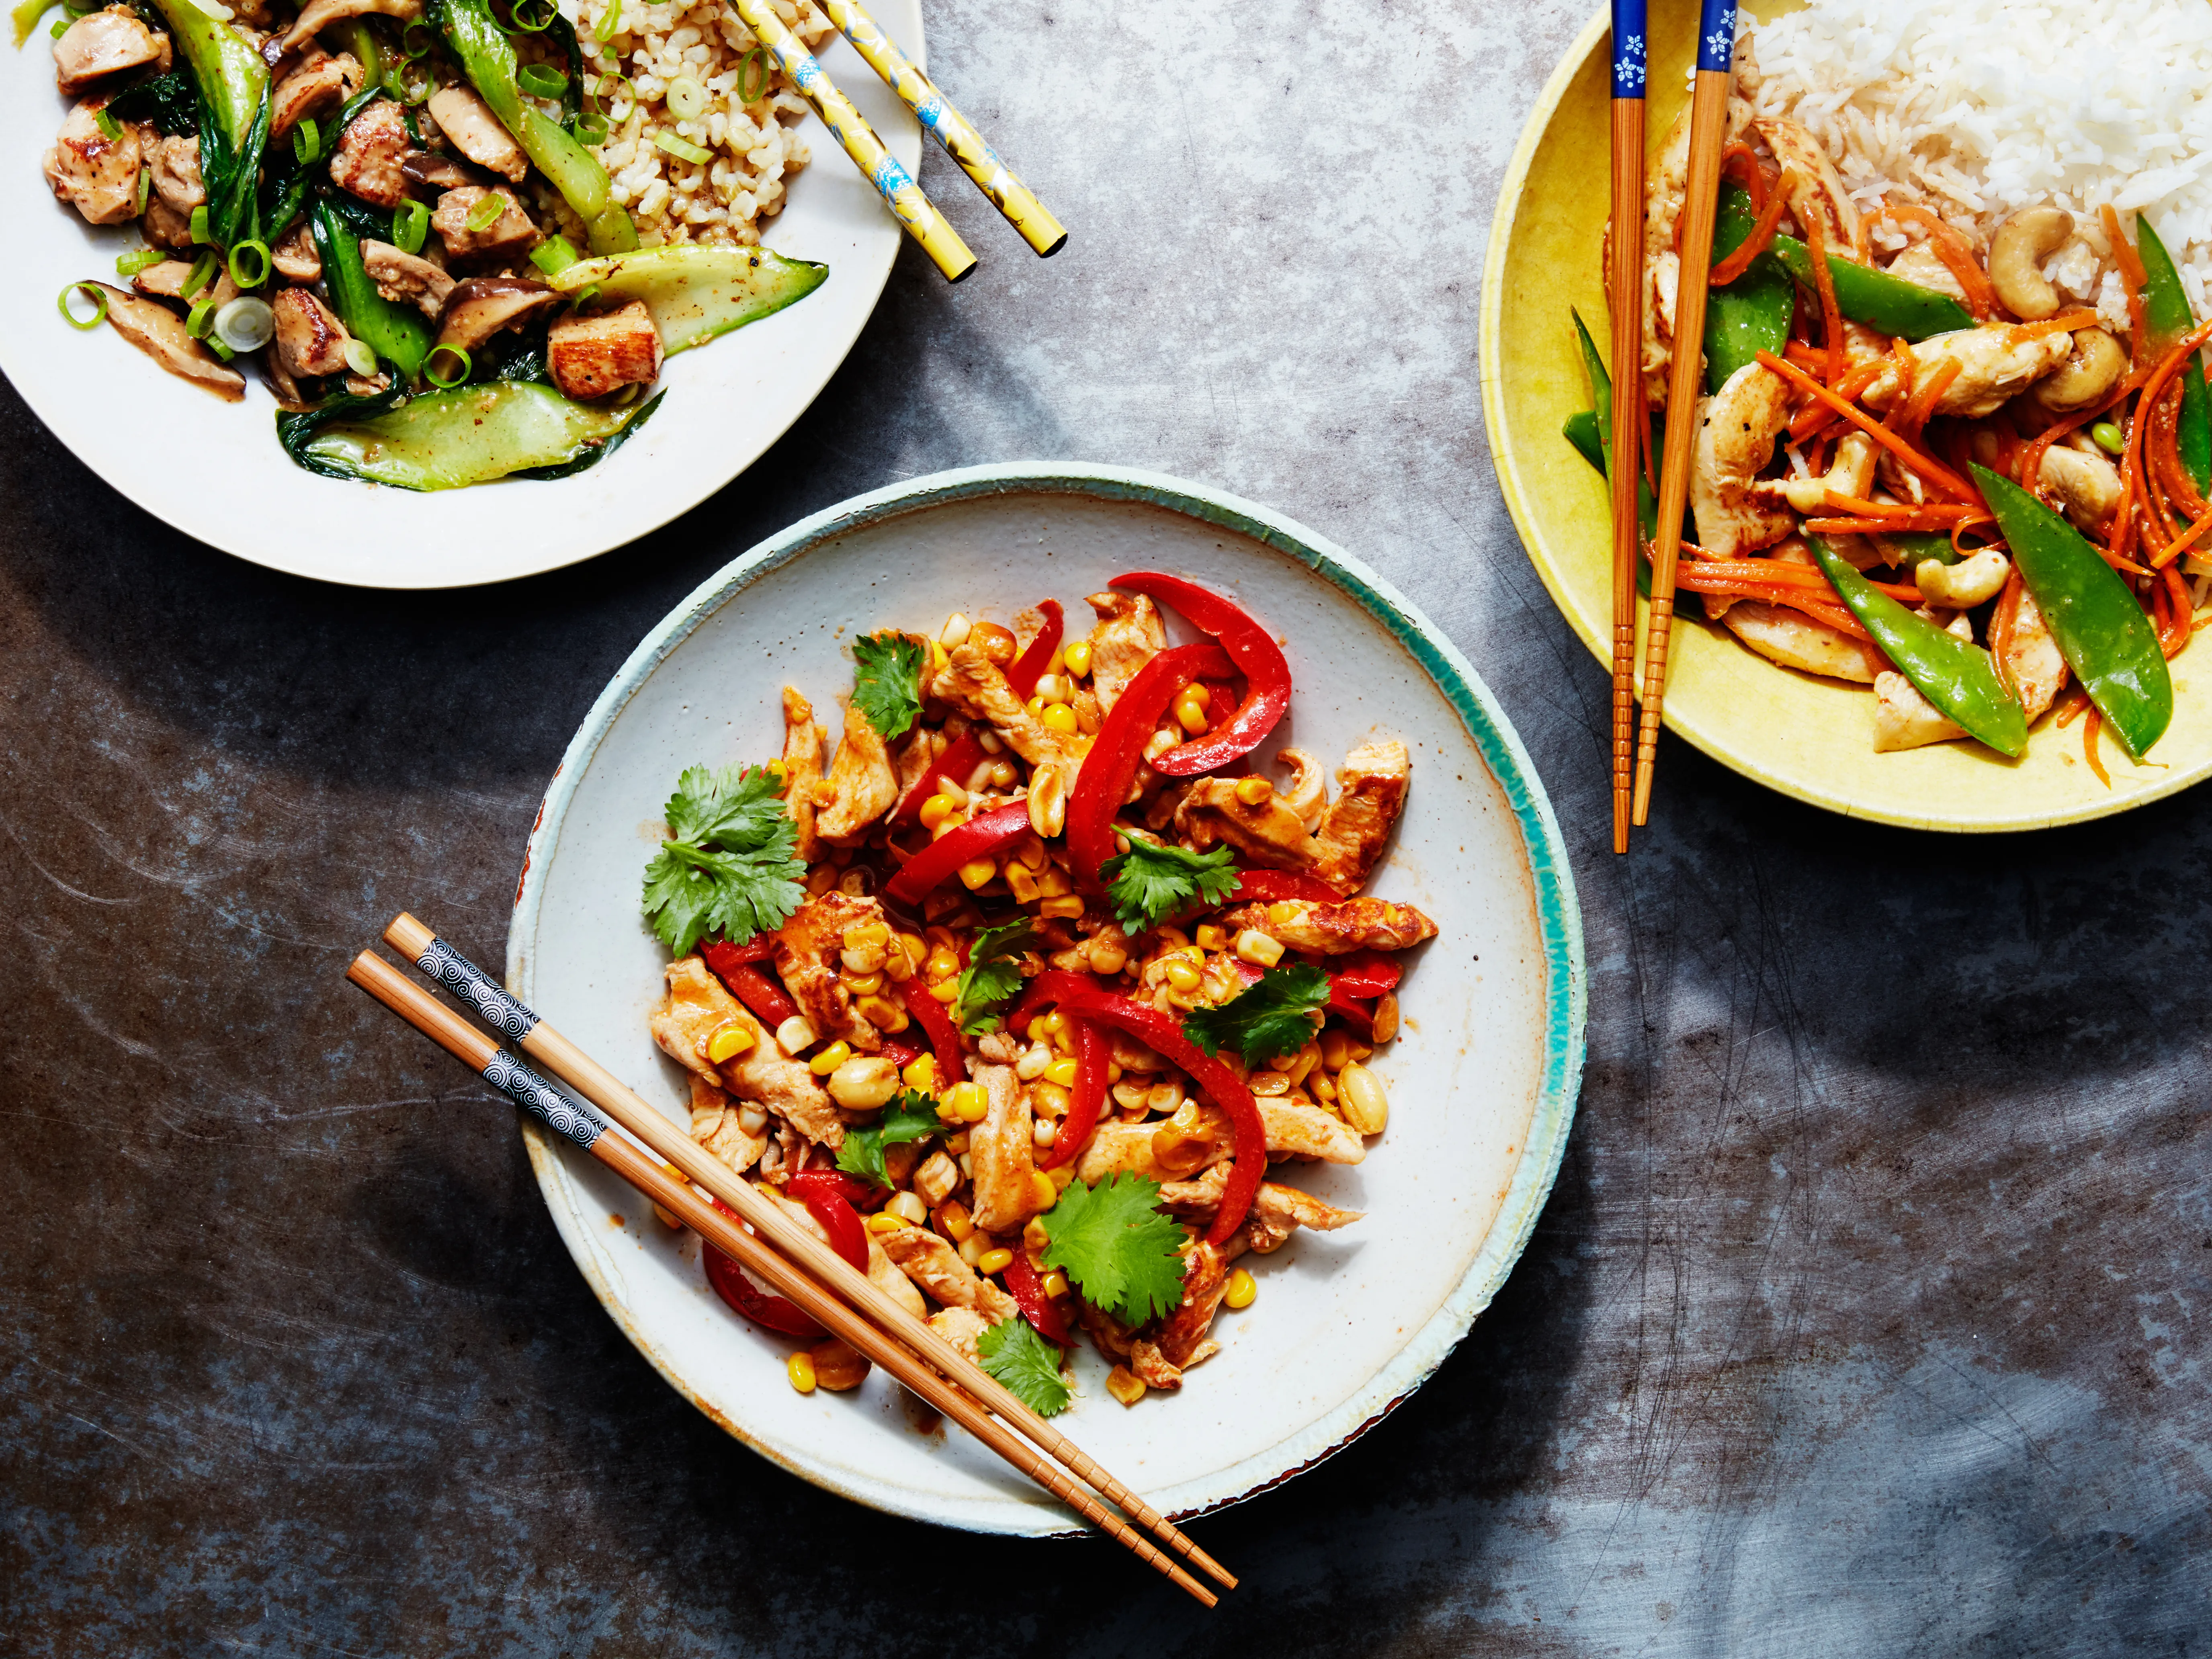
- Quick veg: steamed broccoli, sautéed snap peas, or a bagged stir-fry mix
Step-by-step
Set yourself up like a calm, organized line cook. It makes the whole thing feel easy.
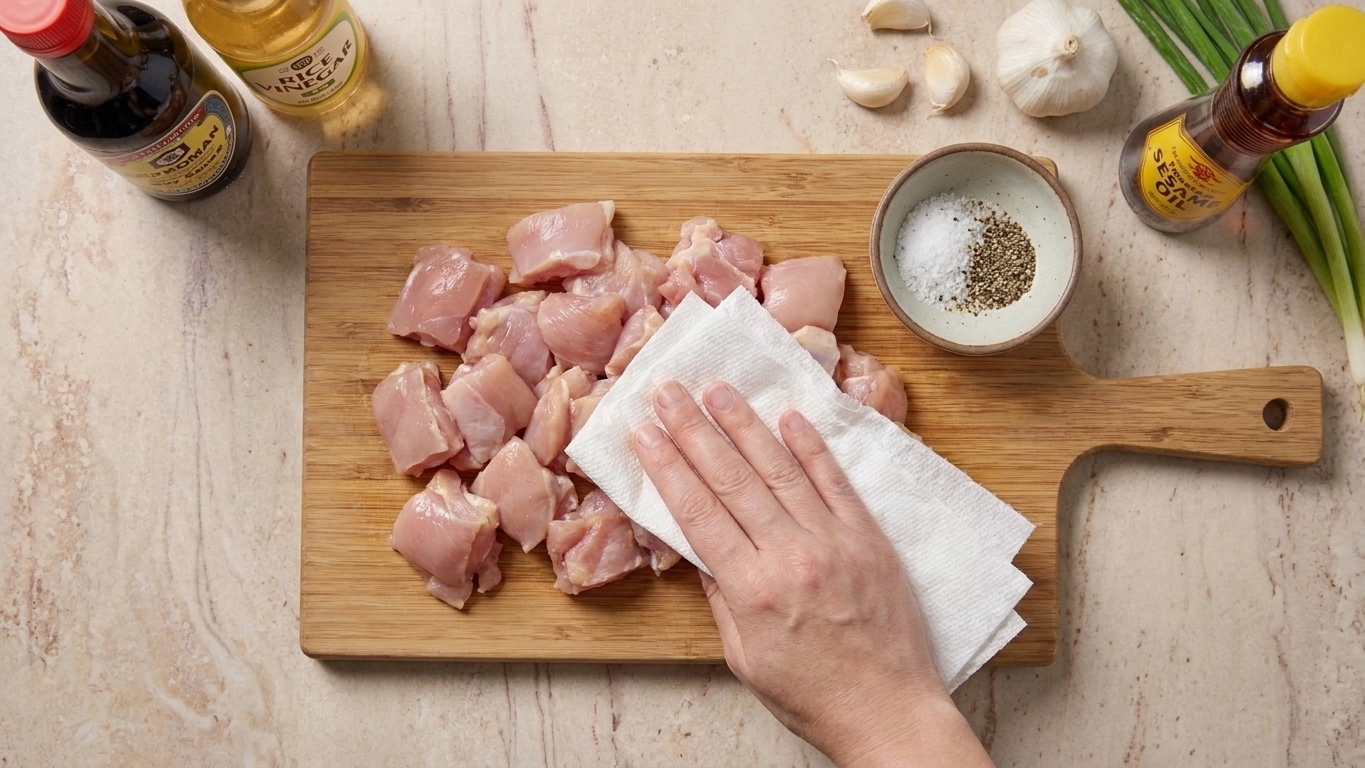
1) Prep the chicken
Pat the chicken pieces dry with paper towels. Season with salt, pepper, and garlic powder if using.
2) Mix the coating
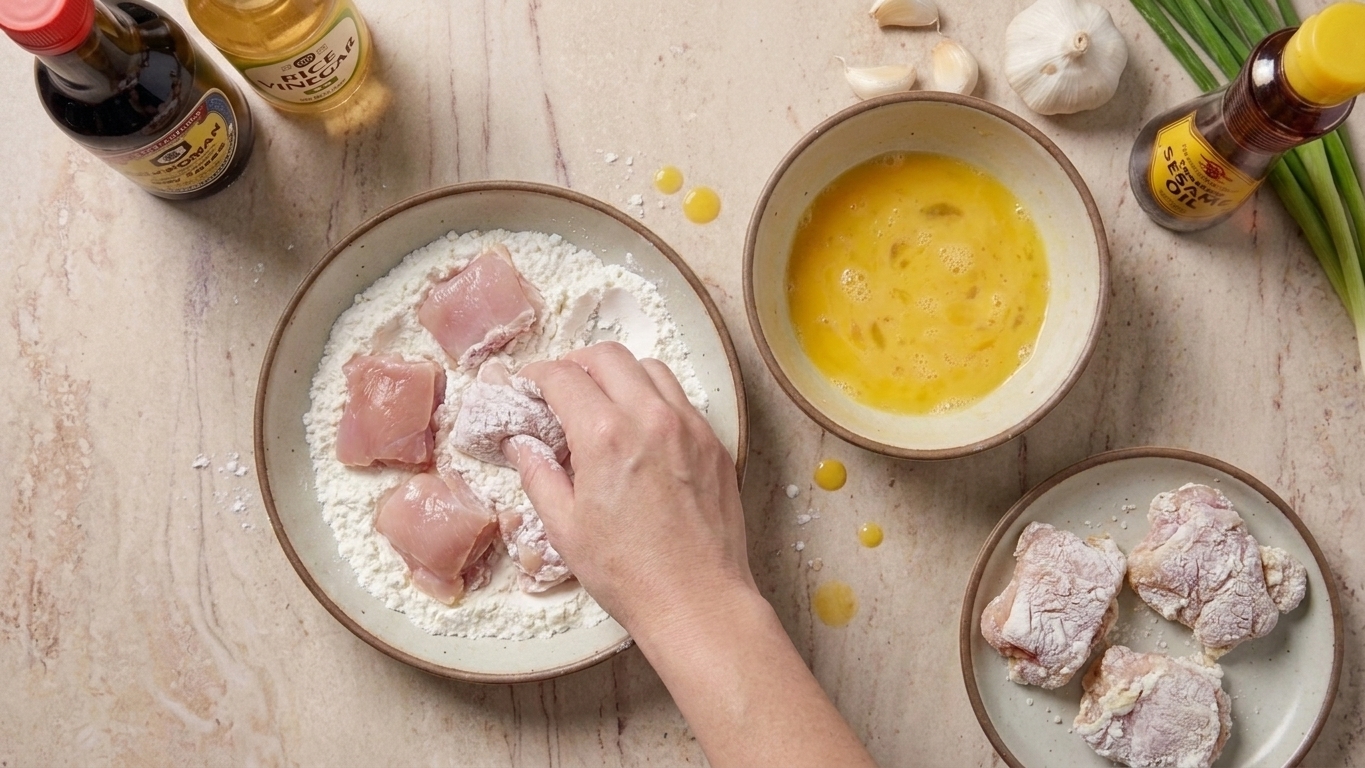
In a wide bowl, whisk together cornstarch, flour, and baking powder (if using). In a second bowl, beat the eggs.
3) Dredge (and double-dredge if you want extra crags)
Dip chicken into egg, then into the cornstarch mix, pressing lightly so it sticks. For extra crunch, dip back into egg quickly, then back into starch.
Optional but helpful: Let the coated chicken sit for 5 to 10 minutes while the oil heats. It hydrates the coating a bit so it fries up more evenly.
4) Fry until deeply golden
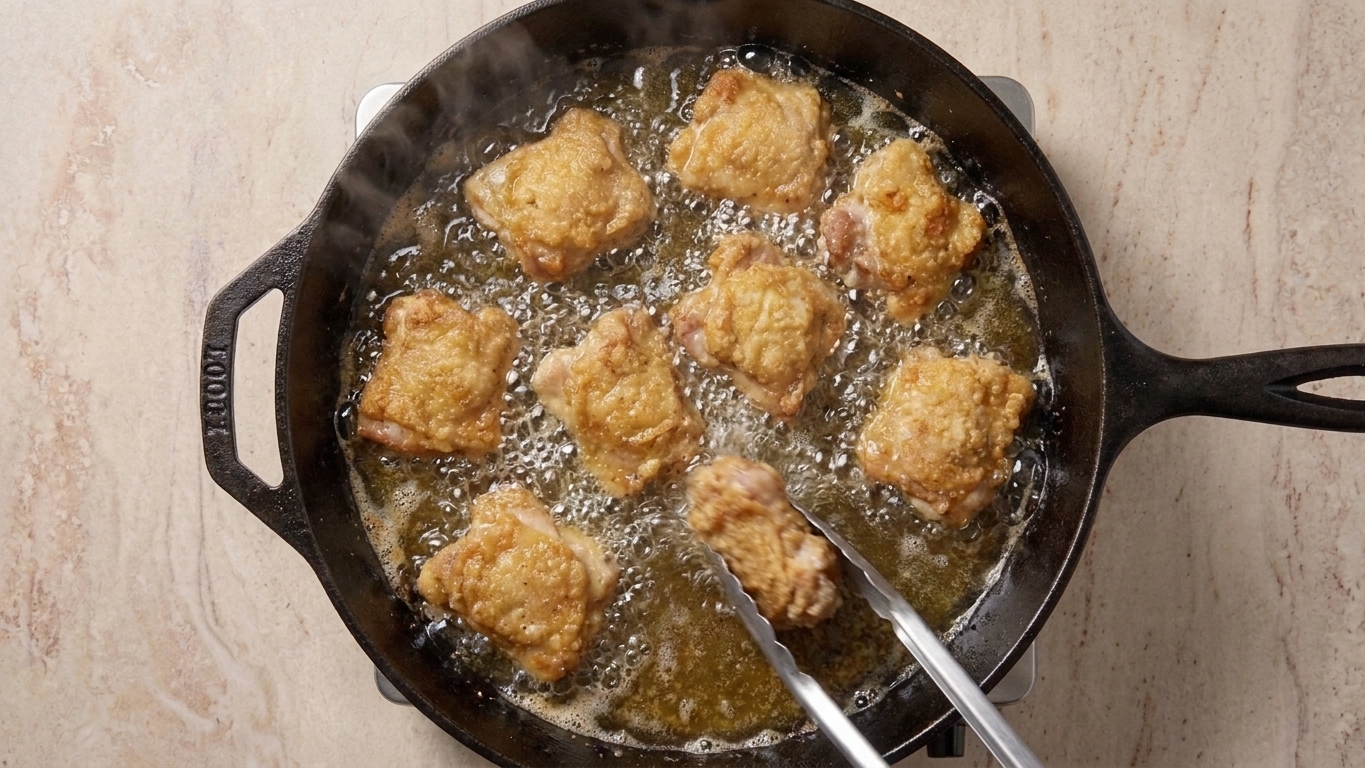
Heat about 1 inch of oil in a heavy skillet or Dutch oven to 350°F. Fry in batches for 5 to 7 minutes, turning occasionally, until golden and cooked through (165°F at the thickest piece). Transfer to a wire rack set over a sheet pan.
Tip from my teacher brain: A rack keeps the underside crisp. A paper towel can trap steam and soften your hard-earned crunch.
5) Make the sauce
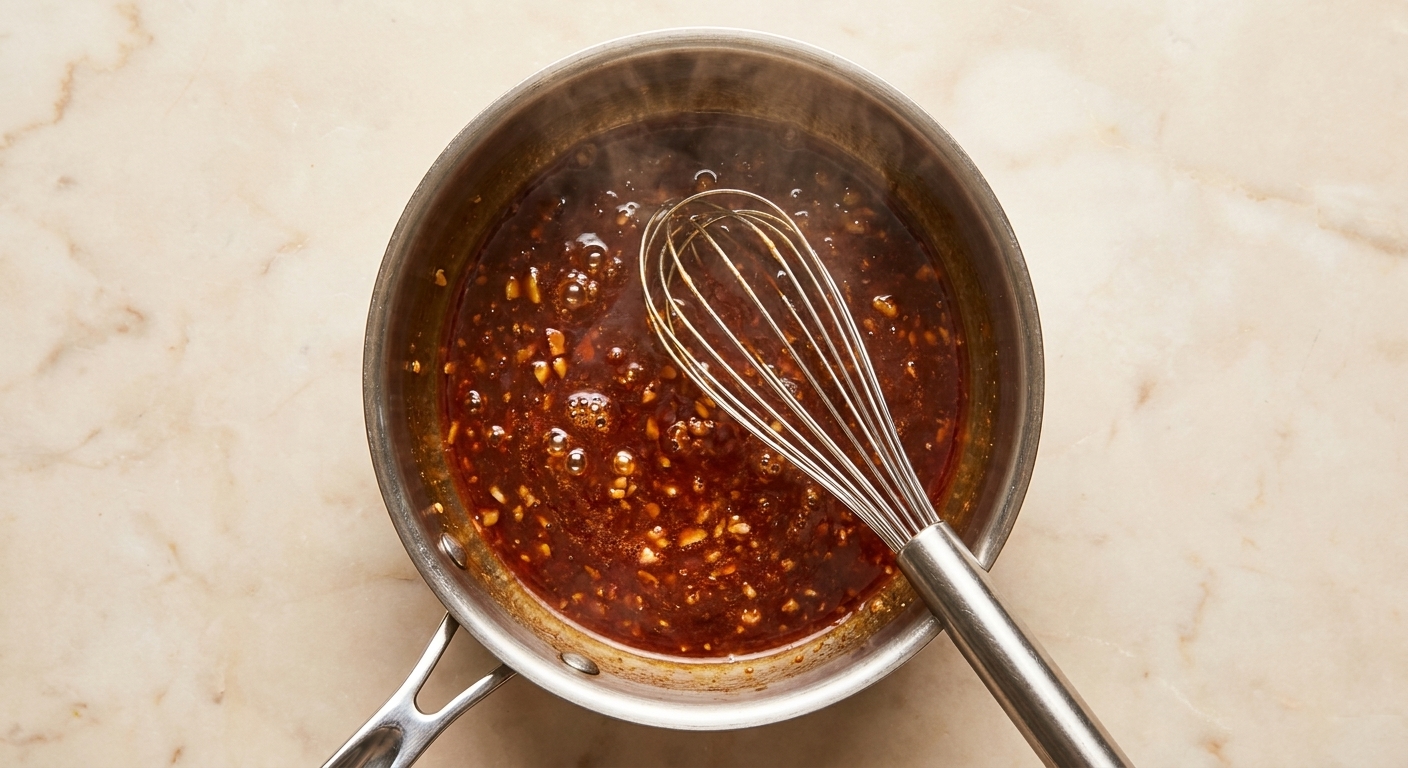
Carefully pour off excess oil, wipe out the pan if needed, or use a clean saucepan. Add soy sauce, honey, rice vinegar, garlic, ginger, sesame oil, water, and chili sauce if using. Bring to a gentle simmer and cook for 1 to 2 minutes to take the raw edge off the garlic and ginger.
Stir in the cornstarch slurry and simmer 30 to 60 seconds, until thick and glossy. If it gets too thick, splash in a tablespoon or two of water.
6) Toss and serve
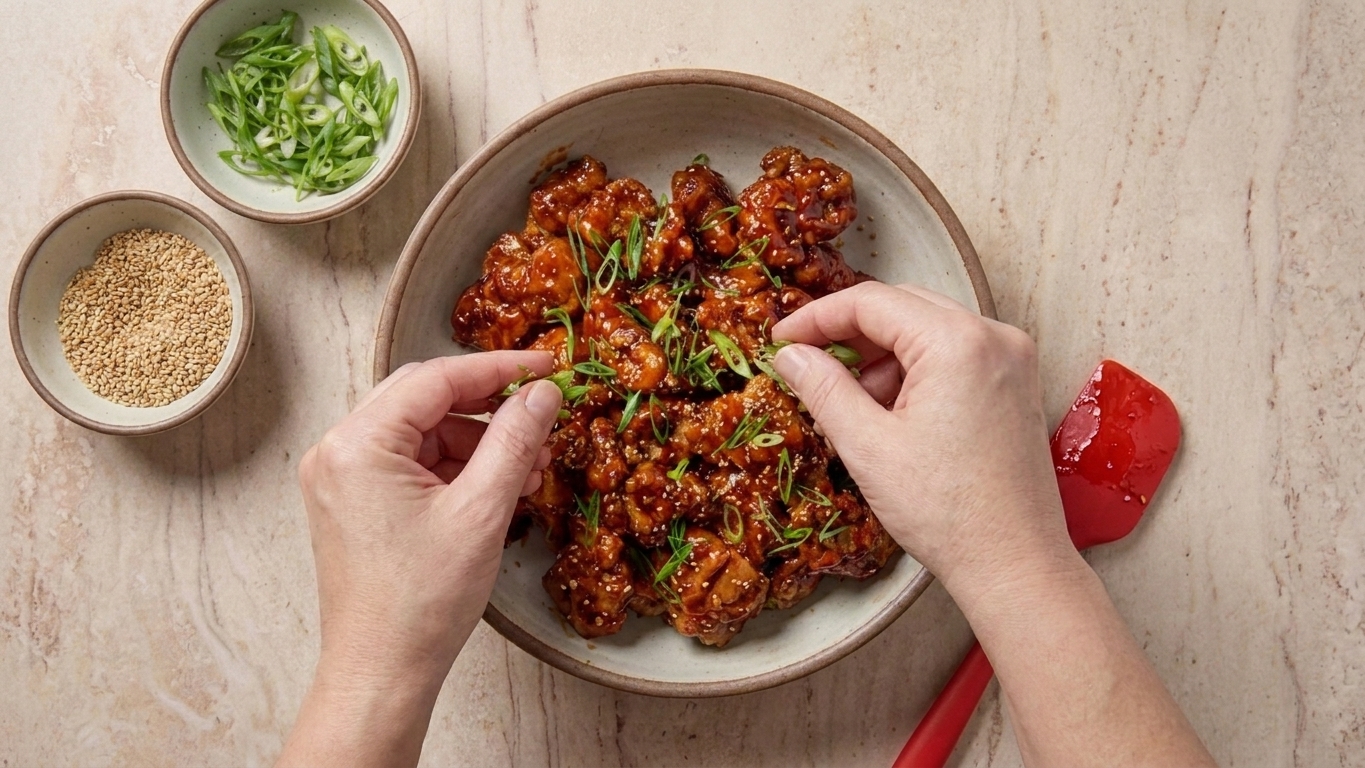
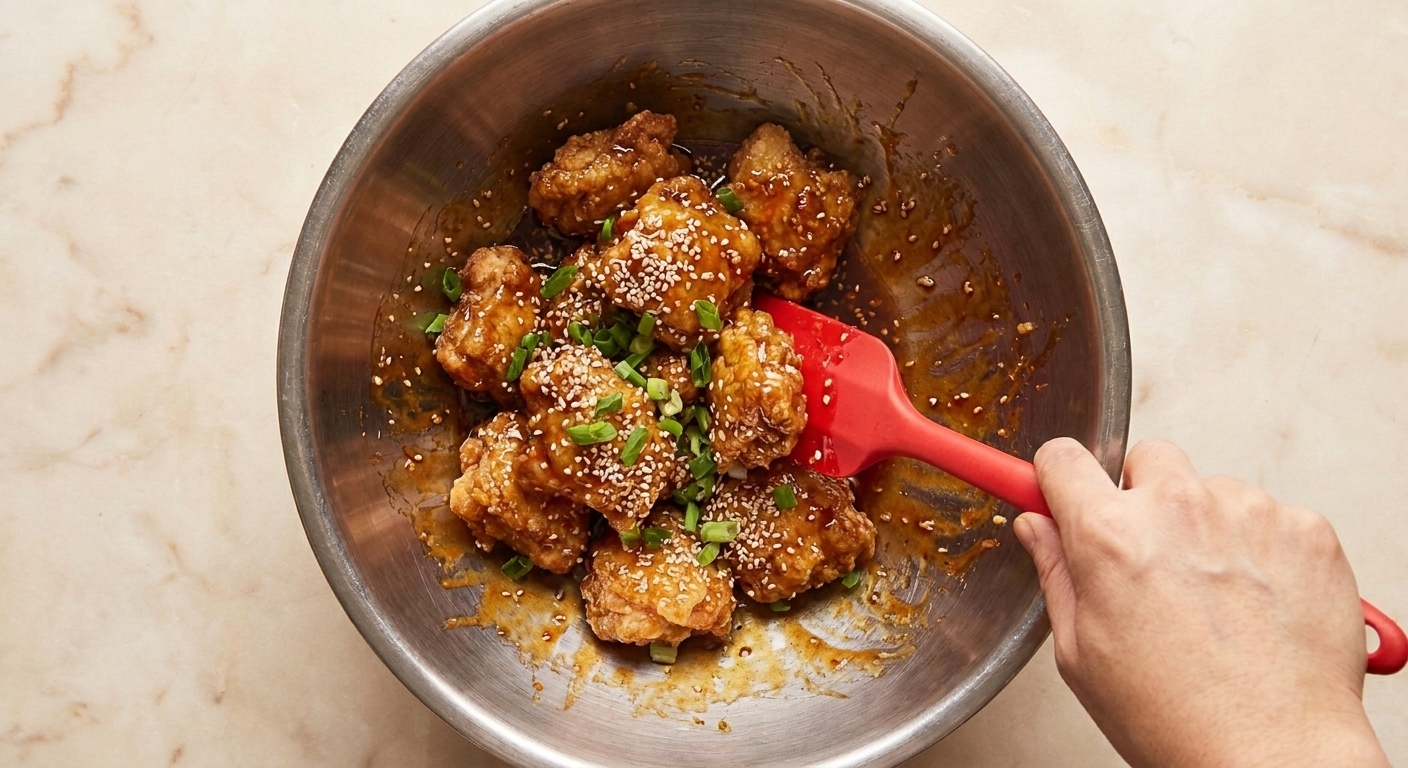
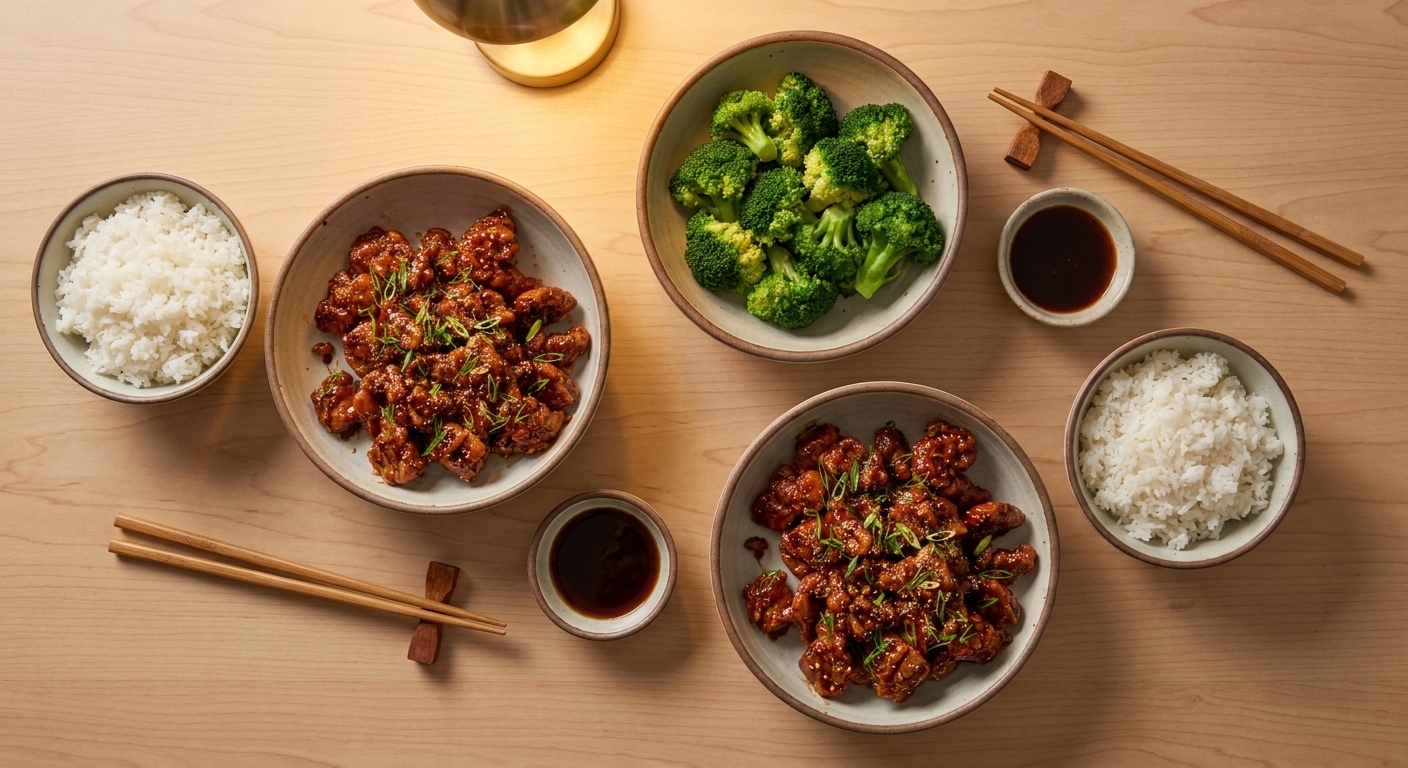
Add chicken to a large bowl, drizzle sauce over, and toss quickly until coated. Top with scallions and sesame seeds. Serve immediately with rice and vegetables.
Tips
- Dry chicken is crispier chicken: Pat it dry before dredging so the coating actually grips.
- Use a thermometer if you can: 350°F oil is the sweet spot. Too cool equals greasy. Too hot browns before the inside cooks.
- Keep batches small: Give pieces space. Think: single layer, no overlapping.
- Hold it crisp while you finish: Keep fried chicken on a rack in a 200°F oven while you cook the remaining batches. Keep sauce warm in a small pan, then toss at the last minute.
- Sauce consistency matters: You want it thick enough to cling, but not so thick it turns gloopy. Add water a teaspoon at a time if needed.
- Toss right before eating: If you’re waiting on rice or veggies, keep chicken on the rack and sauce on low, then toss when everyone’s ready.
Easy variations
Orange-style
Add 2 teaspoons orange zest and 1/2 cup orange juice. Reduce water to just 2 tablespoons and simmer a minute longer before the slurry.
Sesame chicken vibes
Increase toasted sesame oil to 1 tablespoon and add 1 to 2 tablespoons extra sesame seeds at the end.
Spicy-sweet
Add 1 tablespoon gochujang or 2 teaspoons chili crisp (stir chili crisp in after thickening).
Air fryer shortcut (less saucy-crispy, still tasty)
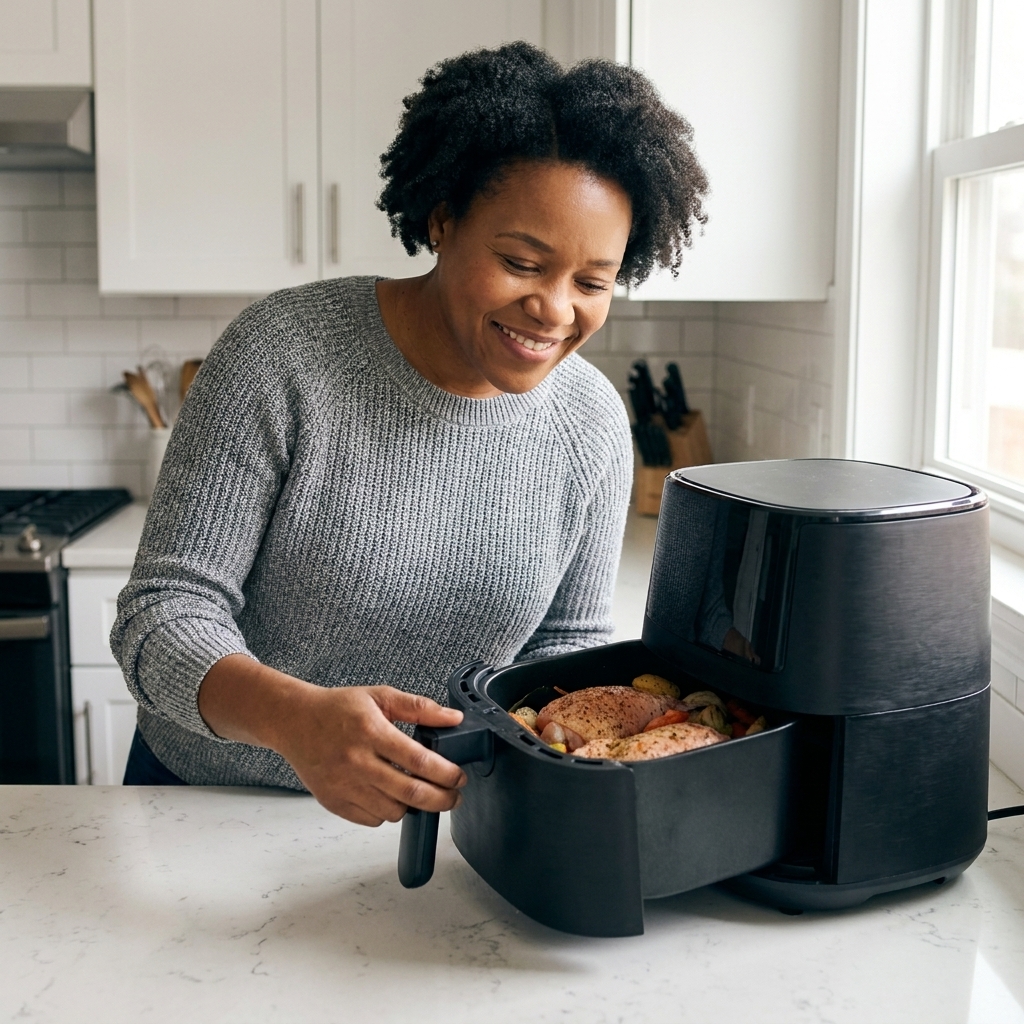
Spray coated chicken generously with oil, air fry at 400°F for 10 to 14 minutes, shaking halfway, until browned and 165°F inside. Toss with warm sauce right before serving.
What to serve with it
- Rice: Jasmine rice, brown rice, or coconut rice if you want something a little extra.
- Noodles: Lo mein-style noodles or simple ramen noodles tossed with a splash of soy and sesame oil.
- Veggies: Steamed broccoli, sautéed green beans, roasted Brussels sprouts, or quick cucumber salad with rice vinegar and a pinch of sugar.
- Make it hearty: Serve in bowls with rice, shredded cabbage, edamame, and a jammy soft-boiled egg.
Make-ahead and storage
Make-ahead
- Sauce: Make up to 5 days ahead and refrigerate. Rewarm gently with a splash of water.
- Chicken prep: Cut chicken and mix dry coating ahead. Dredge right before frying for best texture.
Storage
Store chicken and sauce separately if possible. Refrigerate up to 3 to 4 days.
Reheating (best method)
- Oven: 425°F on a wire rack for 8 to 12 minutes until hot and crisp again.
- Air fryer: 375°F for 4 to 7 minutes, shaking once.
- Microwave: Works in a pinch, but you’ll lose crunch. If you microwave, do it first, then crisp briefly in a hot pan.
Oil safety
- Use a heavy pot or high-sided skillet, and don’t fill it more than halfway with oil.
- Heat oil slowly and use a thermometer if you have one. Never leave hot oil unattended.
- Lower chicken in carefully so it doesn’t splash. Keep kids and pets away from the stove.
- Let oil cool completely before straining and storing, or dispose of it according to your local guidelines. Don’t pour it down the drain.
Troubleshooting
My coating fell off
- Chicken was too wet. Pat it dry.
- Oil wasn’t hot enough. Aim for 350°F.
- You moved it too soon. Let the first side set for 60 to 90 seconds before turning.
It turned soggy after saucing
- Sauce was too thin. Simmer a bit longer after adding slurry.
- Chicken sat too long in sauce. Toss and serve immediately.
- Steam got trapped. Cool on a rack, not a plate.
My sauce tastes too salty
- Use low-sodium soy sauce next time.
- Add a splash of water and a squeeze of lime, or a bit more honey to balance.
Recipe
Serves: 4
Time: 35 to 45 minutes
Ingredients
- 1 1/2 lb boneless skinless chicken thighs or breasts, cut into 1-inch pieces
- 1 tsp kosher salt
- 1/2 tsp black pepper
- 1/2 tsp garlic powder (optional)
- 2 large eggs, beaten
- 1 cup cornstarch
- 1/3 cup all-purpose flour
- 1 tsp baking powder (optional)
- Neutral oil for frying, enough for about 1 inch (typically 2 to 3 cups in a 10 to 12-inch pan)
- 1/3 cup soy sauce
- 1/3 cup honey or brown sugar
- 2 tbsp rice vinegar
- 4 to 6 cloves garlic, minced
- 1 tbsp fresh ginger, grated
- 2 tsp toasted sesame oil
- 1/3 cup water
- 1 tbsp cornstarch + 2 tbsp cold water (slurry)
- Optional: 1 to 2 tsp chili garlic sauce
- Scallions and sesame seeds, for serving
Instructions
- Pat chicken dry. Season with salt, pepper, and garlic powder.
- Whisk cornstarch, flour, and baking powder in a wide bowl. Beat eggs in a second bowl.
- Dredge chicken: egg, then cornstarch mixture. For extra crispness, repeat quickly (egg, then starch). Let coated chicken rest 5 to 10 minutes while the oil heats, if you can.
- Heat about 1 inch oil to 350°F. Fry chicken in batches 5 to 7 minutes until golden and 165°F inside. Drain on a wire rack.
- In a saucepan, simmer soy sauce, honey, vinegar, garlic, ginger, sesame oil, water, and chili sauce (if using) for 1 to 2 minutes. Stir in slurry and simmer 30 to 60 seconds until glossy.
- Toss chicken with sauce and serve immediately. Top with scallions and sesame seeds.
Notes
- Chicken thighs are more forgiving and stay juicy.
- Don’t skip the rack if you care about crunch.
- Sauce thickness should be like warm maple syrup. Adjust with water as needed.
FAQ
Can I bake it instead of frying?
You can, but it’ll be a different kind of crispy. Bake on a rack at 450°F, spray generously with oil, and flip halfway. Expect more of a crunchy coating than a bubbly, fried crust.
What’s the best oil for frying?
Canola and peanut oil are my go-tos for neutral flavor and high smoke point. Avocado oil also works but is pricier.
Can I use chicken tenders?
Absolutely. They cook faster, so start checking around the 4-minute mark when frying and pull them at 165°F.
How do I keep it crispy for a party?
Keep fried chicken on a rack in a 200°F oven while you finish batches. Warm the sauce separately. Toss right before serving.