A practical, weeknight-focused comparison of air fryer vs. oven: real timing, crispiness, batch size, and the best appliance for your go-to quick meals.
Recipeva
Perfect Crunch Southern Fried Chicken
Get shatteringly crispy, juicy Southern fried chicken at home with buttermilk soaking, a double dredge, and steady oil temperature control. Simple steps, big crunch.
Maya Reynolds
Maya Reynolds is a passionate home cook, recipe developer, and the creative voice behind Recipeva. With over a decade of experience translating complex culinary techniques into approachable weeknight meals, she focuses on creating dishes that bring joy to the dinner table without the stress.
Created September 21, 2026
Updated September 21, 2026
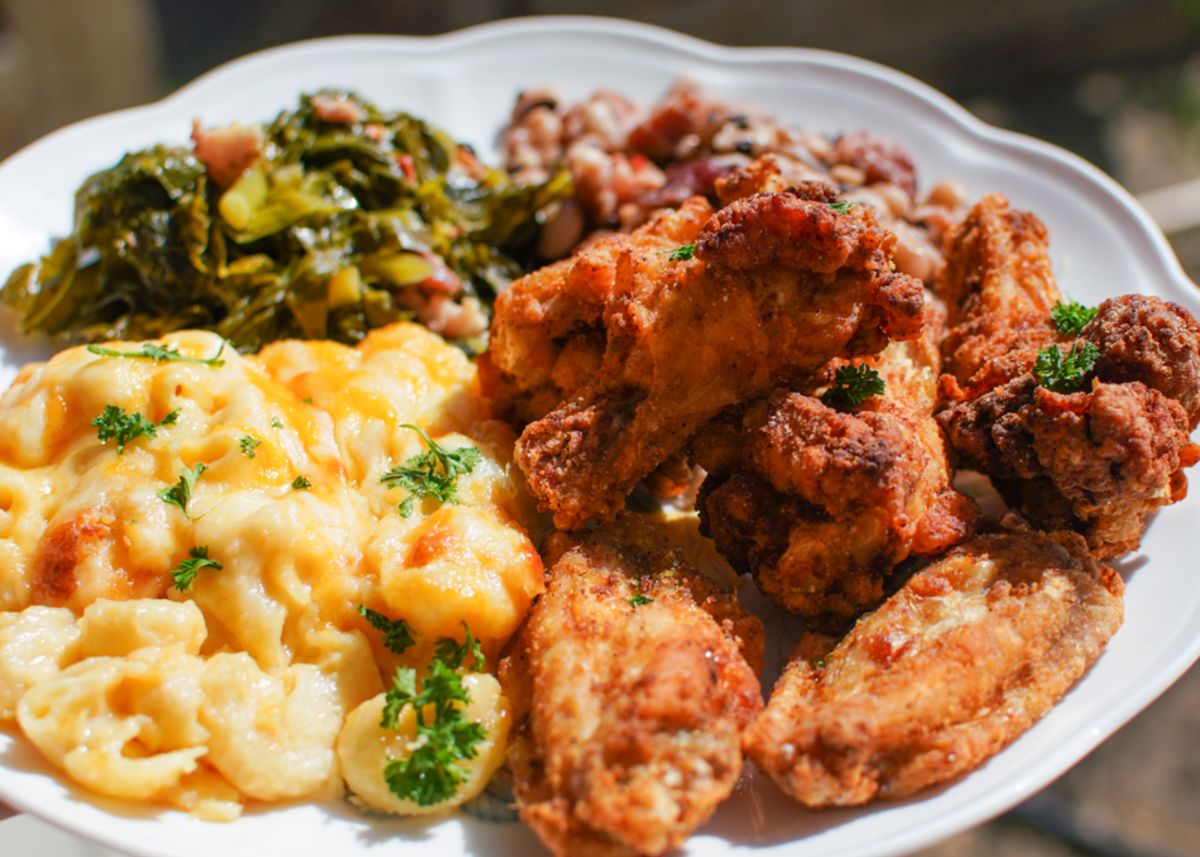
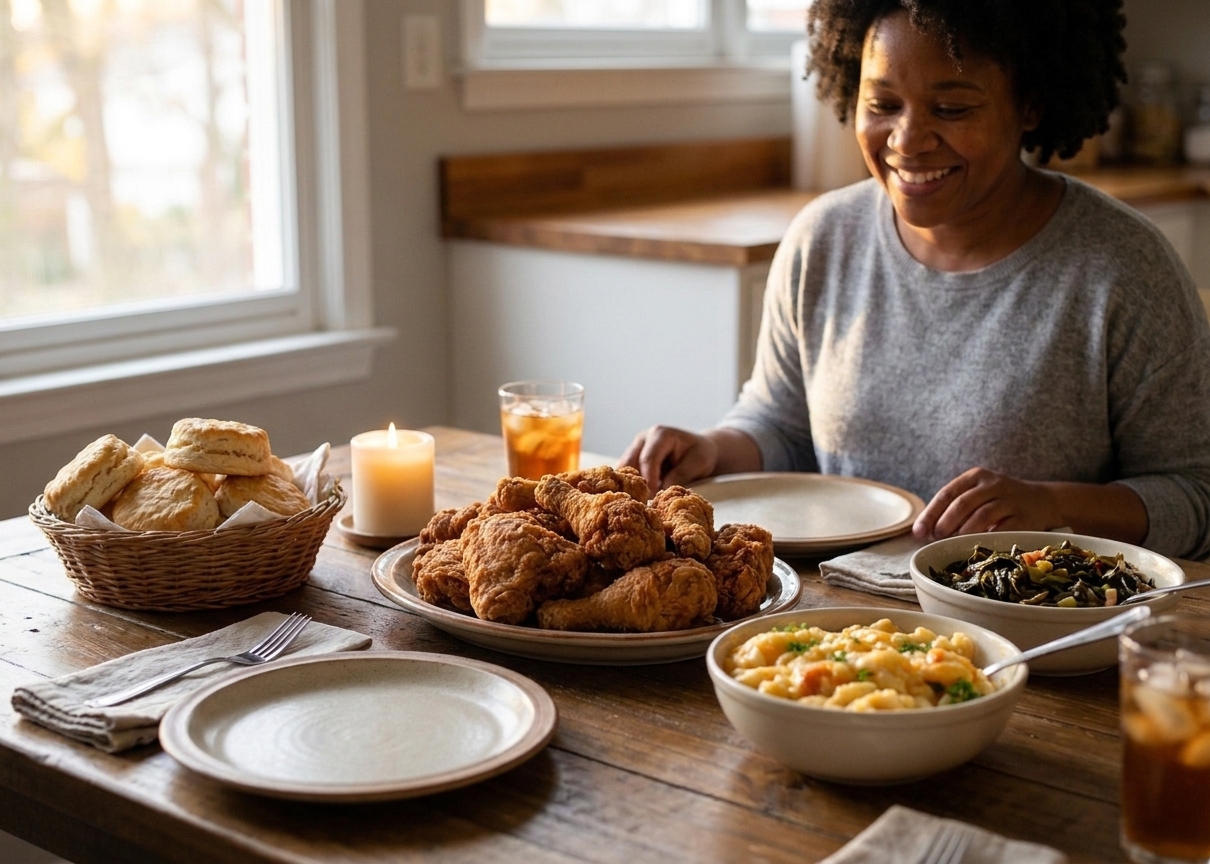
There is a very specific sound I am always chasing with Southern fried chicken. That confident crack when you bite in, followed by juicy, properly seasoned chicken that tastes like you did not cut a single corner. The good news is you do not need a restaurant fryer to get there. You need three things: a buttermilk soak, a smart double dredge, and oil temperature that stays steady.
I am going to walk you through each one like a friend right beside you at the stove, because once you understand the “why,” you can fry with confidence every time. Consider this my coach mode.
The big three
If your crust falls off, goes soggy, or browns too fast, one of these is usually the culprit:
- Buttermilk soaking adds flavor, helps the chicken hold onto moisture, and gives you a little tenderizing help so the meat stays juicy.
- Double dredging builds that craggy, shatter-crisp crust that stays put.
- Steady oil temperature is the difference between greasy chicken and crisp chicken.
Start with the chicken
Best pieces
Bone-in, skin-on pieces give you the most classic Southern texture and the juiciest results. Thighs and drumsticks are the most forgiving. Breasts can be fantastic too, but they cook faster and dry out sooner, so you need to watch your timing.
Pat it dry first
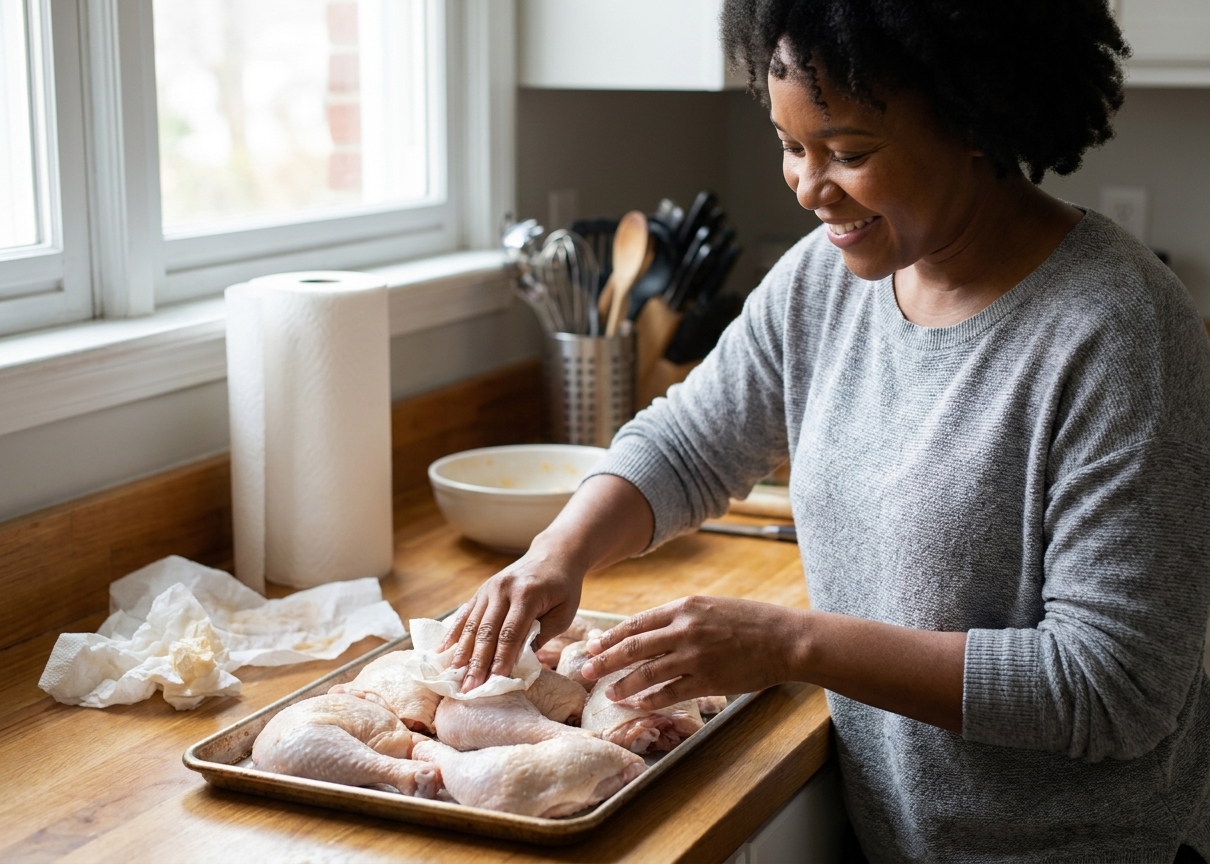
This sounds fussy, but it helps. If the chicken is carrying a lot of surface water, it can dilute your seasoning and make your coating less consistent. I pat each piece dry with paper towels first, then it goes into the buttermilk.
Buttermilk soak
My buttermilk mixture
For 3 to 4 pounds of chicken pieces, I like:
- 2 cups buttermilk
- 1 tablespoon kosher salt
- 1 to 2 teaspoons black pepper
- 1 teaspoon paprika (smoked or sweet)
- 1 teaspoon garlic powder (or more, because: yes)
- Optional but wonderful: 1 to 2 teaspoons hot sauce
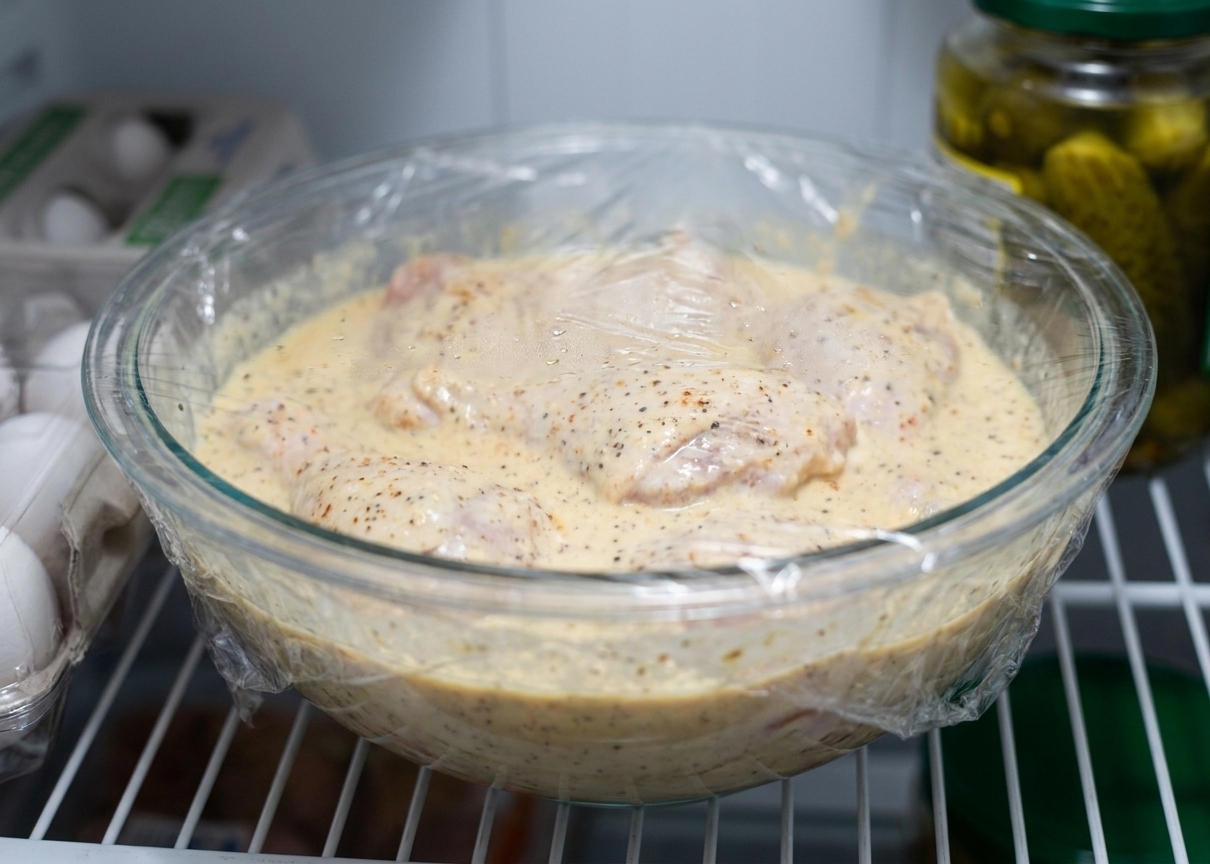
Whisk it in a bowl or directly in a zip-top bag, add the chicken, and make sure every piece gets coated.
How long to soak
- Minimum: 2 hours (you will still get great crunch).
- Sweet spot: 8 to 12 hours in the fridge.
- Max: about 24 hours. Past that, the outside can get a little too soft.
Tip from my teacher brain: Set a reminder. Chicken that soaks overnight is easy. Chicken you forget for two days is… less cute.
Double dredge
Double dredging is not just about more flour. It is about building layers. The first coat creates a base, the dip back into the buttermilk creates glue, and the second coat creates those crisp ridges and flakes.
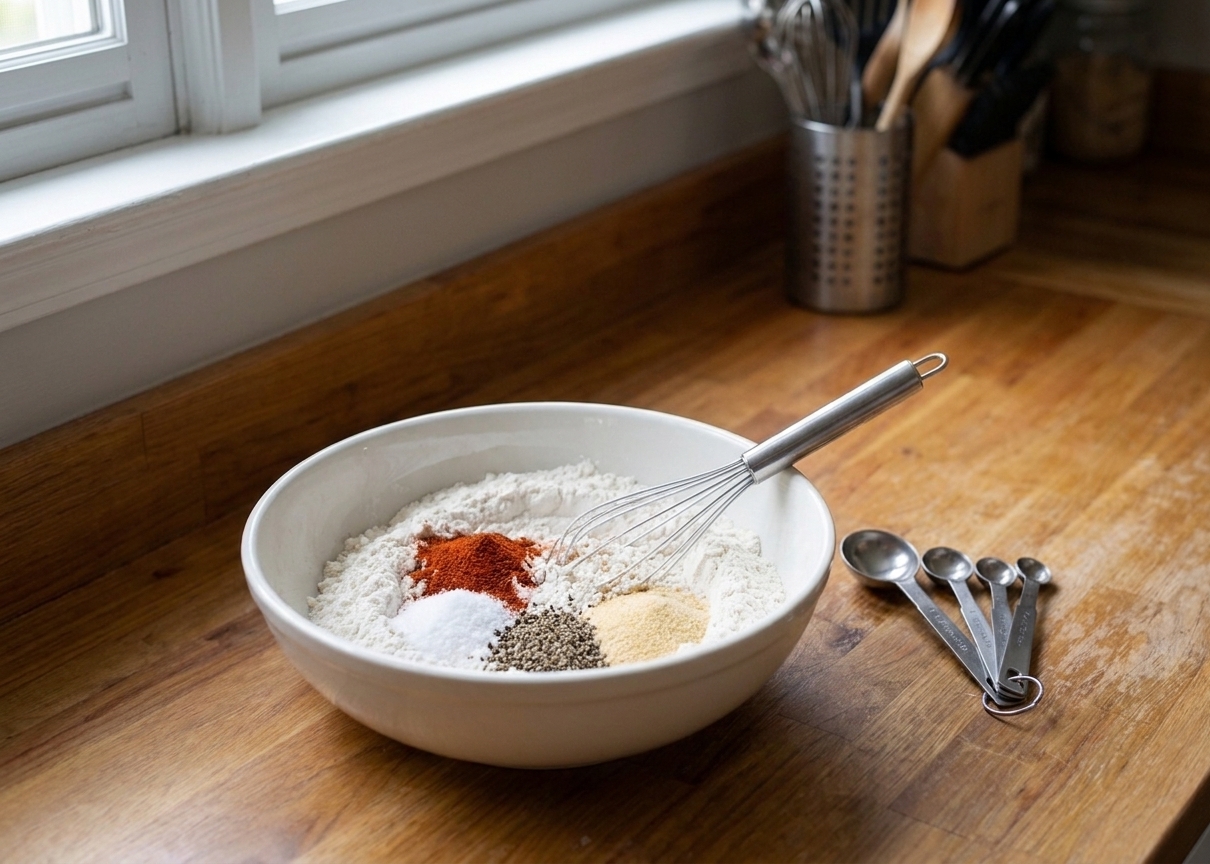
Seasoned flour
For 3 to 4 pounds chicken:
- 2 1/2 cups all-purpose flour
- 1/2 cup cornstarch (for extra crispness)
- 2 teaspoons kosher salt
- 2 teaspoons black pepper
- 2 teaspoons paprika
- 1 teaspoon onion powder
- 1 teaspoon garlic powder
- Optional: 1/2 teaspoon cayenne
Dredging steps
- Set up stations: bowl of buttermilk chicken, bowl or pan of seasoned flour, and a wire rack over a sheet pan for dredged pieces.
- First dredge: lift a piece from the buttermilk, let the excess drip off for a few seconds, then press into the flour firmly. Get into all the nooks around the bone.
- Back into buttermilk: quick dip. You are not re-soaking, just re-wetting the surface.
- Second dredge: press again, really firmly. Squeeze a few spots with your fingers to create those little crags.
- Shake off loose flour: give the piece a gentle tap so any extra falls off. Less loose flour means fewer burnt bits in your oil.
- Rest on a rack: 10 to 20 minutes before frying. This helps the coating hydrate and cling so it is less likely to fall off in the oil.
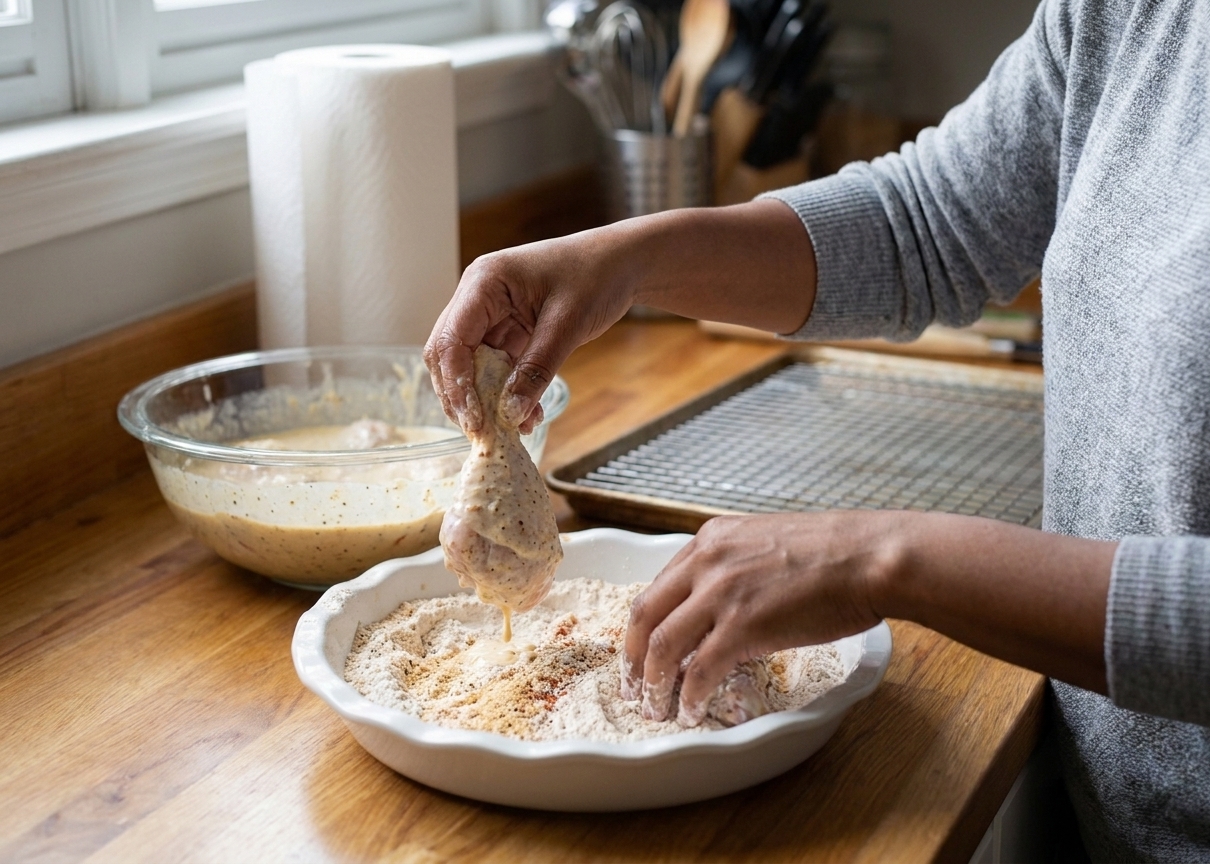
Do not skip the rest: If you fry immediately, the coating is powdery and fragile. If you let it rest, it becomes a batter-like shell that fries up sturdier and crunchier.
Oil temperature
Oil and pot
- Oil: peanut, canola, vegetable, or sunflower oil. You want neutral flavor and a high smoke point.
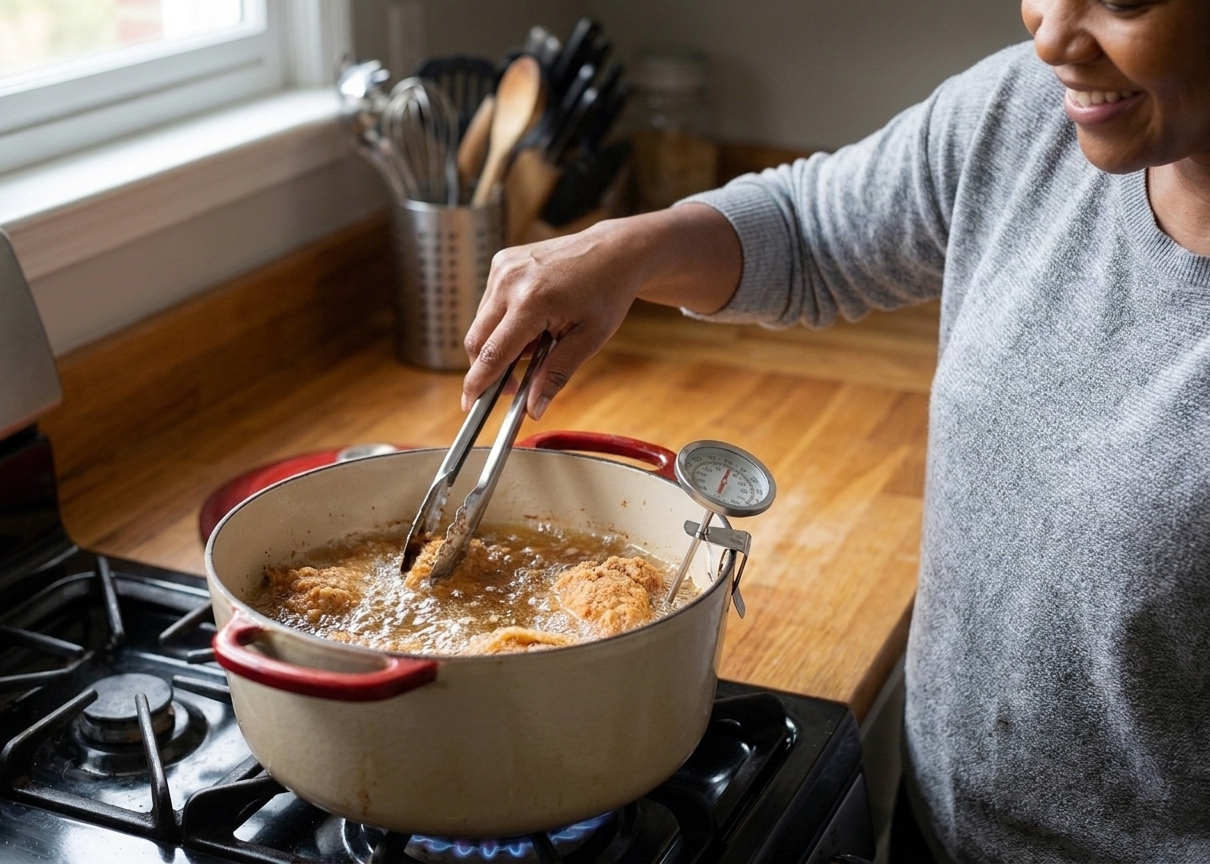
- Pot: a Dutch oven or heavy deep skillet holds heat steady.
- Tool: a thermometer. This is the least “optional” optional tool in fried chicken land.
Safety note: Never fill your pot more than halfway with oil. You want headspace for bubbling, and for safer temperature control.
Temperature sweet spot
I aim for 325°F to 350°F, depending on the piece size and your stove. Here is the practical way to think about it:
- Too low (often below 325°F): coating absorbs oil, chicken tastes greasy, crust goes soft.
- Too high (often above 365°F): crust browns before the chicken cooks through, especially on thicker bone-in pieces.
Keep the oil steady
- Do not crowd the pot. Fry in batches. Crowding drops the temperature fast and causes soggy crust.
- Let the oil recover between batches. Bring it back to your target temp before adding more chicken.
- Adjust heat as you go. I usually start a touch higher to account for the drop when chicken goes in, then dial down slightly.
- Scoop out burnt bits. If you see dark flour bits collecting, skim them out with a spider. They will make your oil taste bitter and speed up burning.
Frying timeline
Exact time depends on piece size, bone-in versus boneless, and oil temperature. Use time as a guide and temperature as the final answer.
General times (bone-in)
- Drumsticks: 12 to 15 minutes
- Thighs: 14 to 18 minutes
- Wings: 8 to 10 minutes
- Breasts: 15 to 20 minutes
Internal temperature
- Minimum safe temp (all chicken): 165°F in the thickest part.
- Dark meat texture target: 175°F to 185°F for that tender, pull-apart bite.
Thermometer tip: Check the thickest part of the meat and avoid touching the bone, which can give you a false reading.
My favorite move: When the crust is deep golden and crisp, but the chicken is not quite at temp yet, move pieces to a 325°F oven on a wire rack to finish gently until they hit 165°F. This keeps the crust intact without over-browning.
Drain and rest
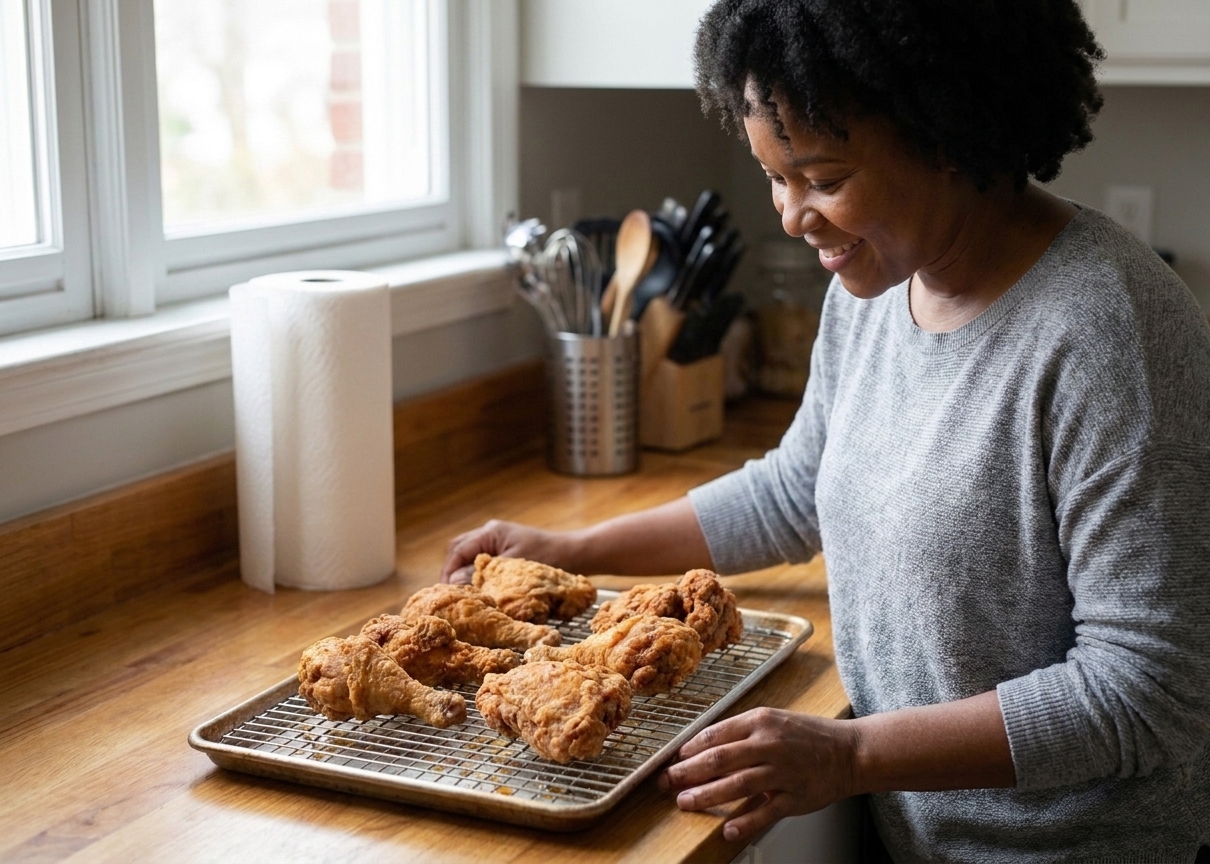
Paper towels seem like the obvious choice, but they can trap steam under the chicken, which softens your crust. Drain fried chicken on a wire rack over a sheet pan so air can circulate.
Give it 5 to 10 minutes before serving. This little rest lets juices settle and keeps the coating crisp.
Troubleshooting
“My coating fell off.”
- Make sure you rest the dredged chicken 10 to 20 minutes before frying.
- Press the flour on firmly during dredging.
- Do not flip constantly. Let the crust set before moving pieces.
“It is crispy at first, then turns soggy.”
- Oil was likely too cool, or the pot was crowded.
- Drain on a wire rack, not paper towels.
- Keep finished batches warm in a 200°F oven on a rack if needed.
“It is too dark outside, raw inside.”
- Oil temp was too high. Lower heat and aim for 325°F to 350°F.
- Use the oven finish trick for thicker pieces, and finish to 165°F.
“It tastes bland.”
- Salt the buttermilk soak and the flour.
- Season right after frying with a light sprinkle of fine salt while the crust is hot (it clings better than coarse salt).
Food safety basics
- Do not reuse the marinade: discard the leftover buttermilk after the chicken comes out.
- Avoid cross-contamination: keep raw chicken tools separate, and wash hands, boards, and counters with hot soapy water after handling.
- Hold at safe temps: if you are keeping batches warm, use a low oven (about 200°F) and do not cover tightly.
Oil care
- Filter and save: let oil cool completely, then strain through a fine mesh sieve (or cheesecloth) into a jar.
- Know when to toss: if it smells sharp, looks very dark, or smokes at normal frying temps, it is done.
- Flour bits are the enemy: skimming between batches keeps the oil cleaner and your chicken tasting fresh.
Quick recap
- Pat chicken dry, then soak in seasoned buttermilk (8 to 12 hours is ideal).
- Mix seasoned flour with a little cornstarch.
- Double dredge: flour, buttermilk dip, flour again.
- Shake off loose flour and rest dredged chicken on a rack 10 to 20 minutes.
- Fry at 325°F to 350°F in batches until golden and cooked through.
- Finish in a 325°F oven if needed, and cook to 165°F internal.
- Drain on a wire rack, rest 5 to 10 minutes, then serve.
FAQ
Can I use regular milk instead of buttermilk?
Real buttermilk gives the best tang and texture, but you can fake it in a pinch: mix 1 tablespoon lemon juice or white vinegar into 1 cup milk, let it sit 5 to 10 minutes, then use. It will work, just slightly less flavorful than true buttermilk.
Do I have to use cornstarch?
No, but I love what it does. A little cornstarch in the flour makes the crust lighter and crispier. If you skip it, replace with more flour.
What oil depth do I need?
For shallow frying in a deep skillet, aim for about 1 to 1 1/2 inches of oil. For a Dutch oven, you can go a bit deeper. You want enough oil so the chicken can fry evenly without the coating sticking to the bottom.
How do I keep fried chicken crispy for a party?
Hold it on a wire rack in a 200°F oven after frying. Do not cover it tightly, since trapped steam is the enemy of crunch.
Can I make it ahead and reheat it?
Yes. Reheat on a wire rack in a 400°F oven until hot and crisp, usually 12 to 18 minutes depending on piece size. Avoid the microwave if crunch is your priority.