Pick the right apples, build the best sweet-tart blend, and bake a pie with slices that hold their shape and a bottom crust that stays crisp.
Recipeva
Comforting Easy Apple Pie
This easy apple pie is cozy, classic, and totally doable. Learn the best apples to use, simple tricks to avoid a soggy bottom, and step-by-step instructions for a golden, buttery pie.

Maya Reynolds
Maya Reynolds is a passionate home cook, recipe developer, and the creative voice behind Recipeva. With over a decade of experience translating complex culinary techniques into approachable weeknight meals, she focuses on creating dishes that bring joy to the dinner table without the stress.
Created September 22, 2026
Updated September 22, 2026
There are few smells that make a home feel instantly calmer than apple pie in the oven. This is my go-to, weeknight-friendly version that still tastes like the classic: warmly spiced apples, a buttery crust, and that little bubbling edge that practically begs for vanilla ice cream.
If you have ever felt like pie was a “special occasion only” project, I wrote this for you. We are keeping it simple, organized, and very forgiving.
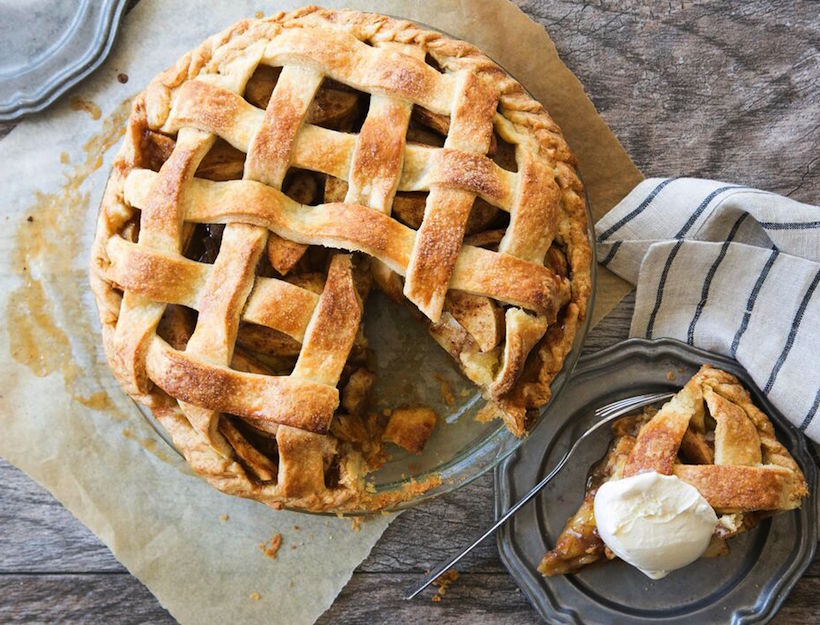
Why this pie is easy
- No complicated techniques: straightforward mixing, simple thickener, and clear bake cues.
- Flexible crust options: homemade if you love it, store-bought if you need it.
- Reliable filling: we pre-toss the apples with sugar and spices, then use the right thickener so it slices cleanly.
- Make-ahead friendly: you can prep the crust and filling components in advance.
Ingredients you will need
This is the classic lineup. Nothing fancy, just smart little choices that make the pie taste deeply apple-y and not watery.
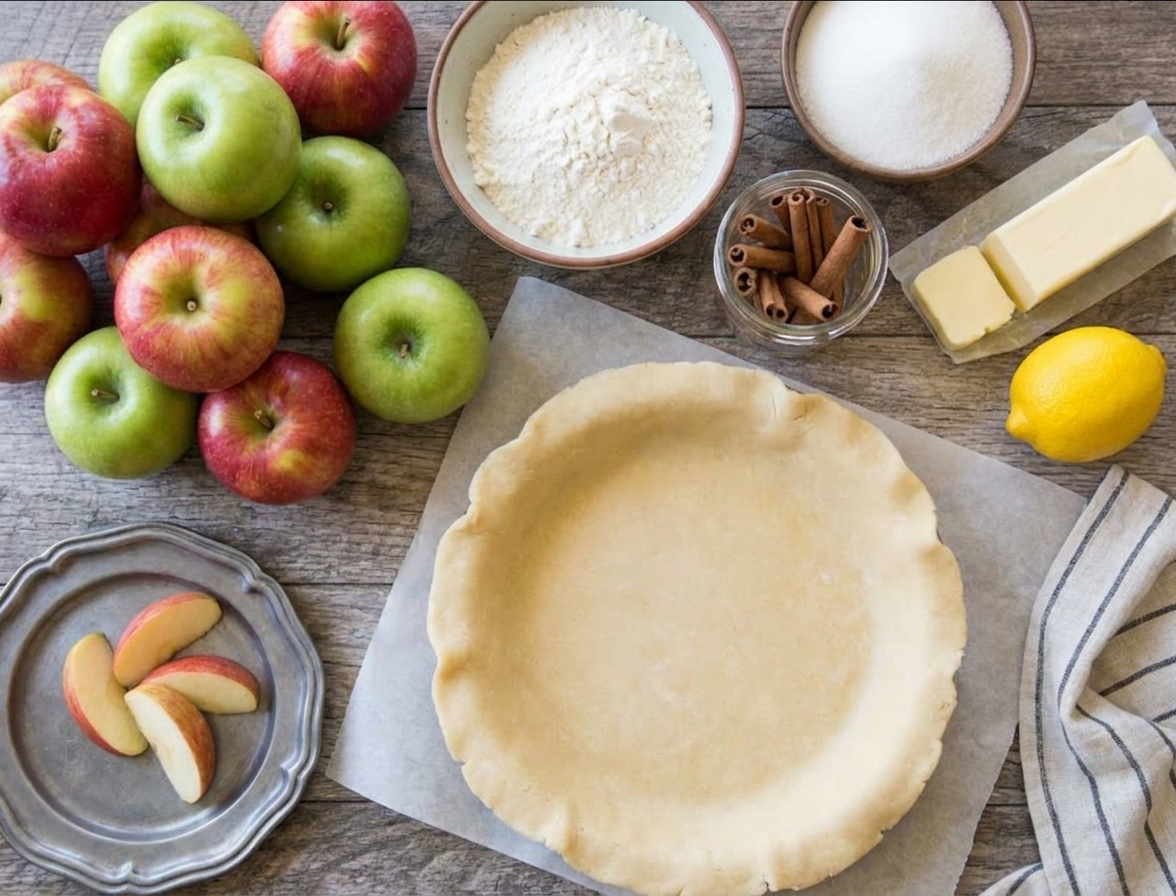
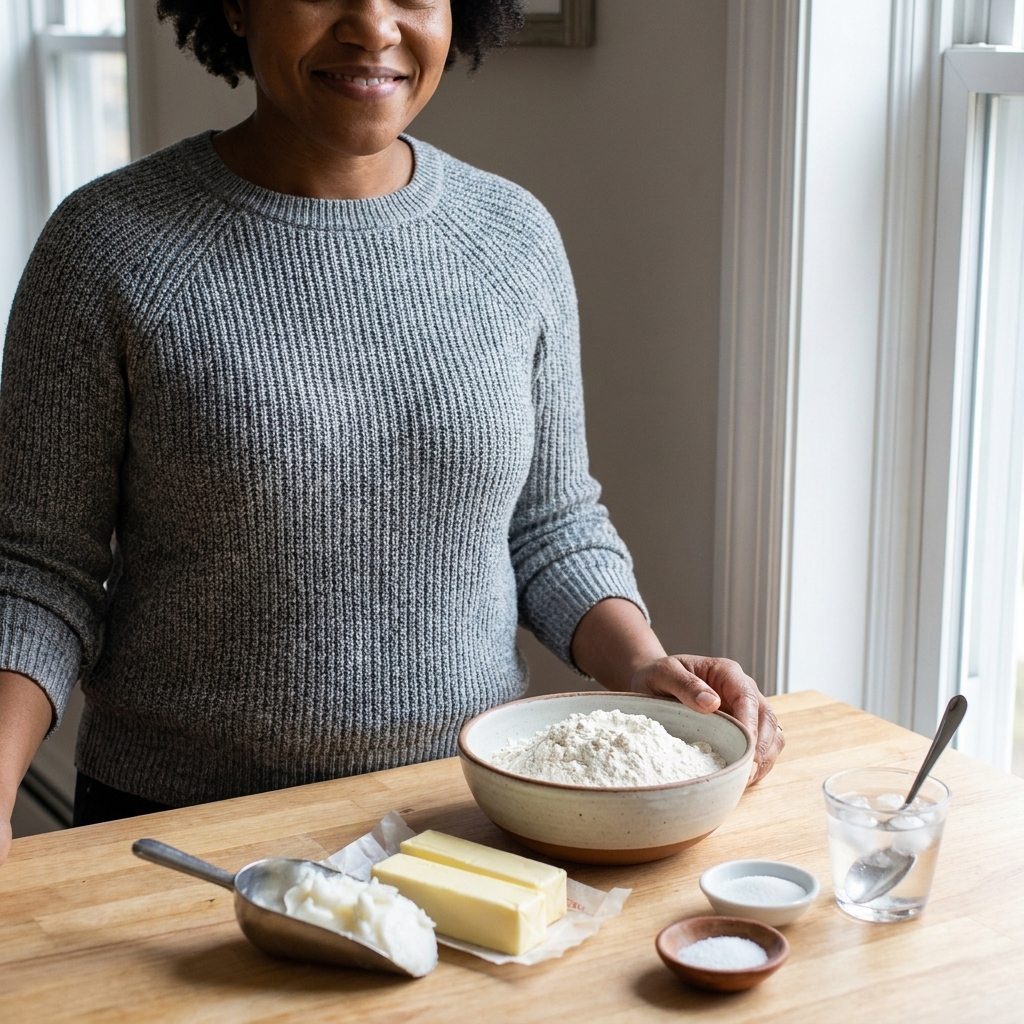
For the crust
- Double pie crust: homemade or 2 store-bought refrigerated crusts.
- Egg: for egg wash (optional, but gives a beautiful shine).
- Coarse sugar: for sprinkling on top (optional, but delightful crunch).
For the filling
- Apples: 2 1/2 to 3 pounds (about 6 to 8 medium apples), peeled, cored, and sliced.
- Granulated sugar: for sweetness and to pull juices from the apples.
- Brown sugar: adds caramel warmth.
- Cinnamon: the cozy backbone.
- Nutmeg: just a pinch makes it taste like “pie shop.”
- Salt: makes the apples pop.
- Lemon juice: brightens and helps prevent browning.
- Cornstarch: thickens the juices so the pie sets.
- Butter: dotted on top of the filling for richness.
- Vanilla extract: optional, but lovely.
Best apples for apple pie
You can absolutely make pie with whatever apples you have, but for that perfect balance of tender and not mushy, these are my favorites:
- Granny Smith: tart, sturdy, very classic.
- Honeycrisp: sweet-tart, holds its shape well.
- Pink Lady: crisp, balanced, great flavor.
- Braeburn: slightly spicy, excellent texture.
My favorite combo: half Granny Smith and half Honeycrisp. You get bright flavor plus sweetness without the filling turning soupy.
Easy apple pie (step by step)
Makes: 1 (9-inch) pie
Time: about 25 minutes prep, 55 to 70 minutes bake, plus cooling
1) Prep the oven and pan
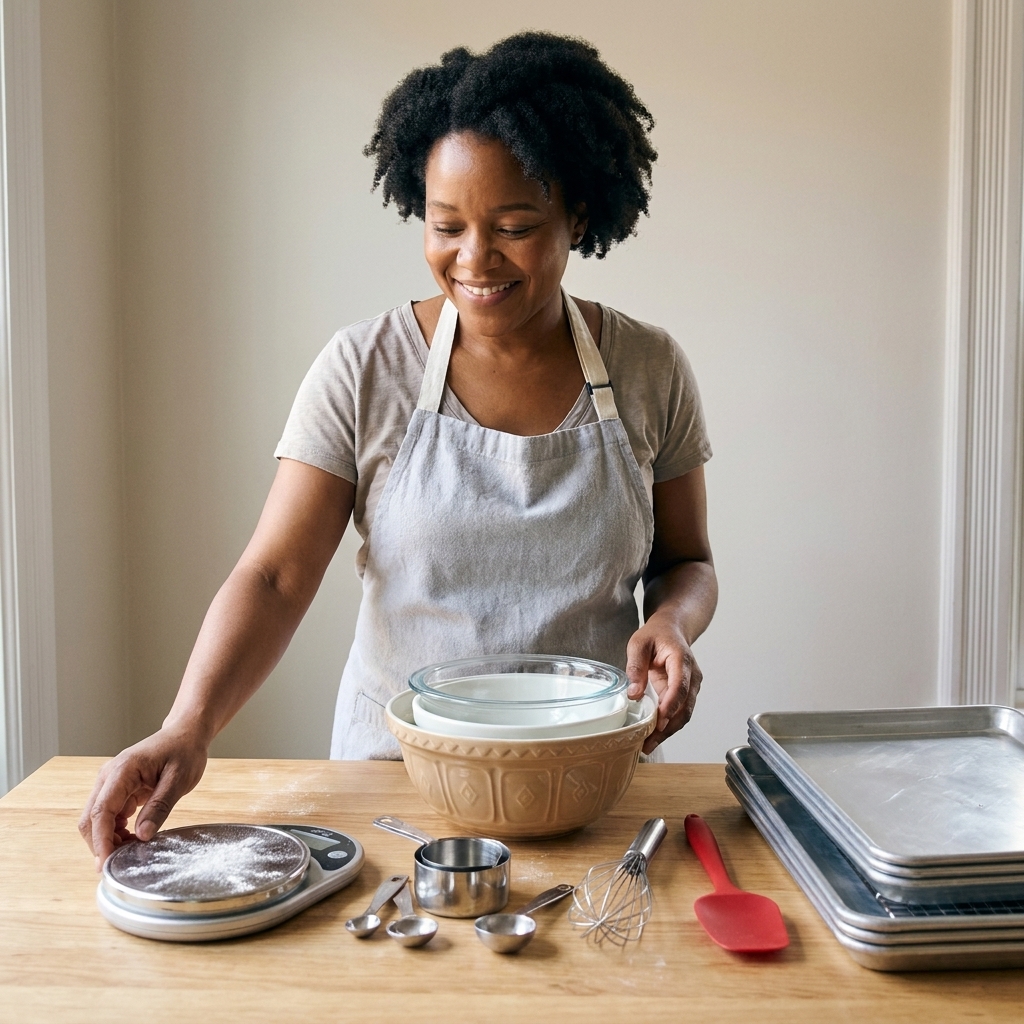
Preheat your oven to 425°F. Place a baking sheet on the middle rack to heat up. This helps the bottom crust start cooking right away.
Set a 9-inch pie plate nearby.
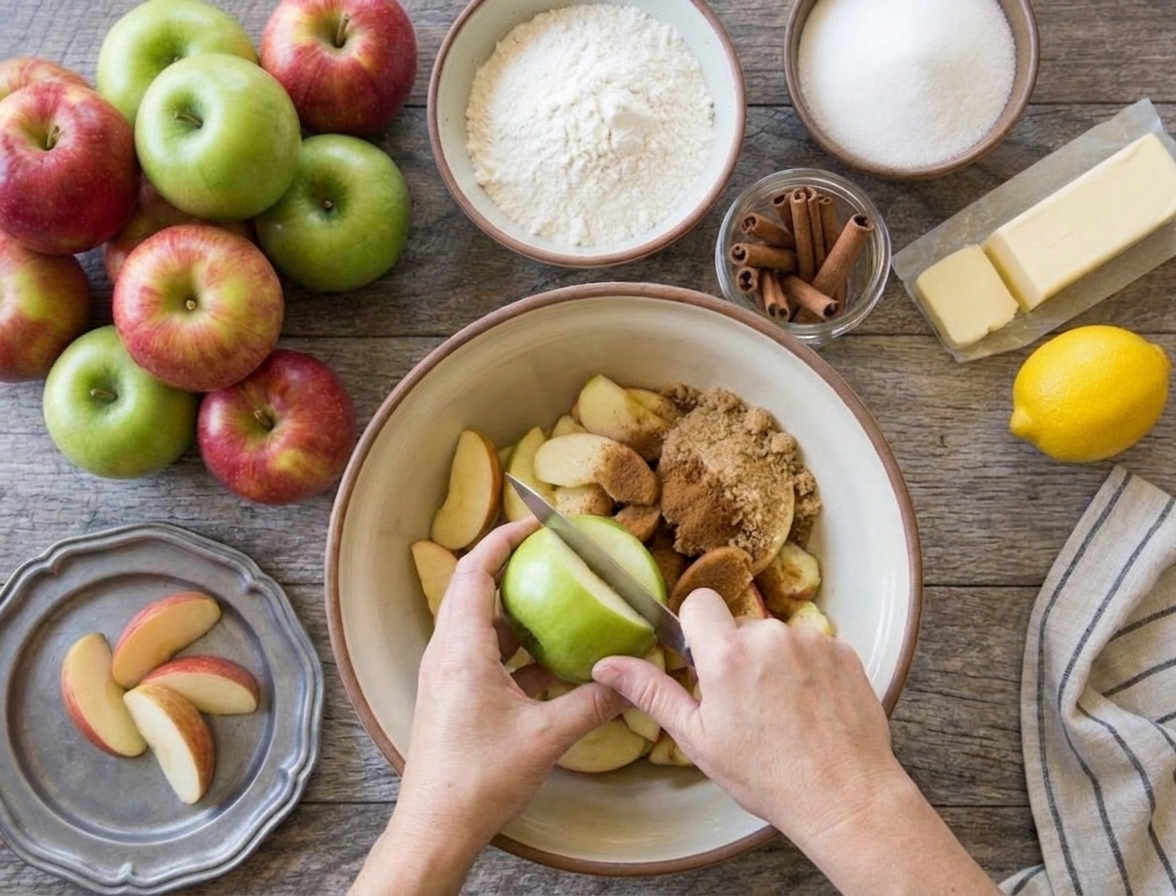
2) Make the filling
Peel, core, and slice 2 1/2 to 3 pounds apples (about 6 to 8 medium apples) to about 1/4-inch thick. Add them to a large bowl and toss with:
- 3/4 cup granulated sugar
- 1/4 cup brown sugar (packed)
- 2 tablespoons lemon juice
- 1 1/2 teaspoons cinnamon
- 1/4 teaspoon nutmeg
- 1/2 teaspoon salt
- 3 tablespoons cornstarch
- 1 teaspoon vanilla extract (optional)
Let the mixture sit for 10 minutes. This draws out juices so the cornstarch can do its job evenly.
3) Line the pie plate
Roll out your bottom crust and fit it into the pie plate. Leave a little overhang. If the dough is getting soft, pop it in the fridge for 10 minutes.
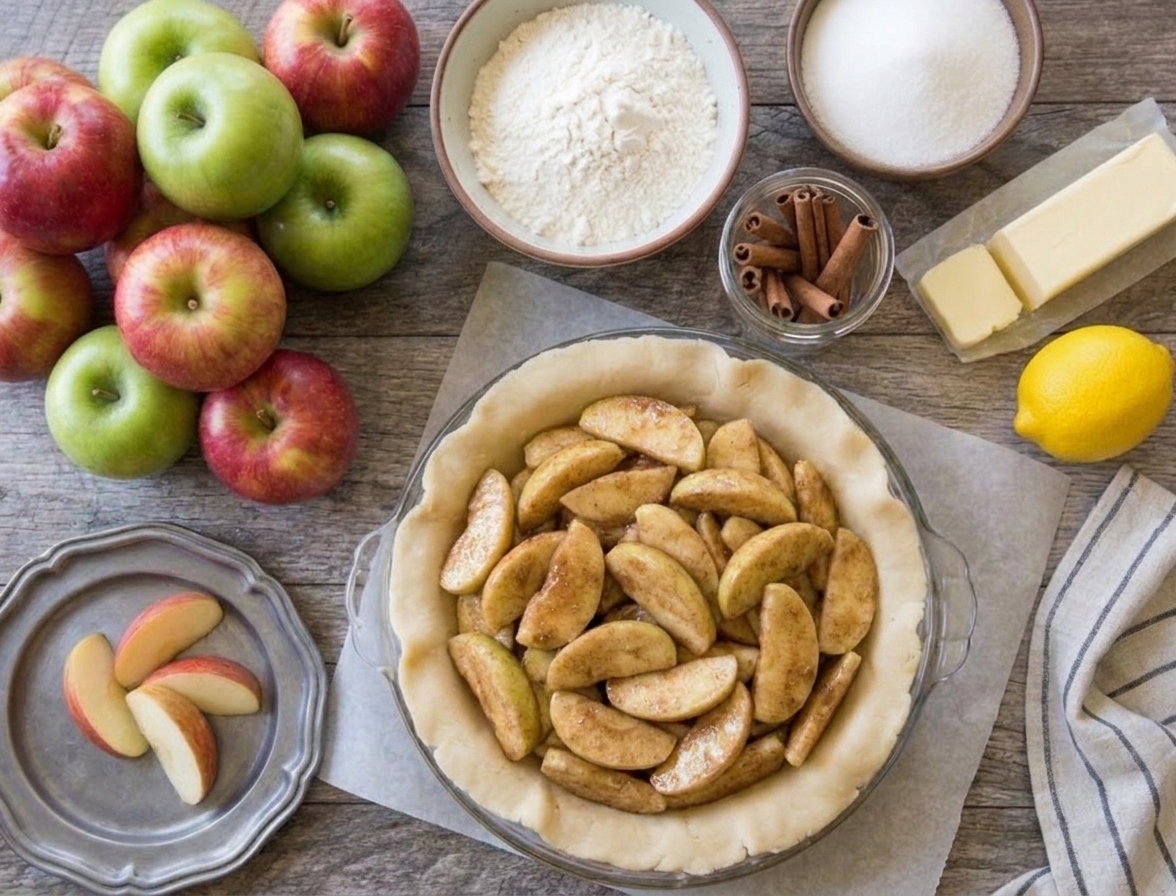
4) Fill and dot with butter
Spoon the apples into the crust, piling slightly higher in the center. Pour any juices from the bowl over the top. Dot with 2 tablespoons butter cut into small pieces.
5) Top it
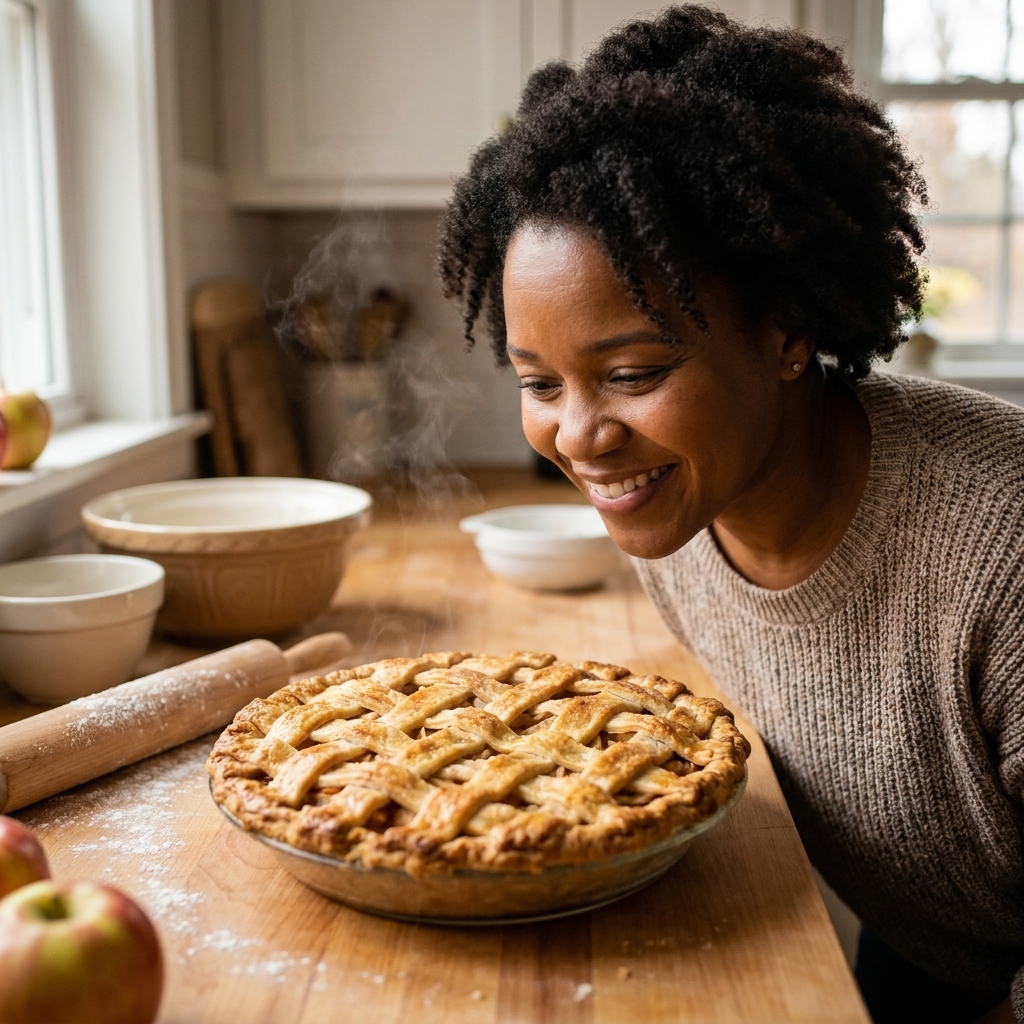
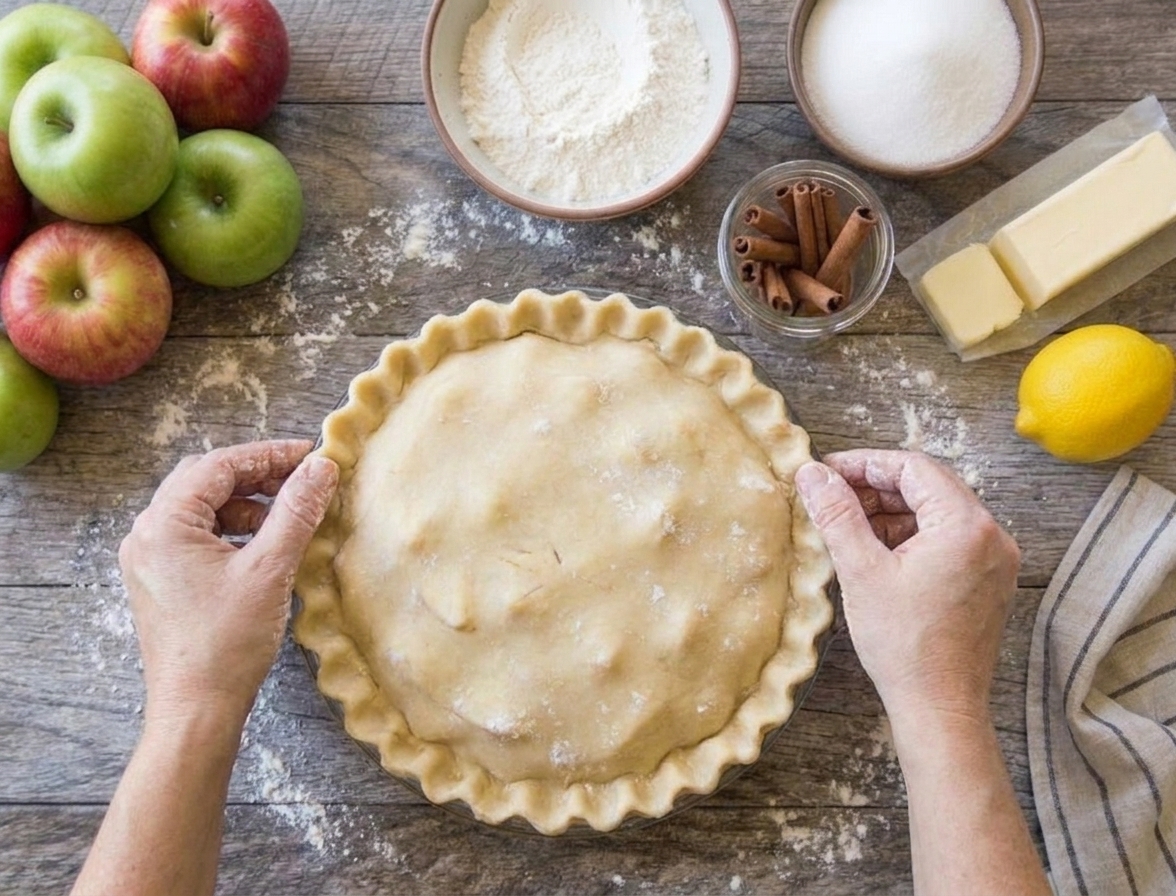
Add the top crust (full top with vents or lattice). Trim excess dough, then tuck and crimp the edges.
Brush with egg wash (1 egg beaten with 1 tablespoon water), then sprinkle with coarse sugar if you like.
6) Bake
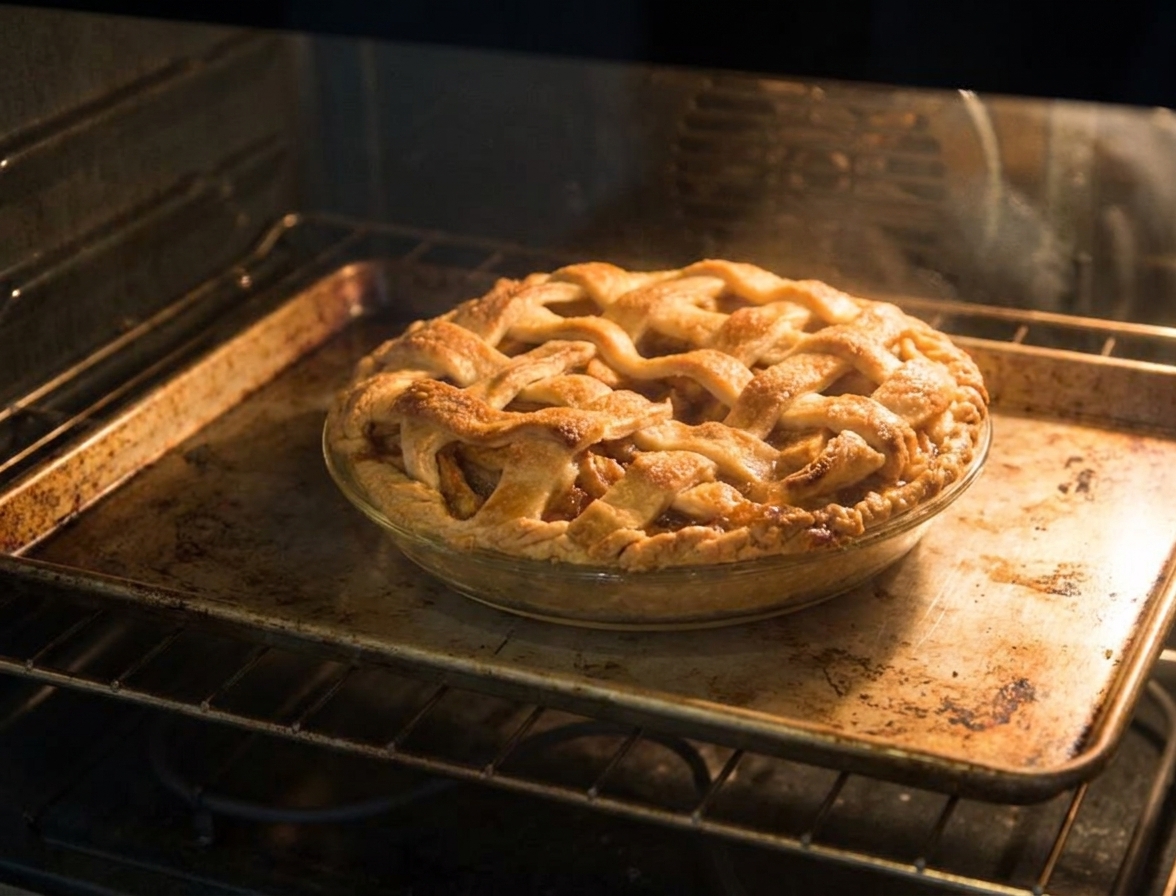
Place the pie on the preheated baking sheet. Bake at 425°F for 20 minutes, then reduce heat to 375°F and bake 35 to 50 minutes more.
How to know it is done:
- The top is deeply golden.
- The filling is bubbling in the center, not just at the edges.
- If you slide in a thin knife, the apples feel tender with a little resistance.
If the crust is browning too quickly, tent the top loosely with foil for the last 15 to 20 minutes.
7) Cool before slicing
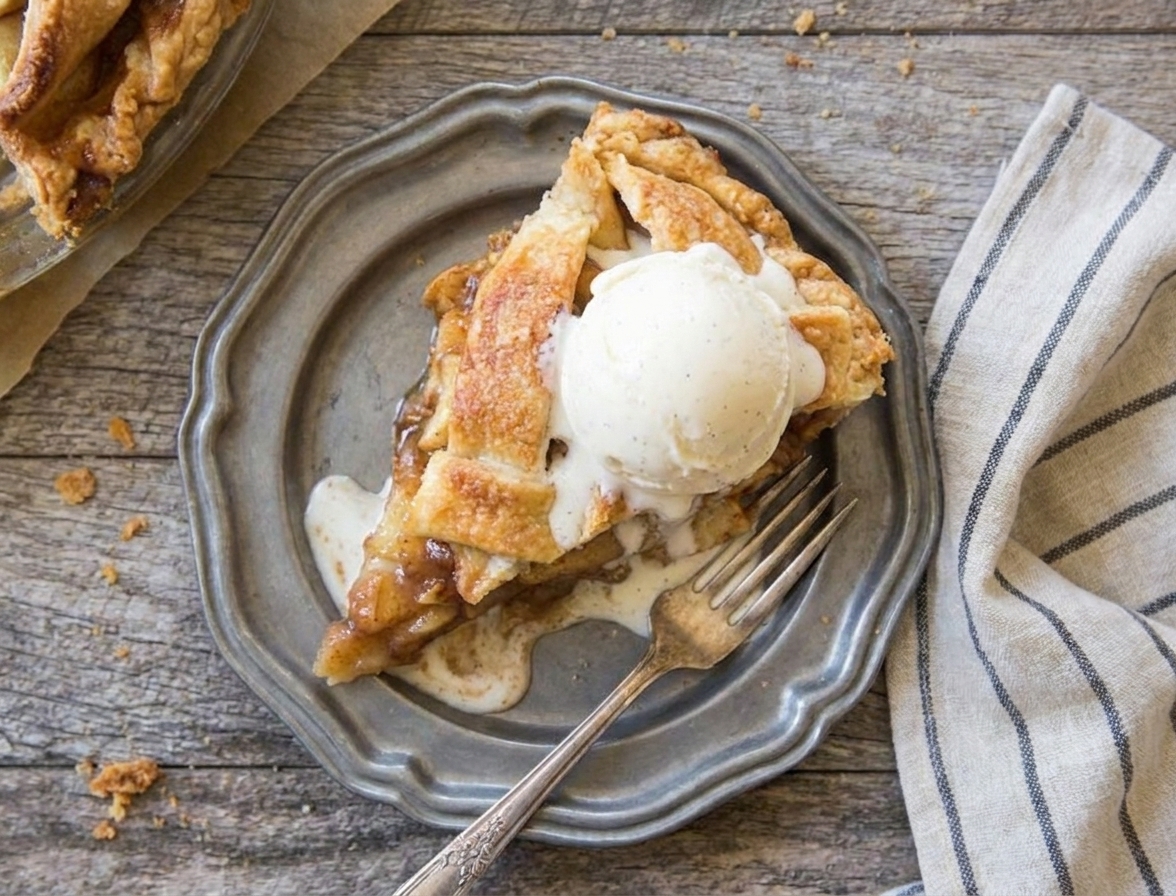
This is the hardest part, I know. Let the pie cool for at least 2 hours. The filling thickens as it cools, which means cleaner slices and less lava-flow fruit.
How to avoid a soggy bottom
Let us keep your pie cozy, not damp. These simple habits make a big difference:
- Heat a baking sheet in the oven: it jumpstarts bottom crust baking.
- Use cornstarch: it thickens the apple juices into a glossy sauce.
- Do not skip cooling: warm pie is delicious, but it slices messy and can seem “wet.”
- Bake until the center bubbles: bubbling is the signal the thickener has activated.
Helpful variations
- Crumb topping: Swap the top crust for a simple streusel (flour, brown sugar, butter, pinch of salt). Bake as directed and tent if needed.
- Extra-spiced: Add 1/4 teaspoon ground ginger or a tiny pinch of cloves.
- Caramel apple vibe: Add 2 tablespoons caramel sauce to the filling juices before pouring over the apples.
- Mini pies: Use a muffin tin for personal pies, reduce bake time and watch closely once golden.
Make-ahead and storage
Make-ahead
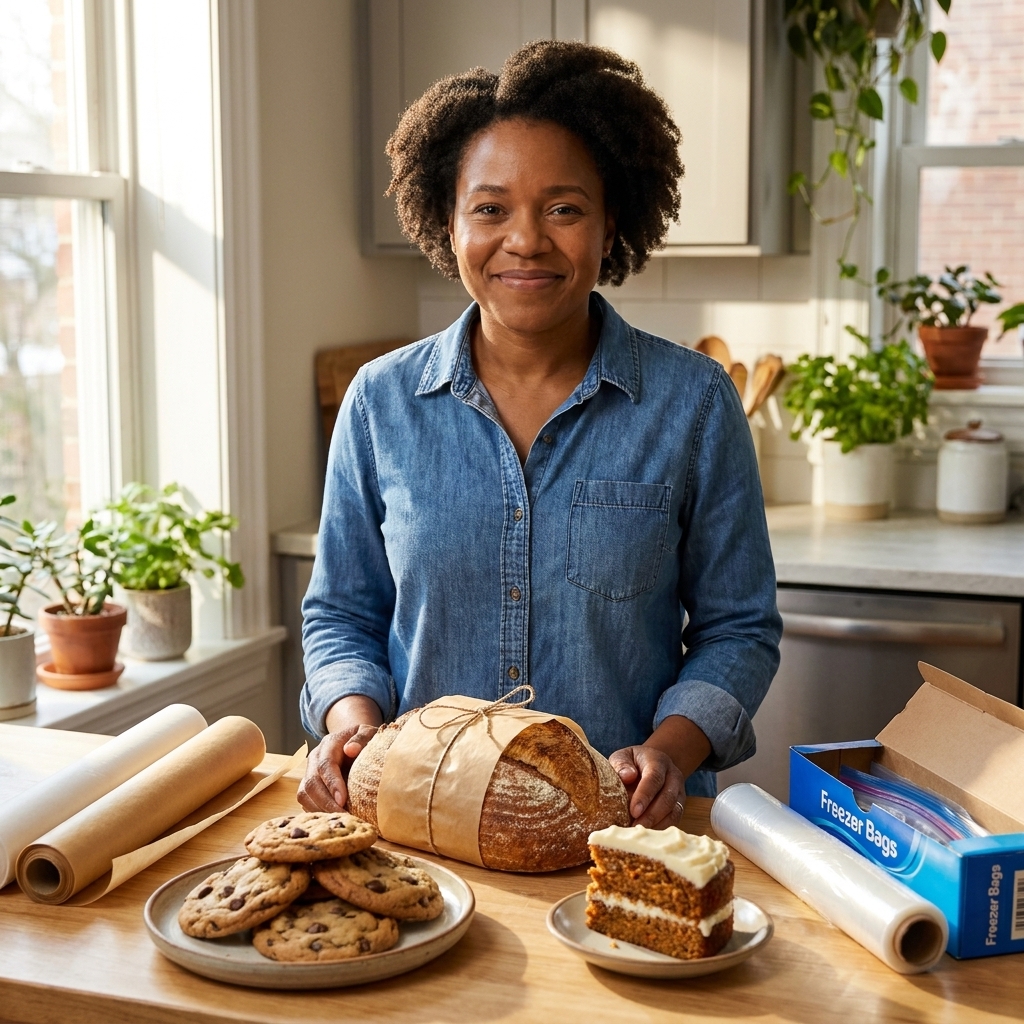
- Crust: refrigerate dough up to 2 days or freeze up to 3 months.
- Filling: slice and toss apples up to 24 hours ahead, then store tightly covered in the fridge. Toss again before filling the crust.
Storage
- Room temperature: loosely covered for 1 day.
- Refrigerator: covered up to 4 days.
- Freezer: wrap slices tightly and freeze up to 2 months.
Reheating
Warm slices in a 350°F oven for 10 to 15 minutes, or until the crust crisps back up. The microwave works in a pinch, but the oven keeps it bakery-good.
FAQ
Do I have to peel the apples?
No, but I recommend peeling for the most classic, tender filling. If you love a more rustic pie, leave the peels on and slice a touch thinner.
Can I use store-bought crust?
Absolutely. This recipe is designed to work beautifully with refrigerated pie dough. Let it sit at room temp just until pliable, then keep it moving so it does not get sticky.
Why is my apple pie watery?
Common reasons are underbaking (the center never bubbled), not enough thickener, or slicing too soon. Next time, bake until the center bubbles and give it a full cooling window.
How do I keep the edges from burning?
Use a simple foil ring around the crust edges after the first 25 to 30 minutes. You still get a golden top, but the rim stays perfectly browned.
Serving ideas
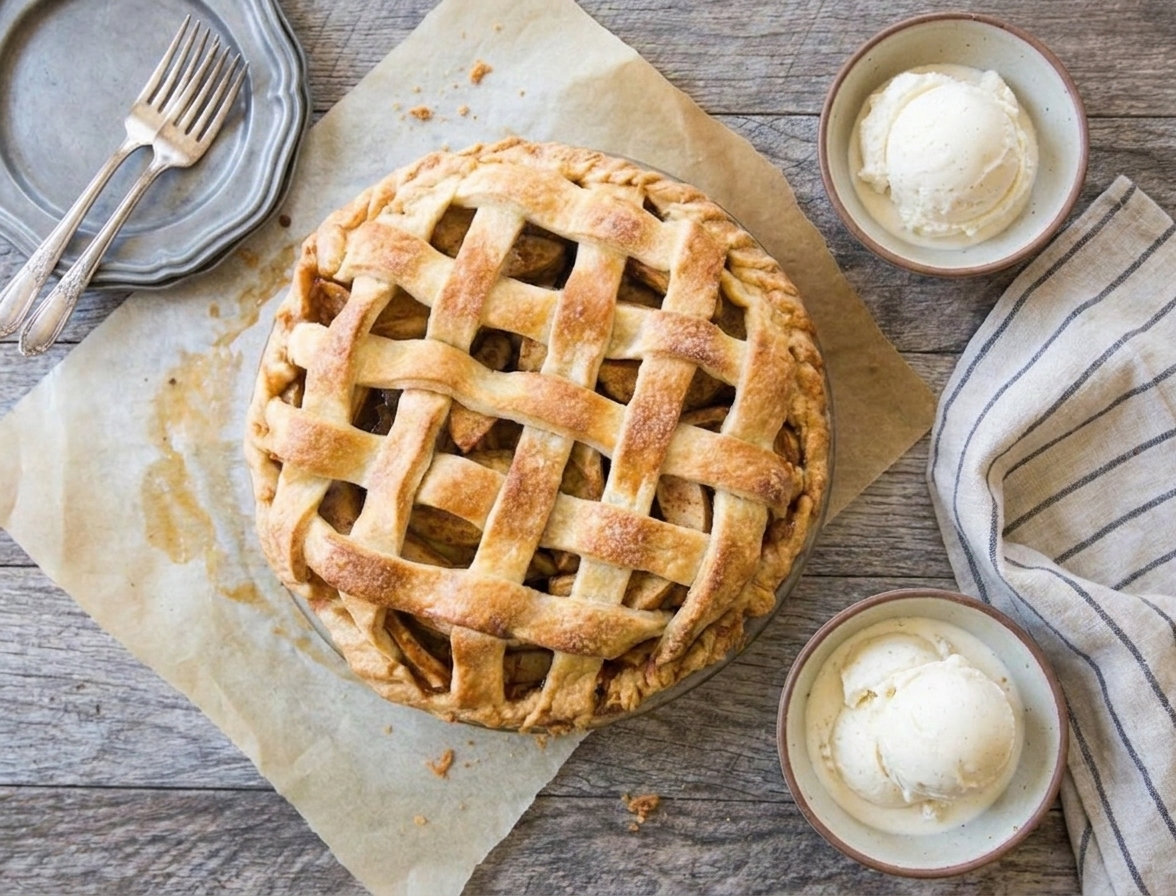
My favorite is classic vanilla ice cream, but here are a few more cozy options:
- Warm pie with sharp cheddar slices (Pacific Northwest potluck energy and I mean that as a compliment)
- Whipped cream with a pinch of cinnamon
- Greek yogurt sweetened with a drizzle of honey for a breakfast-y slice
- Hot coffee or chai on the side
My best pie pep talk
If your lattice is not perfectly even, if a little juice bubbles over, if your crimp looks like it was done by an enthusiastic toddler, your pie is still going to be wonderful. Apple pie is comfort food. It is supposed to feel human.
Make it, cool it (I will remind you one more time), then cut yourself the first slice. You earned it.