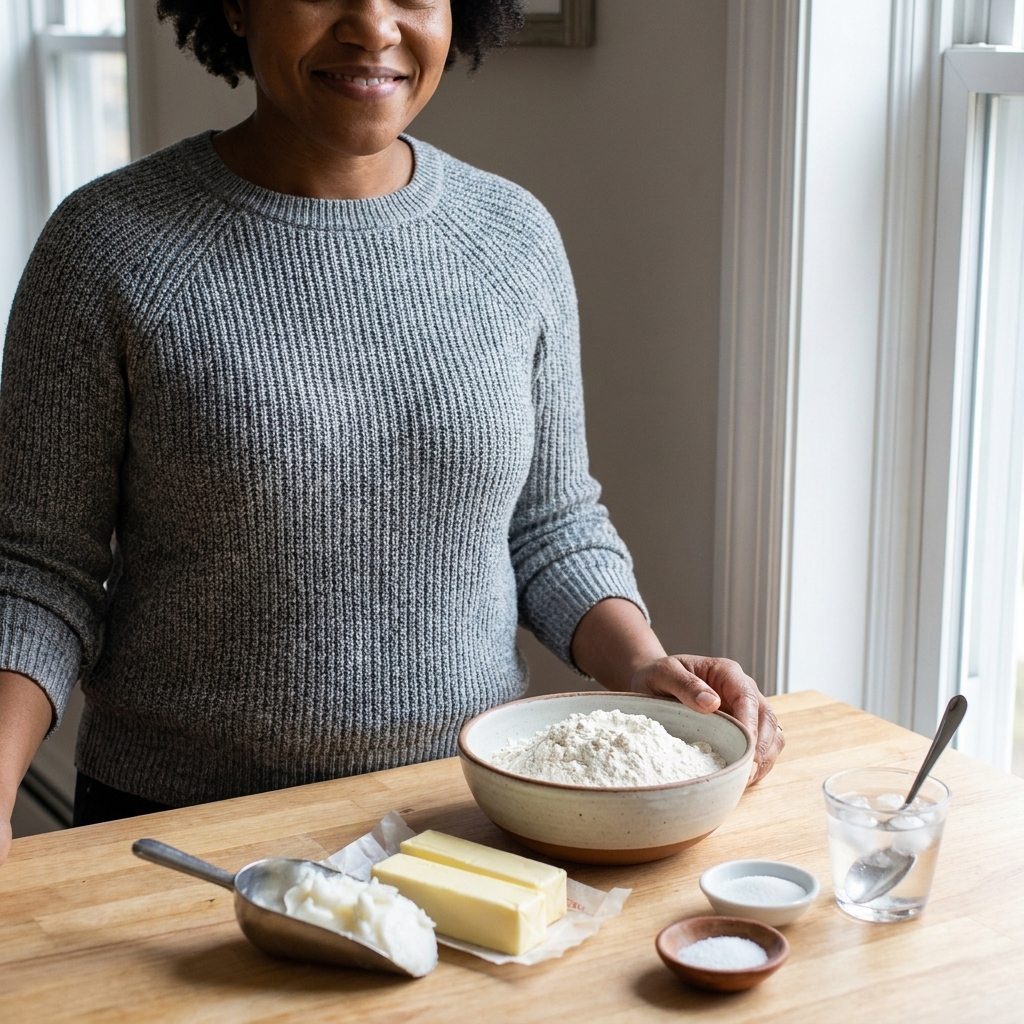
A beginner-friendly, step-by-step guide to making a tender, flaky pie crust with butter and shortening, plus chilling timelines, rolling techniques, blind ba...
Recipeva
Choosing Apples for Apple Pie
The best apples for classic American apple pie, plus smart blends for perfect sweet-tart flavor, tender slices, and tips to avoid a soggy bottom crust.

Maya Reynolds
Maya Reynolds is a passionate home cook, recipe developer, and the creative voice behind Recipeva. With over a decade of experience translating complex culinary techniques into approachable weeknight meals, she focuses on creating dishes that bring joy to the dinner table without the stress.
Created September 21, 2026
Updated September 21, 2026
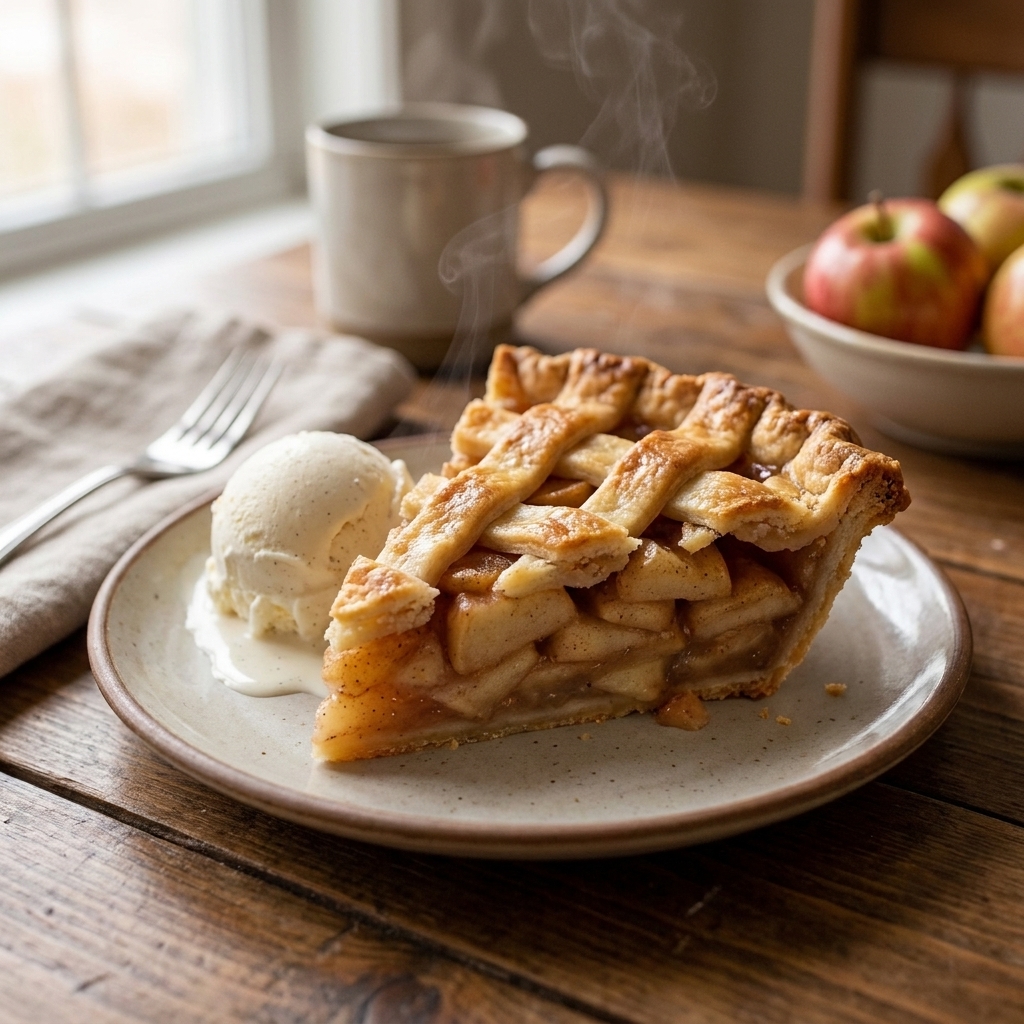
If you have ever pulled a gorgeous apple pie out of the oven only to find mushy filling or a sad, soggy bottom crust, I have very good news: it is often not your fault. Apple variety plays a huge role, and it can make a “perfect recipe” bake two totally different ways.
Different apples behave wildly differently in the oven. Some hold their shape like little champions. Others melt into applesauce before the crust even turns golden. Let’s pick apples that bake like a dream, then talk about blending varieties for that classic American pie flavor and texture.
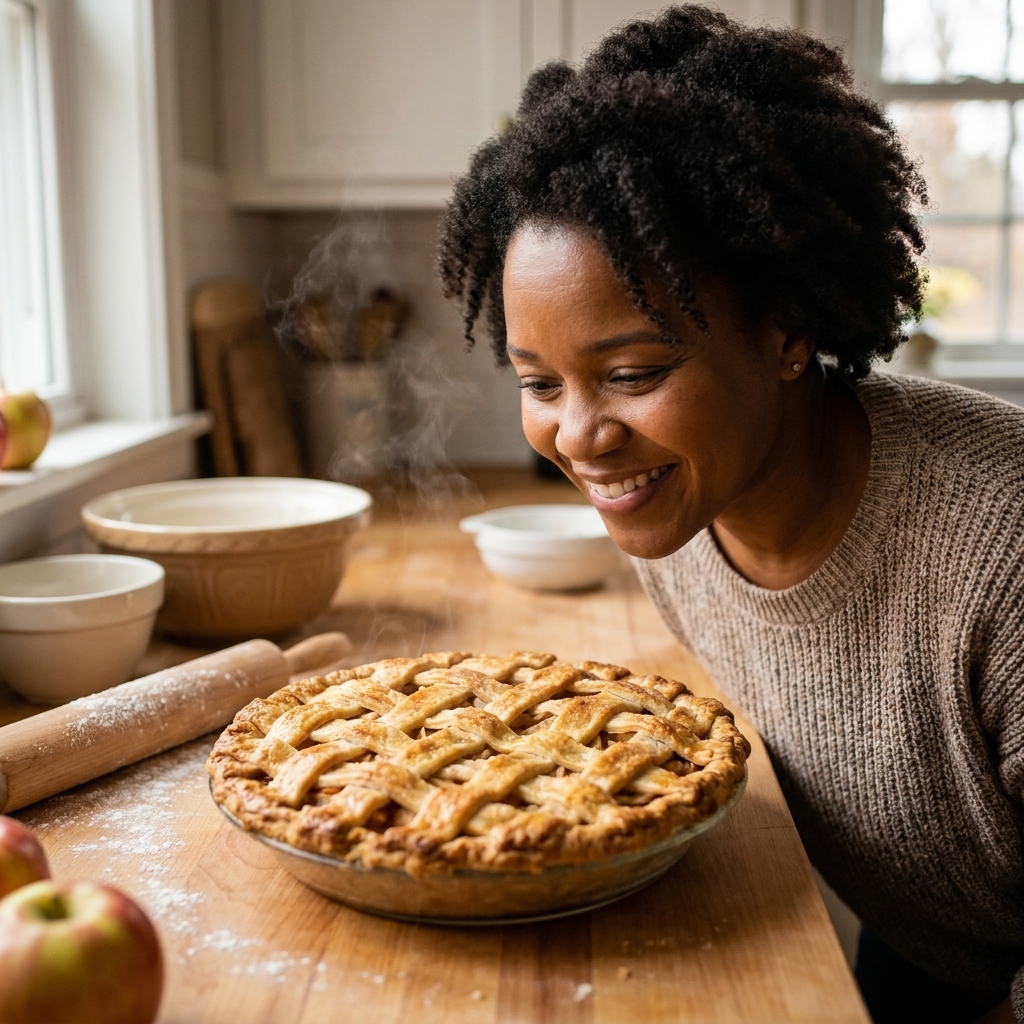
What makes an apple great for pie
When I am choosing pie apples, I’m looking for three things:
- Structure: Apples with firm flesh keep distinct slices after baking instead of turning to puree.
- Balanced flavor: A mix of sweet and tart tastes more “apple-y” than all sweet apples.
- Lower wateriness: Some apples release a ton of juice and can flood your crust. We can manage this, but it helps to start with the right fruit.
One more thing: a great pie apple should taste good raw. If you would not snack on it, it probably will not magically become delicious in a pie.
The best apples for pie
Here are my go-to varieties that bake reliably. Availability can vary by region and season, so treat this as a “best hits” list, not a strict grocery-store guarantee.
Granny Smith
Why it works: Firm, tart, and dependable. Granny Smith holds its shape and brings the brightness that keeps pie from tasting flat.
Best use: Blend it with a sweeter apple so your pie tastes balanced, not sharply sour.
Honeycrisp
Why it works: Juicy with a clean, sweet flavor and a nice bite after baking.
Watch for: Honeycrisp can be extra juicy, so pair it with a firmer, less juicy apple or use a thickener confidently.
Pink Lady (Cripps Pink)
Why it works: Sweet tart, aromatic, and holds together well. One of my favorite “all-around” pie apples.
Braeburn
Why it works: Complex flavor and good structure. This one gives you that classic, old-school pie taste.
Jonagold
Why it works: A beautiful sweet tart balance and tender slices. It can soften more than Granny Smith, so I love it in a blend.
Golden Delicious
Why it works: Mild, honeyed sweetness and a softer bite. It bakes into a silky filling that still has some shape.
Best use: Combine with a firmer apple to keep the filling from going too soft.
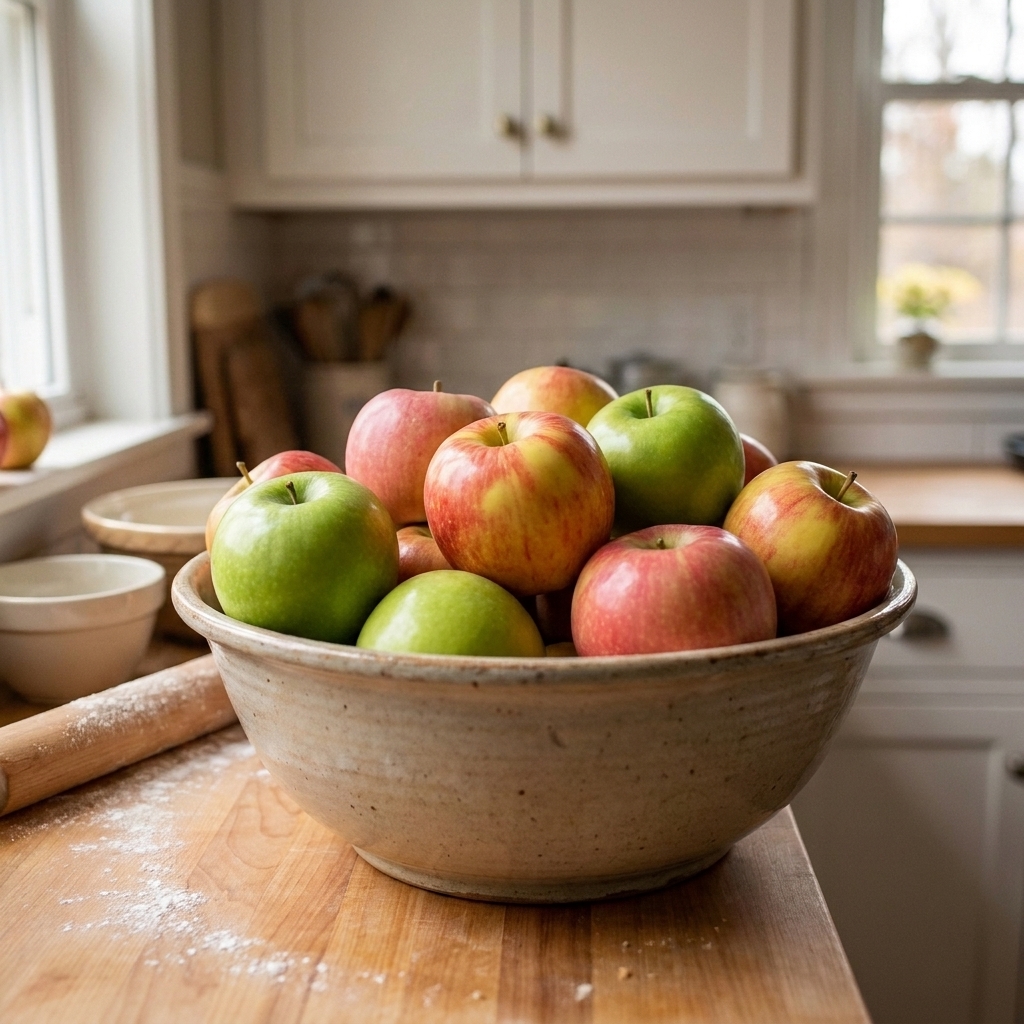
Apples to avoid (or plan for)
These are not “bad” apples. They just tend to disappoint in pie unless you intentionally want a very soft, applesauce-like filling.
- Red Delicious: Often mealy and bland, and it breaks down quickly.
- McIntosh: Wonderful for applesauce, but it collapses into puree in a pie.
- Gala: Sweet and pleasant, but can bake up softer and less flavorful on its own. Better as part of a blend.
- Fuji: Very sweet and can get watery. It is best mixed with a tart, firm apple and a good thickener.
Easy winning blends
If you want a pie that tastes like it came from a diner in the best way, blending is the secret. You get layers of flavor and a filling that is tender but not baby food.
Blend #1: The Classic
- 60% Granny Smith
- 40% Honeycrisp or Pink Lady
Bright, balanced, and holds distinct slices. This is my default when I want zero drama.
Blend #2: Cozy and caramelly
- 50% Golden Delicious
- 50% Pink Lady or Braeburn
Softer, aromatic, and very comforting. Great if you love a filling that leans silky.
Blend #3: Bold apple flavor
- 40% Granny Smith
- 40% Jonagold
- 20% Braeburn
This one tastes extra “apple-forward” and complex, like you used a secret family recipe.
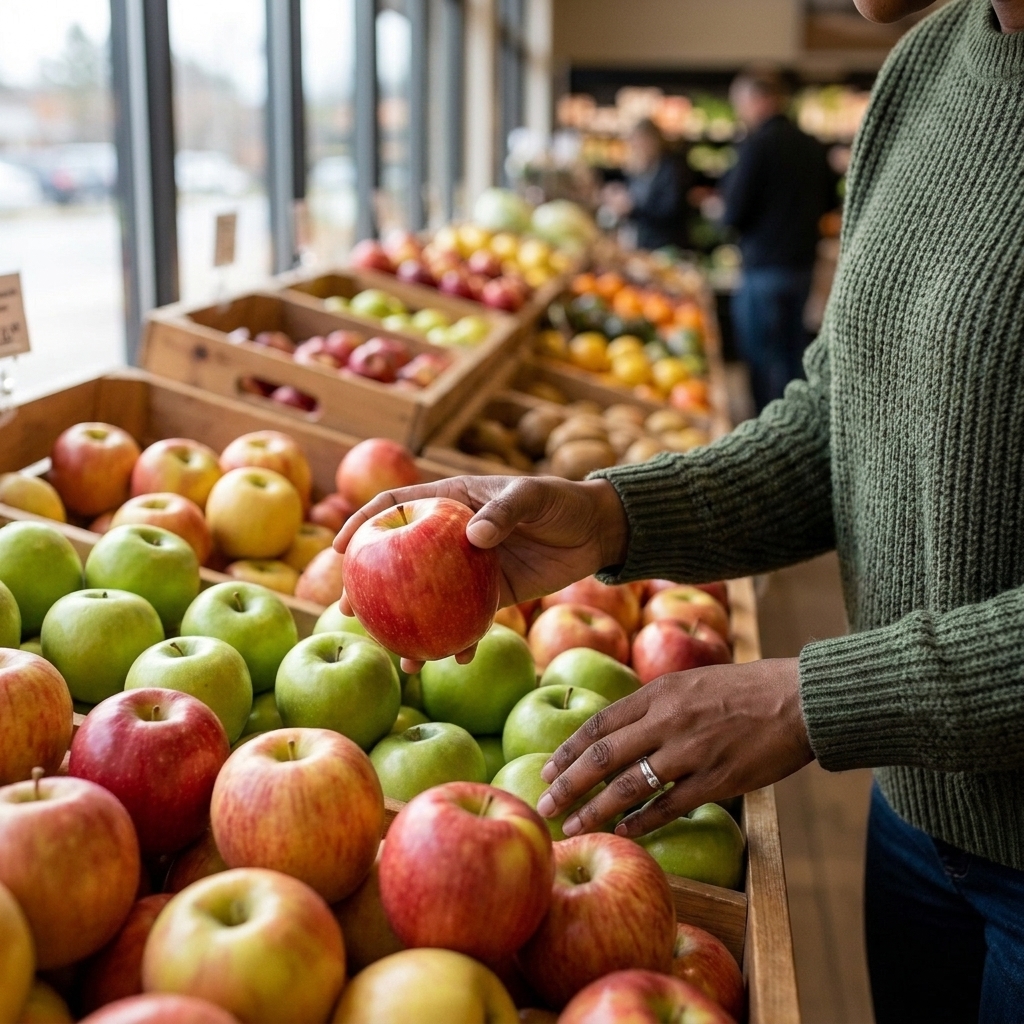
Quick rule if you are standing in the produce aisle: Pick one tart, firm apple (Granny Smith or Pink Lady) and one sweet, flavorful apple (Honeycrisp, Jonagold, Golden Delicious, or Braeburn).
How many apples?
For a standard 9-inch pie, you’ll typically need about 2 1/2 to 3 pounds of apples, which is often 6 to 8 medium apples. The exact number depends on size.
My very organized pie trick: slice your apples into a big bowl, then pack them into your empty pie dish. You want a generously heaped mound because apples shrink as they bake.
How to slice apples
Slice thickness matters more than people think.
- For distinct slices: Cut apples about 1/4 inch thick.
- For a softer, more cohesive filling: Go a touch thinner, around 1/8 to 3/16 inch.
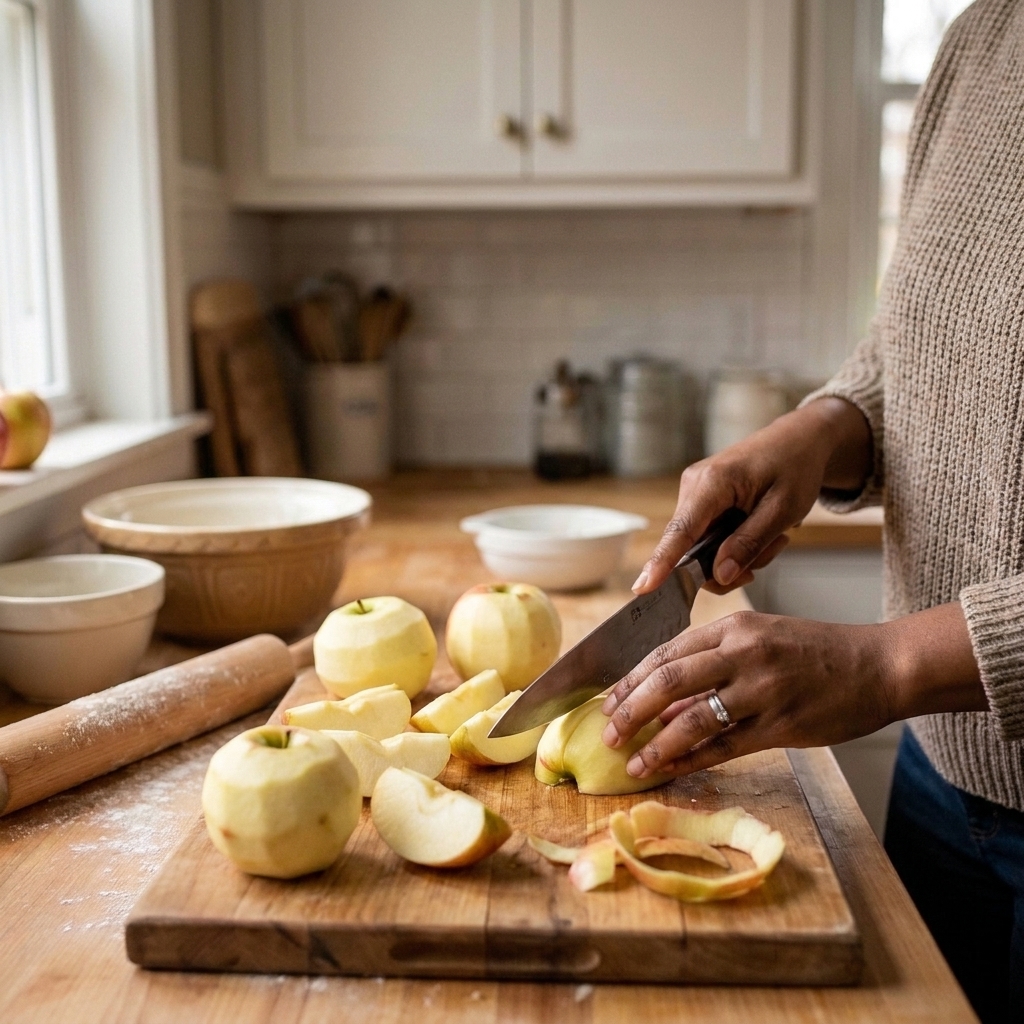
Try to keep your slices consistent so everything bakes evenly. If you have a mandoline and feel comfortable using it, this is a perfect moment. If not, a sharp chef’s knife works beautifully.
Quick browning fix: If you are a slow peeler (hi), toss your sliced apples with lemon juice early, or park them in a bowl of water with a squeeze of lemon while you finish slicing. Drain well before mixing your filling.
Prevent soggy bottom crust
Soggy bottoms are usually caused by excess moisture plus not enough heat hitting the base of the pie. Apple choice matters, but so do bake time, thickener, venting, and cooling. Here is what helps the most, in order of impact.
1) Use the right thickener (and enough)
Apples release juice as they bake. Your job is to capture it into a glossy sauce instead of letting it soak your crust.
- Cornstarch: Creates a clear, glossy filling. Great for beginners.
- Tapioca starch (or quick-cooking tapioca): Excellent for fruit pies and holds up well.
- Flour: Works, but can taste a little starchy if overused and is less powerful than starch.
As a starting point for a 9-inch pie with 2 1/2 to 3 pounds of apples:
- 2 to 3 tablespoons cornstarch is typical for average-juicy apples.
- 3 to 4 tablespoons is helpful for very juicy apples (hello, Honeycrisp-heavy blends), deep-dish pies, or if you like a firmer slice.
No-lump tip: Mix your starch with the sugar and spices first, then toss with the apples. It coats more evenly than sprinkling starch straight into a wet bowl.
2) Macerate, then reduce (the bakery trick)
If you want maximum soggy-bottom insurance, do this:
- Toss sliced apples with sugar, salt, spices, and a squeeze of lemon.
- Let sit 30 to 60 minutes.
- Drain the juices into a small saucepan.
- Simmer until reduced and syrupy, then cool slightly and toss back with the apples plus your starch.
This concentrates apple flavor and removes excess liquid before it ever touches your crust.
Related option: Some bakers briefly pre-cook the apples instead of reducing the juices. It works, but it can soften slices faster. Macerate-and-reduce is my favorite balance of “set filling” and “still has texture.”
3) Par-baking: helpful, with a caveat
For very juicy apples, single-crust pies, or crumble-topped pies, a 10 to 15 minute par-bake of the bottom crust can help. If you are doing a double-crust or lattice pie, par-baking can make sealing and crimping the top crust tricky because the bottom edges have already set. In that case, I usually skip par-baking and lean on the macerate-and-reduce method plus a hot start.
4) Bake hot first, then finish steady
Starting hot helps set the crust structure quickly.
- Try 425°F for 15 to 20 minutes, then reduce to 375°F until the filling is bubbling.
The bubbling matters. For cornstarch and flour, you want to see thick, slow bubbles in the center area, not just around the edges. That is a good sign the filling has truly thickened and is not watery. (Tapioca can thicken a bit more quietly, so pair this cue with a deeply golden crust.)
5) Choose the right pan and rack
- Metal pie pans (especially aluminum) conduct heat well and encourage a crisp bottom.
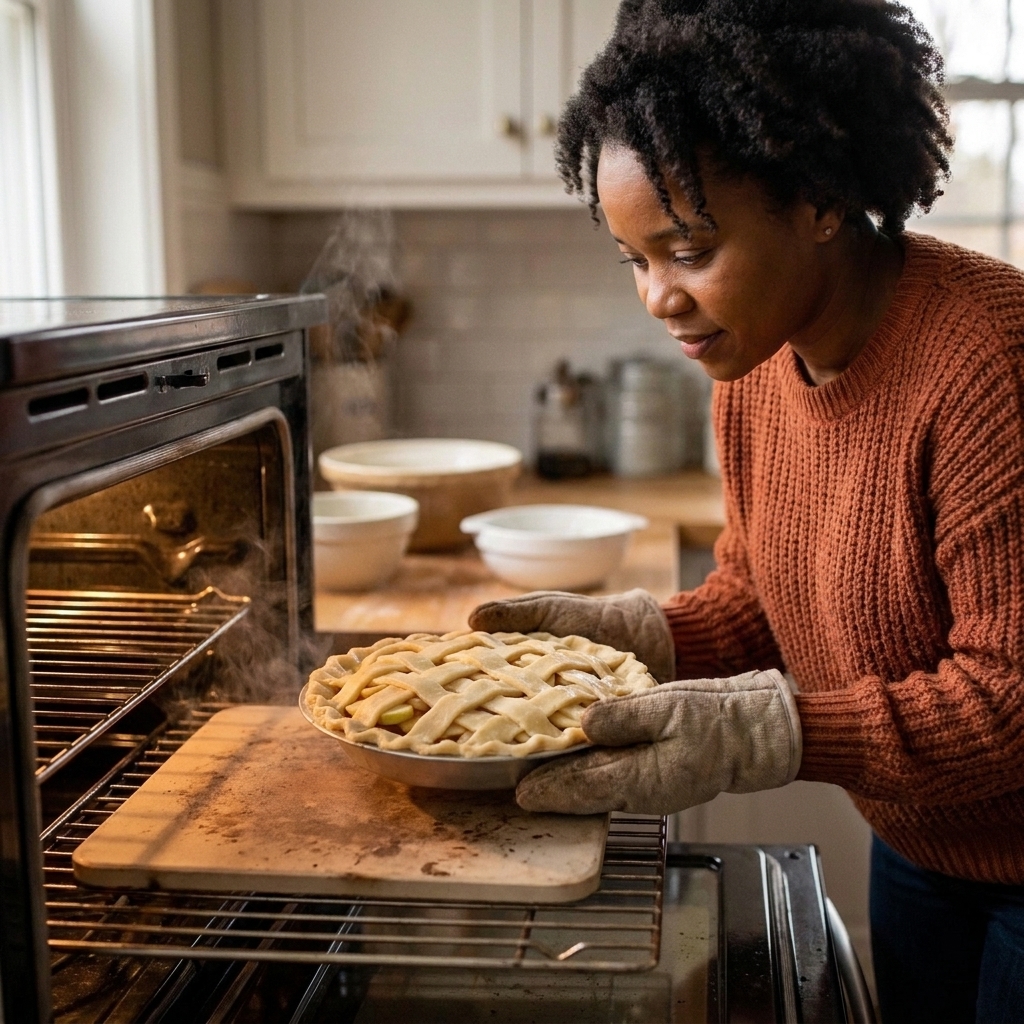
- Place the pie on the lower rack so the bottom crust gets more direct heat.
- If you have a preheated baking steel or stone, set the pie on it. This is like giving your crust a head start.
6) Add a moisture barrier (optional)
If you want an extra layer of protection:
- Brush the unbaked bottom crust with egg white and chill briefly, or
- Dust the bottom with a thin layer of fine breadcrumbs, ground nuts, or crushed graham crackers.
You will not taste it. You will just get a better crust.
Shopping tips
This is the part where my former teacher brain and my “too much garlic” soul unite.
- Buy more than you think you need. Apples vary in size, and it is better to have an extra apple for snacking than come up short.
- Pick firm apples with tight skin. Soft spots usually mean a softer bake.
- Mix colors, not just names. If you cannot find Pink Lady, a firm, blush-colored sweet tart apple variety is often a good substitute. If you cannot find Honeycrisp, look for another crisp, sweet snacking apple and pair it with Granny Smith.
- Do a taste test. Slice off a little piece. If it tastes bland raw, it will taste bland baked unless you heavily spice it.
Quick FAQ
Can I use only Granny Smith?
You can, and it will hold its shape beautifully. Flavor-wise, it can read a bit one-note and extra tart. I prefer mixing it with a sweeter apple for that classic balance.
What apples make a pie too mushy?
McIntosh and Red Delicious are the big culprits. They break down quickly and can turn your filling into applesauce.
Do I have to peel apples?
No, but I usually do for the most classic texture. Peels can get a little chewy after baking, especially with thicker slices. If you leave them on, slice thinner and choose thin-skinned apples.
How do I know when the pie is done?
Look for active bubbling in the center area, not just the edges, plus a deeply golden crust. If the filling is not bubbling (especially with cornstarch or flour), it may not be fully thickened and the juices can continue to soak the crust as it cools.
Why is my pie runny when I cut it?
Most of the time, it is just too hot. Let your pie cool on a rack for at least 2 to 4 hours. The filling sets as it cools, and your slices will hold together so much better.
Final pep talk
If pie feels intimidating, start with the simplest win: use a blend of one tart, firm apple and one sweet, flavorful apple, and bake until you see real bubbling. Those two moves alone solve most apple pie heartbreak.
And if your first pie is not perfect, welcome to the club. Make a scoop of vanilla ice cream your co-pilot and try again. That is how every “effortless” pie baker I know got there.