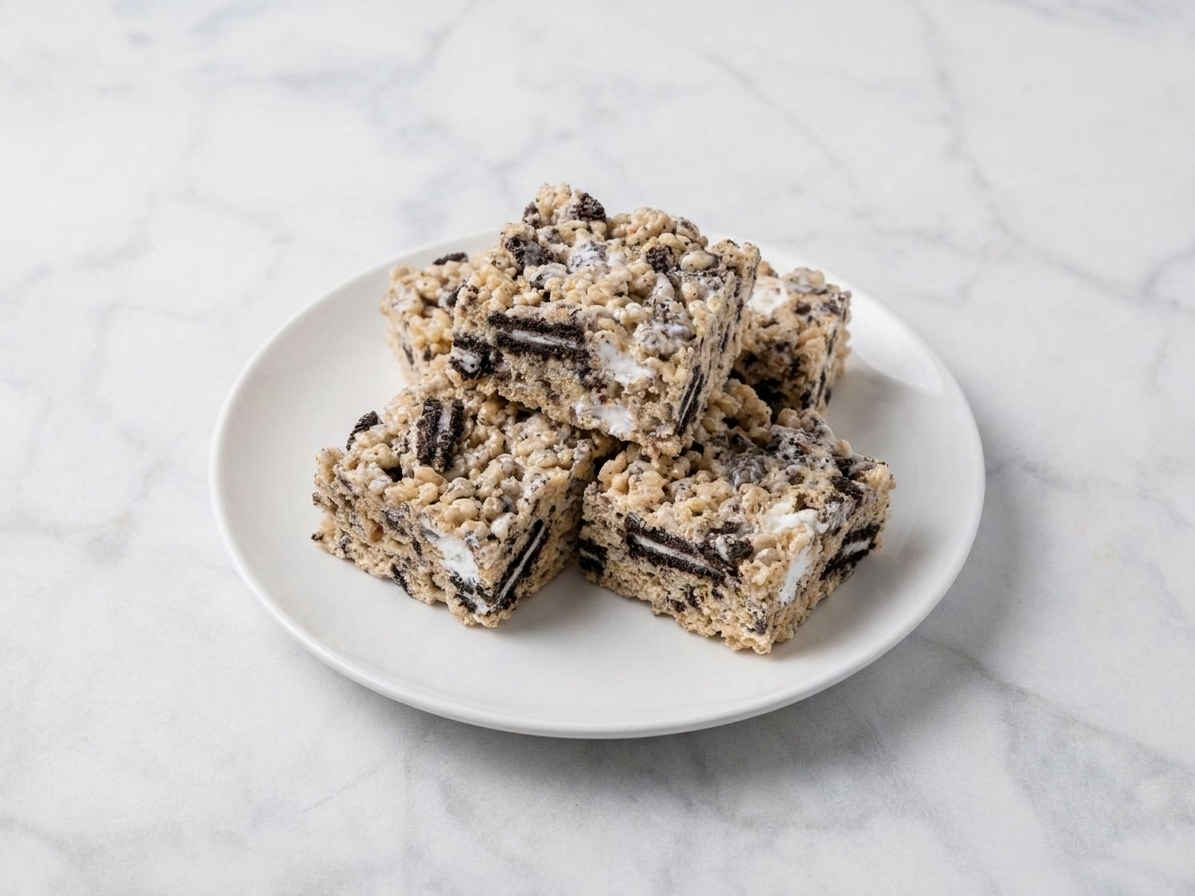

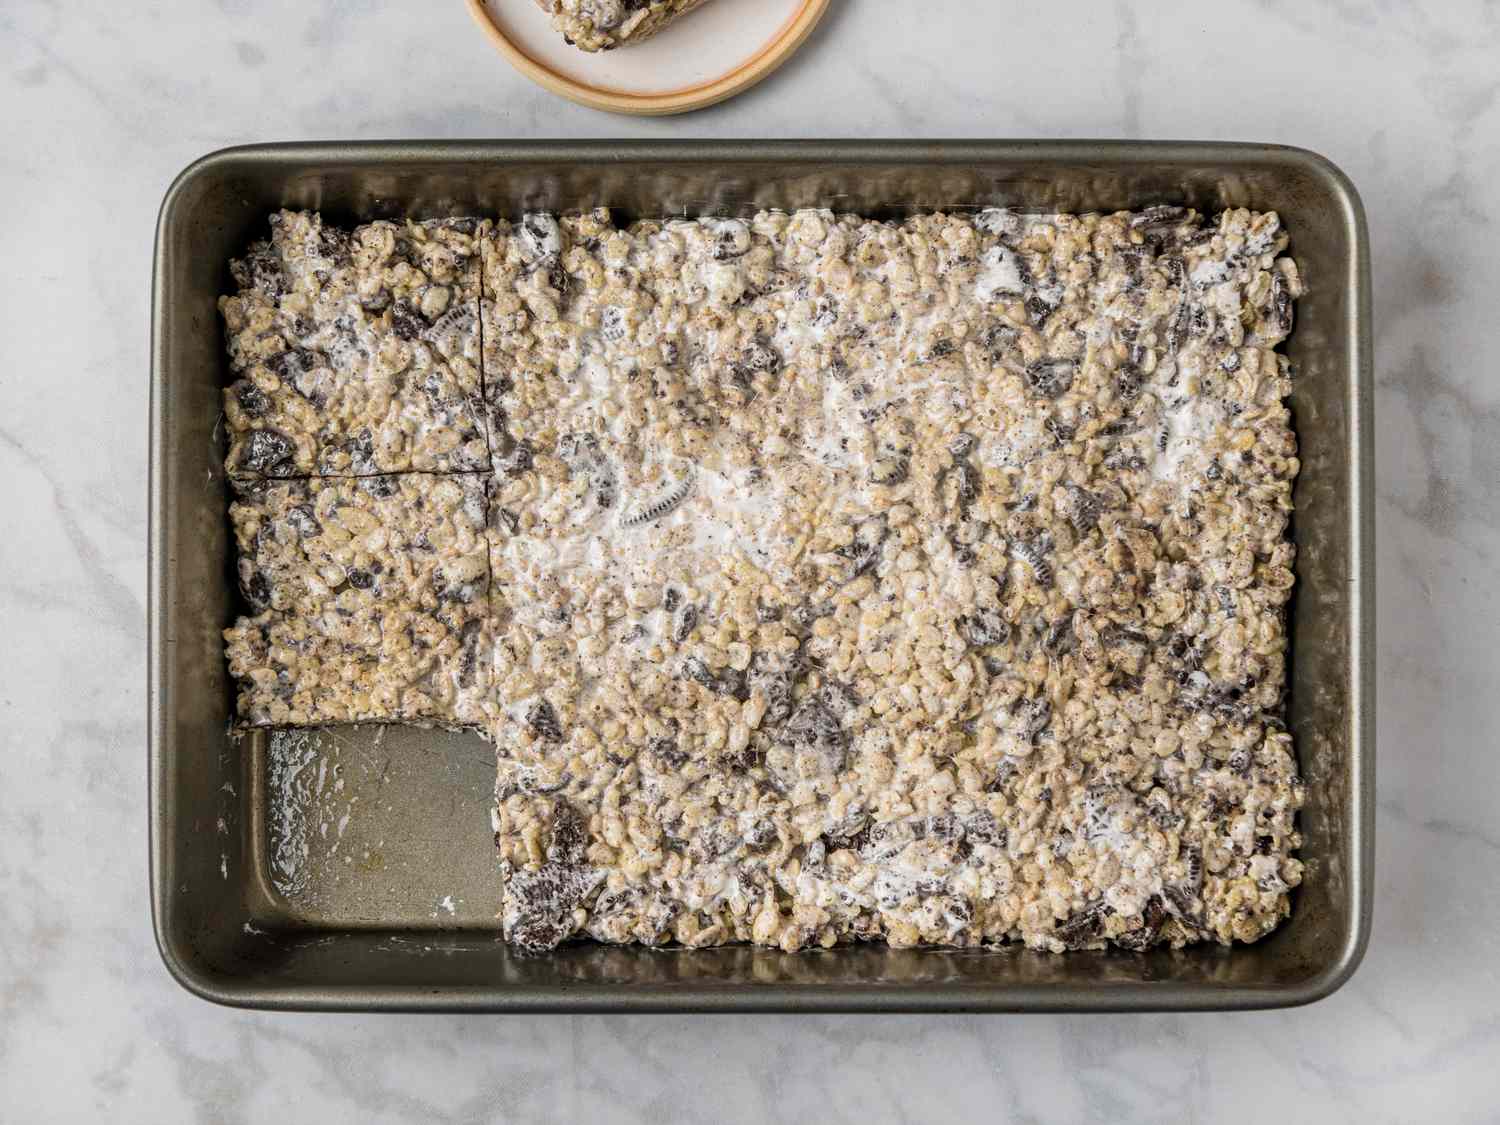
There are few kitchen victories as fast and satisfying as a pan of classic gooey Rice Krispie treats. They are nostalgic, yes, but when they are made right, they are also genuinely delicious: deeply buttery, plush in the middle, crisp at the edges, and just sticky enough to make you reach for a second square.
I have made these for potlucks, bake sales, and those nights when dinner felt like a marathon and dessert needed to be a sprint. The secret is not fancy ingredients. It is gentle heat, a little extra butter, and one very specific rule: do not overpack the pan. Your treats should feel like a soft hug, not a doorstop.

Quick recipe details
- Yield: 1 (9x13-inch) pan, about 20 to 24 squares
- Prep time: 10 minutes
- Cook time: 10 minutes
- Cool time: 30 to 60 minutes
What makes them gooey
Rice Krispie treats can swing from tender and chewy to dry and crumbly, and the difference usually comes down to heat and handling. Here is what I focus on every time:
- Low heat for melting marshmallows: High heat can scorch or overcook the sugars, making the mixture tighten up fast and turn tough.
- More butter than the box suggests: Butter adds tenderness and keeps the texture soft even after the treats cool.
- Fresh marshmallows: Older marshmallows melt poorly and can create a tougher bite.
- Gentle pressing: Lightly press the mixture in. Packing it tight compresses the air pockets that make treats soft.
If you love an extra marshmallow pull, the easiest upgrade is to add mini marshmallows at the very end. Fold the cereal in first, then fold in an extra handful or two of mini marshmallows off the heat right before you press everything into the pan. Some will get a little melty, some will stay intact, and that is exactly how you get gooey pockets.
Ingredients
This is a short list, which means each ingredient matters. Stick to the basics the first time, then play.
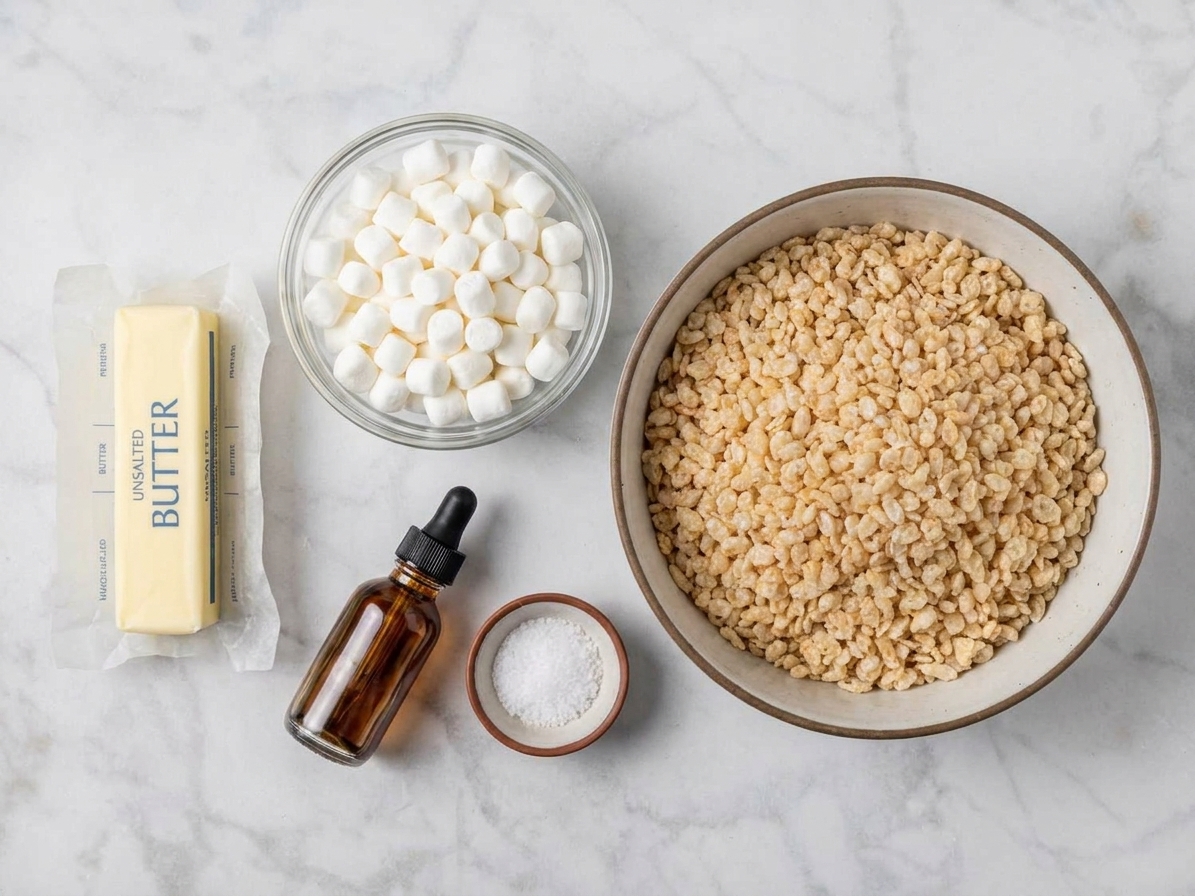
- Butter: 6 tablespoons (85 g) unsalted, plus more for the pan and knife. If you only have salted, reduce the added salt.
- Marshmallows: 16 ounces (about 10 cups) mini marshmallows, divided. You will melt most of them and save some for extra pockets.
- Rice cereal: 6 cups crispy rice cereal (any brand works, not just Rice Krispies).
- Vanilla extract: 1 teaspoon (optional, but it makes them taste more like a real dessert and less like a candy aisle).
- Kosher salt: 1/2 teaspoon (optional, but I strongly recommend it).
Method
You do not need a thermometer or special tools. You just need to move with purpose once the marshmallows are melted.
- Prep the pan first. Grease a 9x13-inch pan with butter or neutral oil, or line it with parchment for easy lifting. This step saves you from wrestling sticky treats later.
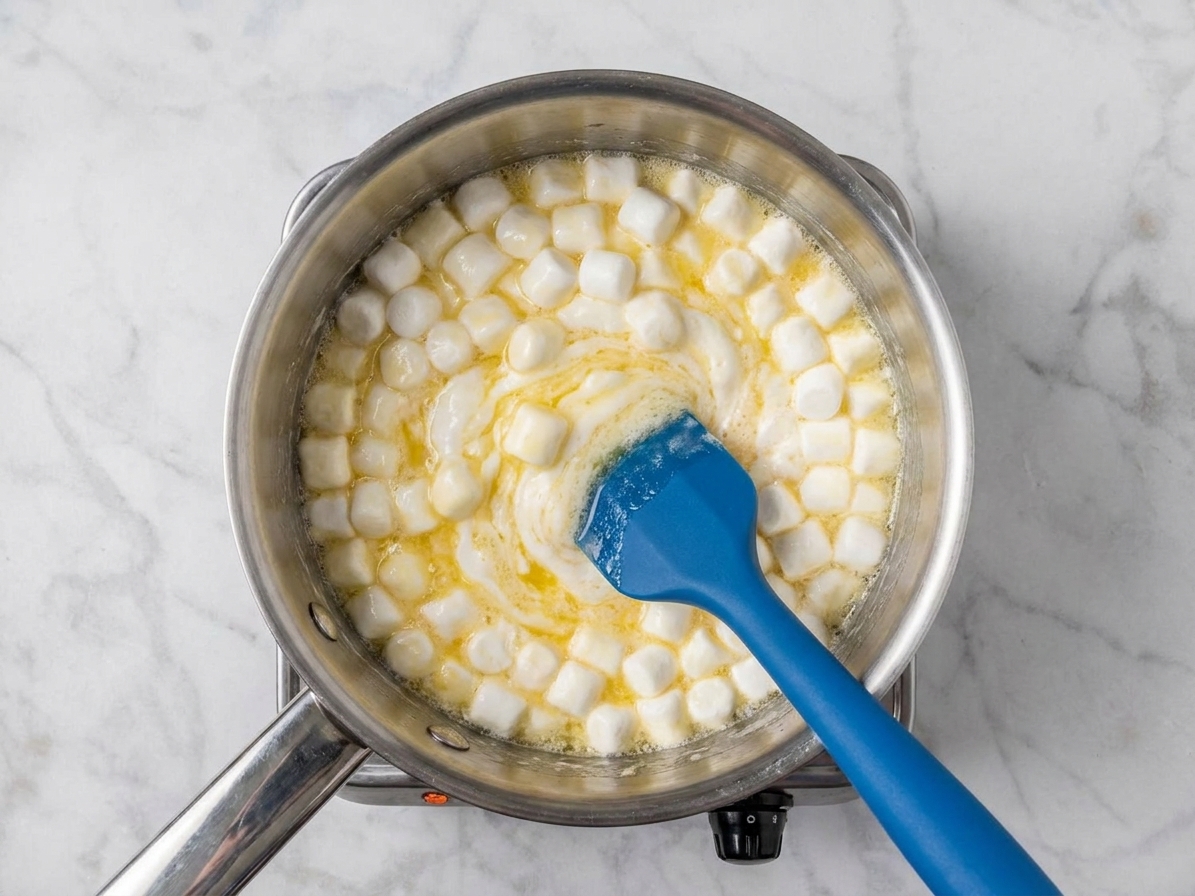
- Melt butter on low. Use a large pot so you have room to stir in the cereal without crushing it.
- Melt the marshmallows gently. Add 8 cups (about 12 to 13 ounces) of the mini marshmallows to the pot. Stir constantly on low until just smooth. Turn off the heat as soon as it melts. Do not let it bubble hard.
- Season and flavor. Stir in the salt and vanilla, if using.
- Fold in the cereal. Add the cereal all at once, then fold quickly but gently until coated.
- Add gooey pockets. Let the mixture sit off the heat for about 30 seconds, then fold in the remaining 2 cups mini marshmallows. This keeps more of them from disappearing into the melt.
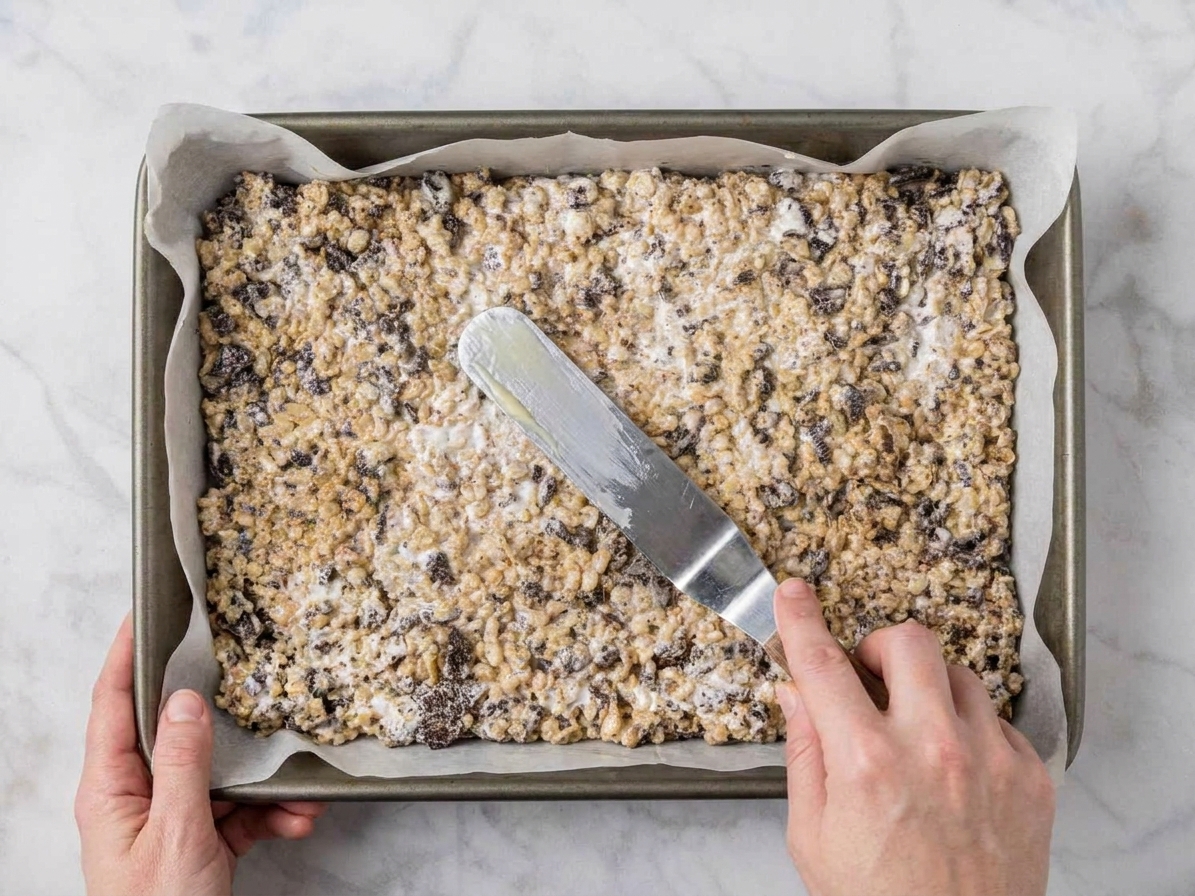
- Press into the pan lightly. Use a buttered spatula or buttered fingertips. Press just enough to level the top, not enough to compact.
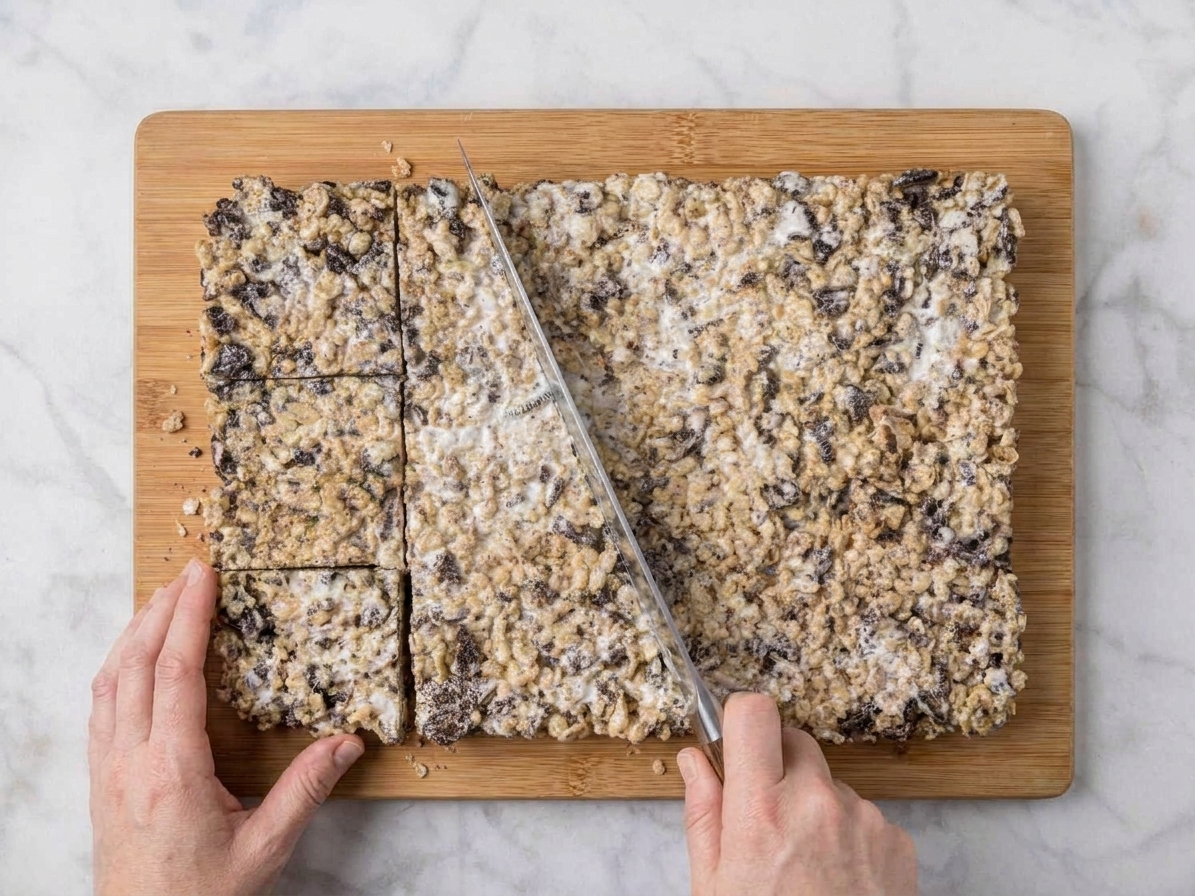
- Cool, then slice. Let set at room temperature for 30 to 60 minutes, then slice. For the cleanest cuts, lift the slab out with parchment and cut on a board.
Pan size
For classic thickness, a 9x13-inch pan is the sweet spot. If you prefer extra thick bakery-style squares, use a 9x9-inch pan. Keep the ingredient amounts the same and expect taller treats with a softer middle. If you go thicker, be extra careful not to overpress, because compacting is more noticeable in a deep pan.
Clean slices
If your knife drags and tears, you are not alone. Here are my most reliable tricks:
- Let them cool: Warm treats are delicious, but they slice poorly.
- Butter the blade: A thin coating of butter or neutral oil prevents sticking.
- Use a gentle sawing motion: Pressing straight down can compress the treats.
- Lift, then slice: If you lined the pan with parchment, lift the slab out and slice on a cutting board.
Variations
I love a plain square, but a small twist can make these feel brand new without losing that classic flavor.
- Brown butter: Brown the butter first, then add marshmallows. Nutty, toasty, and totally worth the extra few minutes.
- Peanut butter: Stir in 1/4 cup creamy peanut butter with the melted marshmallows.
- Chocolate drizzle: Drizzle 1/2 cup melted chocolate over the cooled slab and let it set before slicing.
- More marshmallow pockets: Fold in up to 3 cups mini marshmallows at the end if you want it extra gooey.
Storage
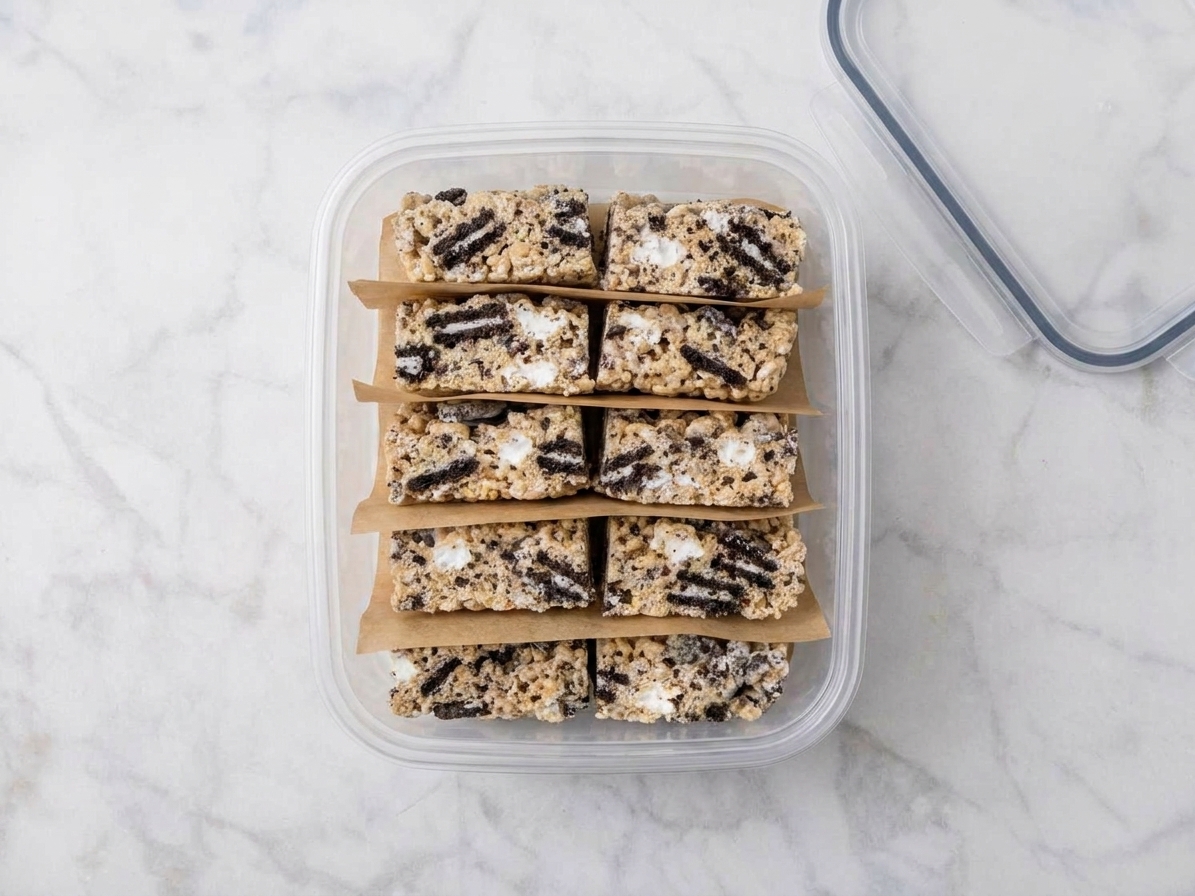
Rice Krispie treats are at their best within the first 24 hours, but you can absolutely make them ahead. Store them in an airtight container at room temperature with parchment between layers to prevent sticking.
- Room temperature: 2 to 3 days, still enjoyable and chewy.
- Re-softening tip: If they firm up, microwave a square for 5 to 8 seconds.
- Freezing: Wrap individual squares tightly, then freeze in a zip-top bag for 4 to 6 weeks for best quality. Thaw at room temperature, still wrapped, so condensation stays on the wrapper instead of the treat.
FAQ
Why are my Rice Krispie treats hard?
Hard treats usually come from overheating the marshmallows or pressing the mixture firmly into the pan. Keep the heat low, remove the pot from the burner as soon as the marshmallows are smooth, and press very gently.
What if the mixture gets too stiff to fold?
Take the pot off the heat and keep folding as best you can, working quickly. If it is truly fighting you, warm it over the lowest heat for 10 to 20 seconds and add 1 tablespoon of butter, then fold again. Next time, melt the marshmallows more gently and stop the moment they are smooth.
Can I use marshmallow creme instead of marshmallows?
You can, but it tends to make a softer, slightly stickier treat and the sweetness reads a bit stronger. Keep the heat low and stir constantly to avoid scorching. I still recommend adding a pinch of salt.
How do I keep them from sticking to my hands?
Butter is your best friend here. Butter your fingertips or use a buttered spatula to press the mixture into the pan. A light coating works better than trying to fight it dry.
Should I refrigerate Rice Krispie treats?
I do not recommend it. The fridge makes them firmer and less gooey. Room temperature in an airtight container keeps the best texture.
Can I make these gluten-free?
Yes, with one important check: confirm your crispy rice cereal is labeled gluten-free. Many classic crispy rice cereals contain malt flavoring (from barley) or have cross-contamination risk.
What is the easiest way to lift the whole batch out of the pan?
Line the pan with parchment, leaving overhang on two sides. Once set, lift the slab out and slice on a cutting board.
A little pep talk
If you have ever had a batch go stiff or crumbly, please know it is not you. This recipe is all about restraint: low heat, quick folding, and a gentle hand in the pan. Do that, and you will end up with that dreamy, gooey, classic square that disappears the moment it hits the table.