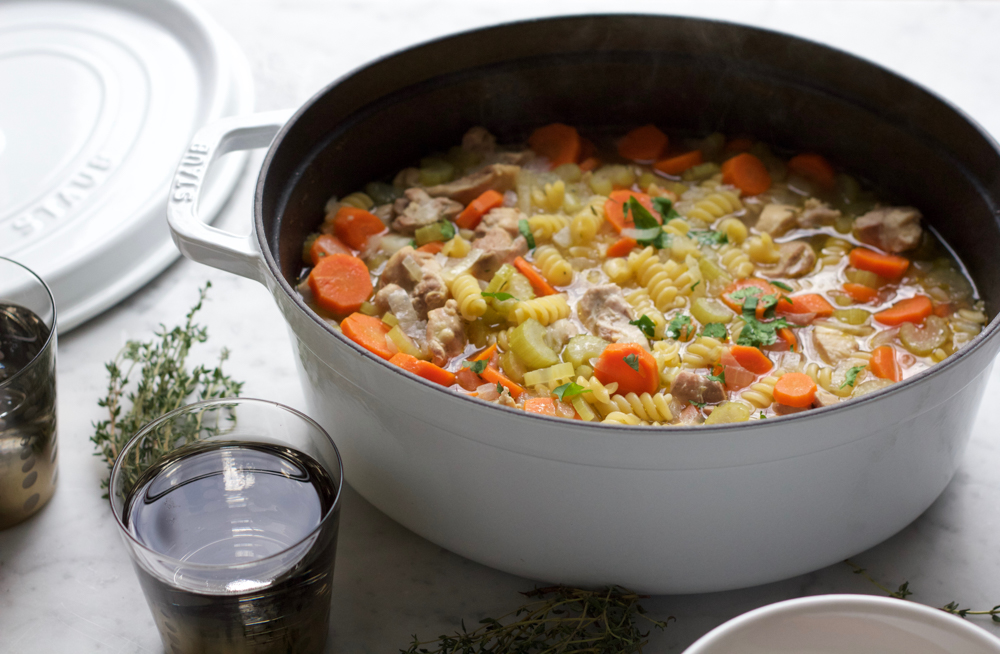
Warm up with ten comforting chicken noodle soup variations, including spicy ginger, lemony herb, creamy versions, and pantry-friendly upgrades anyone can pul...
Recipeva
Chicken Bone Broth
Learn how to make rich chicken bone broth at home with simple ingredients. Stovetop, slow cooker, and Instant Pot methods, plus safe cooling, storage, and troubleshooting tips.

Maya Reynolds
Maya Reynolds is a passionate home cook, recipe developer, and the creative voice behind Recipeva. With over a decade of experience translating complex culinary techniques into approachable weeknight meals, she focuses on creating dishes that bring joy to the dinner table without the stress.
Created September 24, 2026
Updated September 24, 2026
Chicken bone broth is one of those quiet kitchen habits that makes everything else you cook taste better. It is cozy and savory on its own in a mug, and it is the secret backbone of weeknight soups , rice, beans, gravies, and pan sauces. The best part is that you do not need fancy equipment. The core is simply bones, water, and a little patience. Everything else is flexible.
My goal here is to help you make bone broth that turns lightly jiggly in the fridge (hello, natural gelatin), tastes clean and chicken-y (not bitter), and fits into real life. We will cover the best bones to use, three reliable cooking methods, and all the little troubleshooting notes I wish someone had handed me years ago.
Yield note: This usually makes about 2 to 3 quarts, depending on your pot size and how long you simmer.
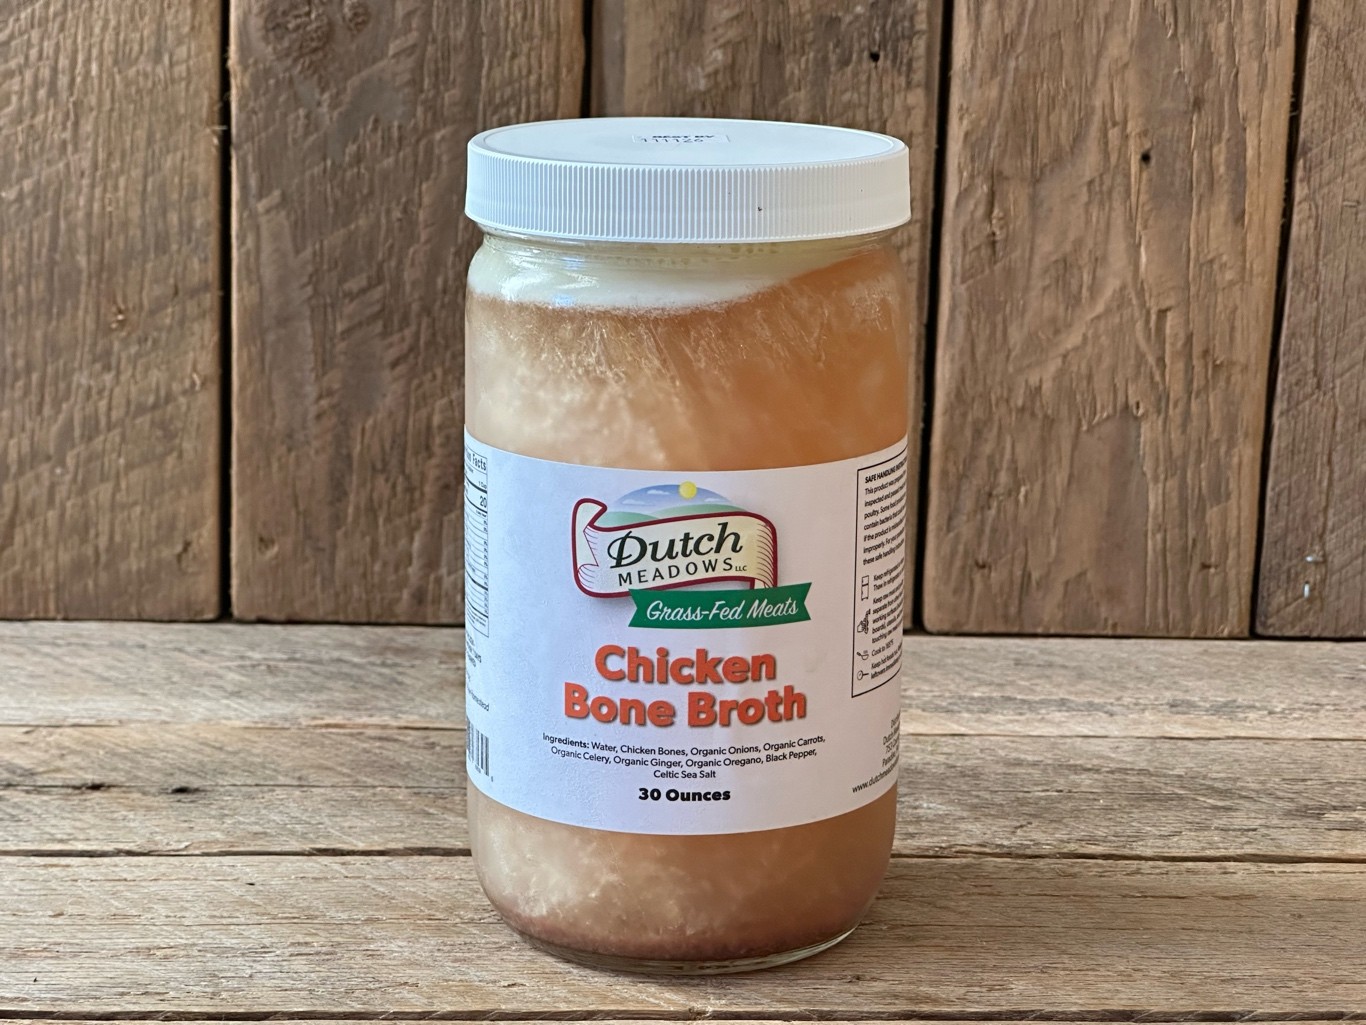
Bone broth vs. stock vs. broth
These words get used interchangeably, so here is the practical kitchen version:
- Broth is usually made with more meat than bones and cooks for a shorter time. It tastes light and sippable.
- Stock leans on bones (often roasted) and simmers longer to pull out collagen. It is richer and better for cooking.
- Bone broth is essentially a long-simmered stock. Many cooks add a splash of vinegar, which may help with extraction and also seems to support a fuller-bodied broth.
I care less about labels and more about results. If your finished liquid is deeply savory and sets up a bit when chilled, you nailed it.
Best bones
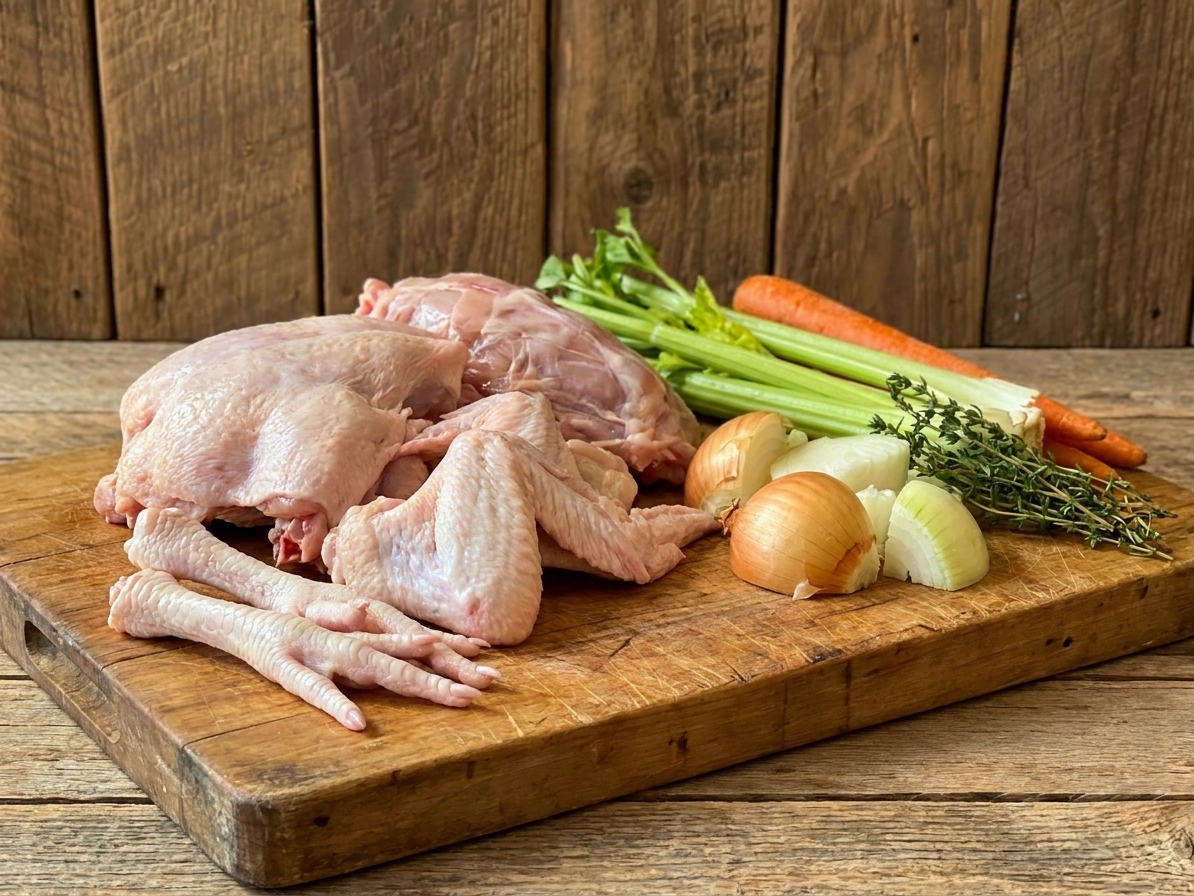
You can make great broth from almost any chicken bones, but some give you that luxurious, silky texture more reliably.
My favorite mix
- Carcasses from roast chicken (rotisserie works beautifully)
- Wings (lots of connective tissue)
- Feet if you can find them (ultimate gelatin booster)
- Necks and backs (high collagen, budget-friendly)
Rotisserie tip: Pull off most of the good meat first and save it for tacos, salads, and soup later. The little scraps left on the carcass are fine, but meat simmered for hours can end up tasting dry and stringy.
If you only have a leftover carcass and nothing else, still go for it. Just expect a slightly lighter body unless you add a few wings.
Ingredients
This is my baseline formula. You can scale it up or down as long as the bones stay mostly covered by water.
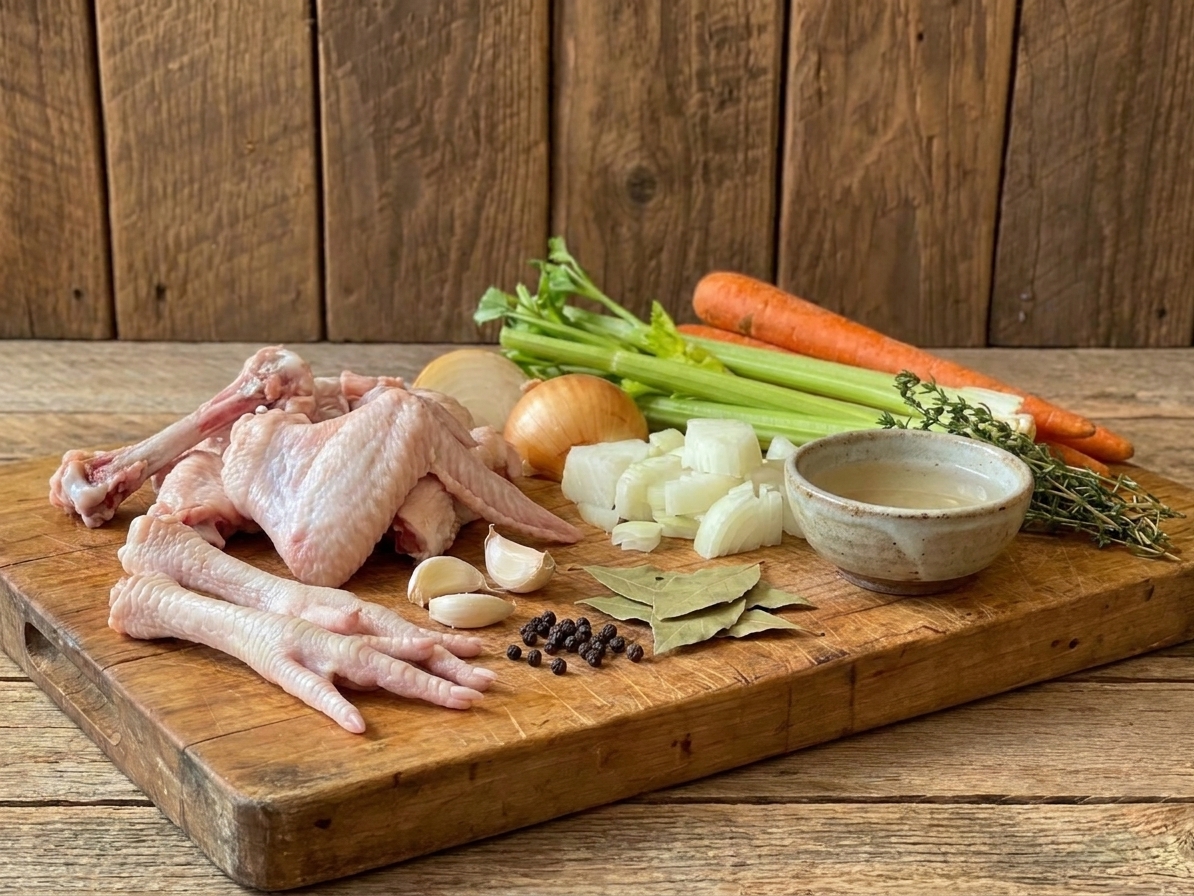
- Chicken bones: about 2 to 3 pounds (carcasses, wings, backs, feet)
- Cold water: enough to cover by 1 inch
- Apple cider vinegar or white vinegar: 1 to 2 tablespoons (optional, but I like it)
- Aromatics (optional but recommended): 1 onion (halved), 1 to 2 carrots, 1 to 2 celery stalks
- Garlic: 4 to 8 cloves, smashed (use less if you want a very neutral broth, since garlic gets stronger with long cooks)
- Bay leaf: 1 to 2
- Peppercorns: 1 teaspoon
- Salt: I usually salt lightly at the end, or not at all if I am using it for cooking later
Tip: Save onion ends, carrot peels, and celery leaves in a freezer bag labeled “broth veggies.” When it is full, you are halfway to broth night.
Bitterness heads-up: For long simmers, go easy on onion skins, lots of celery leaves, and big handfuls of herbs like parsley stems. They can tip bitter if they hang out too long.
Stovetop method
This is the classic method and my favorite for a very clean flavor.
Step-by-step
- Load the pot. Add bones to a large stockpot. Add aromatics, garlic, bay leaves, and peppercorns.
- Add water and vinegar. Pour in cold water until bones are covered by about 1 inch. Stir in vinegar. Let it sit 20 to 30 minutes if you have time (optional, but helpful).
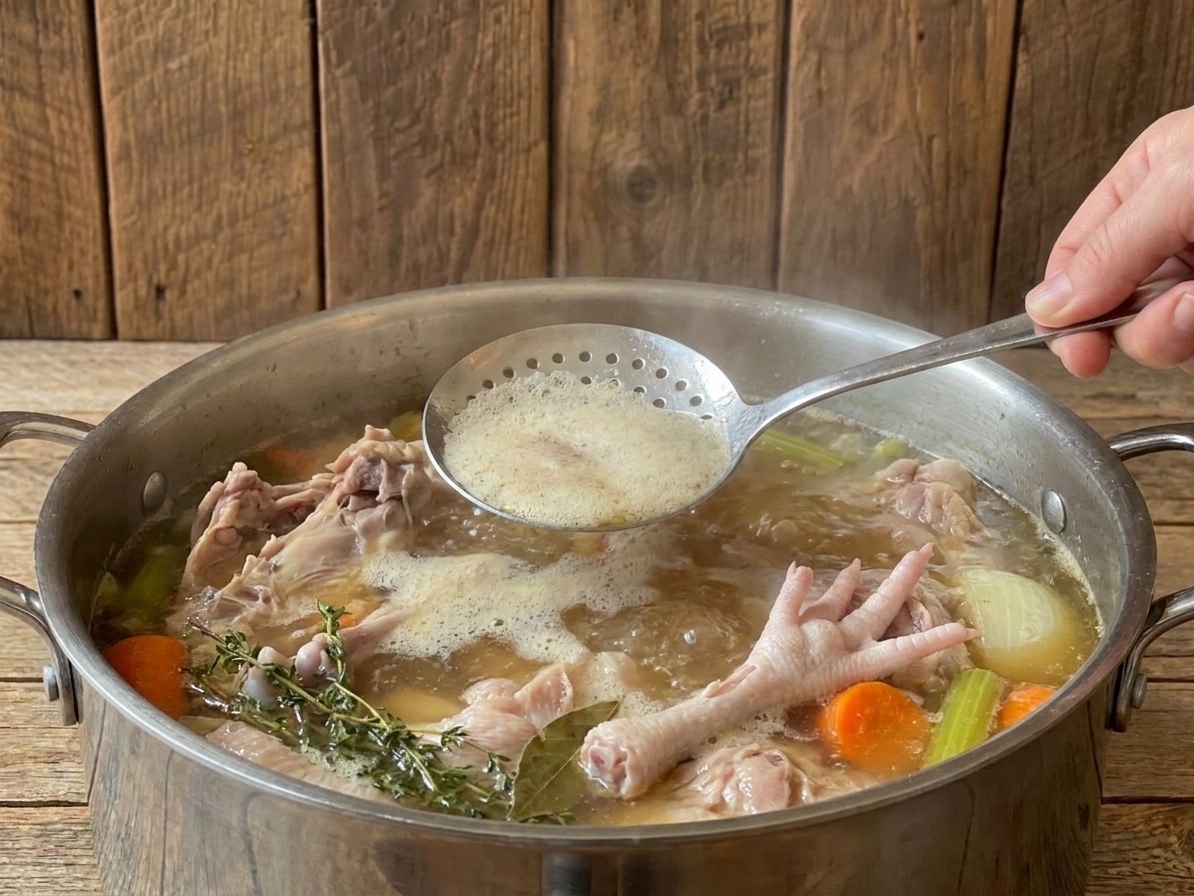
- Bring to a gentle simmer. Slowly bring to a bare simmer over medium heat. As it heats, skim off gray foam with a spoon for a clearer broth.
- Simmer low and slow. Reduce heat to the lowest simmer. Partially cover and cook 6 to 12 hours. Check occasionally to be sure bones stay mostly submerged.
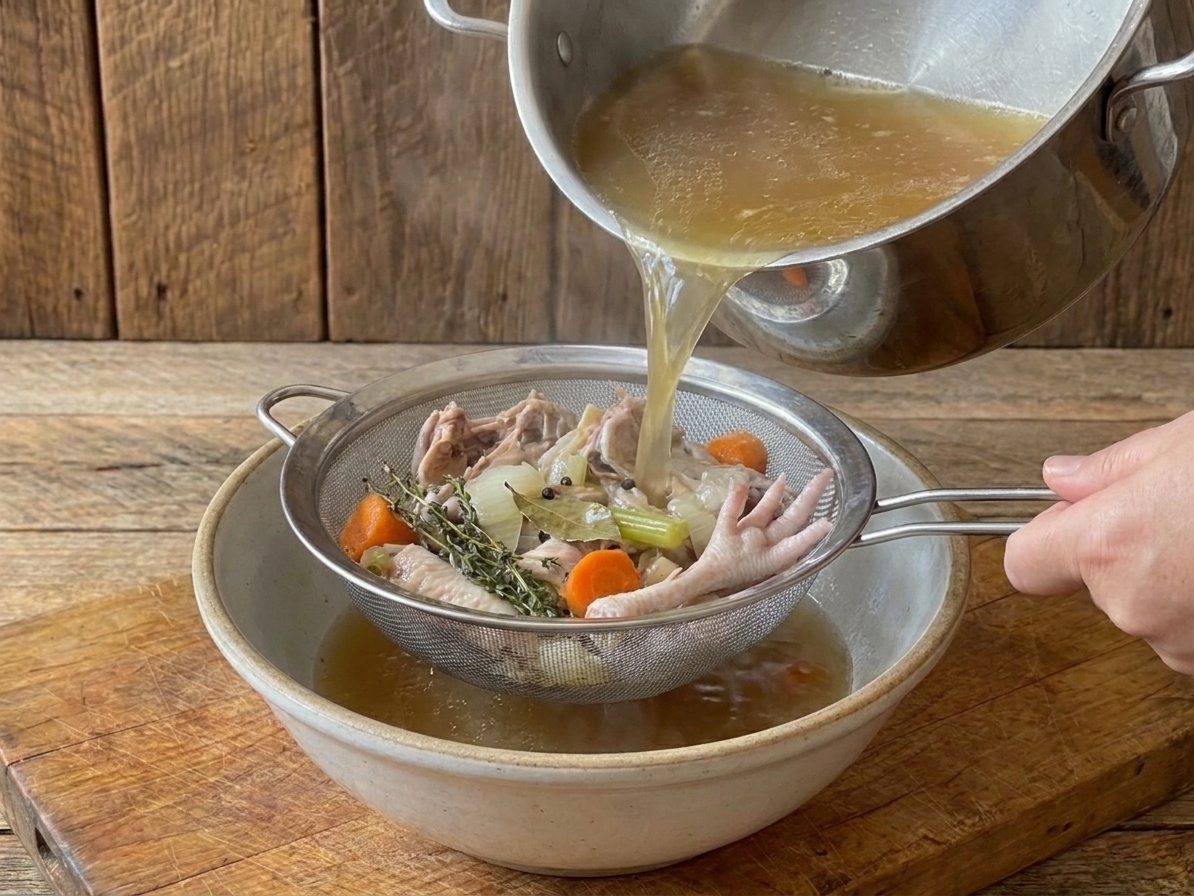
- Strain. Use tongs to pull big bones out, then strain through a fine-mesh sieve into a large bowl or pot. If you want it extra clean, strain a second time through cheesecloth to catch tiny fragments.
- Cool quickly. Cool the broth fast for food safety (details below), then refrigerate.
- Degrease if desired. Once chilled, lift off the fat cap. (More on this below.)
My simmer rule: You want tiny bubbles and the occasional lazy blip. If it is rolling, it can get cloudy and taste a little “boiled.”
Slow cooker method
If you love waking up to a kitchen that smells like Sunday dinner, this method is for you.
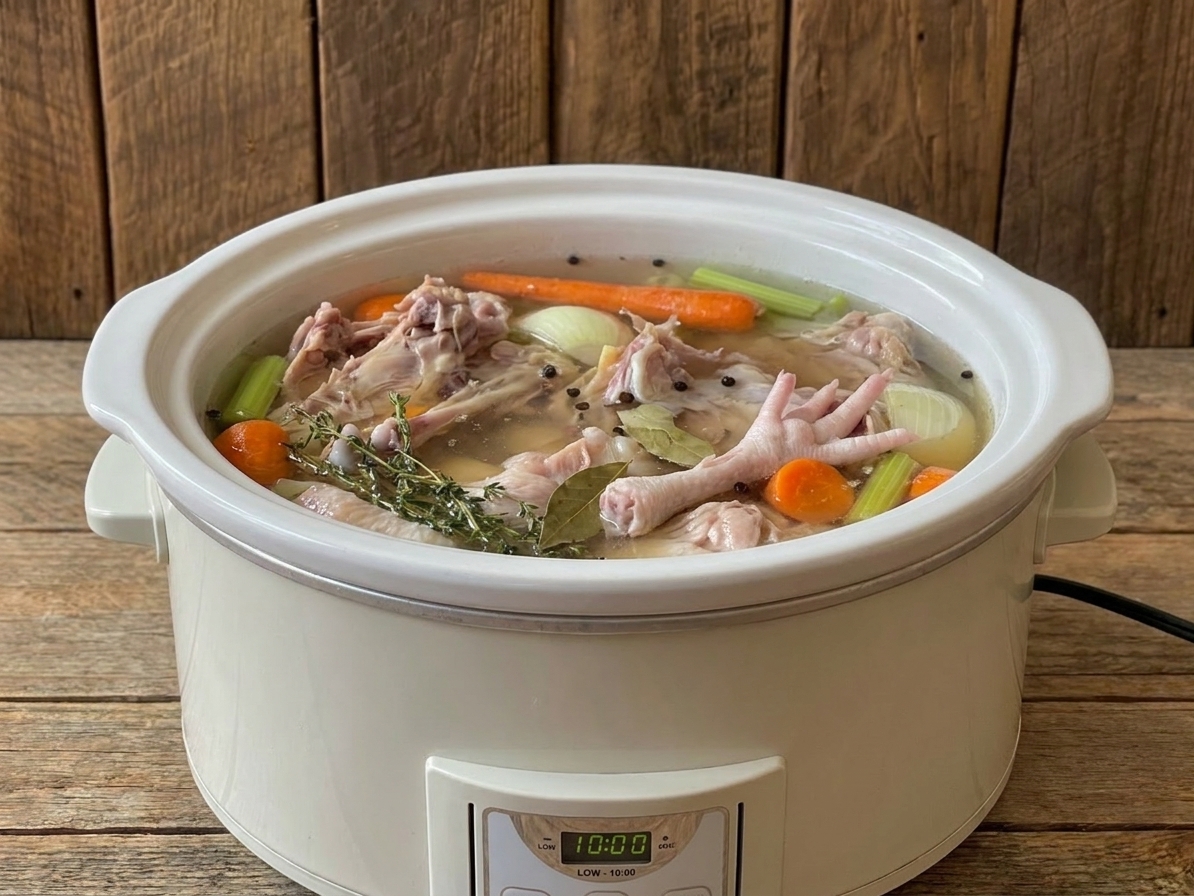
- Add bones and aromatics to the slow cooker.
- Cover with cold water and add vinegar.
- Cook on LOW for 10 to 16 hours.
- Strain and cool quickly.
Tip: Slow cookers vary. If yours runs hot, start checking flavor around 10 to 12 hours to avoid an overcooked veggie bitterness. You can also add the vegetables for only the first 3 to 4 hours, then fish them out with tongs.
Instant Pot method
Pressure cooking is fantastic when you want deep flavor without babysitting a pot all day.
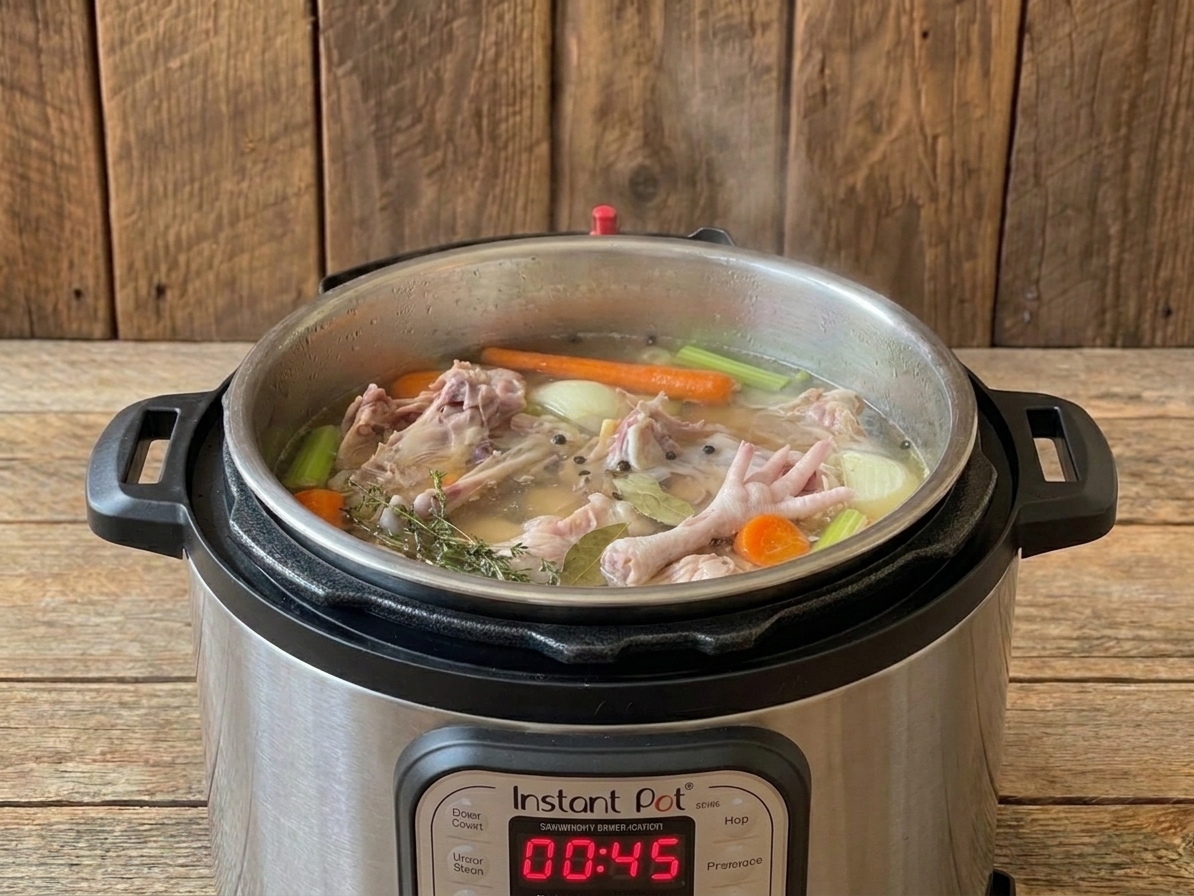
- Add bones to the Instant Pot. (I keep aromatics modest here to avoid bitterness.)
- Add water to the max fill line, plus vinegar.
- Cook on High Pressure for 90 minutes for a classic, rich result, or go up to 120 minutes if you are chasing extra body from collagen-rich parts (feet, wings, necks).
- Let pressure release naturally for at least 30 minutes, then carefully vent the rest.
- Strain and cool quickly.
Little safety note: Hot broth plus quick venting can be a messy situation. Natural release keeps things calm and helps fat stay put.
Roast or not?
Roasting is optional, but it changes the vibe in a good way.
- Unroasted bones give a lighter color and clean, classic chicken flavor. Great for sipping or delicate soups.
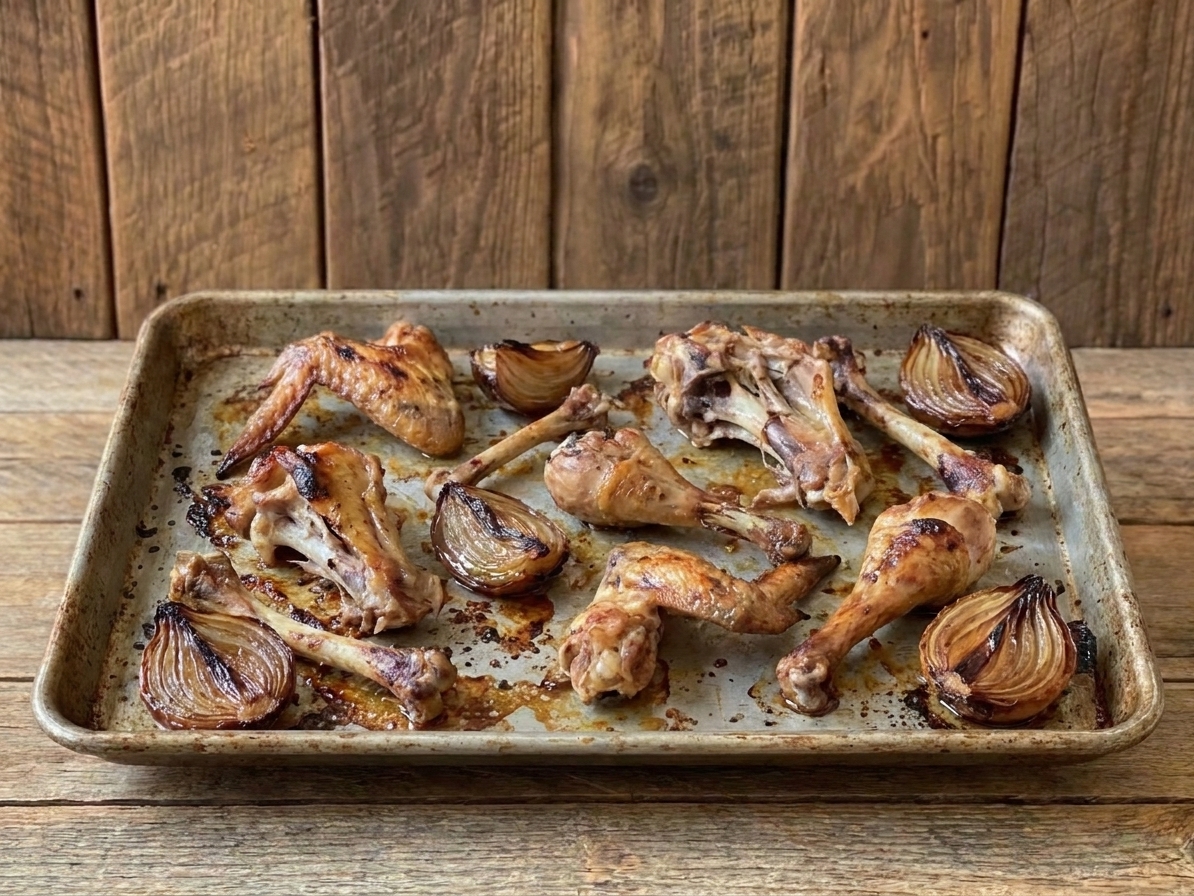
- Roasted bones add deeper, toastier flavor and darker color. Great for gravy, stews, and richer soups.
To roast: spread bones on a sheet pan and roast at 425°F for 30 to 40 minutes, until golden. If you roast, you can also roast your onion halves alongside for extra flavor.
Cool and store safely
Because broth is a big hot pot of liquid, cooling it quickly matters.
Cooling
- Do not put a whole hot stockpot straight into the fridge. It cools too slowly and can warm up everything around it.
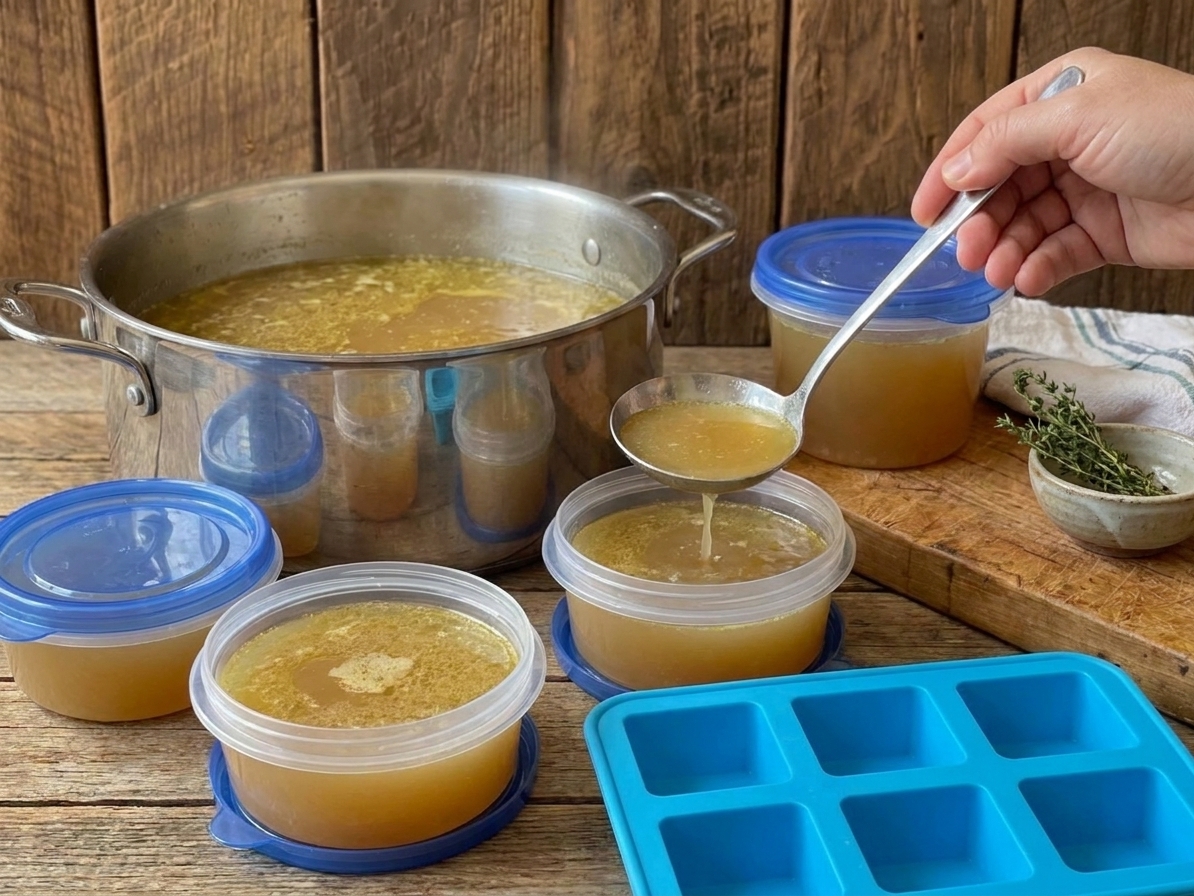
- Strain broth into shallow, wide containers (more surface area cools faster).
- Set the containers in an ice bath in the sink and stir occasionally.
- Home rule: Get it into the fridge within 2 hours of cooking. If it is still quite warm, keep chilling in an ice bath first.
If you like numbers: The restaurant guideline is to cool from 135°F to 70°F within 2 hours, then to 41°F within 4 more hours. At home, shallow containers and an ice bath are your best tools.
Storage
- Refrigerator: 3 to 4 days
- Freezer: 4 to 6 months for best flavor (quality slowly fades after that)
Important: Reboiling can improve flavor, but it is not a “safety reset” for broth that sat out too long.
Fat cap note: That thick layer of fat is totally normal. You can remove it for a lean broth, or leave it on as a little seal that can help protect the broth in the fridge until you are ready to use it.
Freezing tip: Freeze in 1 cup and 2 cup portions. I love silicone muffin trays for small “flavor bombs,” then I pop them into a freezer bag once solid.
How to get jiggly broth
If your broth does not gel, it is still delicious and useful. Gel is mostly about collagen, bone type, and concentration.
For more body next time
- Add wings, necks, or feet for extra connective tissue.
- Use less water. Too much water makes a thin broth no matter how long you simmer.
- Simmer longer (stovetop 10 to 12 hours, or go with a 90 to 120 minute pressure cook).
- After straining, reduce the broth by simmering uncovered for 20 to 40 minutes to concentrate.
Reminder: Gelatin melts when heated, so a broth that jiggles in the fridge will look liquid again once warmed. That is exactly what you want.
Common problems
My broth tastes bitter
- Too many herbs, especially if simmered forever.
- Veggies cooked too long, especially onion skins or a lot of celery leaves.
- Fix: Keep aromatics simple and consider adding veggies only for the first 2 to 4 hours of a long stovetop simmer, then strain them out.
It is cloudy
- Usually from a hard boil or lots of stirring.
- Fix: Keep a very gentle simmer. Cloudy broth still tastes great.
It is bland
- Often just needs salt, or it was diluted with too much water.
- Fix: Salt to taste when serving. Or reduce it a bit to concentrate flavor.
There is a thick fat layer on top
- Totally normal, especially with rotisserie or skin-on bones.
- Fix: Chill and lift it off, or leave it on until you are ready to use the broth.
How I use it
This is where broth pays you back. A few easy favorites:
- Soup shortcut: Add broth, a bag of frozen veggies, shredded chicken, and noodles or rice.
- Better rice: Cook rice or quinoa in broth instead of water.
- Pan sauce: Deglaze a skillet with broth, simmer, finish with butter and lemon.
- Beans and lentils: Use broth for a richer pot without extra meat.
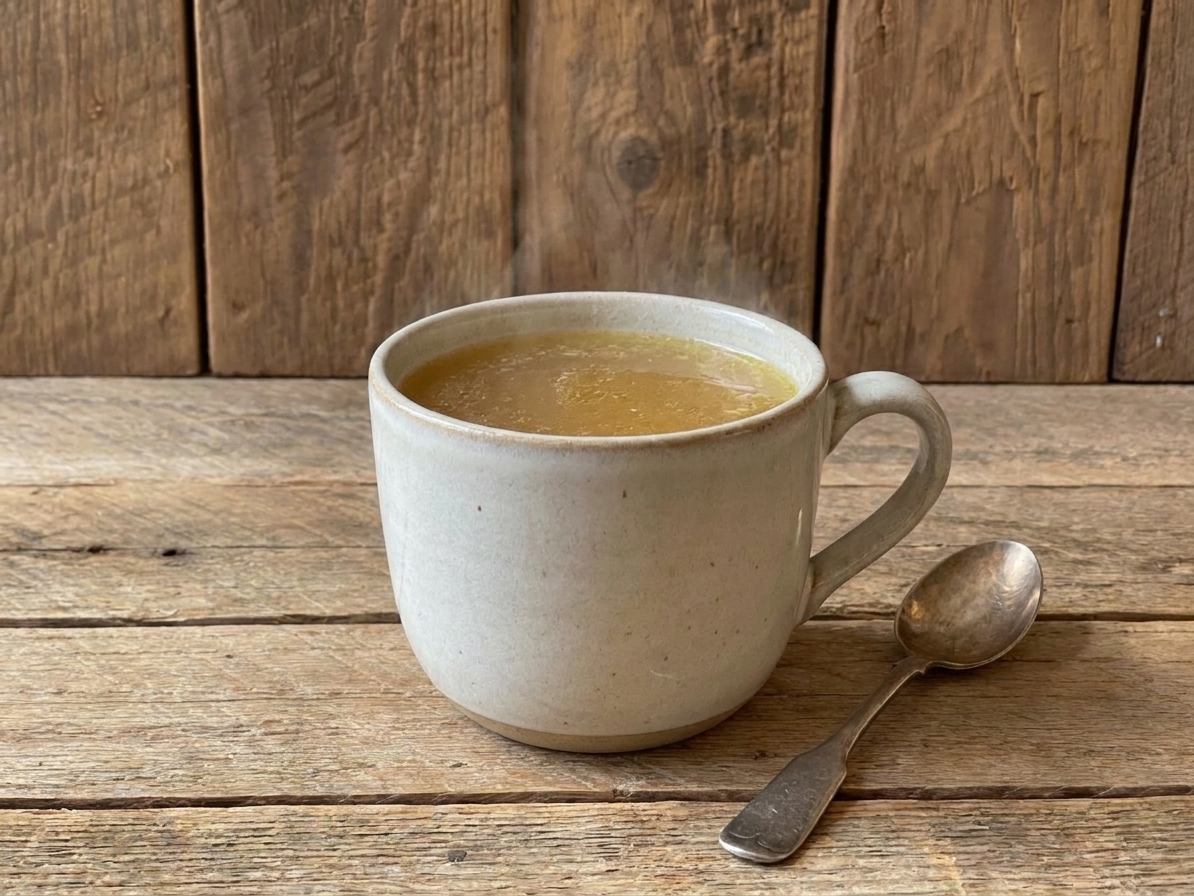
- Sipping broth: Warm with a pinch of salt and a squeeze of lemon.
FAQs
Do I need vinegar?
No. I recommend it, but it is optional. Some cooks find a small splash helps with extraction and a fuller-bodied broth, and you will not taste it at this level.
Can I reuse the bones for a second batch?
You can, but the second batch will be lighter. If you do it, combine the first and second batches and reduce slightly for better flavor.
Should I add salt at the beginning or end?
If you plan to reduce the broth or use it in recipes, salt at the end. It is easier to control.
How do I know when it is done?
Taste it. You want a deep chicken flavor and a fuller mouthfeel. Bones often look crumbly and break easily when pressed with tongs after a long simmer.
Is it safe to simmer overnight?
If your stove maintains a very low, steady simmer and you are comfortable with it, many home cooks do. Personally, I prefer the slow cooker on LOW overnight for peace of mind, or I do an evening simmer and finish the next day.
Before you start
If you are new to making bone broth, let it be a little imperfect. Maybe it is cloudier than you pictured. Maybe it gels like soft Jell-O one week and barely thickens the next. It is still homemade gold, and it will make your next pot of soup taste like you worked a lot harder than you did.
And if you are anything like me, you will find yourself stashing bones in the freezer and thinking, “Okay, one more batch.”