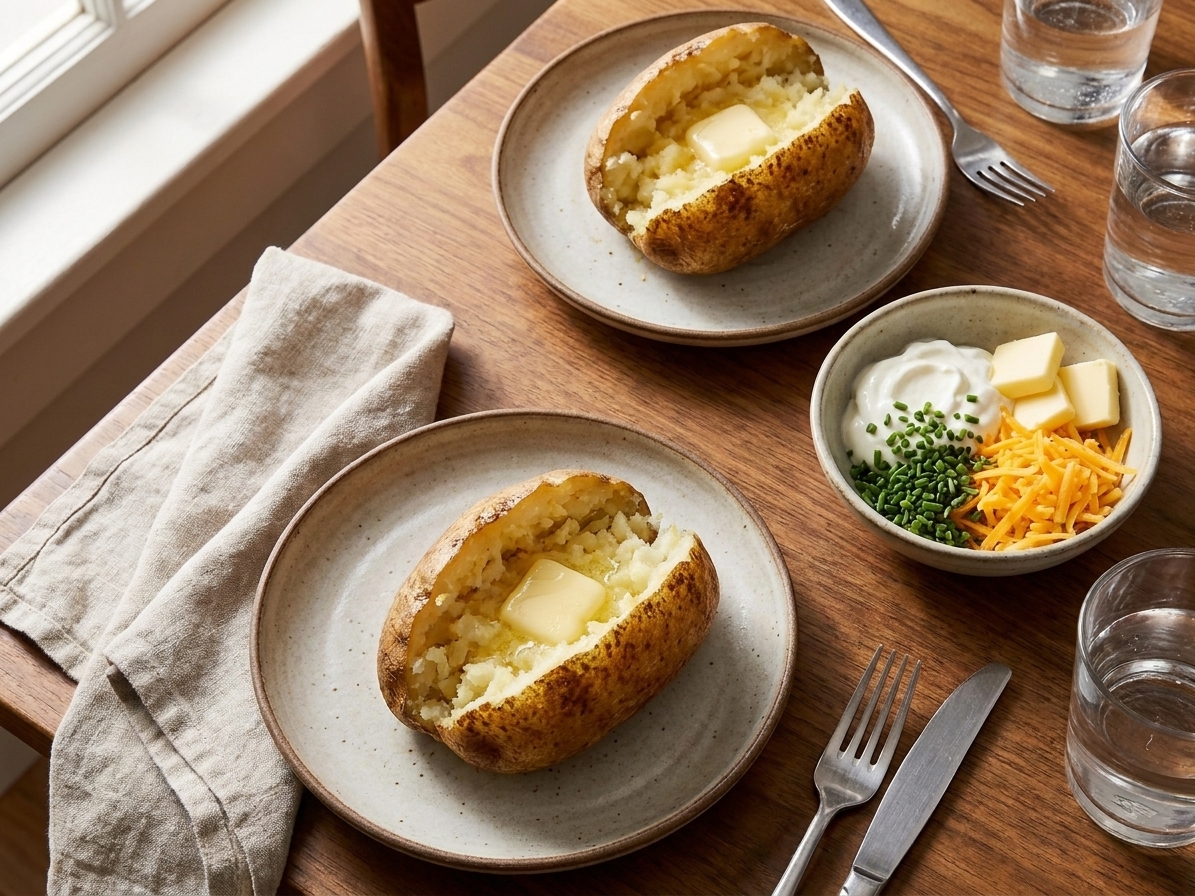

A perfect baked potato is one of those small kitchen miracles that feels like more effort than it actually is. You want skin that crackles when you squeeze it, and an interior so fluffy it practically steams into a snowdrift. The good news is you do not need foil, fancy gadgets, or a thousand steps. You just need the right potato, the right heat, and a couple of tiny habits that make all the difference.

The best potato for baking
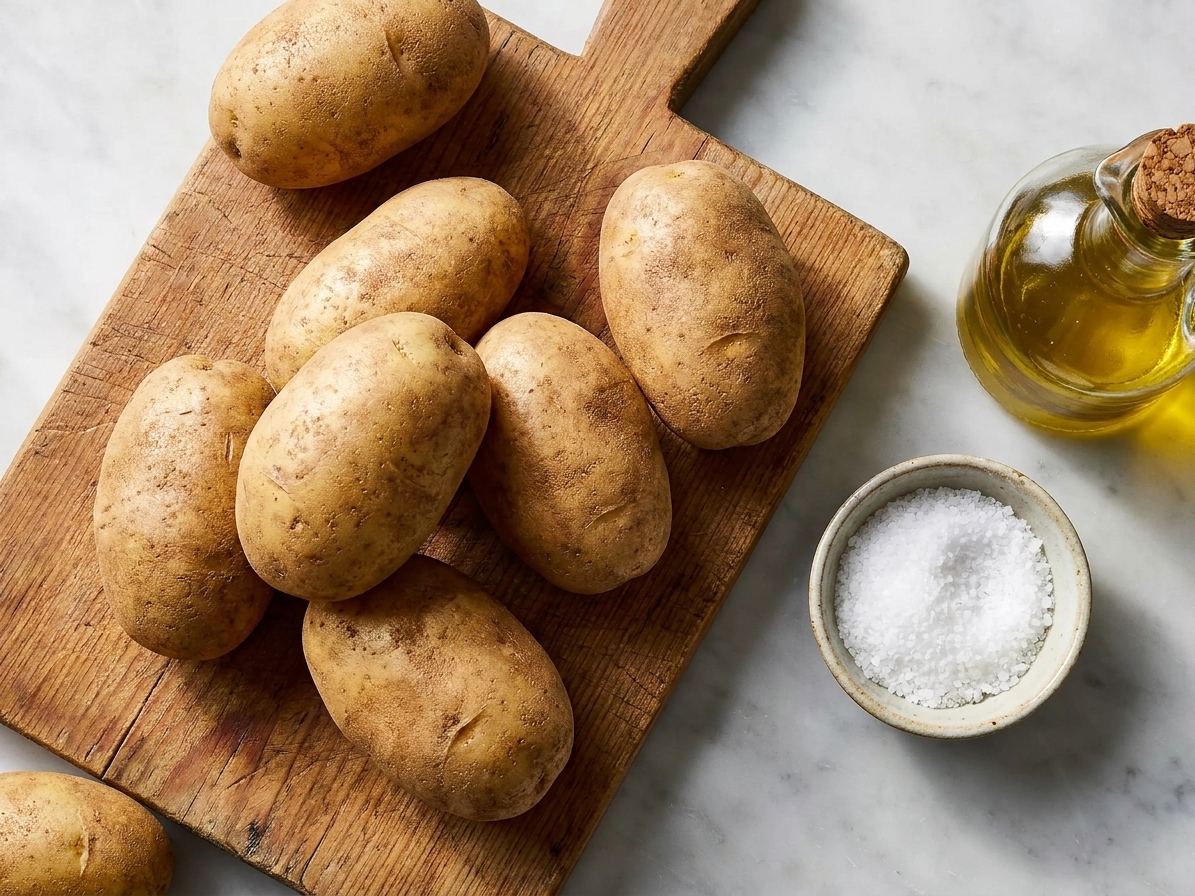
If you remember one thing, make it this: choose a starchy potato. Starch equals fluff. Waxier potatoes hold their shape, which is great for potato salad, but not ideal for that classic baked potato texture.
- Best choice: Russet potatoes (also labeled Idaho in many stores). Big, starchy, and built for baking.
- Also works: Yukon Gold. You will get a slightly creamier interior and a thinner skin, not quite as shattery-crisp as russet.
- Skip for this purpose: Red potatoes and fingerlings. Delicious, but they bake up denser.
Size matters: Try to pick potatoes that are similar in size if you are baking more than one. That way they finish at the same time.
The simple formula (my no-stress method)
Here is my weeknight-friendly approach. It is consistent, it is hands-off, and it delivers that crisp-skin, fluffy-center result.
What you need
- Russet potatoes
- Olive oil (or melted butter)
- Kosher salt (or flaky salt)
- Freshly ground black pepper, optional
Step-by-step
- Heat the oven to 425°F. This is the sweet spot for crisp skin without drying out the inside.
- Scrub and dry the potatoes really well. Dry skin equals better crisping. I pat them dry with a clean kitchen towel.
- Poke holes. Use a fork to poke each potato 6 to 10 times. This lets steam escape so they do not burst.
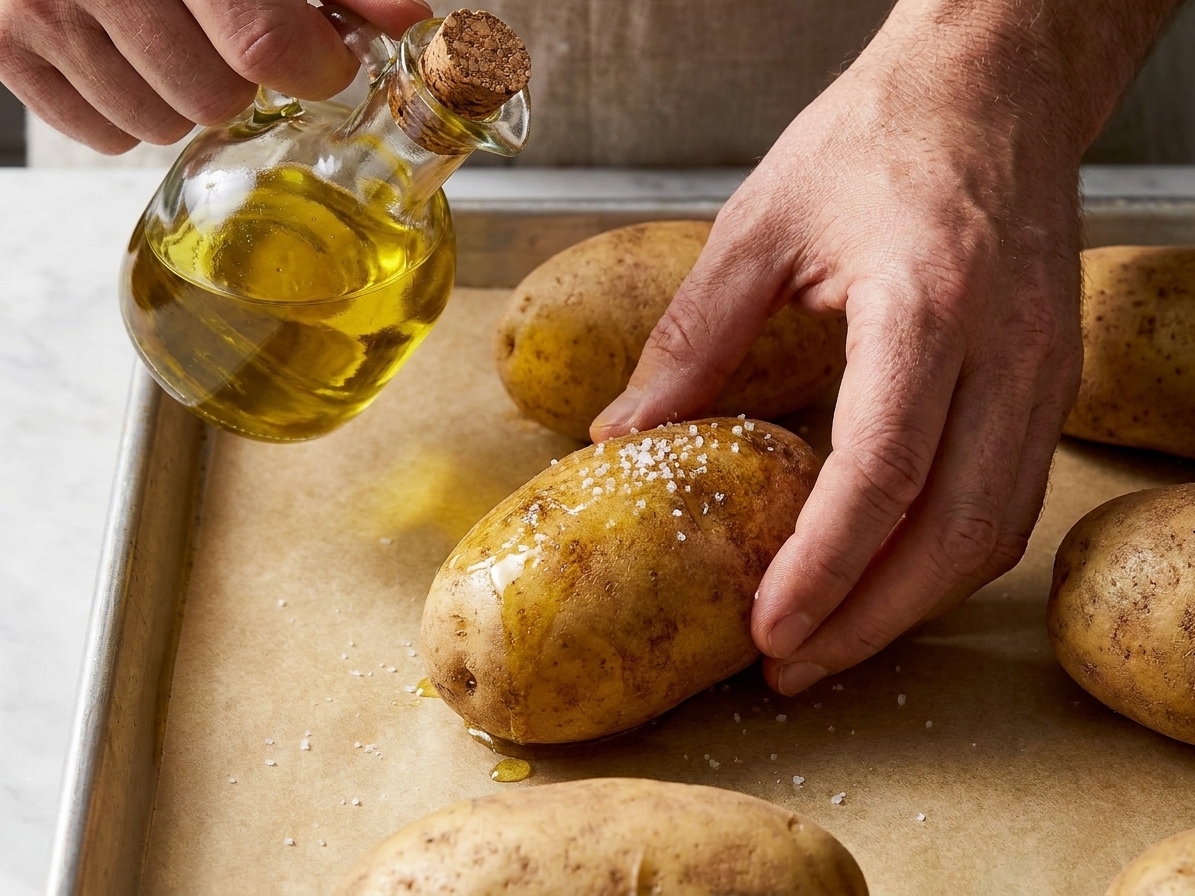
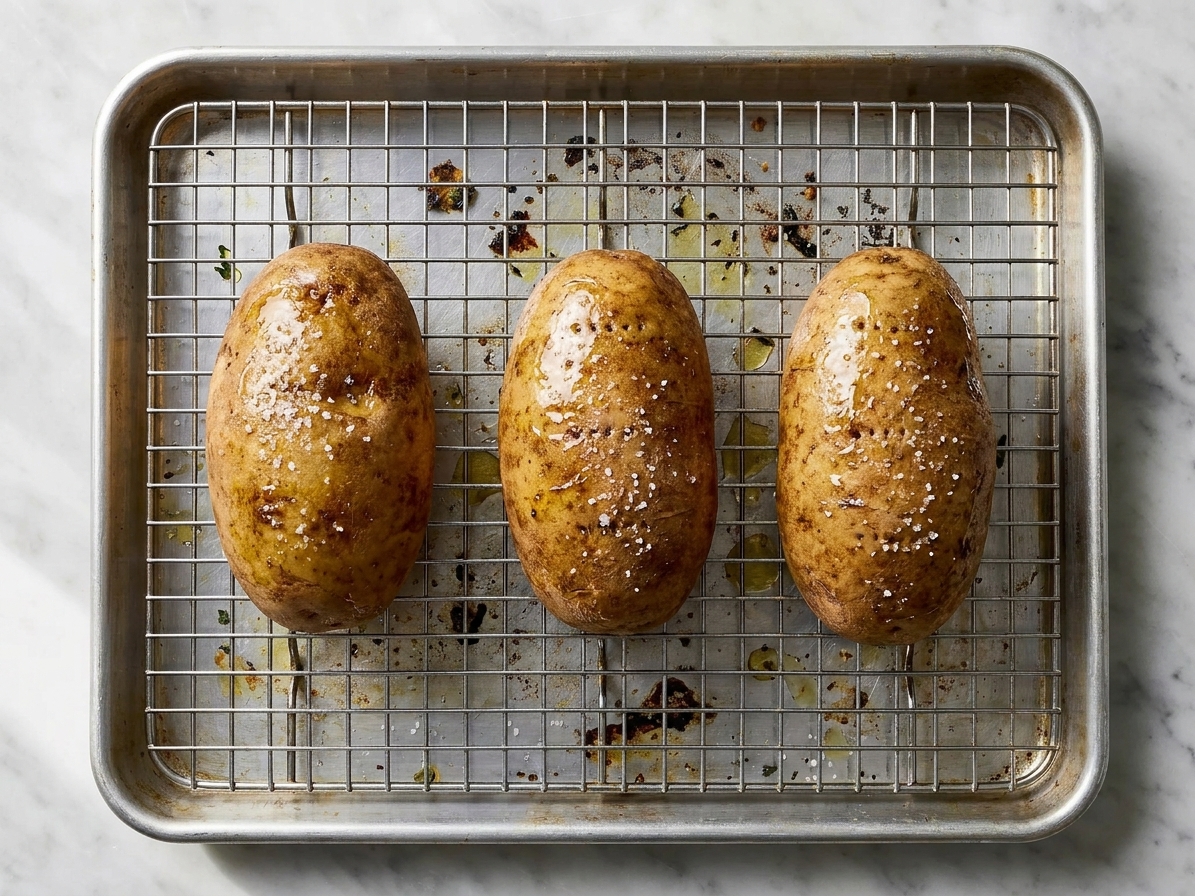
- Oil and salt the skin. Rub each potato lightly with oil, then sprinkle all over with salt. Do not be shy, this seasons the skin and helps it crisp.
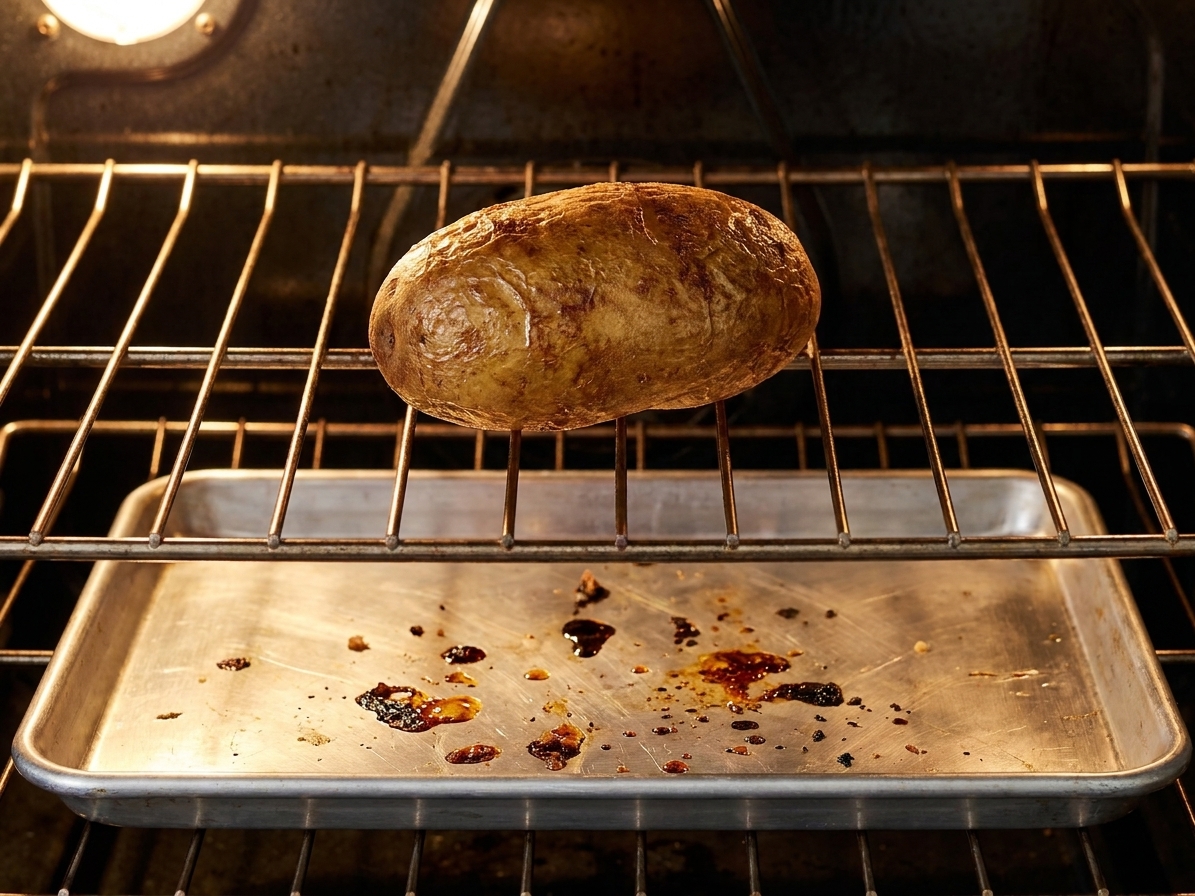
- Bake directly on the oven rack or on a wire rack set over a sheet pan. Direct rack baking gives the crispiest skin. If you are worried about drips, place a sheet pan on the rack below.
- Bake until tender. See the timing chart below. You are looking for a potato that gives easily when squeezed with an oven mitt.
- Split and fluff. Slice lengthwise, then use a fork to fluff the interior right away so steam can escape and the inside stays light.
Maya’s little habit: The moment the potato comes out, I slice it open and fluff it. If you leave it whole too long, steam gets trapped and the interior can turn a bit gummy.
Bake times by size (at 425°F)
Oven temps vary, and potato sizes are all over the map, so think of these as reliable starting points. When in doubt, keep baking and check every 5 minutes.
| Potato size | Approx. weight | Time at 425°F |
|---|---|---|
| Small | 4 to 6 oz | 35 to 45 minutes |
| Medium | 7 to 9 oz | 45 to 60 minutes |
| Large | 10 to 12 oz | 60 to 75 minutes |
| Extra-large | 13+ oz | 75 to 90 minutes |
How to know it is done: A knife should slide in with almost no resistance, and the potato should feel soft all the way through when gently squeezed (use an oven mitt).
Foil or no foil?
No foil if you want crisp skin. Foil traps steam, which softens the skin. If you grew up on foil-wrapped baked potatoes, that is why the skin was tender and a little damp.
If you absolutely need to hold baked potatoes warm for a while, you can foil them after baking, but understand the trade-off: you will sacrifice some crispness.
My favorite seasoning options
Salt and oil is the classic, but once you have the method down, seasoning the skins is where you can have a little fun.
- Garlic lover mode: Mix oil with a pinch of garlic powder and black pepper before rubbing on the potatoes.
- Steakhouse vibes: Use coarse salt and finish with cracked pepper after baking.
- Smoky: Add a tiny pinch of smoked paprika to the oil.
- Herby: Rub with oil, salt, and a pinch of dried rosemary (go light, rosemary is bold).
Classic toppings and a few fun upgrades
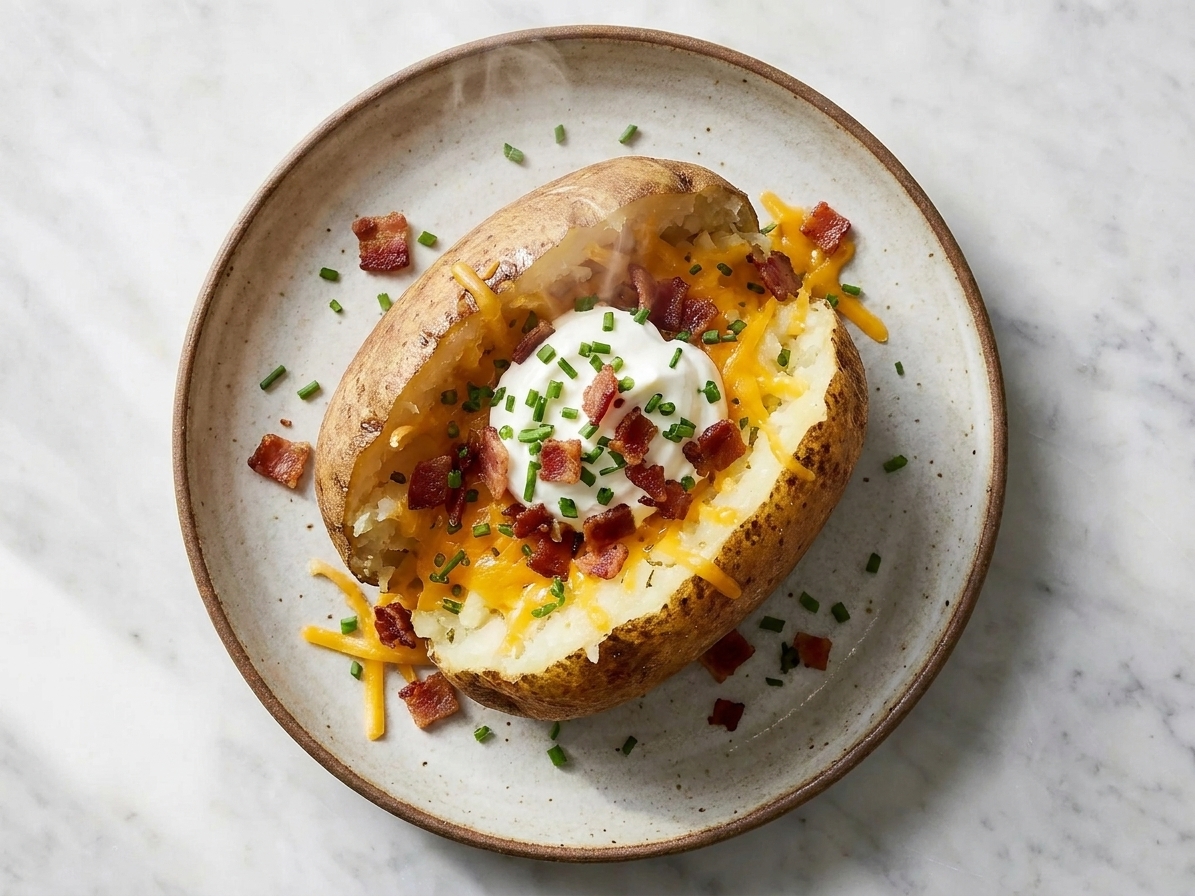
I will never tell you not to do butter, sour cream, cheddar, and chives. That combo is iconic for a reason. But if you want a baked potato that can stand in for dinner, here are a few ideas I make on repeat.
Comfort classics
- Butter + sour cream + chives
- Cheddar + bacon + scallions
- Broccoli + cheddar + black pepper
Dinner-worthy ideas
- Chili potato: Top with chili, shredded cheese, and pickled jalapeños.
- Greek-inspired: Spoon on garlicky yogurt, cucumber, tomatoes, feta, and oregano.
- Buffalo chicken: Shredded chicken tossed with Buffalo sauce, then blue cheese or ranch.
- Veggie loaded: Sautéed mushrooms and onions, a handful of spinach, and a little Parmesan.
Make-ahead, storage, and reheating
Baked potatoes are surprisingly meal-prep friendly, especially if you are feeding a family on different schedules.
To store
Let potatoes cool, then refrigerate in an airtight container for up to 4 days.
To reheat (best methods)
- Oven: 350°F for 15 to 25 minutes, until hot throughout. If you want crispier skin, place directly on the rack for the last 5 minutes.
- Air fryer: 350°F for 6 to 10 minutes, depending on size. This is my favorite for bringing back crisp skin fast.
Microwave option
The microwave works in a pinch, but the skin will go soft. I often microwave to heat through, then pop the potato into a hot oven or air fryer for a few minutes to re-crisp.
FAQ
Why is my baked potato hard in the middle?
It simply needs more time. Potatoes can look done on the outside long before the center fully softens. Keep baking and check every 5 minutes. Also make sure you are not crowding the oven, since poor airflow slows cooking.
Why is my baked potato gummy?
Gummy texture usually comes from trapped steam or underbaking. Split and fluff the potato right after baking to release steam. Also avoid wrapping in foil during baking if you want a drier, fluffier interior.
Should I bake potatoes on a sheet pan?
You can, but the bottoms will be a bit softer. For the crispiest skin all around, bake directly on the rack or on a wire rack set over a sheet pan.
Do I need to salt the skin?
Technically no, but you will miss out. Salting the skin seasons the potato in the best way and helps it crisp. If you are watching sodium, use a lighter hand and finish the inside with a small pinch of salt instead.
Can I bake sweet potatoes the same way?
Similar method, yes, but sweet potatoes tend to ooze sugary liquid as they bake. I recommend a sheet pan or a rack over a pan to catch drips. Bake at 400°F to 425°F until very tender, usually 45 to 75 minutes depending on size.
My quick recap
- Use russets for the fluffiest interior.
- Bake at 425°F.
- No foil if you want crisp skin.
- Rub with oil and salt, bake until truly tender.
- Split and fluff right away.